


.jpg?format=pjpg&auto=webp)


Response
The Response action connector helps determine the status of your configured action. It notifies users about the success or failure of a configured action with a response.
Note: The Response action connector can only be used with the HTTP trigger connector.
Set up Response
Perform the following steps to set up the Response action connector:
- Click Configure Action Step from the left navigation panel.
- Click Action Step to configure third-party services.
- Within the Configure Action Step, click the Response connector.
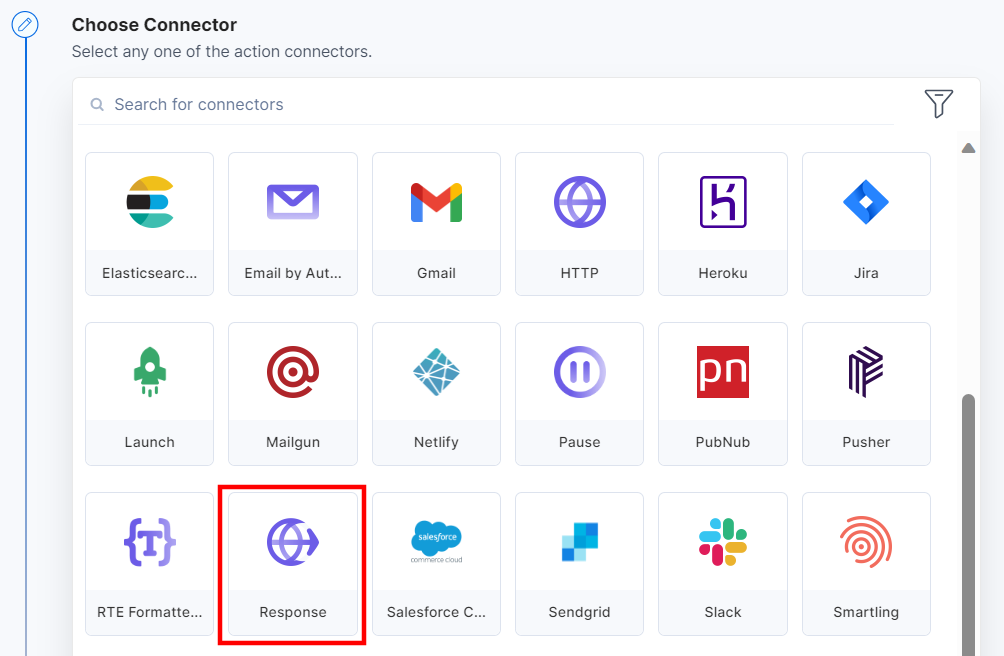
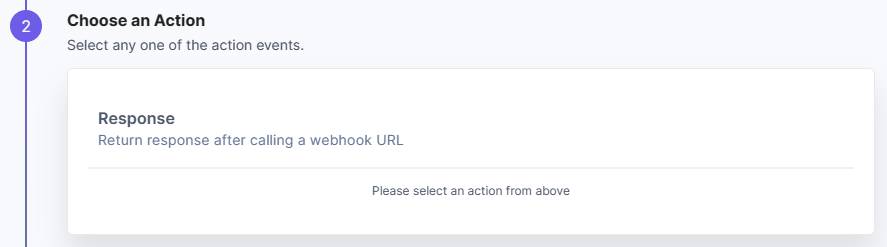
- Under Choose an Action tab, select the Response action.
- Based on the results of your configured action, enter the Response Status.
- In the Response Body field, you can add data that you want to send as the response.
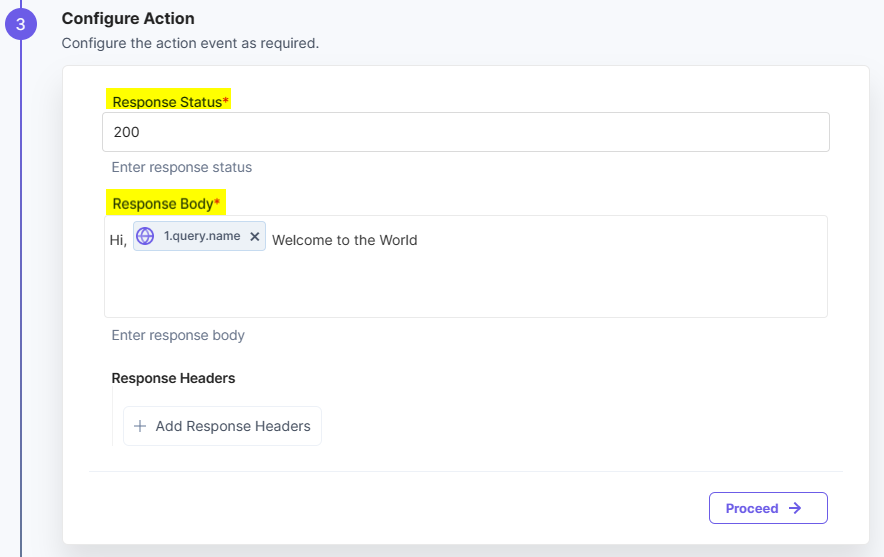
- Add Response Headers to provide any additional information.
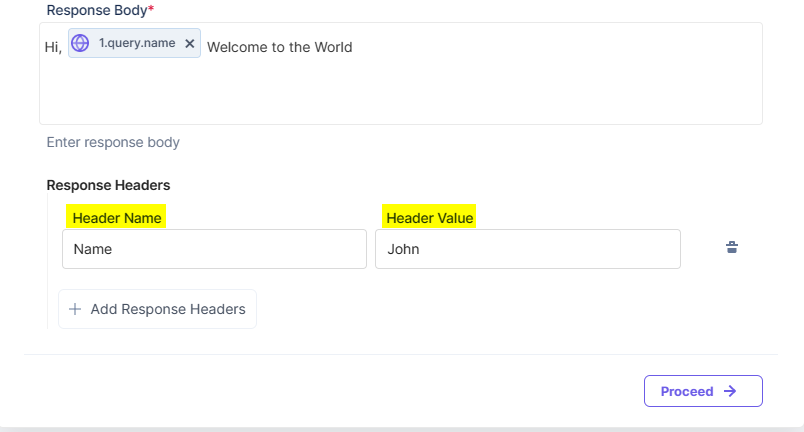
- Click Proceed.
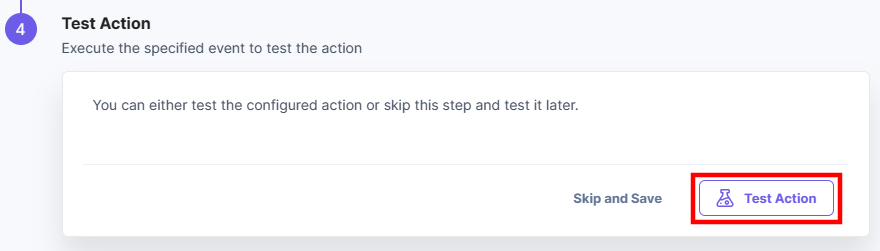
- To execute and test the configured action, click Test Action.
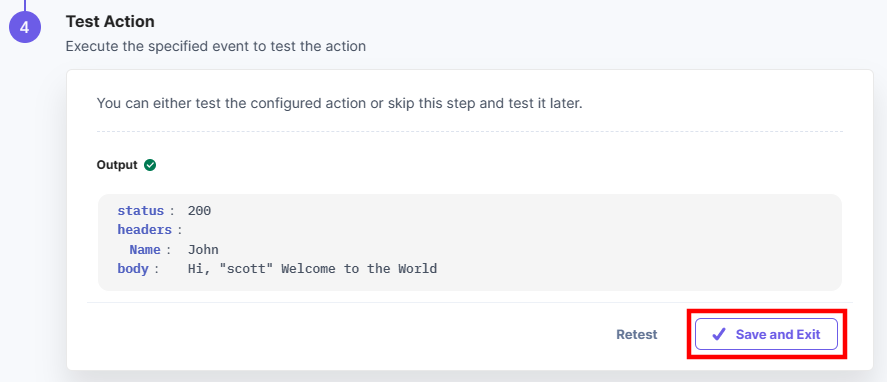
- On successful configuration, you can see the below output. Click Save and Exit.
You can check the response by activating automation and visiting the webhook URL you configured in the previous step.
This sets the Response action connector.
Was this article helpful?
More articles in "Utility"
