

.svg?format=pjpg&auto=webp)
.svg?format=pjpg&auto=webp)
.png?format=pjpg&auto=webp)


.png?format=pjpg&auto=webp)
Data Store
The Data Store connector helps you store keys and their corresponding values within a database, that you can retrieve later. With the Data Store connector, you can also store and fetch the data stored in the instance of an execution.
Note: The limit for the key value pair is 5 KB.
Set up the Data Store
Perform the following steps to set up the Data Store action connector:
- Click Configure Action Step from the left navigation panel.
- Click Action Step to configure third-party services.
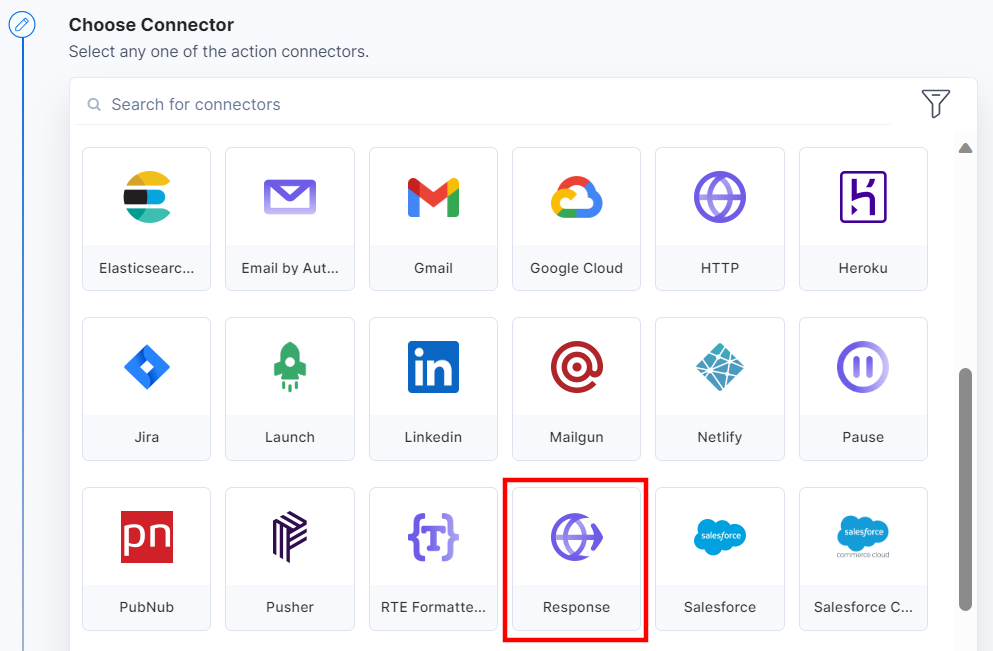
- Within the Configure Action Step, click the Data Store connector.
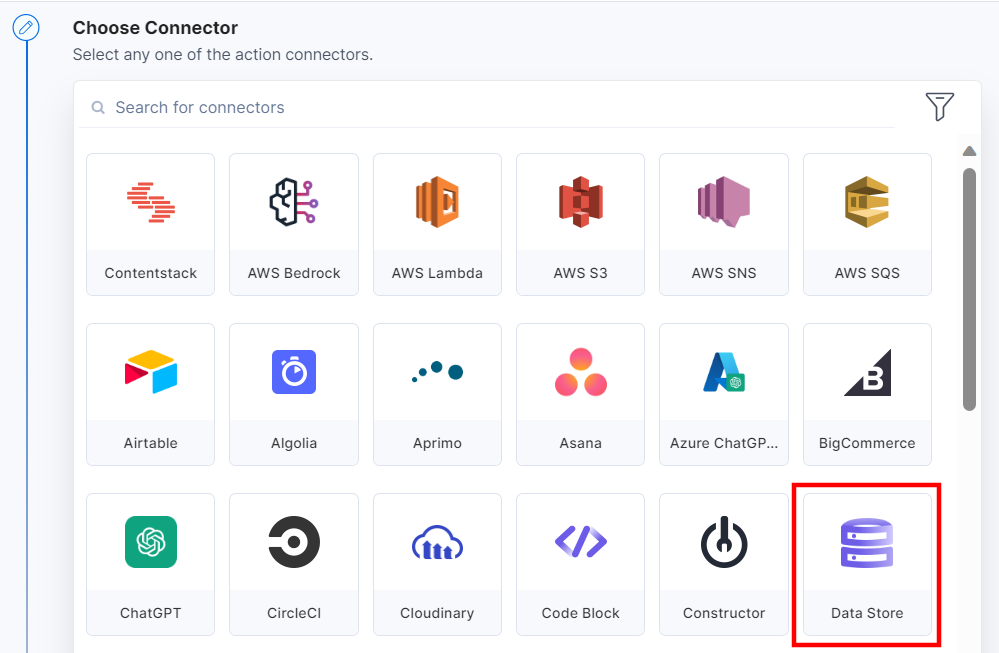
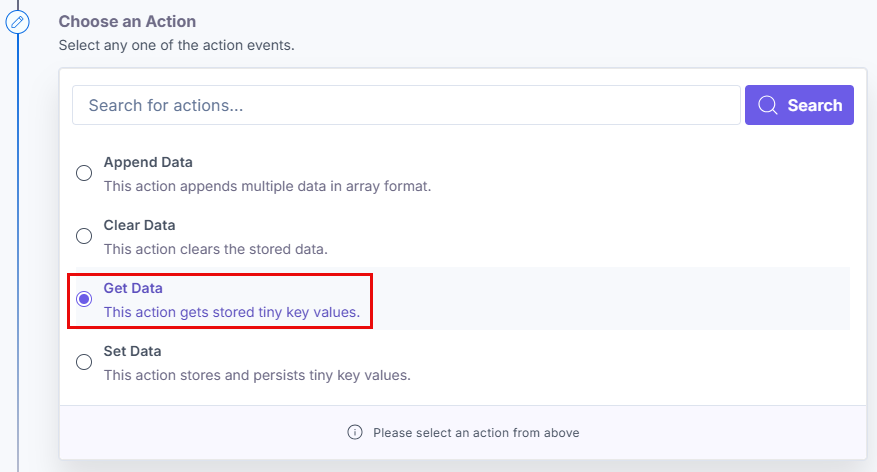
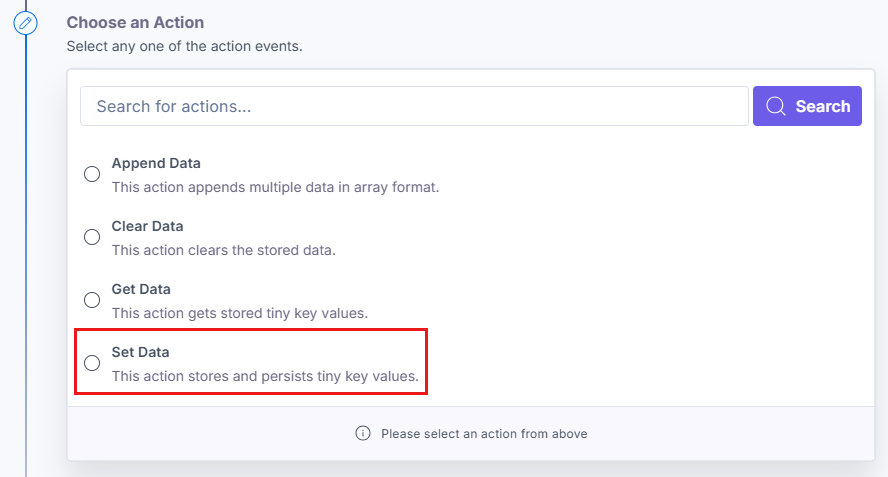
- Under Choose an Action tab, you will see three actions: Get Data (retrieve data stored in Data Store) and Set Data (add data into Data Store), Append Data (append new data to an existing data in the form of an array), and Clear Data.
Action 1: Select the Append Data action:

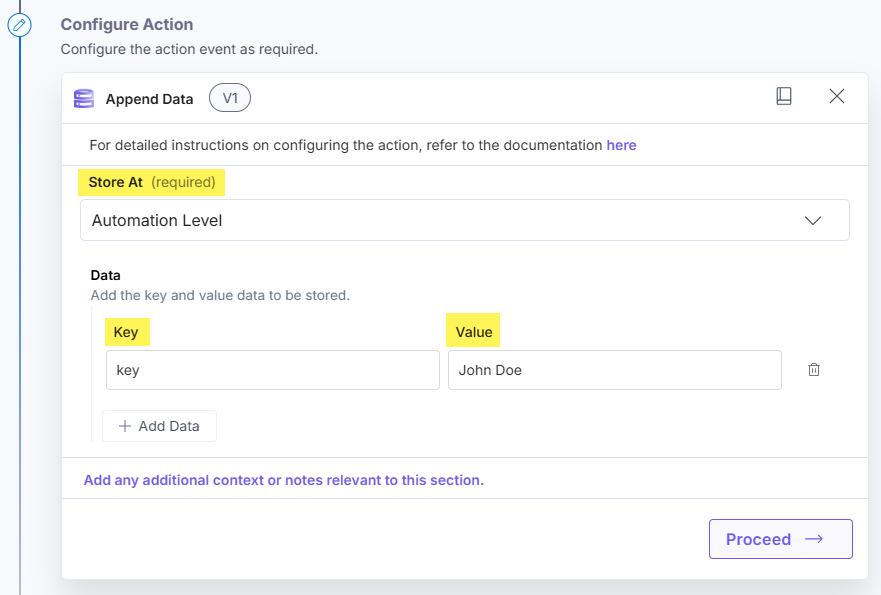
- On the Append Data Configure Action page, you need to provide at what level you need to store your data, i.e., at Automation Level, Organizational Level, and Execution Level. Lets see their difference:
- Automation Level: Data set at this level can be retrieved when working only on the current automation you are setting it for.
- Organizational Level: Data set at this level can be retrieved when working with any automation within the organization.
- Execution Level: Data set at this level can be retrieved when working for one completed execution of an automation. Even with parallel executions of an automation, the data is tightly coupled to an individual execution.
Once you select the Store At value, enter the Data values, i.e., Key and corresponding Value for the same.
- On the Append Data Configure Action page, you need to provide at what level you need to store your data, i.e., at Automation Level, Organizational Level, and Execution Level. Lets see their difference:
- Click the Proceed button.
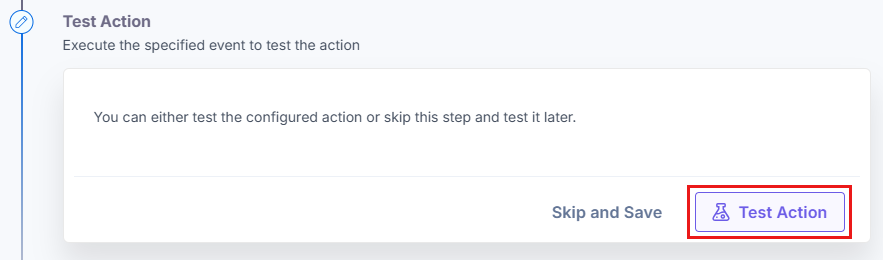
- Check if the details are correct. If yes, click the Test Action button.
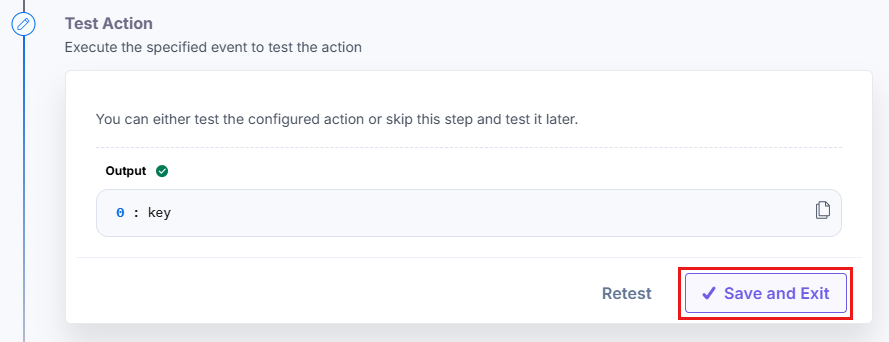
- Once set, click the Save and Exit button.
Append action will create an array with the provided value.
Let’s see a simple use-case of Append Data action using Repeat Path.
Append Data action is helpful while working with bulk data. In this example, we are sending bulk data through Postman. You can use any other trigger or third-party source to send your data.
We are sending two arrays via Postman which will append and form a single array. For example: {"array1":["start"], "array2":[1,2,3]}.
- Configure the HTTP Trigger connector. For more details, refer to the HTTP Trigger connector documentation.
Note: Send a request to the HTTP trigger URL via Postman to send bulk data and test the trigger. Once you click Test Trigger, you can see the data sent via Postman in the output.
- Once the trigger is configured, configure an Action Step and click the Data Store connector.
- Under Choose an Action step, select the Set Data action. In the Store At dropdown, select Automation Level.
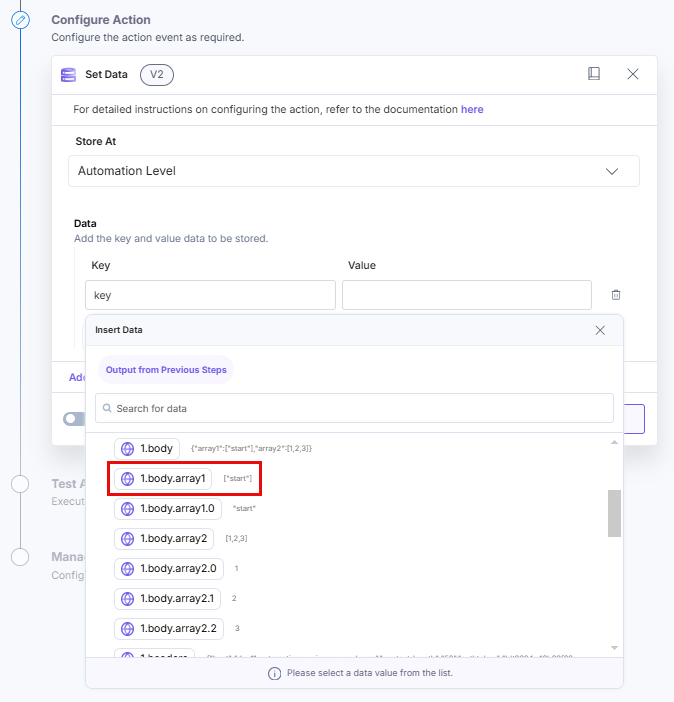
- In the Set Data action, set the Key and Value. Fetch the array data coming from the previous step. Select the value of array1 in the Value field.
- Click the Proceed button.
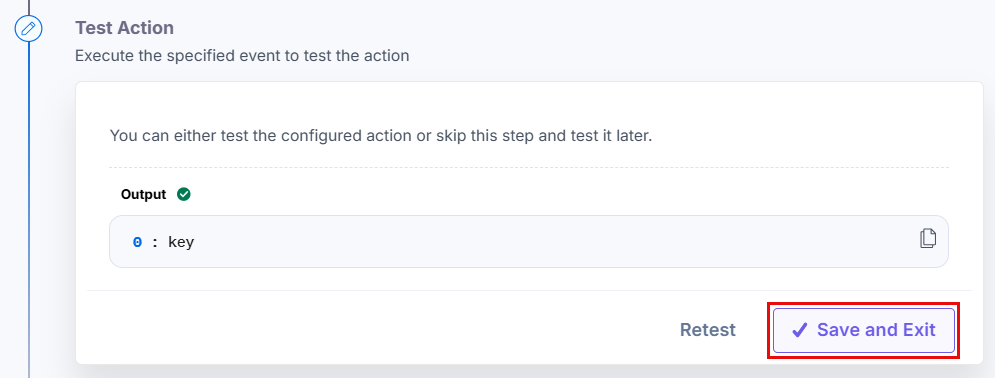
- Click the Test Action button to test the configured action.
- Click the Save and Exit button.
Once the data is fetched and stored, use the Repeat Path step to fetch the array of numbers from the HTTP trigger, i.e., array2. To do so, follow the steps below:
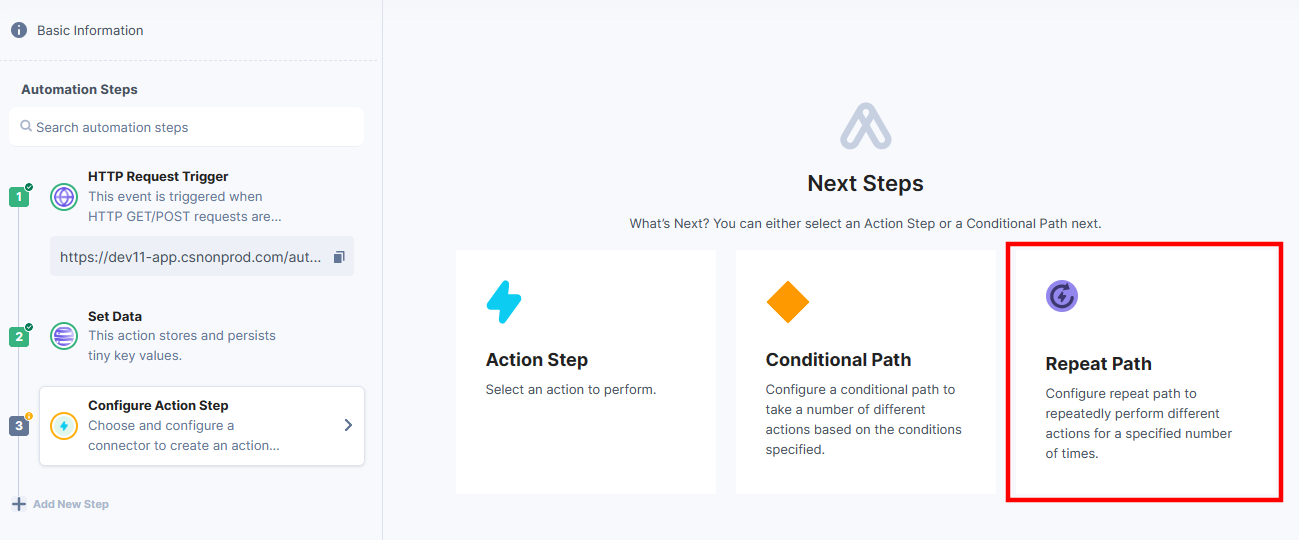
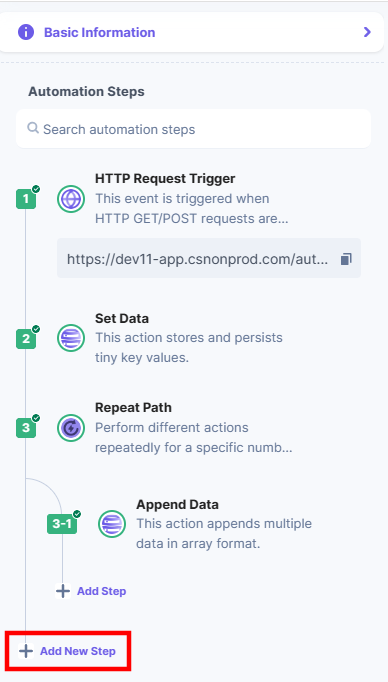
- Click + Add New Step to add a new step.
- Click Configure Action Step from the left navigation panel.
- Click Repeat Path to configure repeat path.
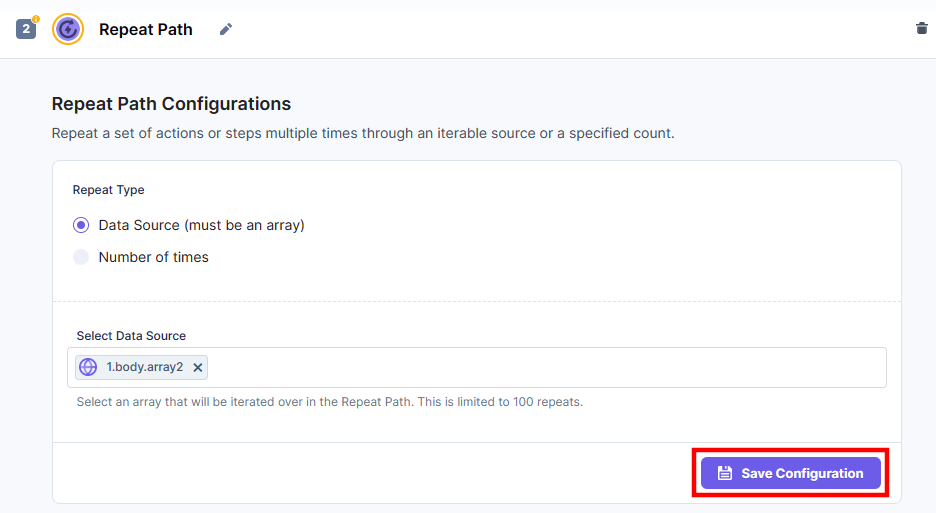
- In the Repeat Path configuration, select the Data source to fetch the array of numbers configured previously.
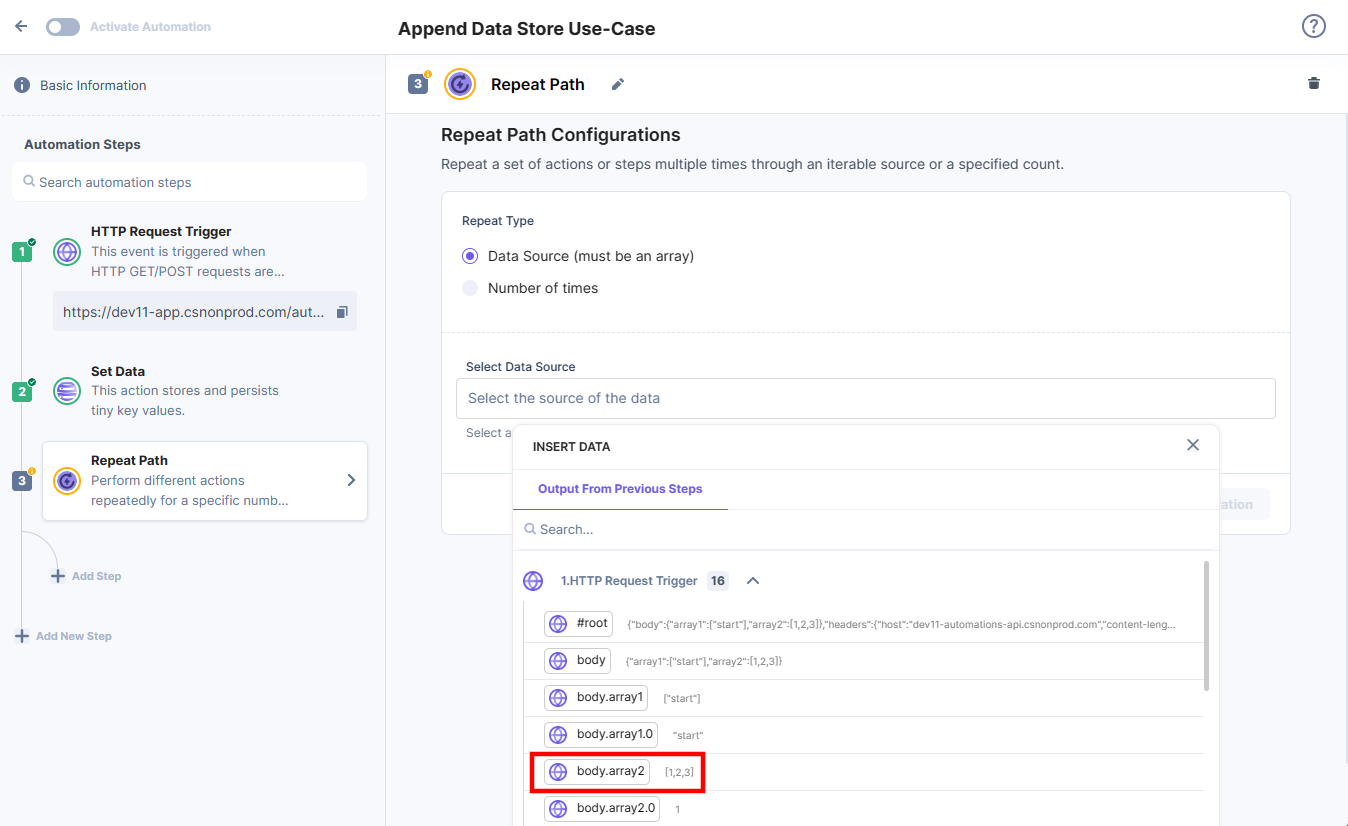
We have set the value of the first array in the Set Data action, and now, we are fetching the array of numbers (array 2) using the Repeat Path, to append both arrays.
Note: Repeat Path will iterate through the number of items in the array.
- Click Save Configuration to save the Repeat Path configuration.
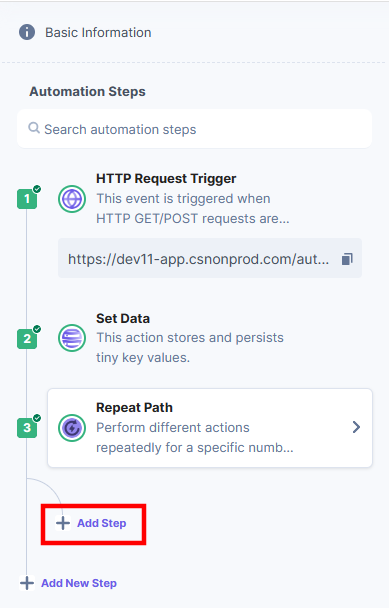
On successful completion, use the Append Data action inside Repeat Path. Follow the steps below:
- Click + Add Step.
- In the Configure Action Step, click the Data Store connector.
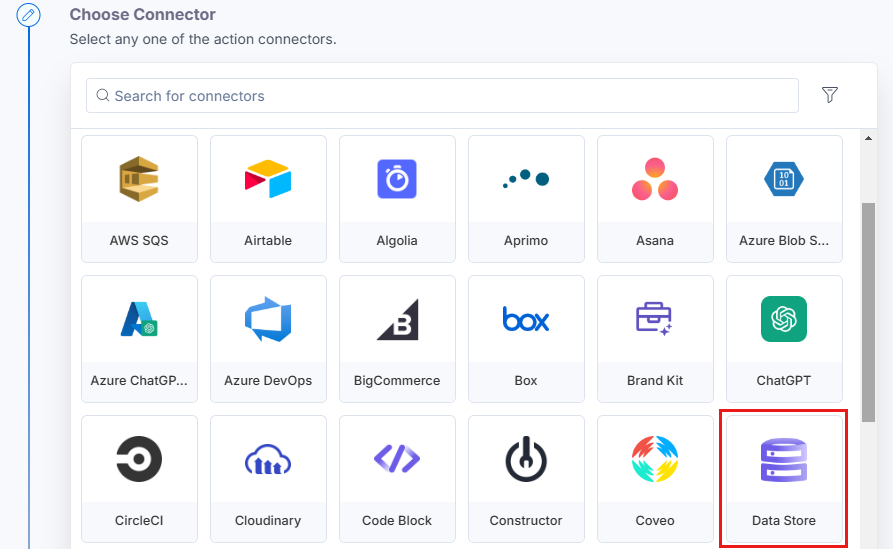
- Under Choose an Action step, select the Append Data action.
- In the Store At field dropdown, select Automation Level.
Note: You can use organization or execution level from the dropdown.
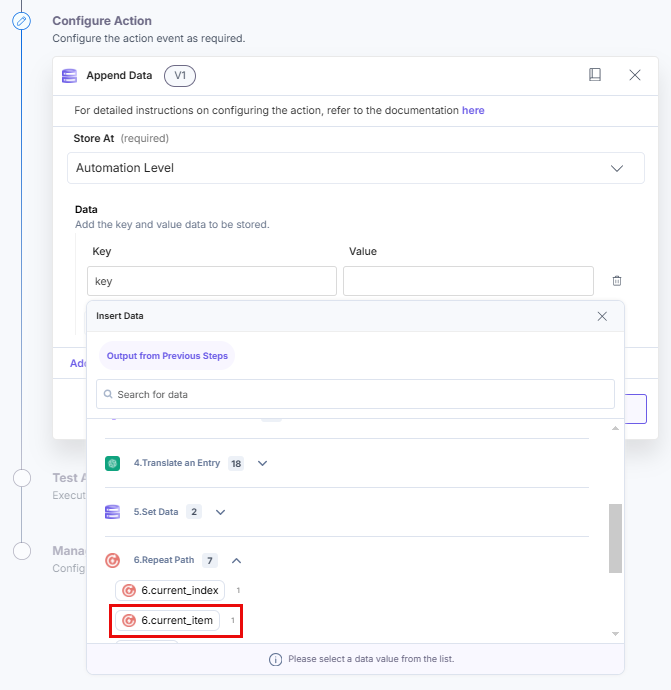
- In the Append Data action, set the Key and Value. Provide the Key value specified in the Set Data action and fetch the current_item data from the Repeat Path step in the Value field.
The current_item data will fetch the data iterated using the Repeat Path for the array of numbers and append it to the first array.
- Click the Proceed button.
- Click the Test Action button to test the configured action.
- Click the Save and Exit button.
Now, to fetch the data outside of the Repeat Path, follow the steps below:
- Click + Add New Step.
- Click Configure Action Step from the left navigation panel.
- Click Action Step to configure third-party services.
- Within the Configure Action Step, click the Data Store connector. Select the Get Data action.
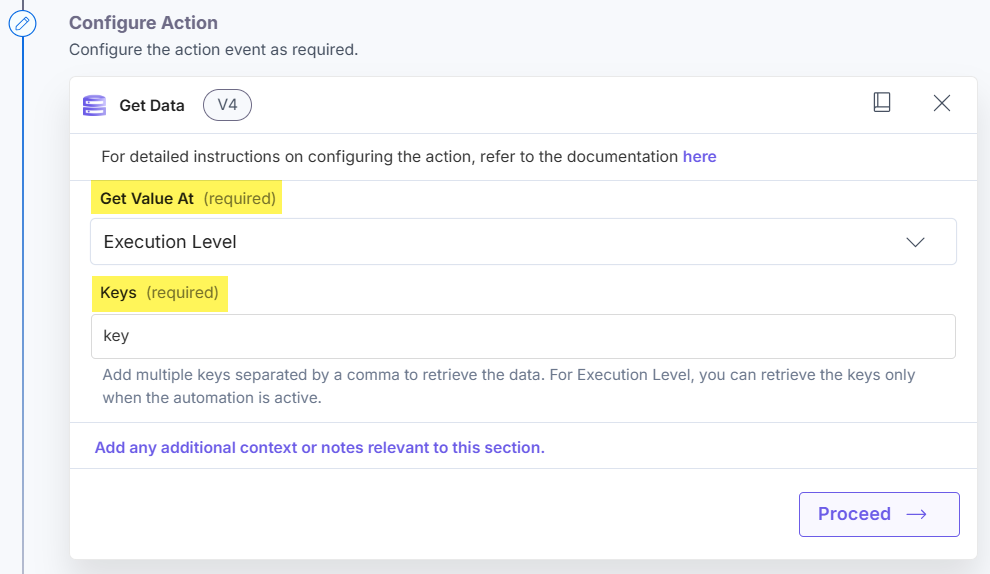
- In the Get Value At field, select Automation Level. In the Keys field, provide the name of the key in which the data is stored in the previous step.

- Click the Proceed button.
- Click the Test Action button to test the configured action.
- Click the Save and Exit button. You will be able to see the appended data in the key.
To check the output, we will configure the Response action connector.
- In the Configure Action Step, select the Response connector.
- In the Choose an Action step, select the Response action.
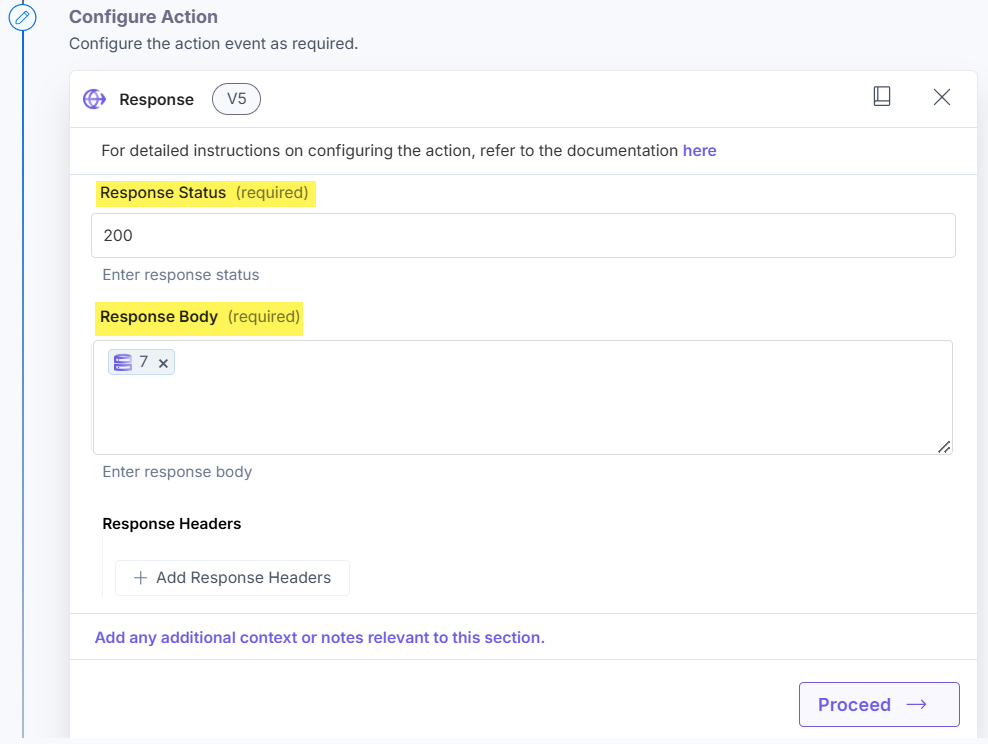
- Provide a Response Status, and in the Response Body, choose the data fetched in the previous step (Get Data).
- Click the Proceed button.
- Click the Test Action button to test the configured action.
- Once done, click the Save and Exit button.
To view the data, activate the automation and hit the trigger URL in Postman. You will see data combined in one single array.
This sets the Data Store action connector.
Let’s understand more about the Execution Level storage with a simple example:
With Execution Level, the data is stored in the instance of execution of an automation i.e., the access to the data is limited only in the instance in which the automation is executed. Even if there are parallel executions of an automation, the values are not overridden with multiple executions.
Let’s set up our automation by following these simple steps:
- Configure the HTTP Trigger connector. For more details, refer to the HTTP Trigger connector documentation.
- Once the trigger is configured, click the Data Store connector.
- Under Choose an Action step, select the Set Data action. In the dropdown, select Execution Level to store the data at execution level.
- Enter the Data values, i.e., Key and corresponding Value for the same.
- Click Proceed.
- Click Test Action to test the configured action.
- The output will be shown as follows. Click the Save and Exit button.
- In the Configure Action Step, click the Data Store connector and select the Get Data action.
- In the Get Value At field, select Execution Level from the dropdown.
- Enter the key data in the Keys field i.e., Key.
Note: If you are using the Pause action, you can only get the data which you have set before configuring the Pause connector. You can preserve the data in the Pause connector and retrieve the preserved value afterwards. This is applicable only when you select Execution Level storage.
- Click Proceed.
- Click Test Action to test the configured action.
- The output will be shown as follows. Click the Save and Exit button.
Note: While testing the automation, you will get null value but the data will be available at the time of execution.
To see the output data, we will configure the Response connector. Perform the following steps to set up the Response action connector:
- Click Configure Action Step from the left navigation panel.
- Click Action Step to configure third-party services.
- Within the Configure Action Step, click the Response connector.
- Under Choose an Action tab, select the Response action.
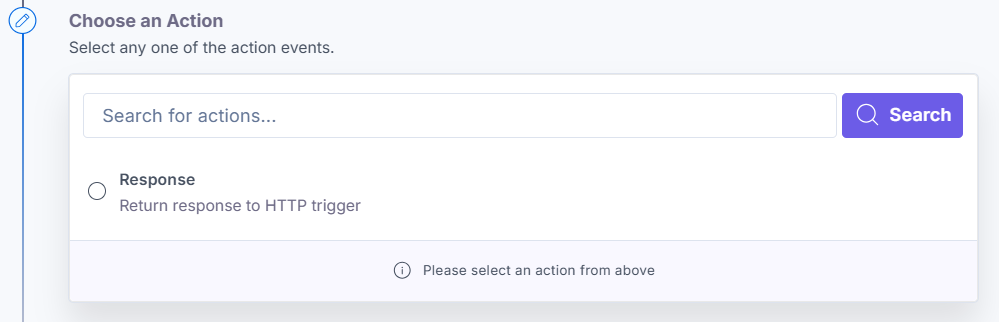
- Based on the results of your configured action, enter the Response Status.
- In the Response Body field, you can add the data that you want to send as the response. You can also fetch the output from the previous step i.e. Get Data action.
- Click Proceed.
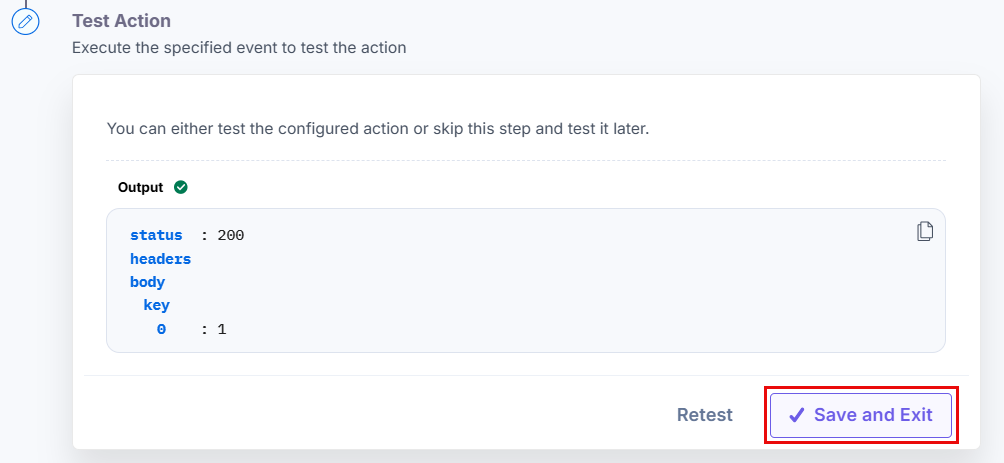
- Click Test Action to test the configured action.
- You will see the below output. Click Save and Exit.
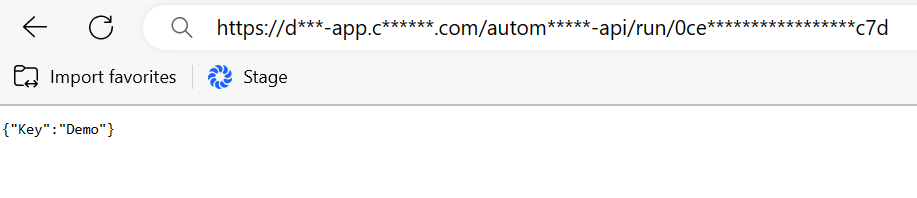
Now, to view the output, activate the automation and hit the HTTP trigger URL. You will see the key:value pair as provided in the Data Store connector.
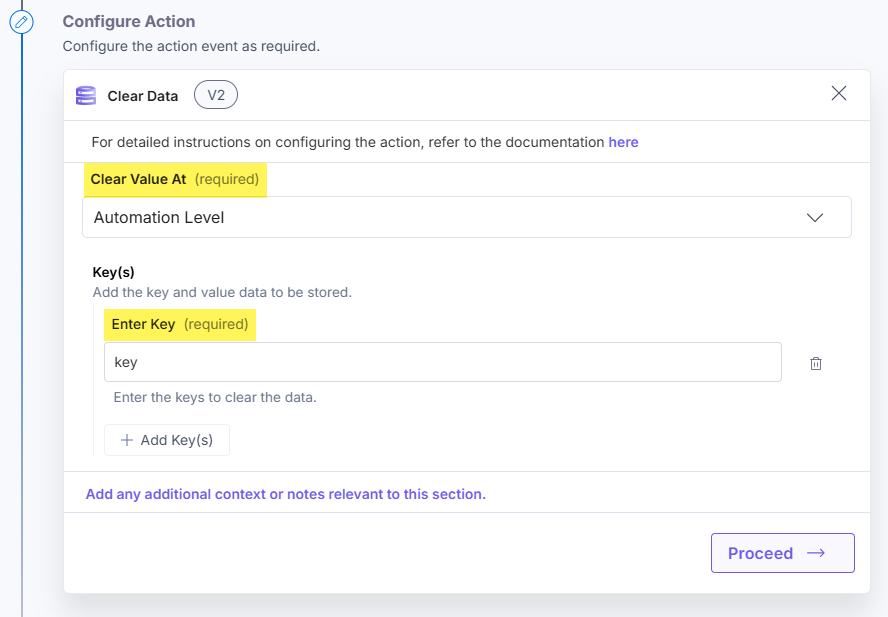
Action 2: Select the Clear Data action:
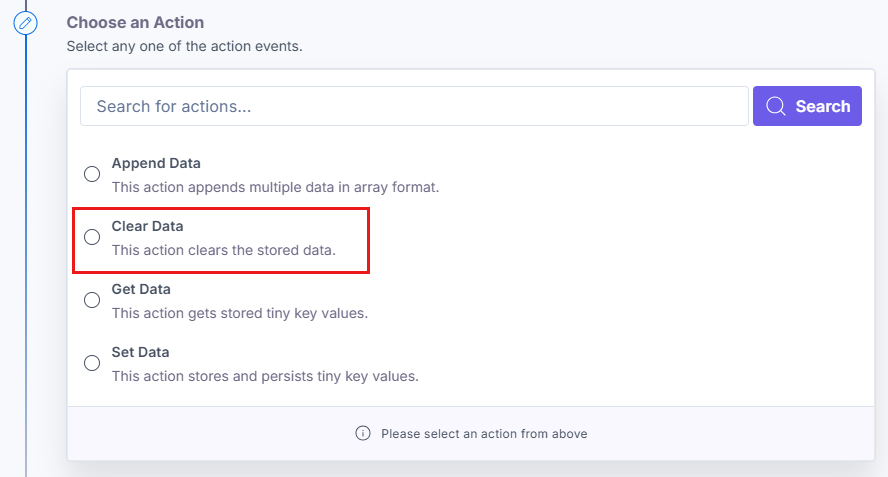
- On the Clear Data Configure Action page, you need to provide at what level you need to store your data, i.e., at Automation Level, Organizational Level, and Execution Level.
Note:
- Clear Data requires manual configuration to initiate the data deletion.
- Clear Data can delete the data both from Set Data and Append Data actions.
- In the Enter Key field, enter the data key to clear. Click the + Add Key(s) button to add multiple keys you want to clear.
- Click Proceed.
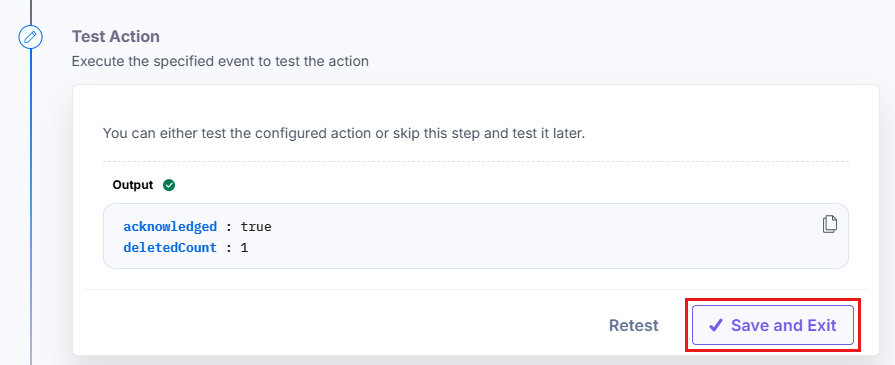
- Check if the details are correct. If yes, click Test Action.
- Once set, click Save and Exit.
Action 3: Select the Get Data action
-
On the Get Data Configure Action page, you need to provide at what level you need to get/retrieve your data, i.e., at Automation Level, Organizational Level, and Execution Level. Lets see their difference:
-
Automation Level: This will retrieve data stored at Automation Level.
-
Organization Level: This will retrieve data stored at Organization Level.
-
Execution Level: This will retrieve data stored at Execution Level.
Once you select the Get Value At value in the Keys field, you need to enter the keys you want to retrieve. For the Execution Level, the data will be retrieved only at the time of execution and not at the time of configuration of automation.
Note: For retrieving multiple values, enter the keys in a comma-separated manner.
-
- Click Proceed.
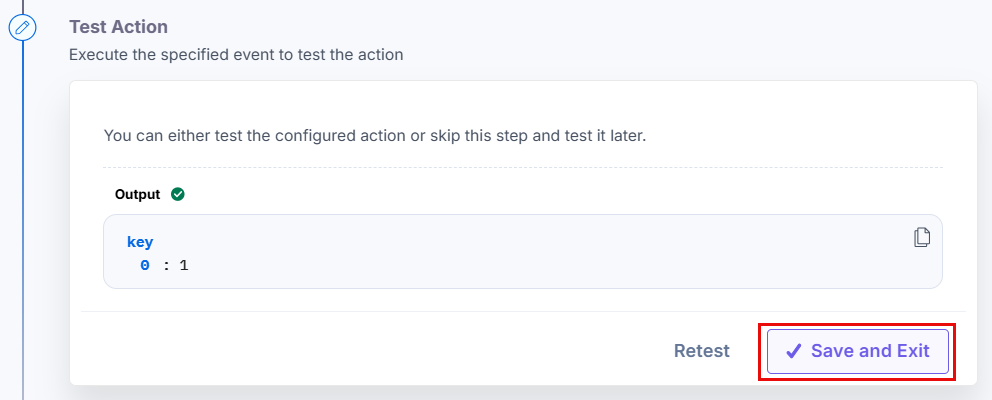
- Check if the details are correct. If yes, click Test Action.
- Once set, click Save and Exit.
Action 4: Select the Set Data action:
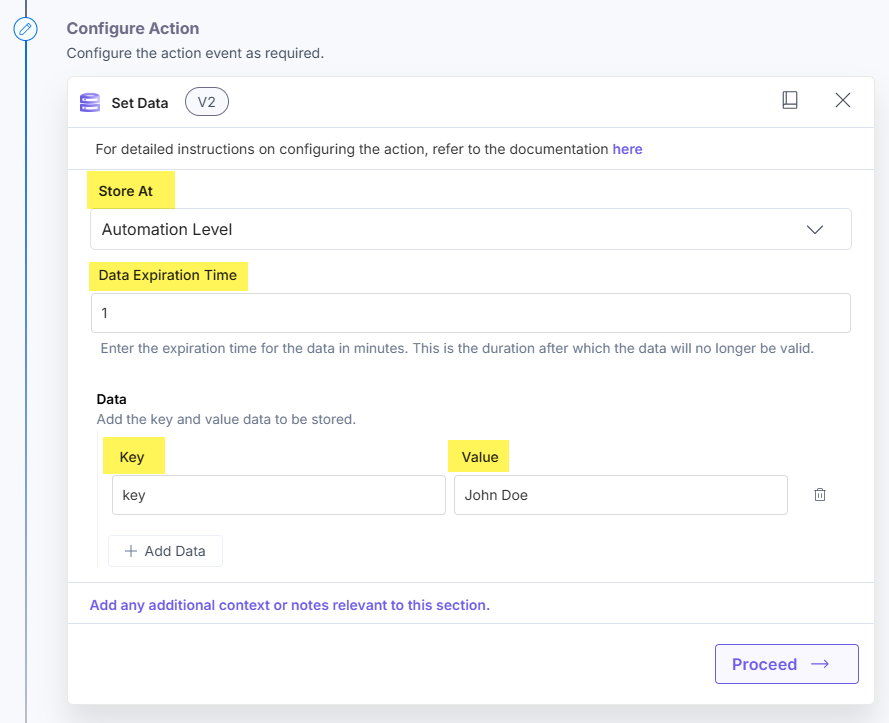
- On the Set Data Configure Action page, you need to provide at what level you need to store your data, i.e., at Automation Level, Organizational Level, and Execution Level. Lets see their difference:
- Automation Level: Data set at this level can be retrieved when working only on the current automation you are setting it for.
- Organizational Level: Data set at this level can be retrieved when working with any automation within the organization.
- Execution Level: Data set at this level can be retrieved when working for one completed execution of an automation. Even with parallel executions of an automation, the data is tightly coupled to an individual execution.
Note: You can store the data inside the steps of the Conditional Path statement and access the data outside of it, as the output data for the conditional path steps is not accessible otherwise. This is applicable for all the storage levels.
Once you select the Store At value, enter the Data values, i.e., Key and corresponding Value for the same.
- Optionally, enable the Show Optional Fields setting to display the Data Expiration Time field. This field allows you to specify the expiration time for the data in minutes. This is the duration after which the data will no longer be valid.
- Click Proceed.
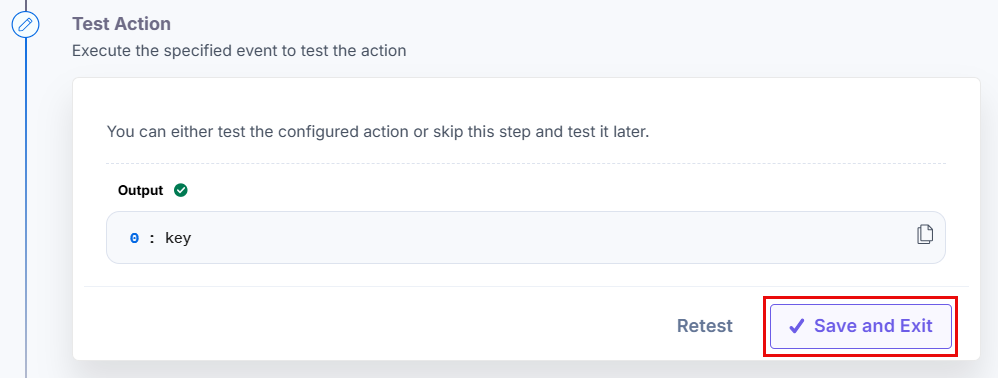
- Check if the details are correct. If yes, click Test Action.
- Once set, click Save and Exit.
This sets the Data Store action connector.
More articles in "Utility"
