

.svg?format=pjpg&auto=webp)
.svg?format=pjpg&auto=webp)
.png?format=pjpg&auto=webp)


.png?format=pjpg&auto=webp)
Build a Product Catalog Website Using ASP.Net Razor Pages and Contentstack .Net SDK
ASP.Net Razor Pages simplifies MVC programming by avoiding the need for a controller and encapsulating alternatives or models for the MVC approach. They are designed in a markup syntax for embedding server code. By using Razor Pages, developers can create simple web pages that do basic data input and are read-only.
In this tutorial, we will walk you through the steps involved in creating a product catalog website using Contentstack's .Net SDK and ASP.Net Razor Pages. It uses Contentstack for storing website content and Contentstack's Content Delivery APIs for fetching content of the website using the .Net SDK.
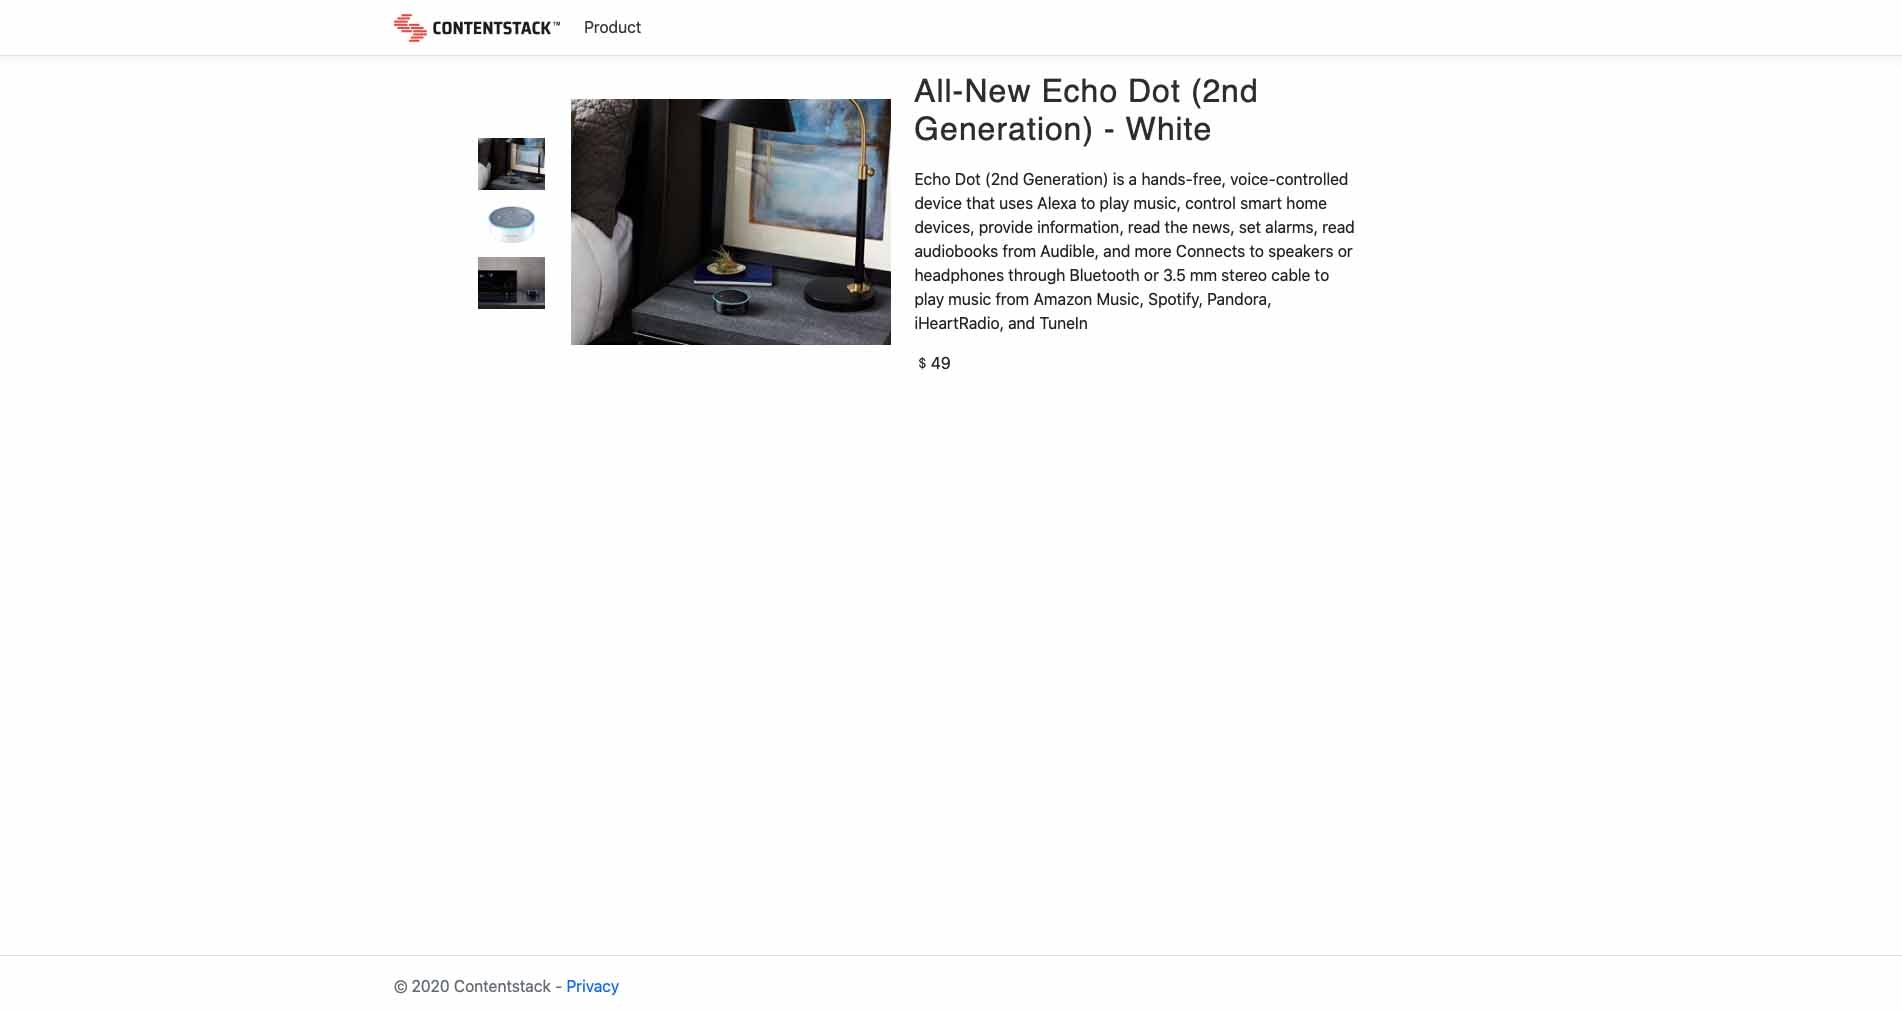
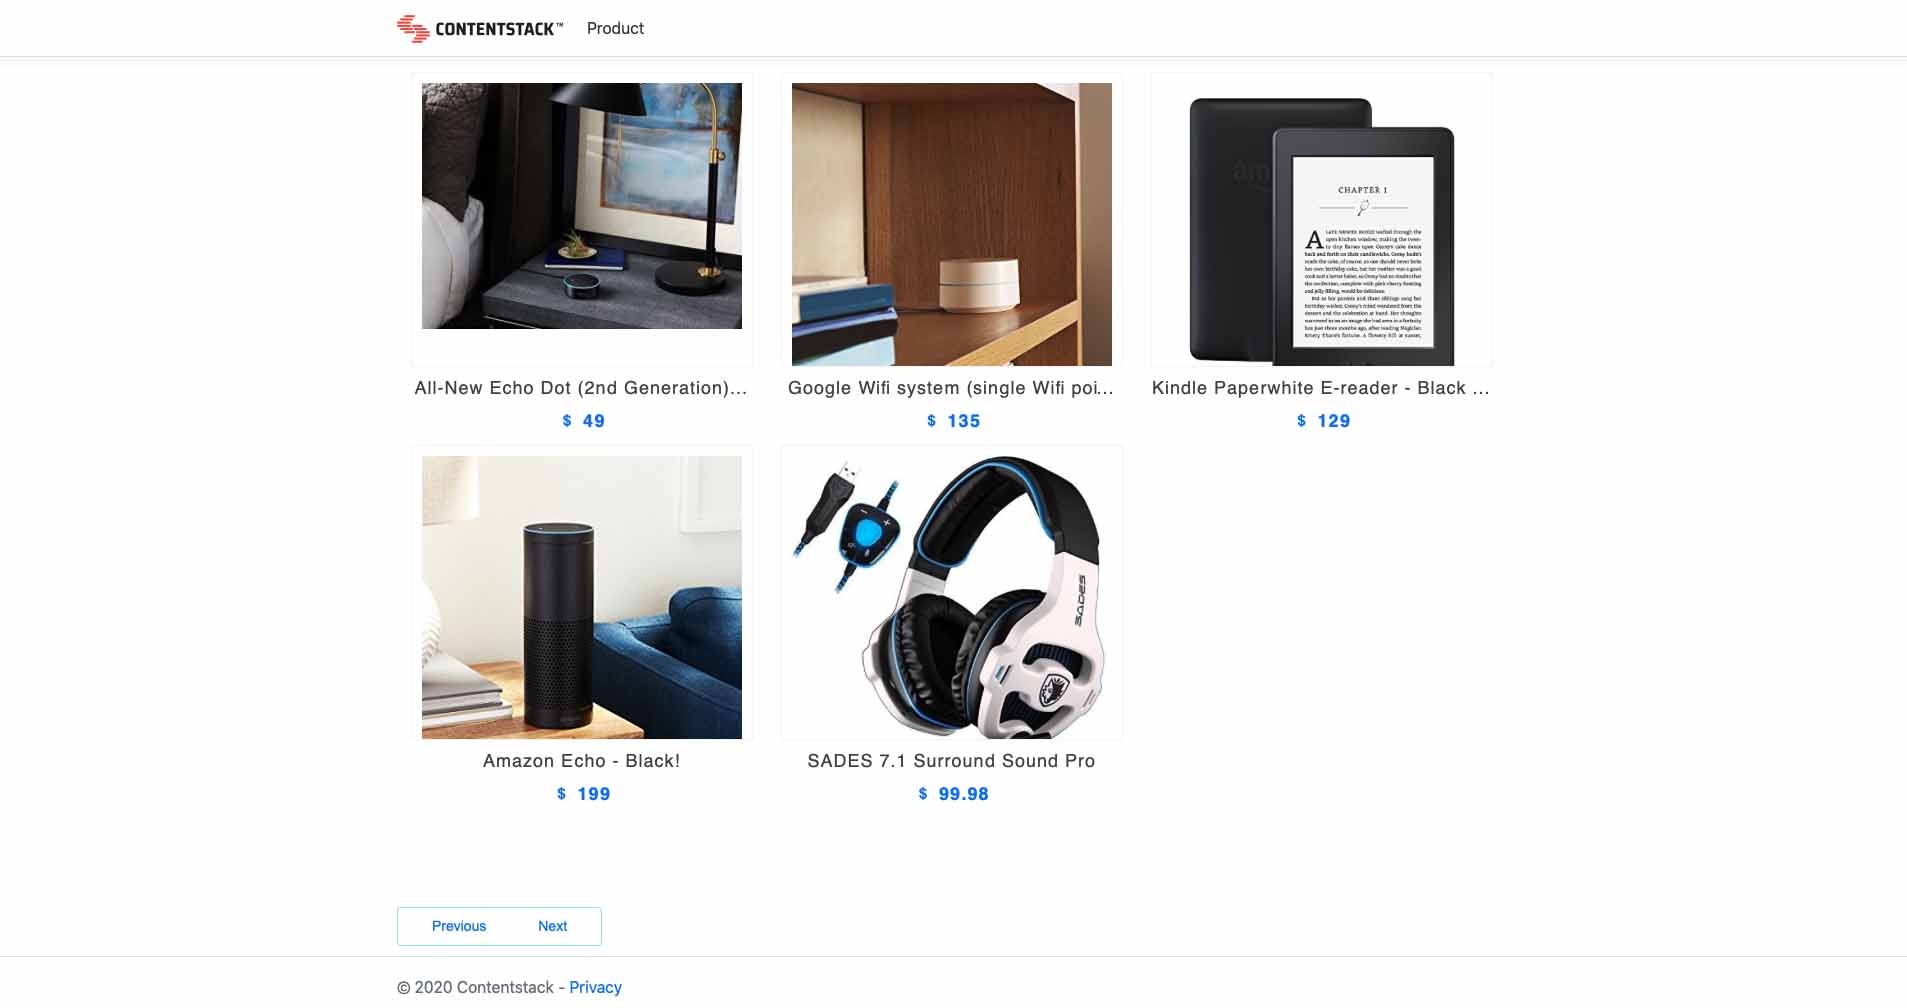
Screenshots
Warning: This sample app is no longer maintained. It remains available for reference. If you have questions regarding this, please reach out to our support team and we will do our best to help!
Quickstart
Here’s a quick guide on how to create a product catalog website using Contentstack's .Net SDK and ASP.Net Razor Pages.
Prerequisites
- Visual Studio 2019 16.4 or later with the ASP.NET and web dev workload
- .NET Core 3.1 SDK or later
- Contentstack Account
Note: For this tutorial, we have assumed that you are familiar with Contentstack and the ASP.Net Razor Pages model. If not, then please refer to the docs (Contentstack and Razor Pages) for more details.
In this tutorial, we will first go through the steps involved in configuring Contentstack, and then look at the steps required to customize and use the presentation layer.
Create a Stack
Log in to your Contentstack account, and create a new stack. This stack will hold all the data, specific to your website.
Add a Publishing Environment
An environment refers to one or more deployment servers of your app or website where you will publish your content.
To add an environment in Contentstack, navigate to Settings and then Environment. Click on the + New Environment tab. Provide a suitable name for your environment, say “staging.” Specify the base URL (e.g., “http://YourDomainName.com”), and select the language (e.g., English - United States). Then, click on Save.
Import Content Type
A content type is like the structure or blueprint of a page or a section of your web or mobile property. For this app, we need one content type named Product. We need this content type to add the product content for our app.
For quick integration, we have already created the content type. Download the content type and import it to your stack. You can also create your own content type if required.
Now that your content type is ready, let’s add some content for your Product app.
Add Content
Create and publish entries for the Product content type that you just downloaded and imported as discussed in the above step.
Now that we have created the sample data, it’s time to configure the presentation layer.
Create a Razor Pages Web App
The MVC (Model-View-Controller) programming model intends to separate server-side logic (controller), data (model), and presentation (view), where the view renders data from the model. Razor Pages in ASP.NET Core provide a programming pattern that can simplify MVC implementation by encapsulating page functionality into the model and the view, avoiding the need for custom controllers. Constructors for models can accept arguments through dependency injection, allowing models to self-populate.
A Razor page consists of a .cshtml view file with a .cs model class. In this Contentstack example:
- /Pages/Products/Index.cshtml is a view that renders links to products and optionally pagination functionality for long lists. In the same directory, Index.cshtml.cs is the class for its model, which derives from Microsoft.AspNetCore.Mvc.RazorPages.PageModel. This model exposes values that control paging and the OnGetAsync() method that gets the list of products to render.
- /Pages/Products/Details.cshtml is a view that renders information about a product. /Pages/Products/Details.cs is the class for its model, which also derives from PageModel. The OnGetAsync() method in this model retrieves the product specified by the productuid query string parameter.
To create a Razor web app, go to Create a Razor Pages web app page and follow the instructions mentioned there.
Once you create a web app, run it by pressing Ctrl+F5 to run it without the debugger.
Install Contentstack SDK Dependencies
Now, we can install the Contentstack.csharp and Contentstack.AspNetCore libraries as follows:
- Right click on Dependencies from Solution and click on Manage NuGet Packages.
- Search for contentstack.csharp and contentstack.aspnetcore, click on Add Package.
Configure the Contentstack .NET SDK Client
Open appsettings.json and provide your credentials as follows:
{
  ....
  "ContentstackOptions": {
    "Host": "<HOST_NAME>",
    "ApiKey": "<API_KEY>",
    "DeliveryToken": "<DELIVERY_TOKEN>",
    "Environment": "<ENVIRONMENT_NAME>"
  },
  ...
}
Now open the Startup.cs file and add the following code in it:
using Contentstack.AspNetCore;The Startup.cs file maps the URL /Products to the Razor /Pages/Products subdirectory and the default Index.cshtml view for links such as /Products and /Products/Index. Detail pages have URLs such as /Products/Details?productuid=UID, where Details specifies the Details.cshtml view and productuid specifies the UID of a product.
Next, register ContentstackClient in Startup.cs as follows:
public void ConfigureServices(IServiceCollection services)
{
    services.AddContentstack(Configuration);
    services.AddRazorPages();
}
Create the Product Content Type Model Using Contentstack Model Generator
Open the command prompt and install Contenstack Model Generator by using the following command:
dotnet tool install --global contentstack.model.generator --version 0.4.1In case you need to update your Model Generator, use the following:
dotnet tool update --global contentstack.model.generator --version 0.4.1Note: In the above command, if you skip version, you will still be able to download the latest version of the Model Generator.
Go to your project’s root folder and run the following command:
contentstack.model.generator -a <stack_api_key> -A <authtoken>This command will automatically create the Models folder, inside the project's root folder, that contains predefined files and folders.
The Models subdirectory containing Product.cs provides an Entry Model class for Entries associated with the product Content Type as well as supporting code.
Now that we have created the Product Model class in our project folder, let’s build the Product List page.
Create a Product List page and Fetch Products Using Contentstack .NET SDK
Once we have added the model for our content type, open Index.cshtml.cs and add the following code in it:
using System;
using System.Collections.Generic;
using System.Linq;
using System.Threading.Tasks;
using Contentstack.Core;
using Contentstack.Core.Models;
using ContentstackModels.Models;
using Microsoft.AspNetCore.Mvc;
using Microsoft.AspNetCore.Mvc.RazorPages;
using Microsoft.Extensions.Logging;

namespace contentstack_dotnet_razor_pages_webapp_example.Pages
{
    public class IndexModel : PageModel
    {
        private readonly String _contentType = "product";
        private readonly ContentstackClient _contentstackClient;

        [BindProperty]
        public ContentstackCollection<Product> contentstackCollection { get; set; }

        public IndexModel(ContentstackClient contentstackClient)
        {
            _contentstackClient = contentstackClient;
        }

        public async Task OnGetAsync()
        {
            contentstackCollection = await _contentstackClient.ContentType(_contentType).Query().Find<Product>();
        }
    }
}
Now update Index.cshtml with the following code:
@page
@model IndexModel
@{
    ViewData["Title"] = "Product page";
}

    <div class="product">
        <strong>Your products Count: @Model.contentstackCollection.Items.Count()</strong>
        <h1 class="display-4">Products</h1>
        <ul class="list-group">

            @foreach (ContentstackModels.Models.Product product in Model.contentstackCollection.Items)
            {
                <li class="list-group-item">
                    <span>@product.Title</span>
                </li>
            }
        </ul>
    </div>
Run the app. With this, we have initiated the app. Open the browser and go to https://localhost:5001.
Clone And Configure the Application
To get your app up and running quickly, we have created a sample .Net product catalog for this project. You need to download it and change the configuration. Download the app using the command given below:
git clone https://github.com/contentstack/contentstack-dotnet-razor-pages-webapp-example.gitOnce you have downloaded the project, add your stack API Key and delivery token, and environment name to the project.
Open ContentstackRazorPagesExample/appsettings.json and provide your credentials as follows::
 {
  ....
  "ContentstackOptions": {
    "Host": "<HOST_NAME>",
    "ApiKey": "<API_KEY>",
    "DeliveryToken": "<DELIVERY_TOKEN>",
    "Environment": "<ENVIRONMENT_NAME>"
  },
  ...
}
Note: For the HOST_NAME, refer the Base URL section of our Content Delivery API documentation
Now that we have a working project ready, you can build and run it.
Additional Resource: We have built a few product catalog examples using various tools. Check our guides; Build a Product Catalog using Ruby on Rails and Contentstack, Build a Product Catalog App Using GraphQL Client and .Net, Build a Product Catalog App Using Ruby on Rails, GraphQL Client, and Contentstack GraphQL APIs to know more.
More resources
