


.jpg?format=pjpg&auto=webp)


Build a Product Catalog App Using GraphQL Client and .Net
This example product catalog website is built using .NET, GraphQL Client, and Contentstack GraphQL APIs. It uses Contentstack to store and deliver the content of the website.
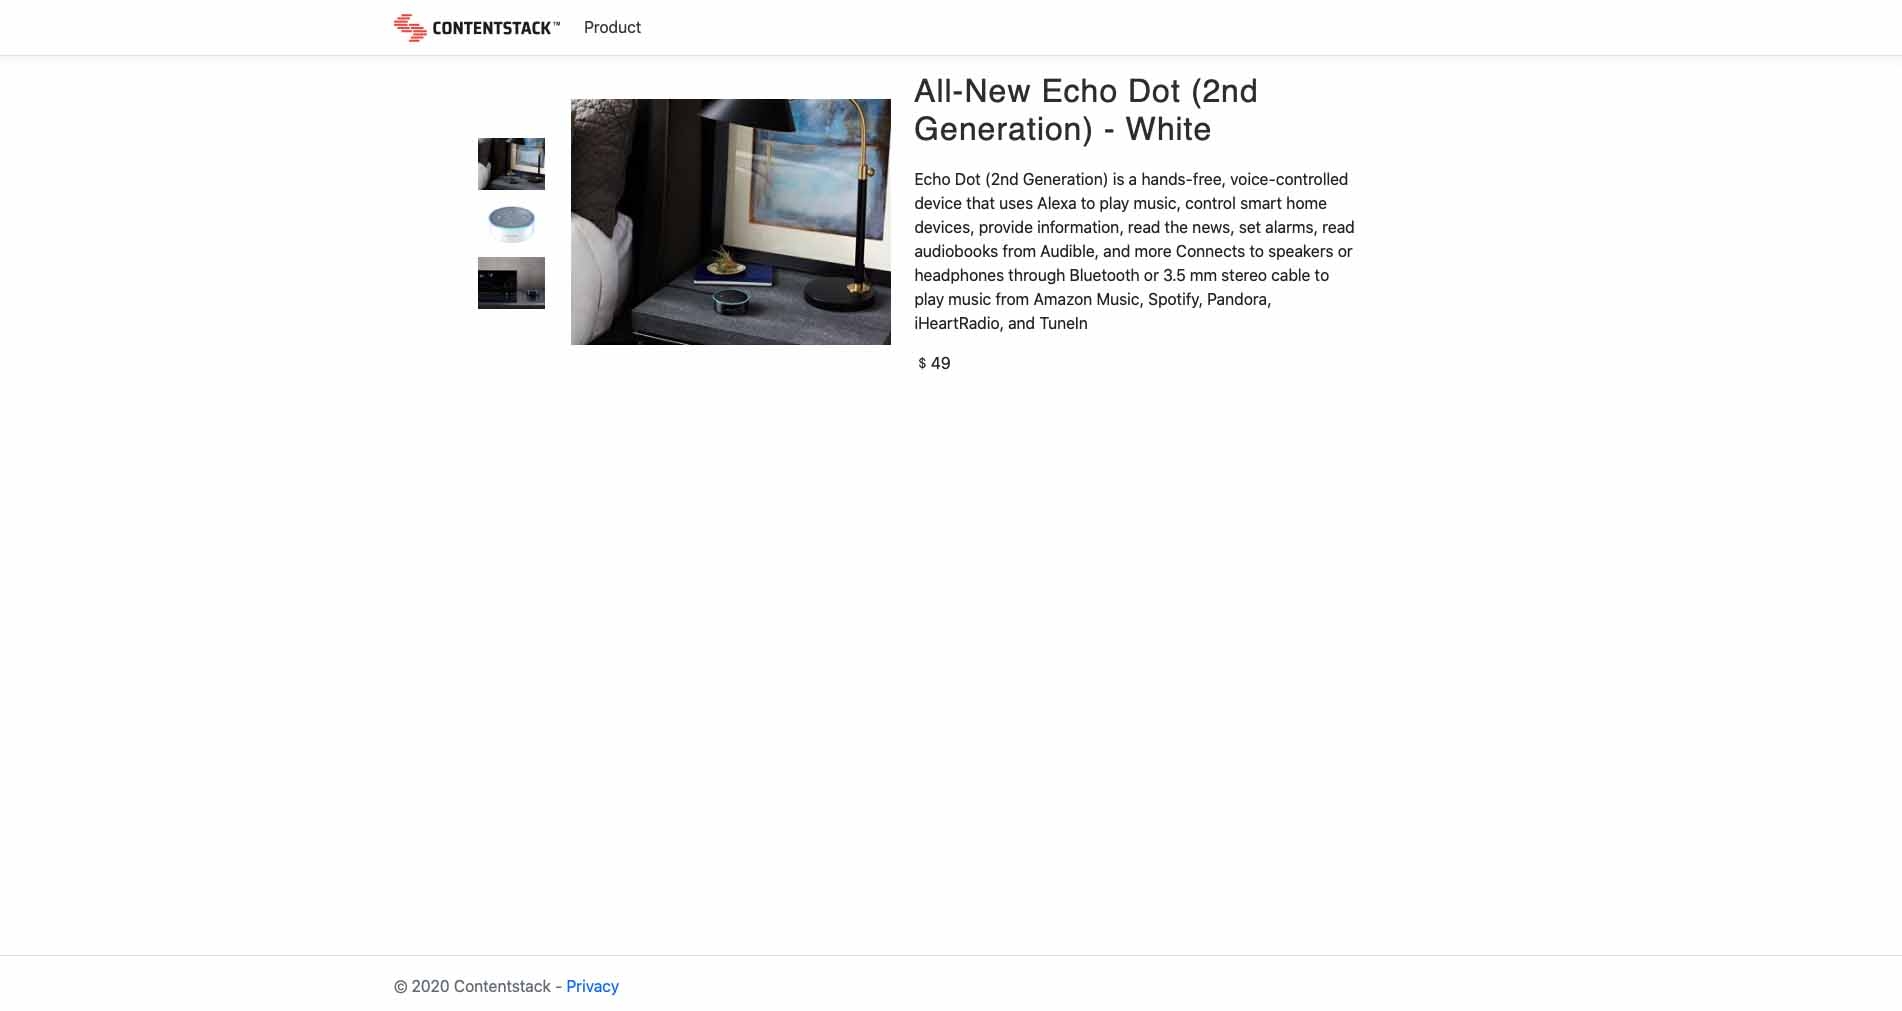
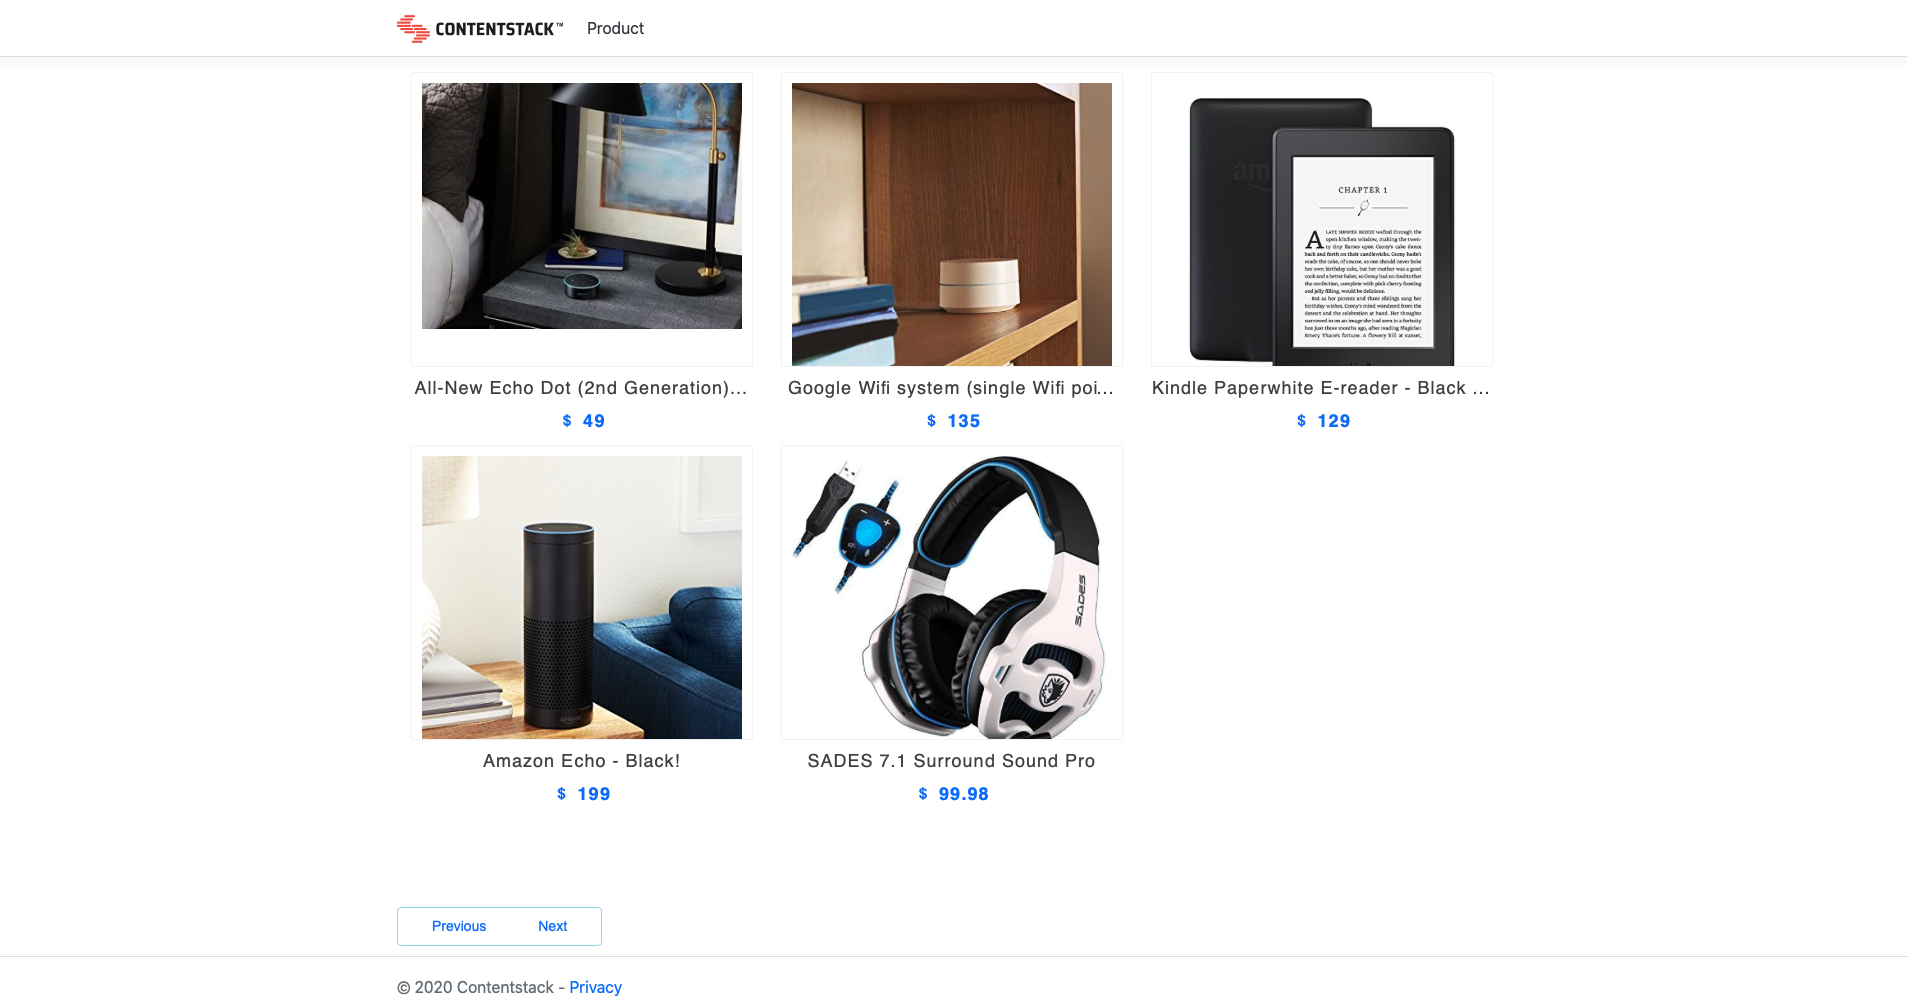
Screenshots
Warning: This sample app is no longer maintained. It remains available for reference. If you have questions regarding this, please reach out to our support team and we will do our best to help!
Quickstart
Here’s a quick guide on how to create a product catalog website using Contentstack's .Net SDK, GraphQL Client, and GraphQL APIs.
Prerequisites
Note: For this tutorial, we have assumed that you are familiar with Contentstack and .Net. If not, then please refer to the docs (Contentstack and .Net) for more details.
In this tutorial, we will first go through the steps involved in configuring Contentstack, and then look at the steps required to customize and use the presentation layer.
Create a Stack
Log in to your Contentstack account and create a new stack. This stack will hold all the data, specific to your website.
Add a Publishing Environment
An environment refers to one or more deployment servers of your app or website where you will publish your content.
To add an environment in Contentstack, navigate to Settings and then Environment. Click on the + New Environment tab. Provide a suitable name for your environment, say “staging.” Specify the base URL (e.g., ‘http://YourDomainName.com’), and select the language (e.g., English - United States). Then, click on Save.Import the Content Type
A content type is like the structure or blueprint of a page or a section of your web or mobile property. For this app, we need one content type named Product. We need this content type to add the product content for your app.
For quick integration, we have already created the content type. Download the content type and import it to your stack. You can also create your own content type if required. Now that your content type is ready, let’s add some content for your Product app.
Add Content
Create and publish entries for the “Product” content type that you just downloaded and imported as discussed in the above step.
Now that we have created the sample data, it’s time to configure the presentation layer.
Write your GraphQL Queries
Contentstack provides a GraphQL playground, which is a GraphQL interface, to test your GraphQL queries in your browser. Use this interface to write and test your queries.
To do that, open any browser of your choice and hit the URL and enter the required details. Now to get the list of all entries of the Product content type, paste the following query in the interface:
query { all_product(locale:"en-us") { items { title description price featured_imageConnection (limit: 10){ edges{ node { ...AssetFile } } } } } } fragment AssetFile on SysAsset { filename url }Tip: If you have pieces of data that you may want to reuse in multiple places, make use of fragments. Refer the Using fragments doc for more details.
Create a ASP.NET Core Client Project
Let’s start by creating a new “ASP.NET Core Web Application project.” Once the project is created, modify the launchsettings.json file, by setting the launchBrowser property to false and the applicationUrl property to ‘https://localhost:5003;http://localhost:5004’.
Now, we install the GraphQL.Client library as follows:
- Right click on Dependencies in Solution and click Manage NuGet Packages.
- Search for GraphQL.Client and click on Add Package.
Alternatively, by using the Package Manager Console, run the following command:Install-Package GraphQL.Client -Version 3.1.3 - Additionally, we require another library for the GraphQL serialization. So right click on Dependencies in Solution and click Manage NuGet Packages.
- Search for GraphQL.Client.Serializer.Newtonsoft and click on Add Package.
Alternatively, by using the Package Manager Console, run the following command:Install-Package GraphQL.Client.Serializer.Newtonsoft -Version 3.1.3
Configure the Application
After the installation, register it in the Startup class of Startup.cs file as follows:
. . .
using GraphQL.Client.Http;
using GraphQL.Client.Serializer.Newtonsoft;
. . .

public class Startup
{
...
public void ConfigureServices(IServiceCollection services)
        {
...
    string Host = Configuration.GetValue<string>("ContentstackOptions:Host");
    string ApiKey = Configuration.GetValue<string>("ContentstackOptions:ApiKey");
    string DeliveryToken = Configuration.GetValue<string>("ContentstackOptions:DeliveryToken");
    string Environment = Configuration.GetValue<string>("ContentstackOptions:Environment");

    string endPoint = $"https://{Host}/stacks/{ApiKey}?environment={Environment}";
    GraphQLHttpClient httpClient = new GraphQLHttpClient(endPoint, new NewtonsoftJsonSerializer());
    httpClient.HttpClient.DefaultRequestHeaders.Add("access_token", DeliveryToken);
    services.AddSingleton(s => httpClient);
...
}
. . .
}
Now add your stack API Key and Delivery Token, and the environment name to the appsettings.json file within your project.
"ContentstackOptions": {
    "Host": "<HOST_NAME>",
    "ApiKey": "<API_KEY>",
    "DeliveryToken": "<DELIVERY_TOKEN>",
    "Environment": "<ENVIRONMENT_NAME>"
}
Create Model Classes
To fetch the details of the Product content type, use the following query in this page:
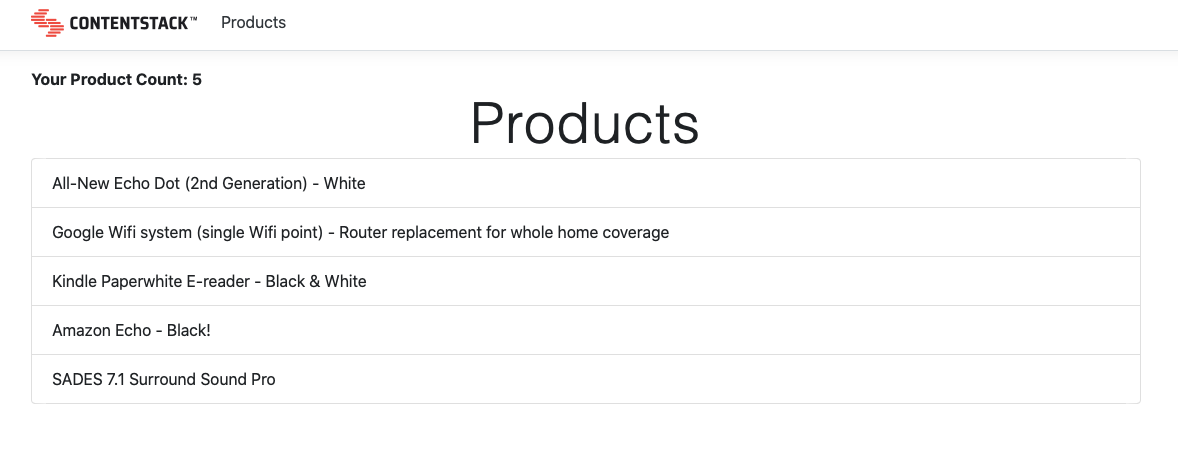
query {
        all_product(locale:"en-us") {
            total
            items{
                title
            }
        }
    }
Once you make that call, you will get the following response:
{
      "data": {
        "all_product": {
          "total": 5,
          "items": [
            {
              "title": "All-New Echo Dot (2nd Generation) - White"
            },
            {
              "title": "Google Wifi system (single Wifi point) - Router replacement for whole home coverage"
            },
            {
              "title": "Kindle Paperwhite E-reader - Black & White"
            },
            {
              "title": "Amazon Echo - Black!"
            },
            {
              "title": "SADES 7.1 Surround Sound Pro"
            }
          ]
        }
      }
    }
Based on the above response, create three models (ProductResponse, ProductCollection, and Product) inside Models folder as follows:
/Models/ProductResponse.cs
public class ProductResponse
    {
        public ProductCollection all_product { get; set; }
    }
/Models/ProductCollection.cs
public class ProductCollection
    {
        public int total { get; set; }
        public List<Product> items { get; set; }
    }
/Models/Product.cs
public class Product
    {
        public string title { get; set; }
    }
Create Query GraphQL API and Products List Page
Within the Pages folder, add the following code to the Index.cshtml.cs file:
public class IndexModel : PageModel
    {
        private readonly ILogger<IndexModel> _logger;

        private readonly GraphQLHttpClient _client;

        [BindProperty]
        public ProductResponse Products { get; set; }

        public IndexModel(ILogger<IndexModel> logger, GraphQLHttpClient client)
        {
            _logger = logger;
            _client = client;
        }

        public async Task OnGetAsync()
        {
            var query = new GraphQLRequest
            {
                Query = @"query Products($skip: Int ,$limit: Int){
                  all_product(locale:""en-us"", skip:$skip, limit:$limit) {
                    total
                    items{
                      title
                    }
                  }
                }",
                OperationName = "Products",
                Variables = new {
                    skip = 0,
                    limit = 3
                }
            };
            try
            {
                var response = await _client.SendQueryAsync<ProductResponse>(query);
                Products = response.Data;
            }catch (Exception e)
            {
                Console.WriteLine(e);
            }
        }
    }
Now open Pages/Index.cshtml and add the following code:
@page
@model IndexModel
@{
    ViewData["Title"] = "Home page";
}
<div class="product">

    <strong>Your Product Count: @Model.Products.all_product.total</strong>
    <h1 class="display-4">Products</h1>
    <ul class="list-group">
        @foreach (contentstack_dotnet_graphql_example.Models.Product product in Model.Products.all_product.items)
        {
            <li class="list-group-item">
                <span>@product.title</span>
            </li>
        }

    </ul>
</div>
With these steps, we have created our app. Run the app, open the browser and hit https://localhost:5001.
Clone And Configure the Application
To get your app up and running quickly, we have created a sample .Net Product catalog for this project. You need to download it and change the configuration. Download the app by using the command given below:
git clone https://github.com/contentstack/contentstack-dotnet-graphql-example.gitOnce you have downloaded the project, add your stack's API key, delivery token, and environment name to the project.
Open ContentstackGraphQLExample/appsettings.json and enter your credentials as follows::
 {
  ....
  "ContentstackOptions": {
    "Host": "<HOST_NAME>",
    "ApiKey": "<API_KEY>",
    "DeliveryToken": "<DELIVERY_TOKEN>",
    "Environment": "<ENVIRONMENT_NAME>"
  },
  ...
}
Now that we have a working project ready, you can build and run it.
Additional Resource: Ruby on Rails is a server-side web application framework that we have used with Contentstack to develop an example application. You can check our Build a Product Catalog using Ruby on Rails and Contentstack guide for more details.
More resources
