


.jpg?format=pjpg&auto=webp)


Create a Project Using GitHub
Launch lets you connect your GitHub account and access the repositories while creating projects. You must first connect your GitHub account to Launch to create projects using your GitHub repositories.
This document guides you through the process of connecting your GitHub account and creating a project in Launch using the GitHub repositories.
Prerequisites
- Contentstack account
- Access to Launch for your organization
- GitHub account
Connect your GitHub Account to Launch and Deploy a Project
Note: Only the Organization Admin/Owner has the right to create projects in a stack for Launch.
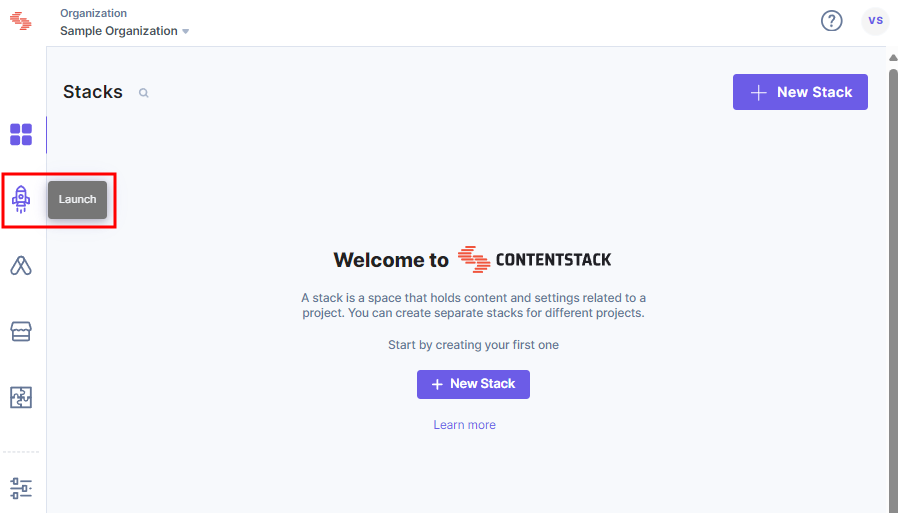
- Click the Launch option from the left navigation panel, as shown below.
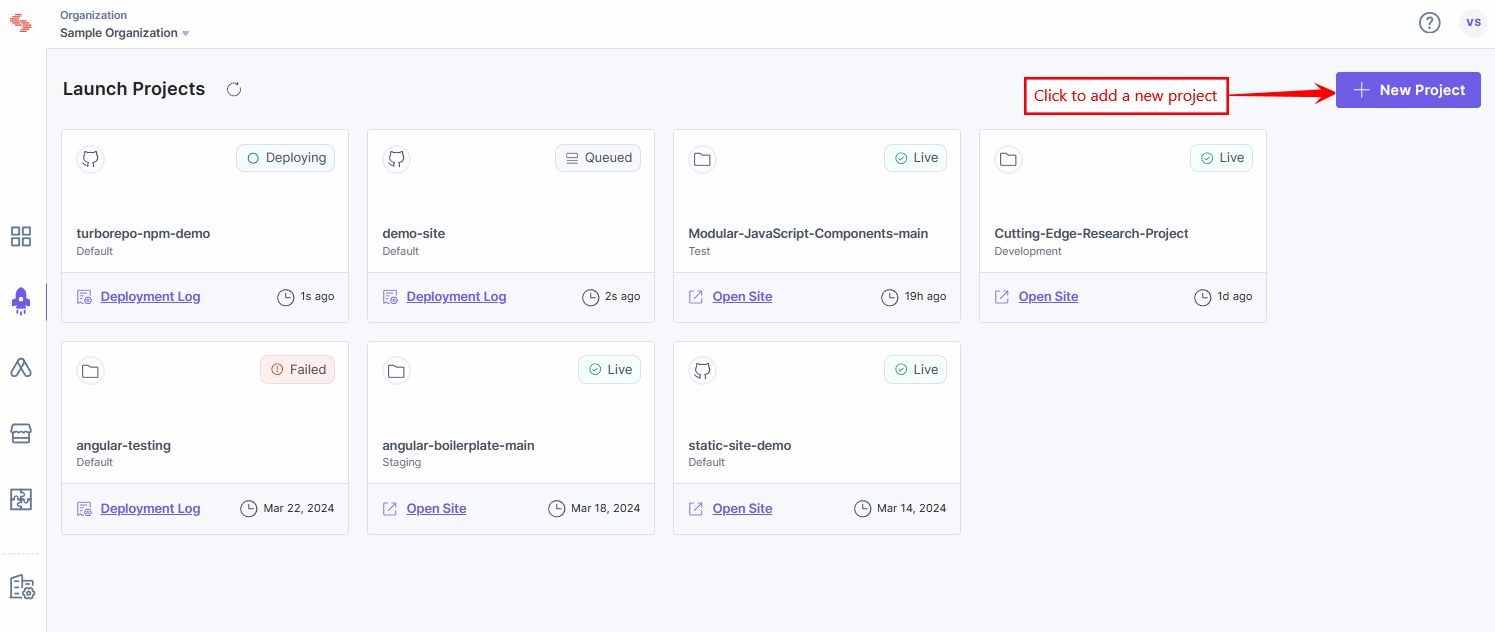
- Click + New Project.
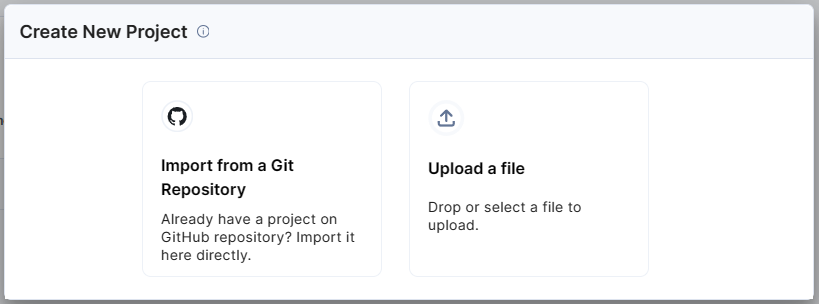
- From the Create New Project modal, click Import from a Git Repository.
- Click GitHub.
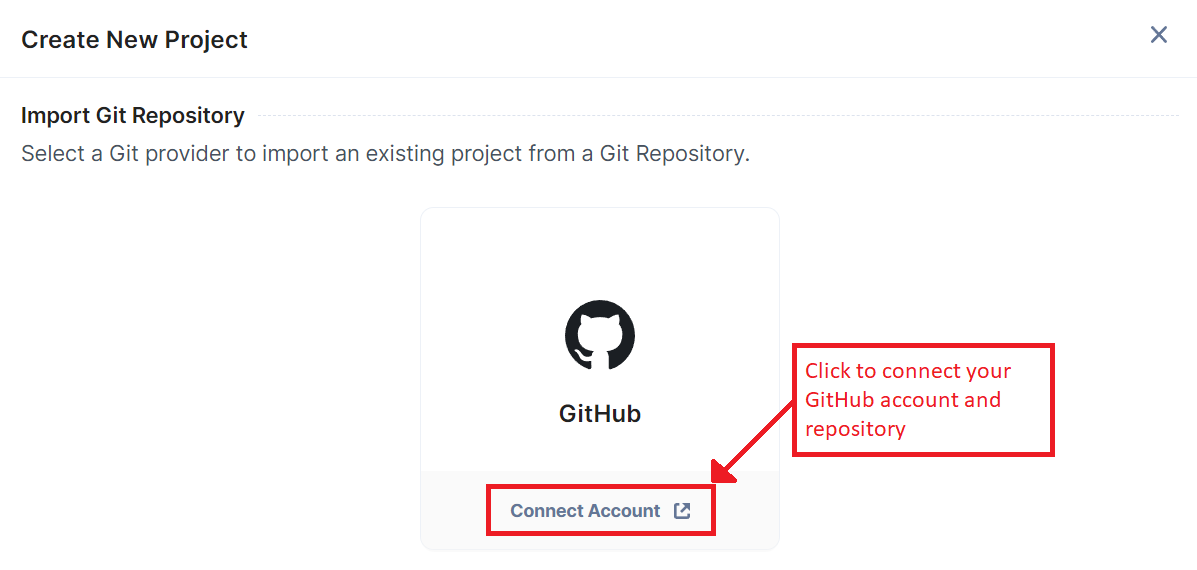
A pop-up will open with connection details.
- Enter the login credentials of your GitHub account.
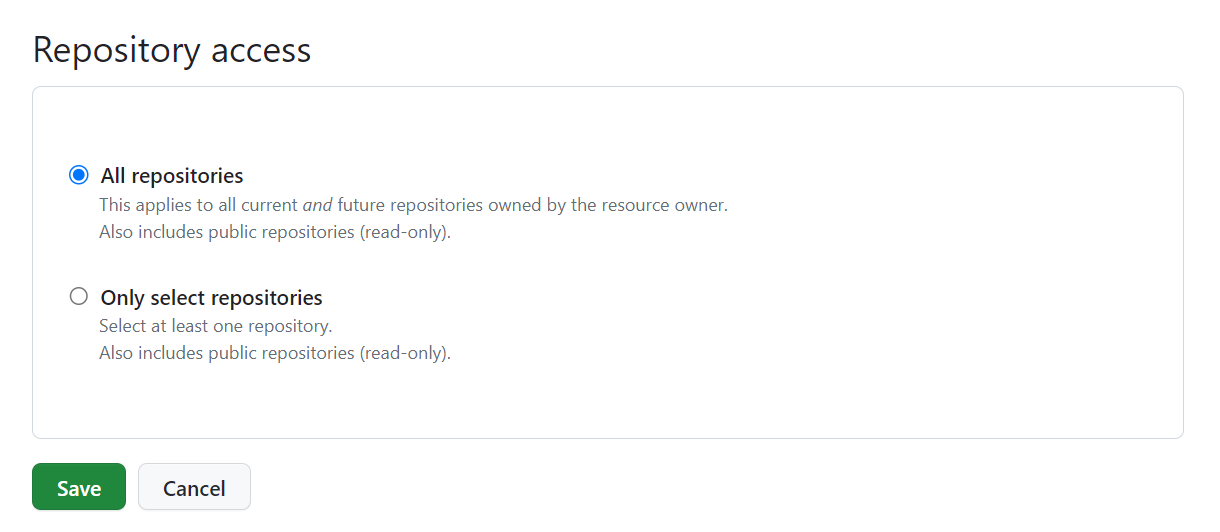
- Select the option to choose All repositories or Only select repositories, and then click the Save button.
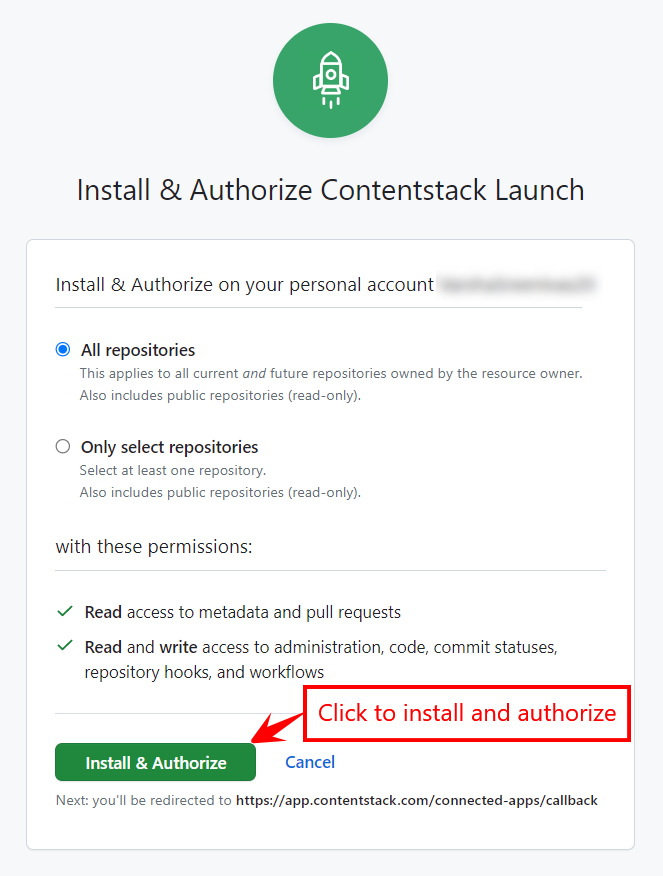
Note: If you are accessing GitHub through Contentstack for the first time, you must authorize Contentstack by clicking the Install & Authorize button after selecting All repositories.
The Create New Project modal appears with the deployment steps.
Now you can either proceed with the deployment steps or click Cancel to view the GitHub connection you just created.
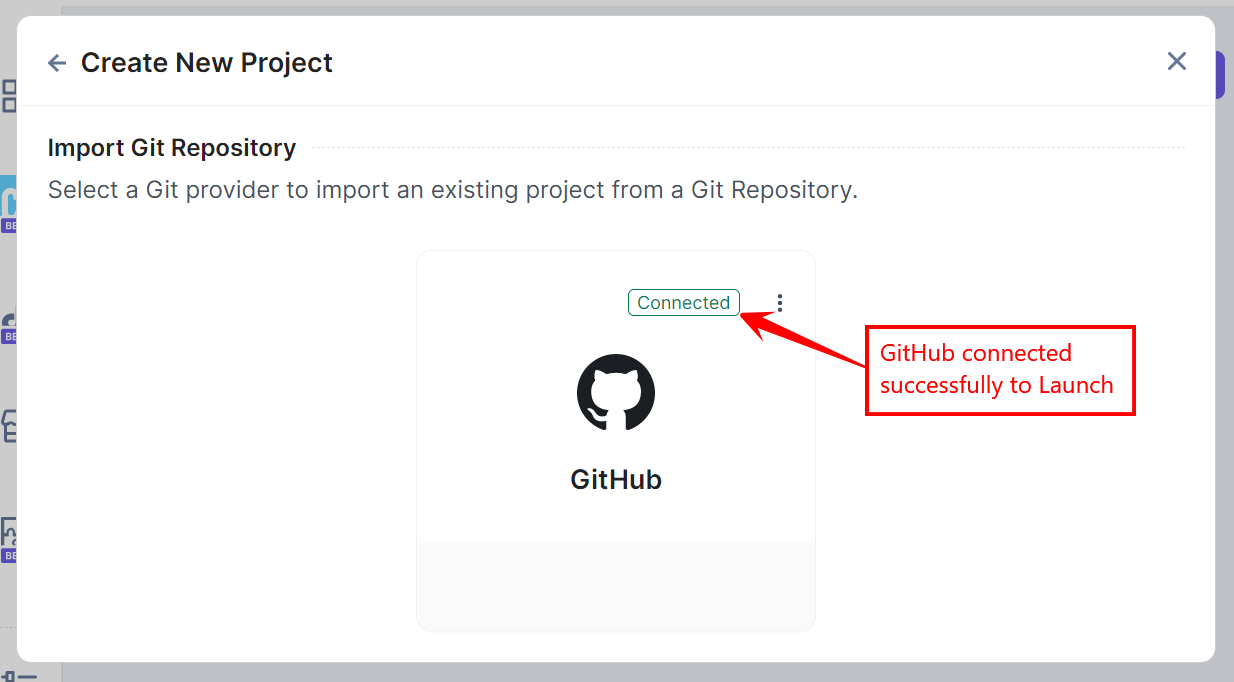
Note: GitHub displays a Connected tag on successful connection to Launch in the Create New Project modal.
- If you selected Cancel in the previous step, click GitHub to proceed with the deployment steps.
- Fill in the following details to deploy your project in Launch.
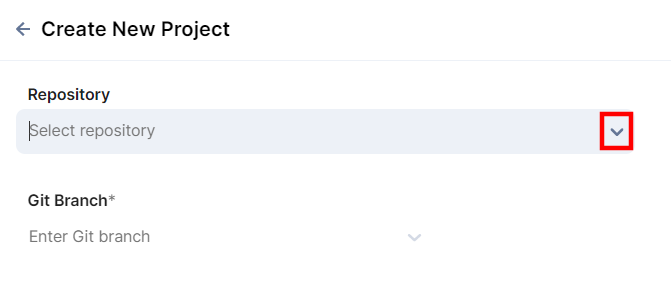
- Repository (Mandatory): All repositories from your GitHub organization are listed in the Repository dropdown.
- Click the Select repository dropdown.
Note: The repositories listed depend on the configuration you choose while installing the app.
- Select the repository with which you want to create a project.
- Click the Select repository dropdown.
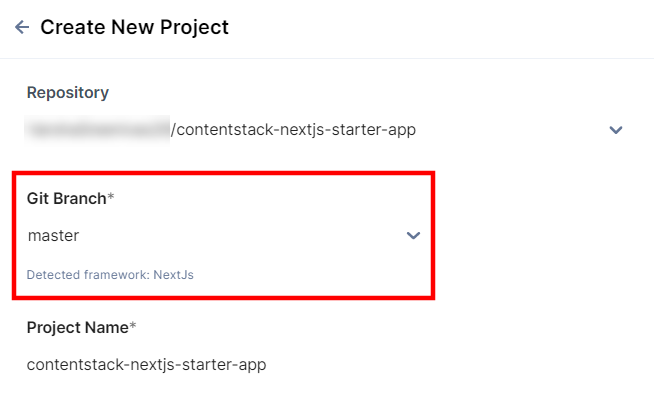
- Git Branch (Mandatory): Once a repository is selected, the Git Branch drop-down populates with the repository’s default branch. The Detected framework section detects and displays the supported framework based on the GitHub repository you selected.
- Select a branch from the dropdown to select a different branch.
- Select a branch from the dropdown to select a different branch.
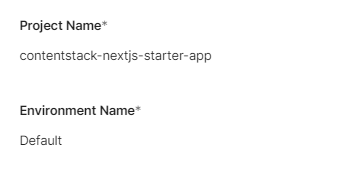
- Project Name (Mandatory): The project name is auto-populated based on the repository you selected.
- If you want to use a different project name, enter a project name without exceeding 200 characters.
- Environment Name (Mandatory): By default, the environment name is populated as Default. You can change the environment name as per your requirement.
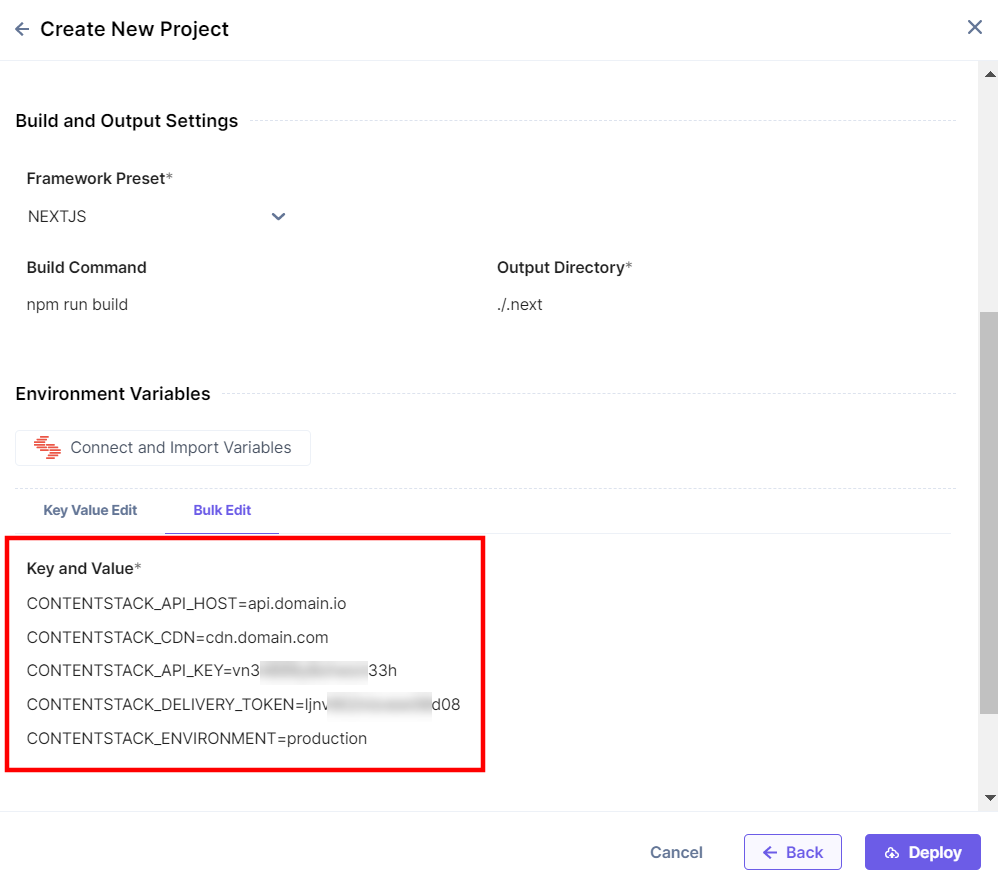
- Build and Output Settings (Mandatory): The fields in this section get populated based on the detected framework.
- Framework Preset(Mandatory): Framework of the selected project.
- Build Command (Mandatory): Command to build the project.
- Output Directory (Mandatory): Directory path where the project’s build output files get stored.
- Environment Variables (Optional)
- Enter the key and value of your environment variables, in the Key Value Edit section.
- You can also add the key-value pairs in bulk in the Bulk Edit section.
- Click the + Add Environment Variable button to add more environment variables.
- Repository (Mandatory): All repositories from your GitHub organization are listed in the Repository dropdown.
- Once all the fields are filled with appropriate values, click the Deploy button.
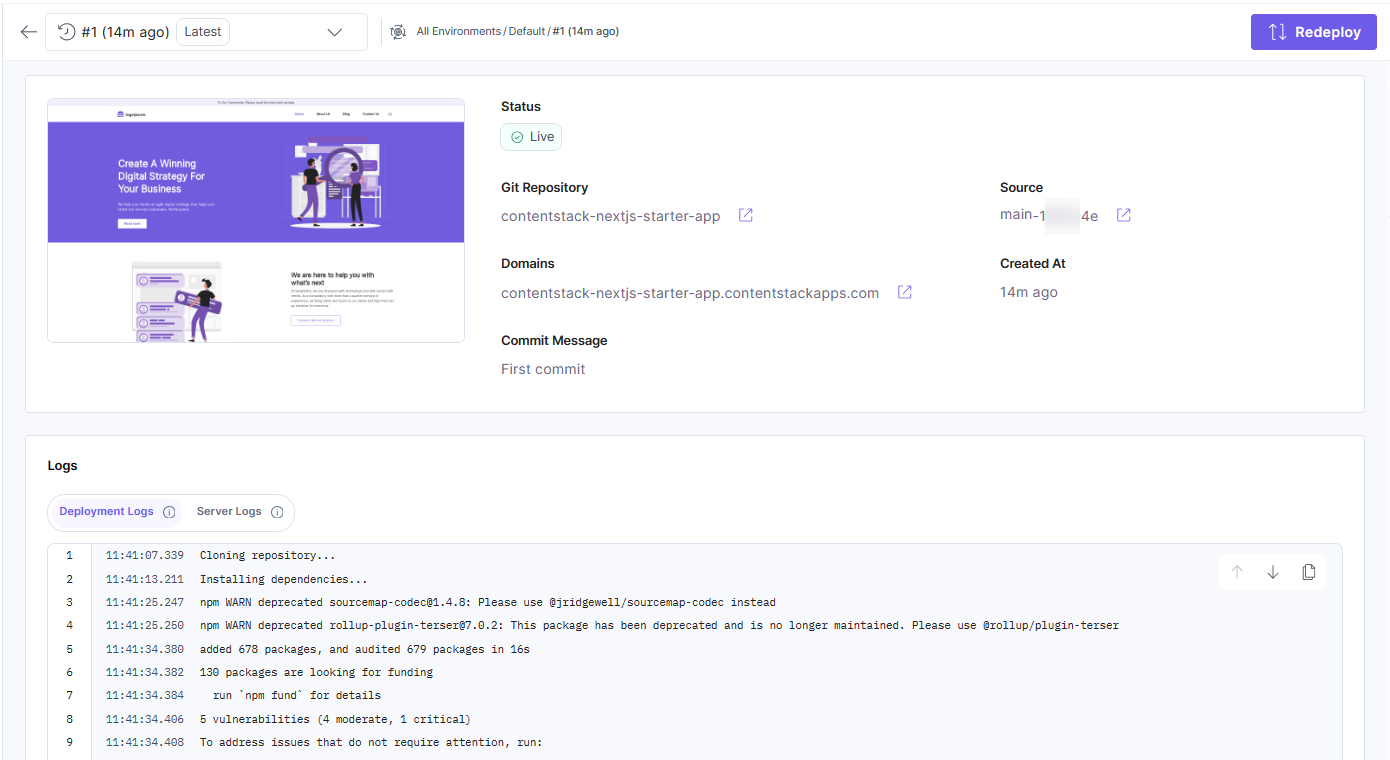
You have successfully deployed a project!
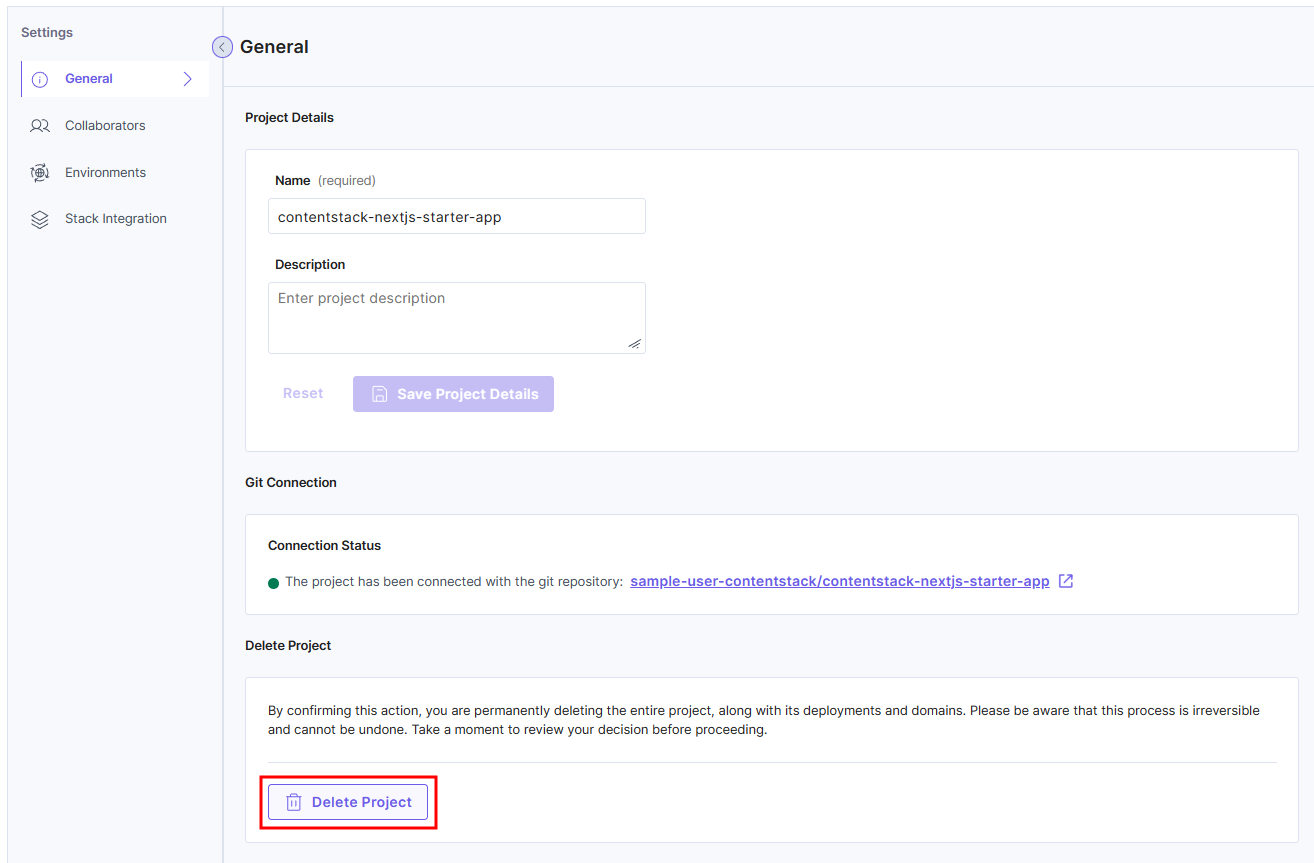
To delete the project:
- Click the Settings icon.
- In the General section, click the Delete Project button under Delete Project.
- Enter DELETE and then click the Yes, Delete button.
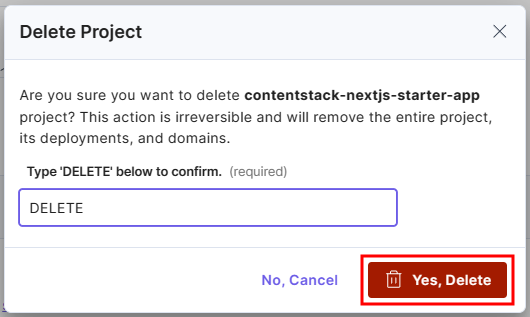
This deletes your project successfully.
More articles in "Launch Features"
