

.svg?format=pjpg&auto=webp)
.svg?format=pjpg&auto=webp)
.png?format=pjpg&auto=webp)


.png?format=pjpg&auto=webp)
Using Conditional Paths to Customize Automations
This use case covers a scenario where you can execute an Automation based on a conditional path. The conditional path configurations are checked, and if the condition is true, the If step actions are executed, otherwise the Else step actions are executed.
Creating a new entry triggers the automation, and the conditional path configurations are checked. If the condition is true, the If step will execute the Slack connector that will send a message to the configured channel.
If the condition is false, the Else step will execute the Transform connector that will fetch the entry details from the trigger and pass these details as an object in Algolia.
Let's break this scenario to see what must be the trigger event and the consequent action required to execute the Automation:
- Set up the Contentstack “Entry Created'' Trigger Event: This trigger event is activated whenever a user creates a new entry in Contentstack and in turn it executes the automation.
- Set up the Contentstack “Conditional Path”: Once the above event triggers the automation, it checks for the configuration provided within the conditional path.
- Set up the Slack “Send Message” action for the If step: When the conditional path configurations are met, the If step action will send a message to the configured channel using the Slack action connector.
- Set up the “Transform” action for the Else step: When the conditional path configurations are not met, the Else step will execute the Transform action which will fetch the entry UID from the entry trigger as a JSON object and entry data will be merged in the final result.
- Set up the Algolia “Index Entries” action for the Else step: Once the transformation is complete, an object will be created in the Algolia index with the same entry UID.
The steps to set up the Automation are as follows:
- Configure Entry Trigger
- Configure Conditional Path
- Configure Slack Connector within the If Step
- Configure Transform Connector within the Else Step
- Configure Algolia Connector within the Else Step
Let’s look at the setup in detail.
Configure Entry Trigger
- Log in to your Contentstack account and click the “Automate” icon.
- Click + New Project to add a new project.
- Click + New Automation.
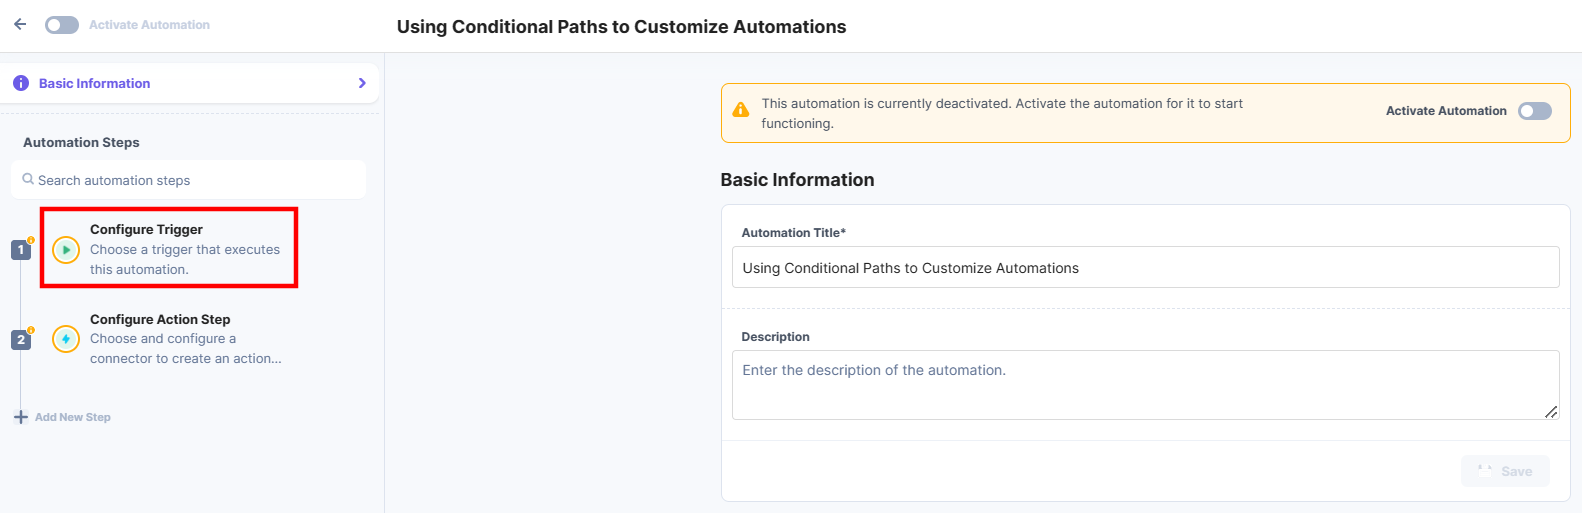
- Enter the Automation Name and Description.
- Click Create.
- Select Configure Trigger from the left navigation panel.
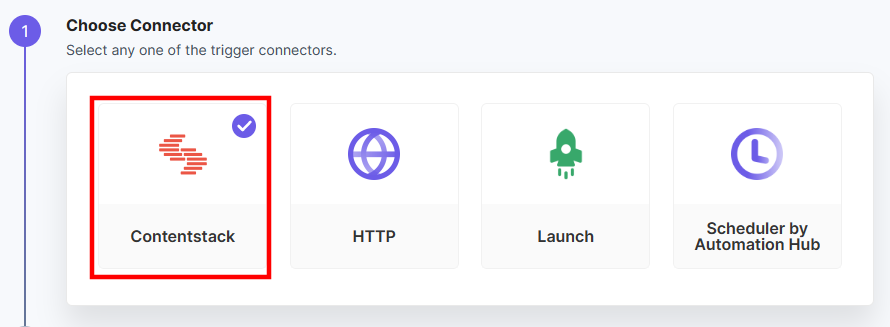
- Within the Configure Trigger step, click the Contentstack connector.
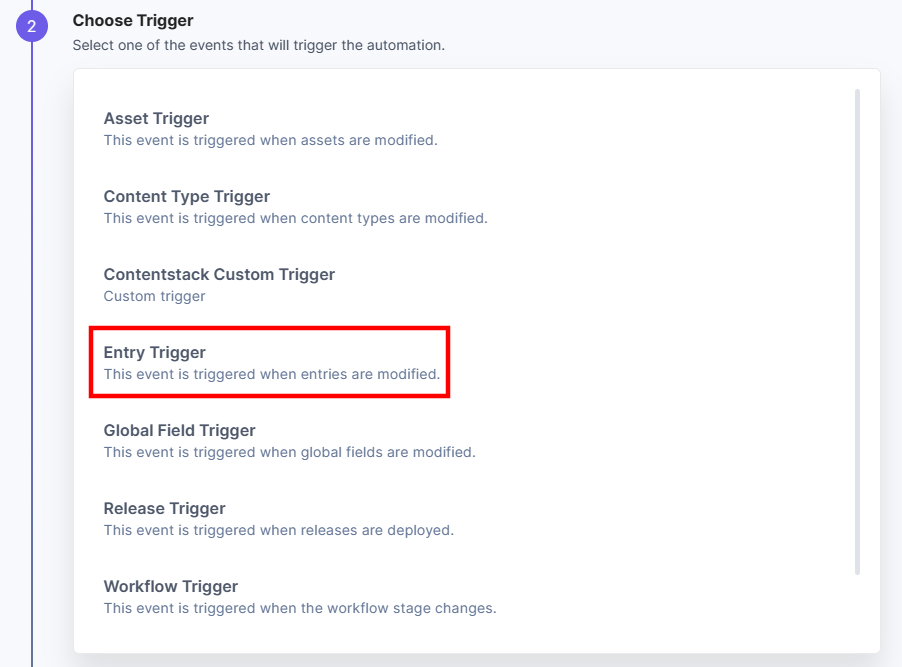
- Click Entry Trigger from the list of trigger events.
- Add your Contentstack account. For more information, refer to the Contentstack Trigger documentation.
- Select Entry Created event from the list of events. Select a Stack, and a Branch from the Lookup dropdown.

- Once done, click Proceed.
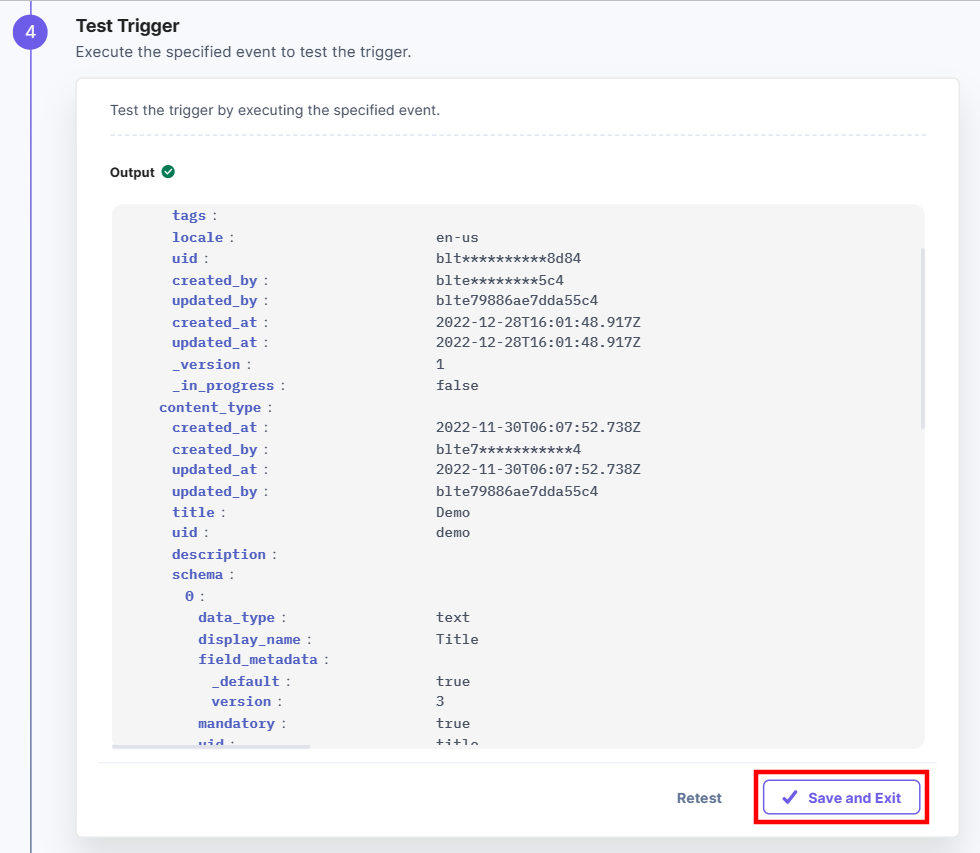
- Click Test Trigger to test the configured trigger.

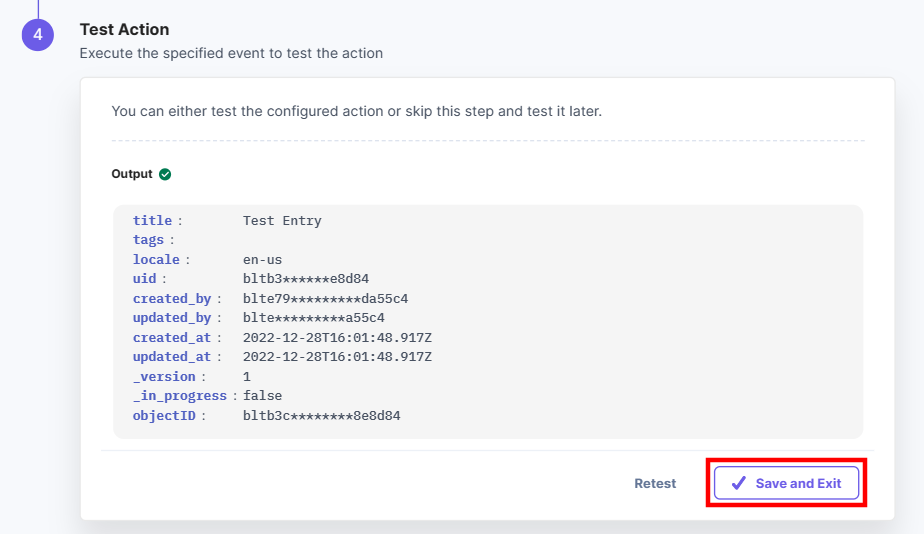
- On successful configuration, you can see the below output. Click Save and Exit.
Note: You can specify trigger conditions that will determine whether the complete automation should run or not. The automation and conditional path will not be carried out if the trigger conditions are not satisfied. You can see the updated list of executions in the Execution Log section
Configure Conditional Path
- Click Configure Action Step from the left navigation panel.
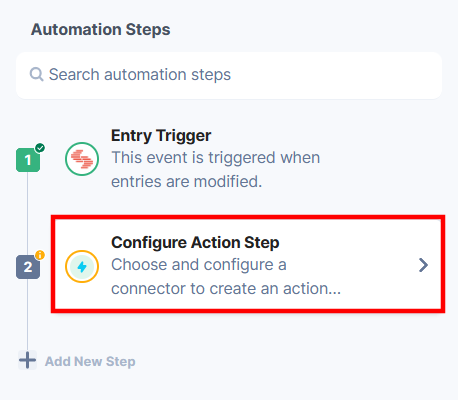
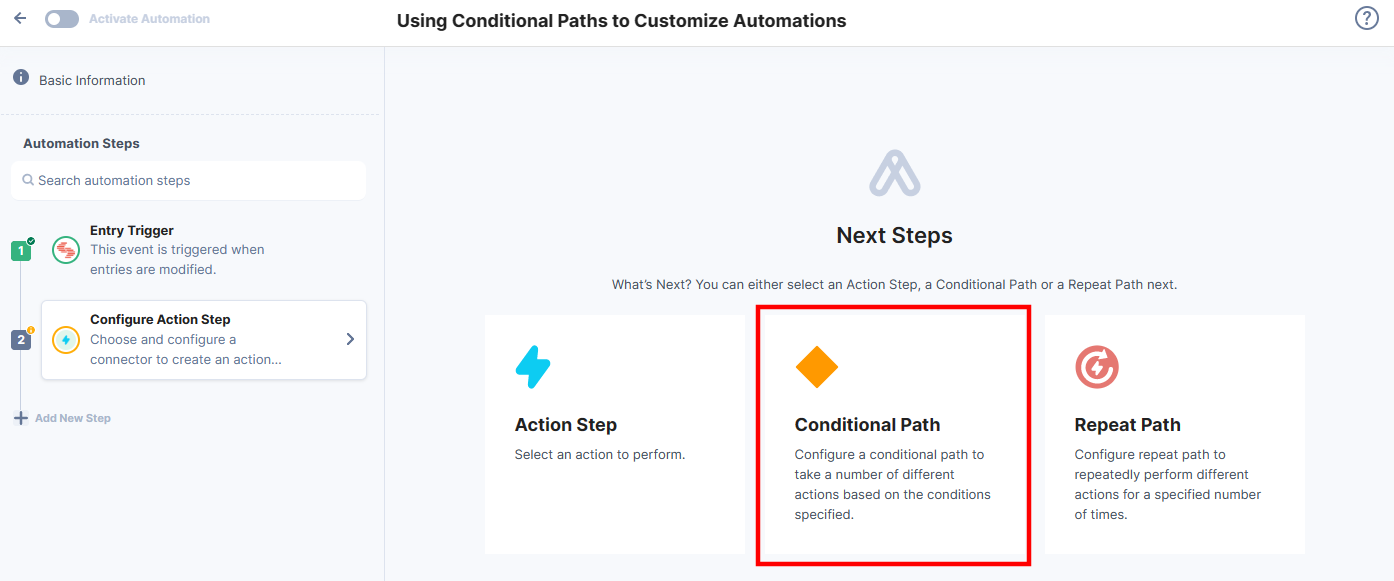
- Click Conditional Path to configure and set conditions.
- Click + Add Condition. In the Select Input box, enter the content type UID from the previous step. Select Matches (Text), and provide the UID of the content type in the input box.
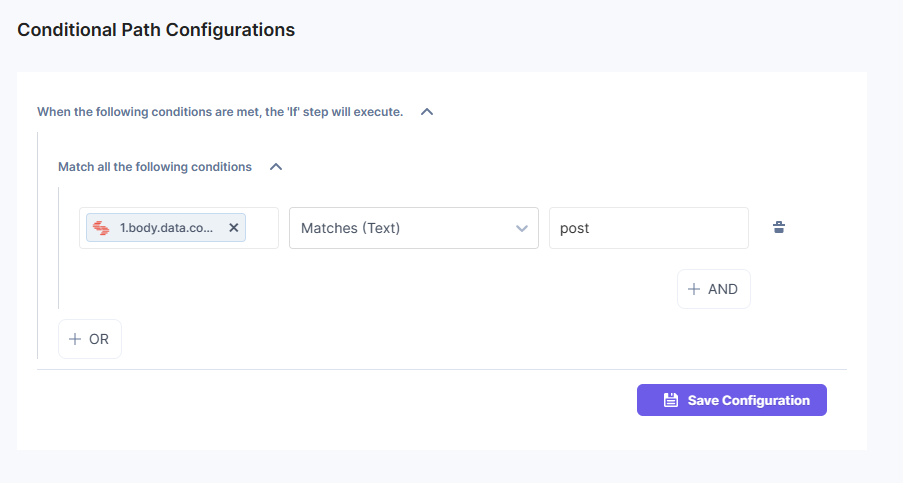
- Click Save Configuration.
- Click Configure Action Step from the left navigation panel.
Configure Slack Connector within the If Step
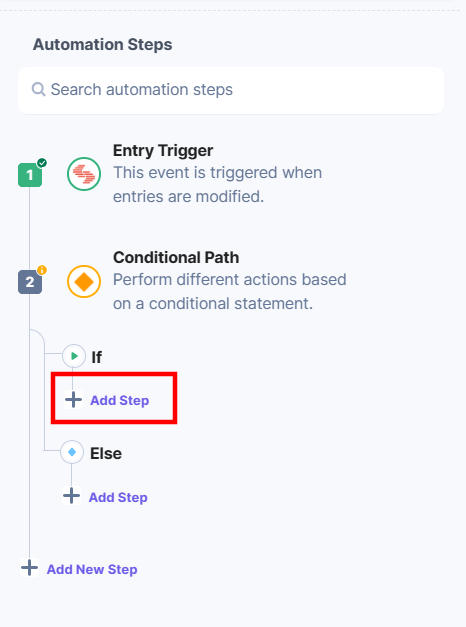
When the conditional path configurations are met, the If step action of sending a Slack message is executed.
- Click + Add Step under the If step from the left navigation panel.
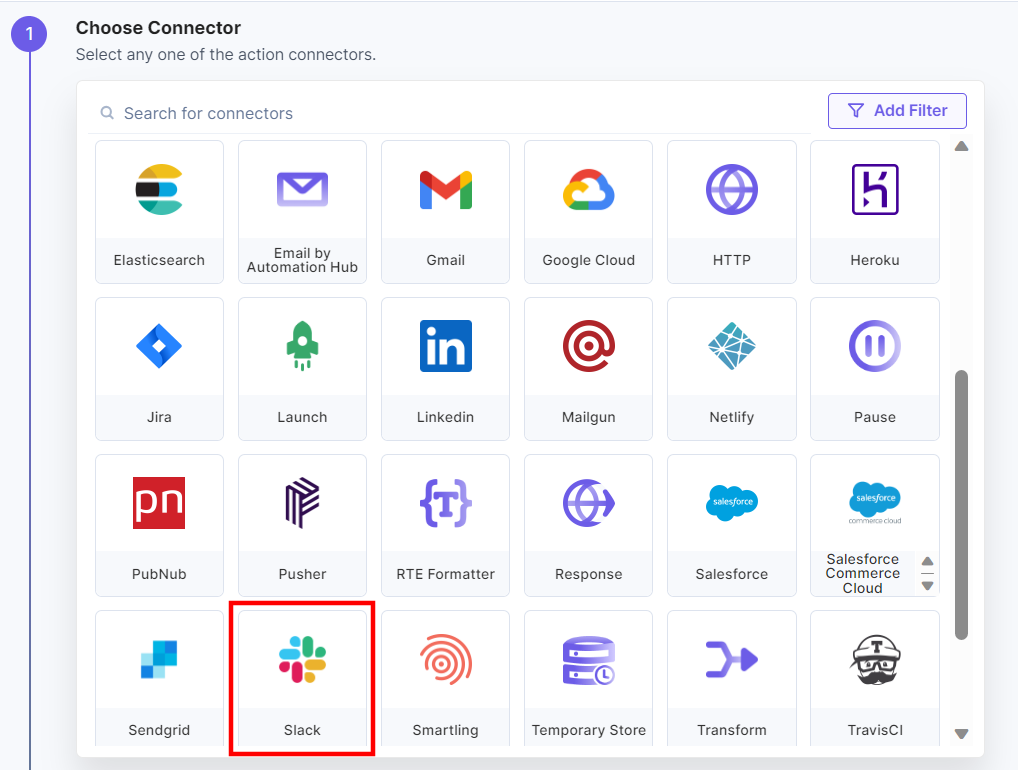
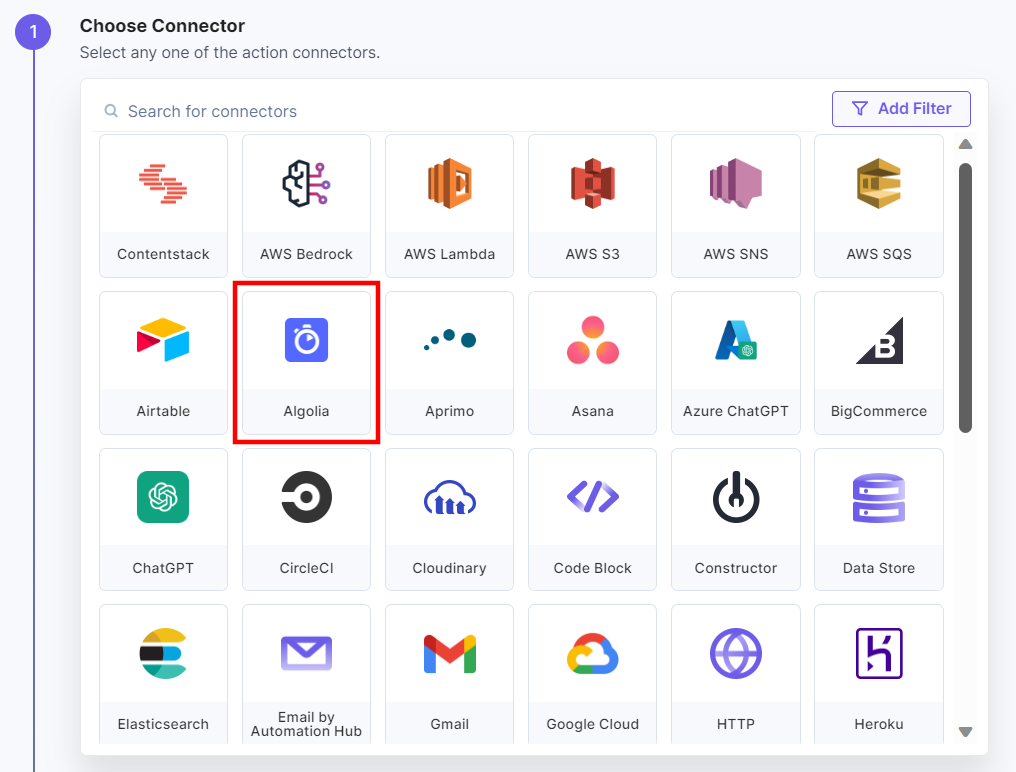
- Within the Configure Action Step, click the Slack connector.
Note: You can sort and search the connector(s) based on the filter.
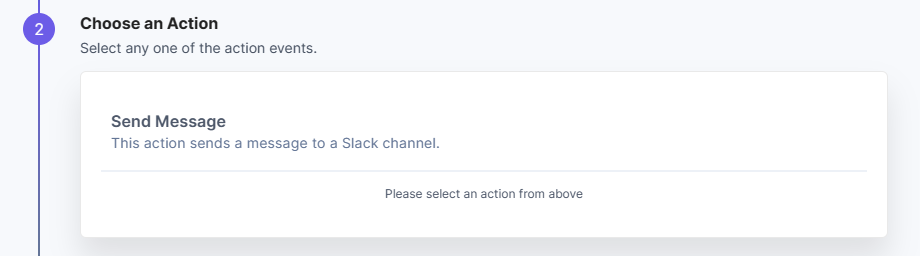
- Under Choose an Action, select the Send Message action.
- In the Configure Action tab, add your Slack account. For instructions on adding your account, refer to the Slack connector documentation.
- Select a Channel from the Lookup list where you want to send the message. Enter the message in the Message field.
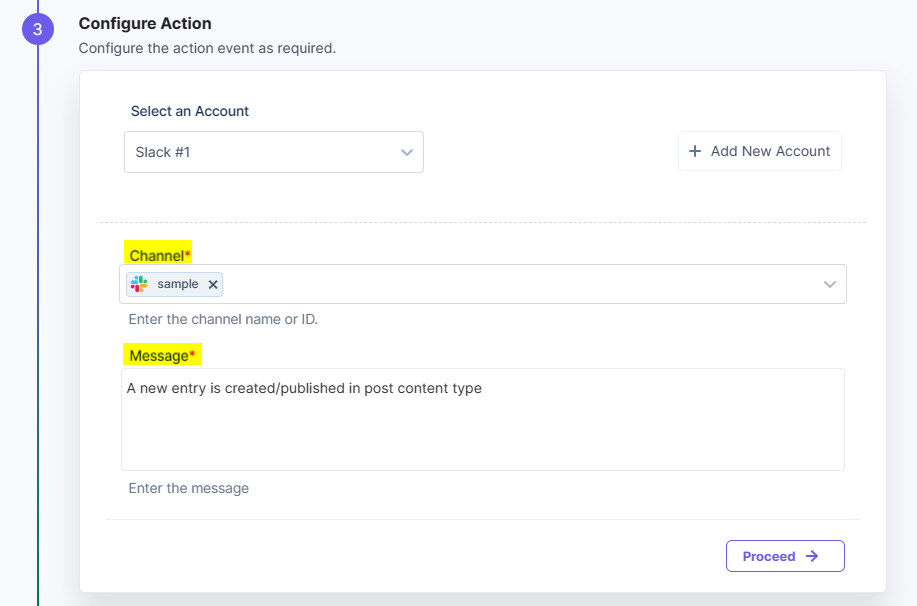
- Click Proceed.
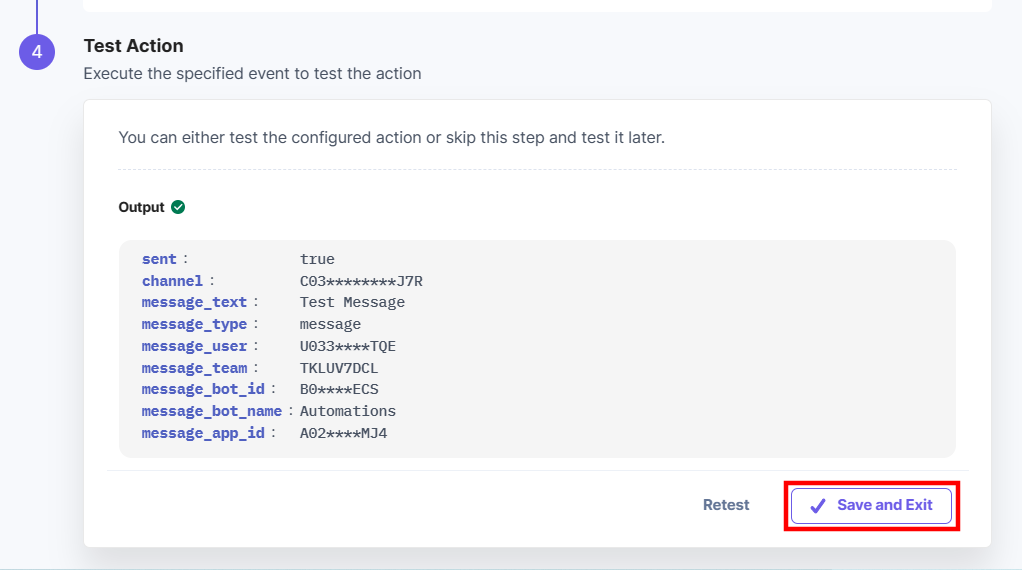
- Click Test Action to test the configured action.
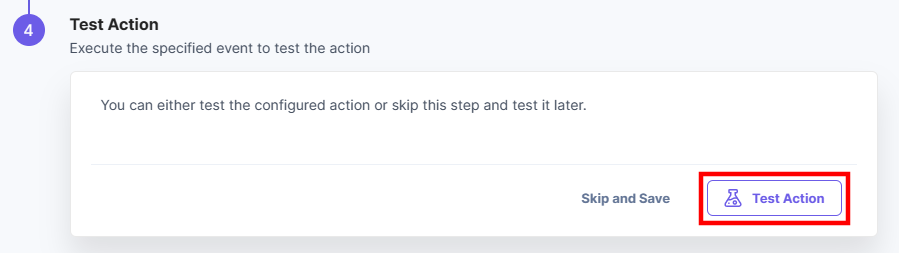
- On successful configuration, you can see the below output. Click Save and Exit.
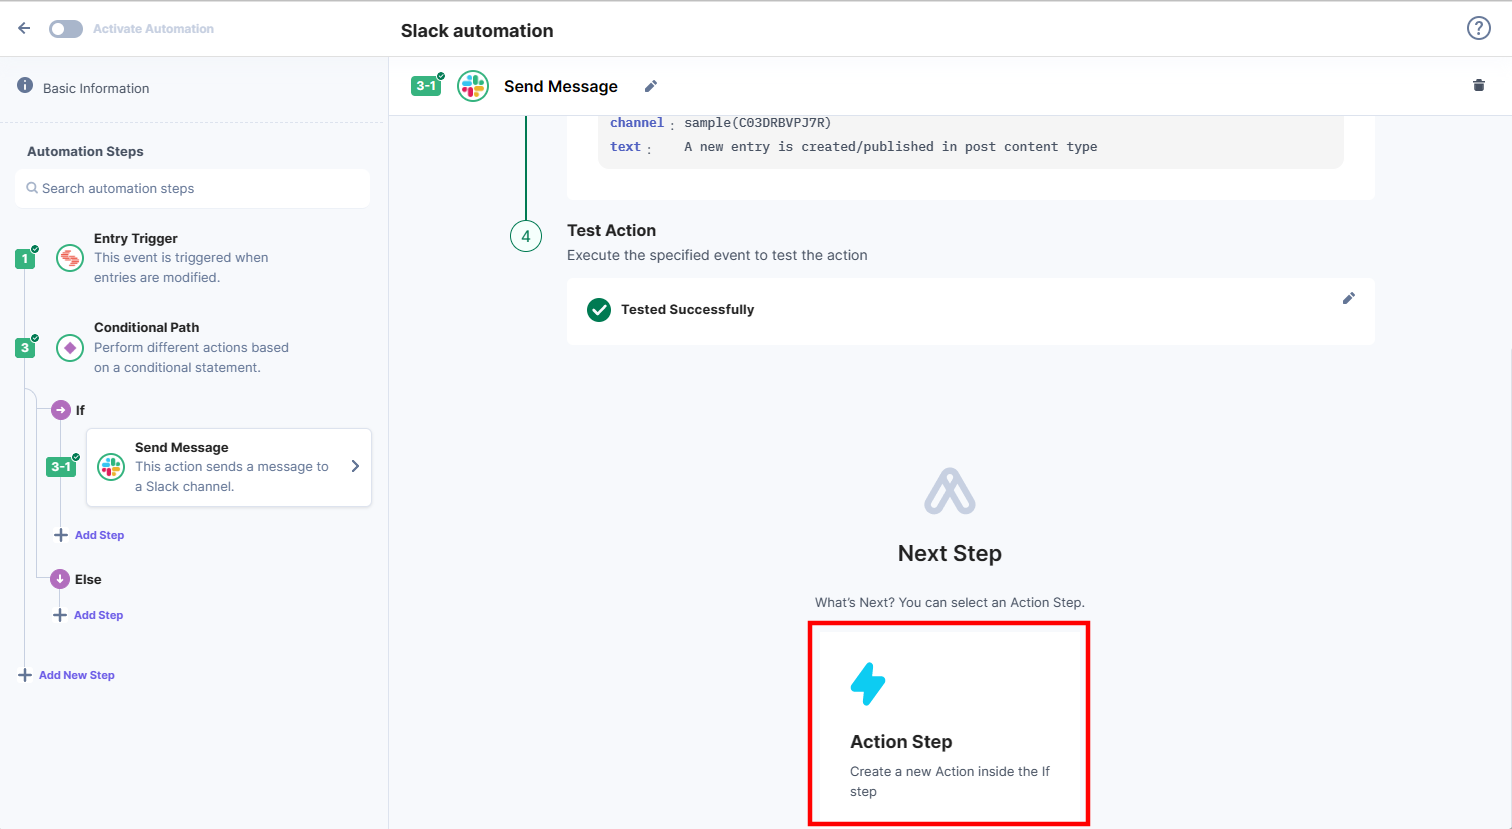
- Once you configure the Slack action, you can add other actions inside the If step using the quick select screen. Similarly, you can also configure Else steps.
Note: The quick select next step screen appears only when you have configured an action inside the If-Else step.
This sets the Slack action connector
- Click + Add Step under the If step from the left navigation panel.
Configure Transform Connector within the Else Step
When the conditional path configurations are not met, the Else step actions of transformation and indexing entries in Algolia are executed.
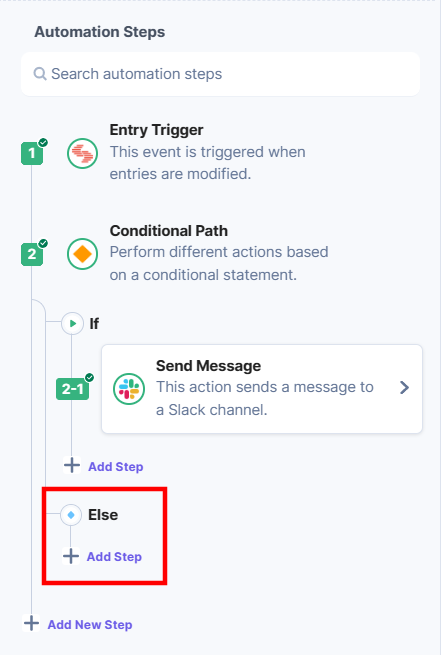
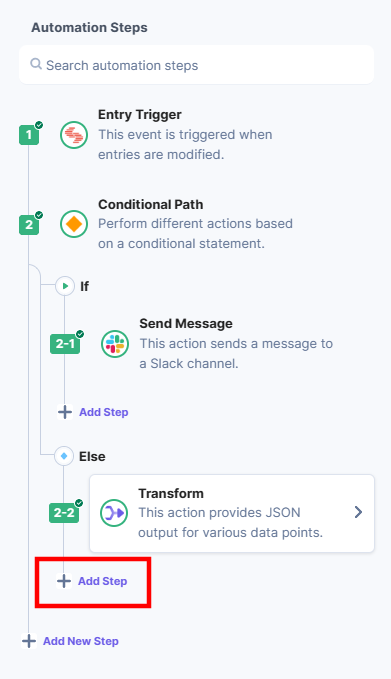
- Click + Add Step under the Else step from the left navigation panel.
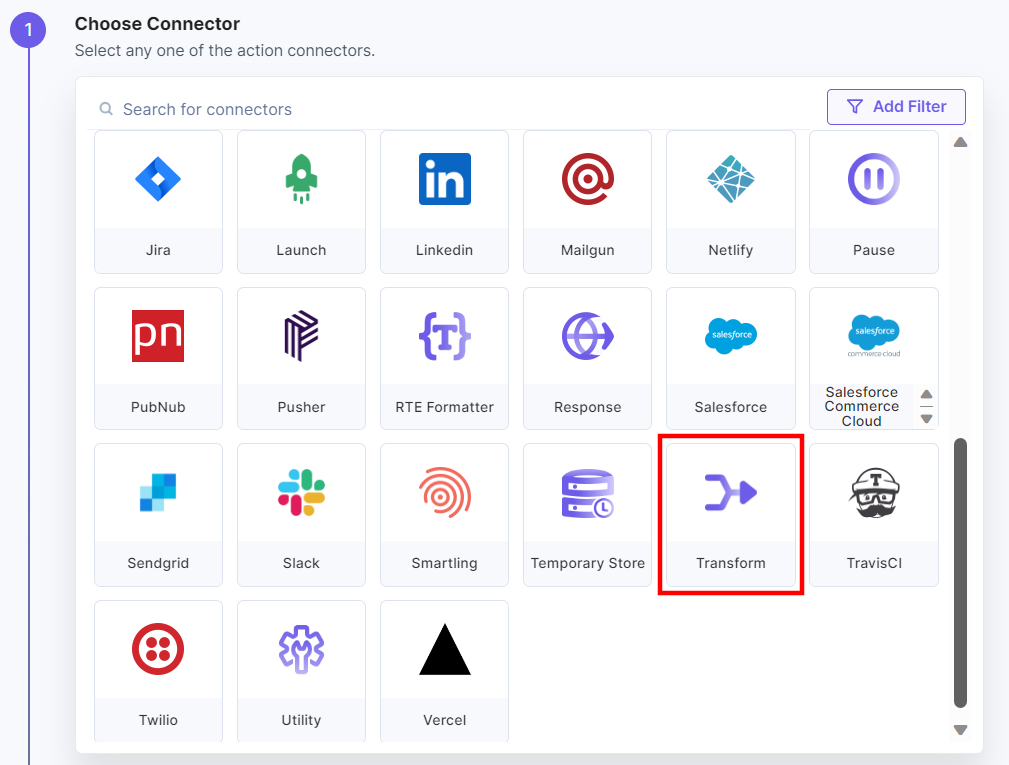
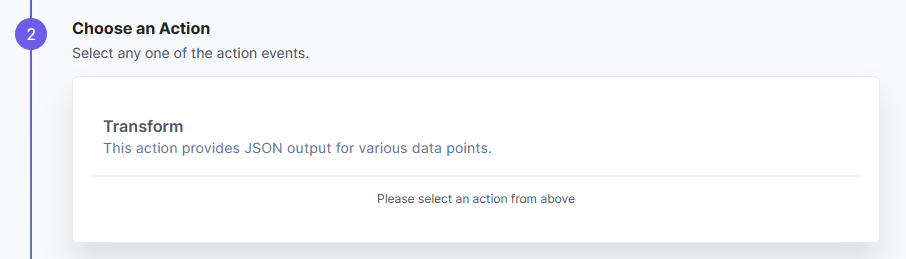
- Within the Configure Action Step, click the Transform connector.
- Under Choose an Action, select the Transform action.
- Click Add Input, and enter a variable name for the Input Name (say, “ObjectID”) and an Input Value configured in the previous step (entry UID) (see the screenshot in next step).
- Click + Add Objects to Merge and fetch the complete entry details configured in the previous step as shown below.
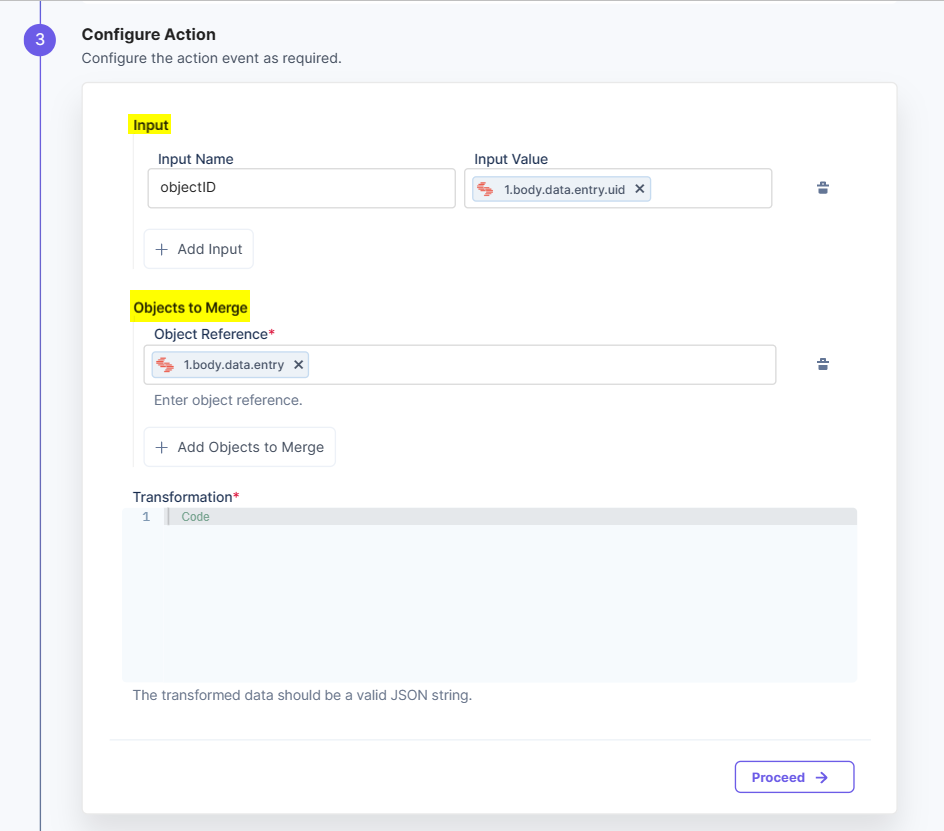
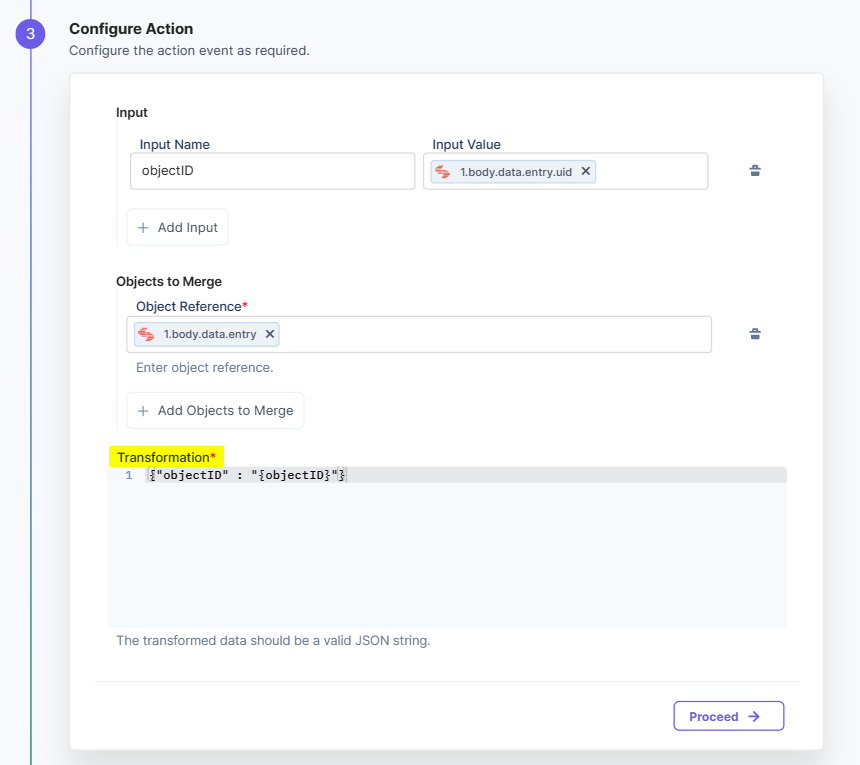
- In the Transformation field, enter the JSON code to fetch the UID value from the Input Value field in a variable. You can use the following code format: {“objectID” : “{ObjectID}”}
- Click Proceed.
- Click Test Action to test the configured action.
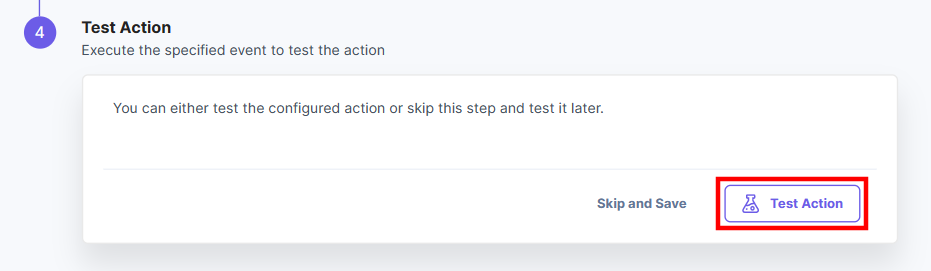
- On successful configuration, you can see the below output. Click Save and Exit.
This sets the Transform action connector.
- Click + Add Step under the Else step from the left navigation panel.
Configure Algolia Connector within the Else Step
- Click + Add Step under the Else step from the left navigation panel.
- Within the Configure Action Step, click the Algolia connector.
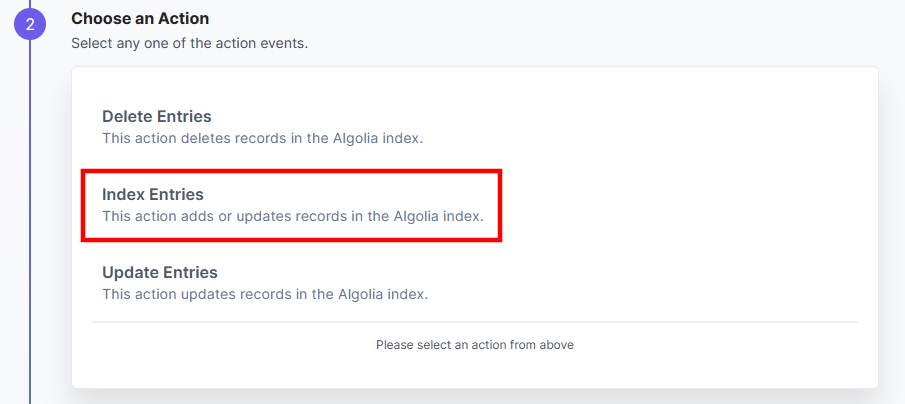
- Under Choose an Action tab, select the Index Entries action.
- In the Configure Action tab, add your Algolia account. For instructions on adding your account, refer to the Algolia connector documentation.
- Select the Index Name where you want to send the data in the form of a list of objects.
- In the Entries field, select the entry data fetched from the transform step.
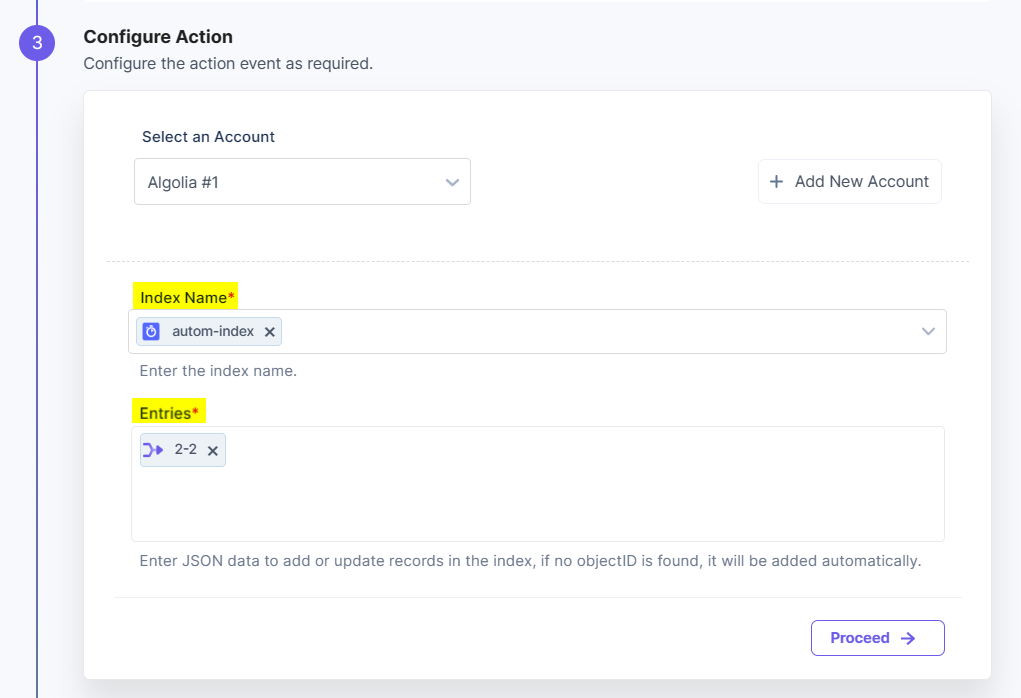
Note: Provide your index data as per your object schema and in JSON format only.
- Click Proceed.
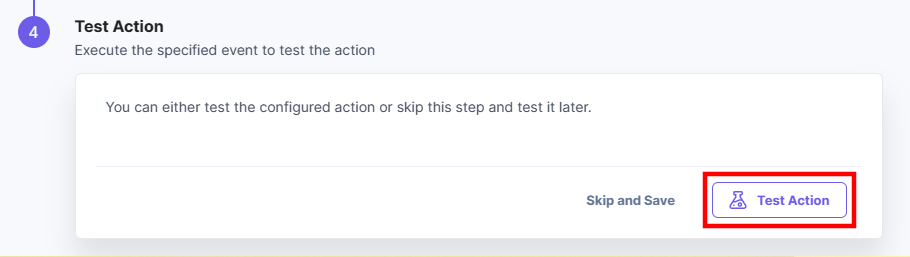
- Click Test Action to test the configured action.
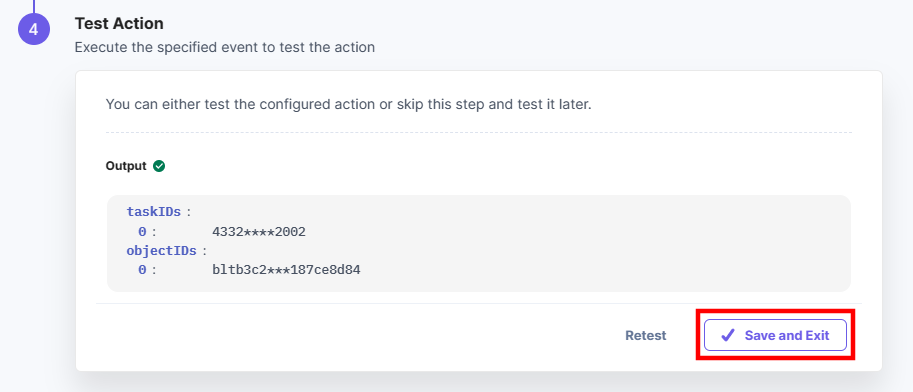
- On successful configuration, you can see the below output. Click Save and Exit.
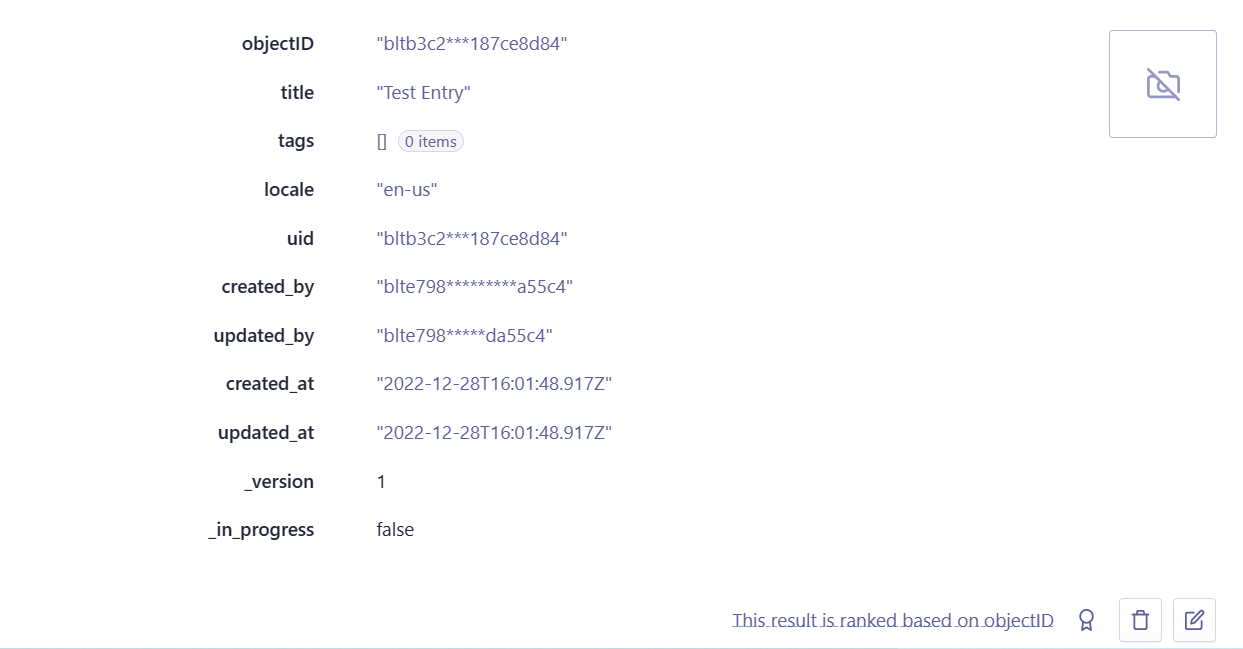
- Go to the Algolia Index section and check the latest index entry with the data.
Note: You can view the status of your executions in the Execution Log section.
- Click + Add Step under the Else step from the left navigation panel.
More articles in "Automate Real World Scenarios"
