Backup Entries or Assets to AWS S3
The Backup Entries/Assets to S3 use case shows how you can use Contentstack s Automate to automate backing up entries or assets to an AWS S3 bucket.
The AWS Simple Storage Service (S3) is a cloud-based storage service provided by Amazon that allows users to store any amount of data for virtually any use case.
Let s look at the steps in more detail.
Configure Entry Trigger to Backup Entries or Assets to AWS S3
- Log in to your Contentstack account and click the Automate icon.
- Click + New Project to add a new project.
- Click + New Automation.
- Enter the Automation Name and Description.
- Click Create.
- Click Configure Trigger from the left navigation panel.
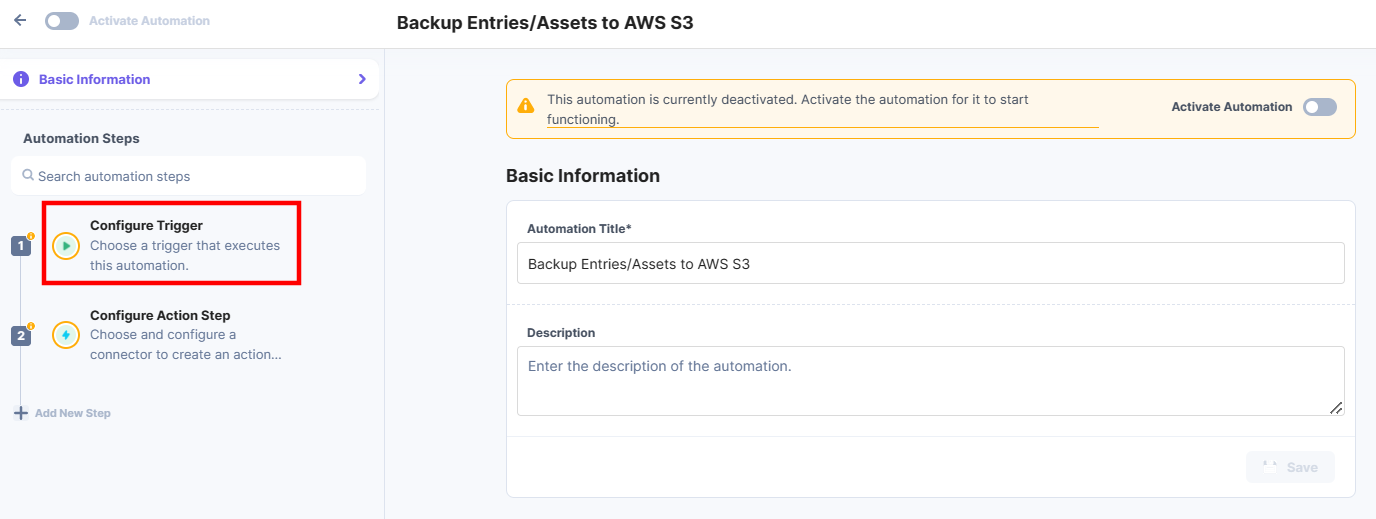
- Within the Configure Trigger step, click the Contentstack connector.

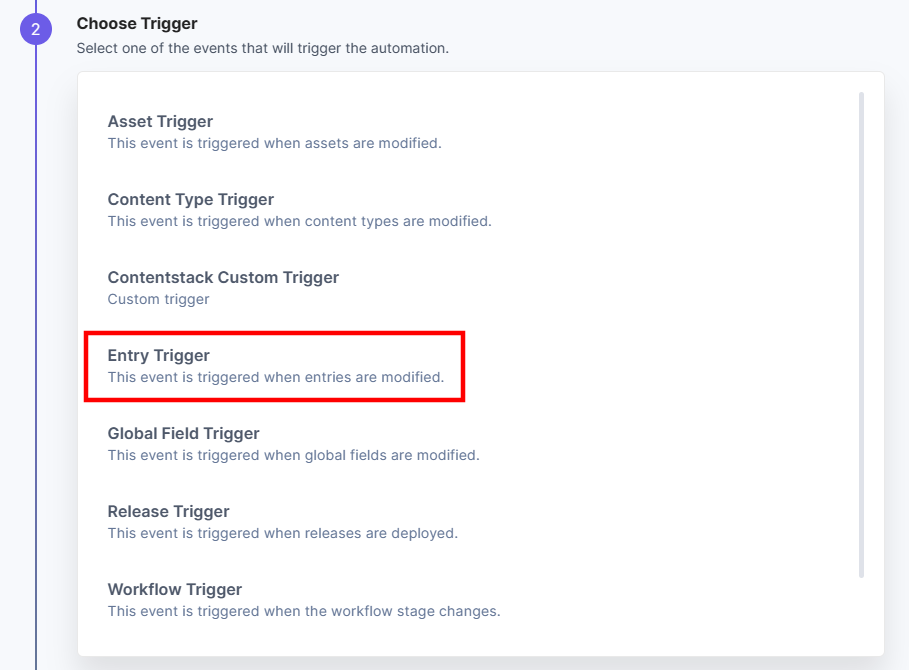
- Click the Entry Trigger event.
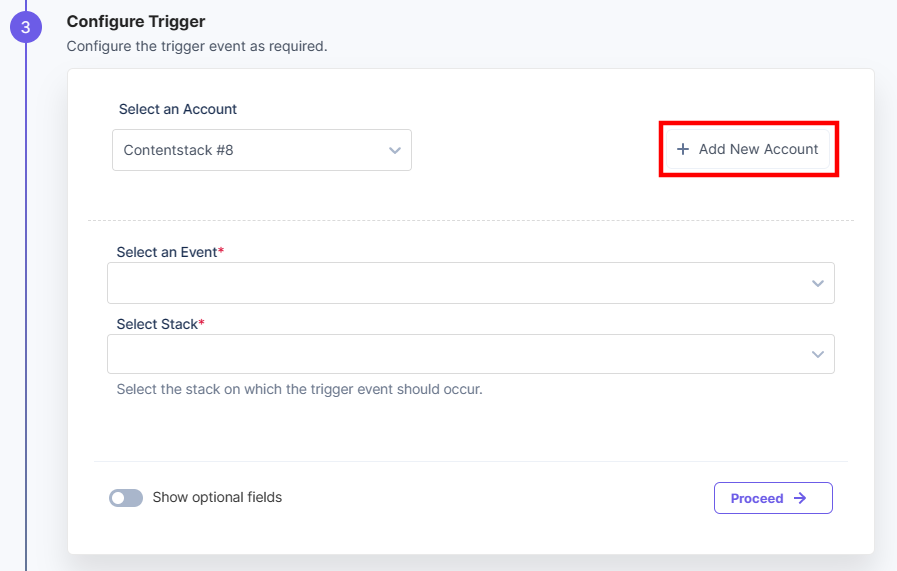
- Click + Add New Account to add your Contentstack account.
- Select the Event and the Stack for which you want to configure the trigger.
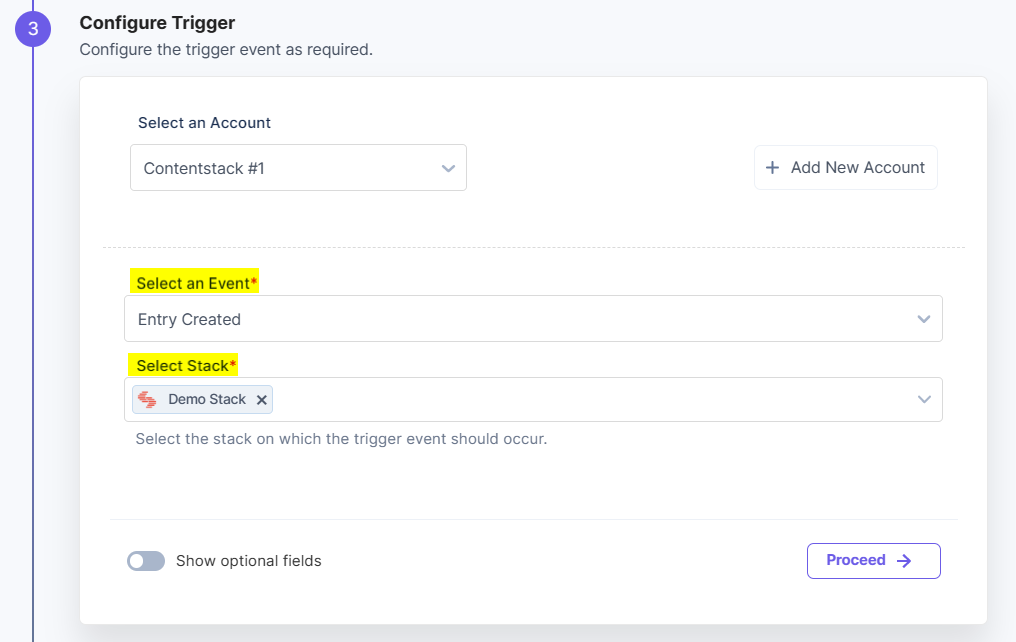
- Once done, click Proceed.
- Click Test Trigger.

- Click Save and Exit.
Add an Asset
The next step requires you to add an asset to the AWS S3 bucket.
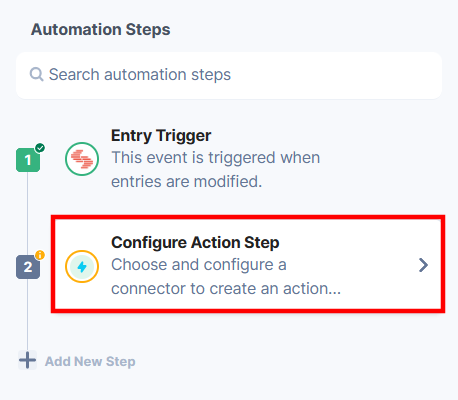
To add an asset, follow the given instructions:- Click Configure Action Step from the left navigation panel.
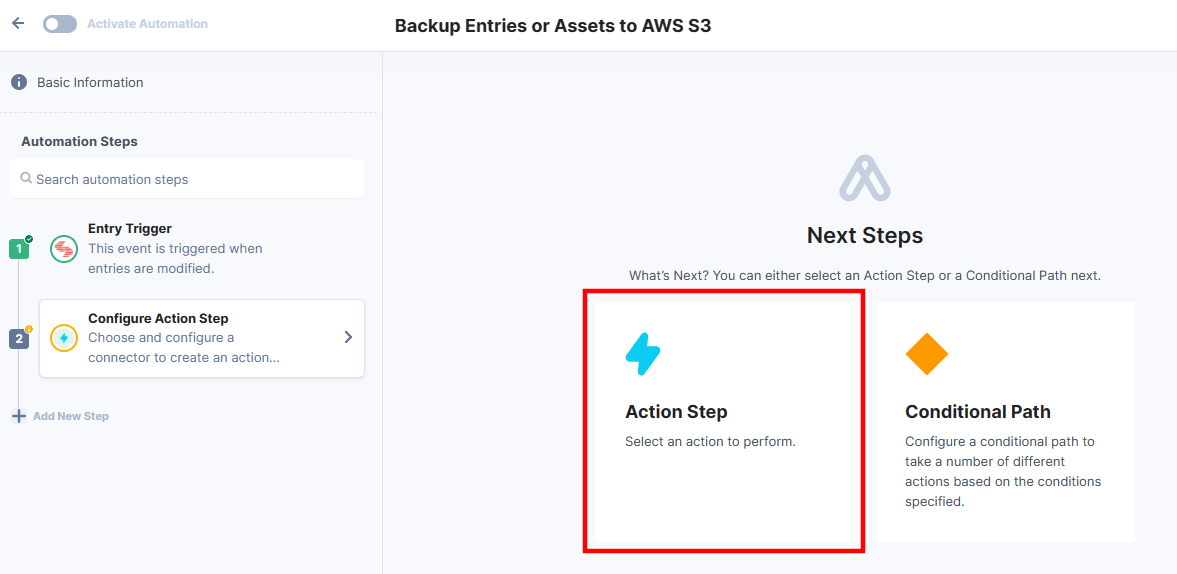
- Click Action Step to configure third-party services.
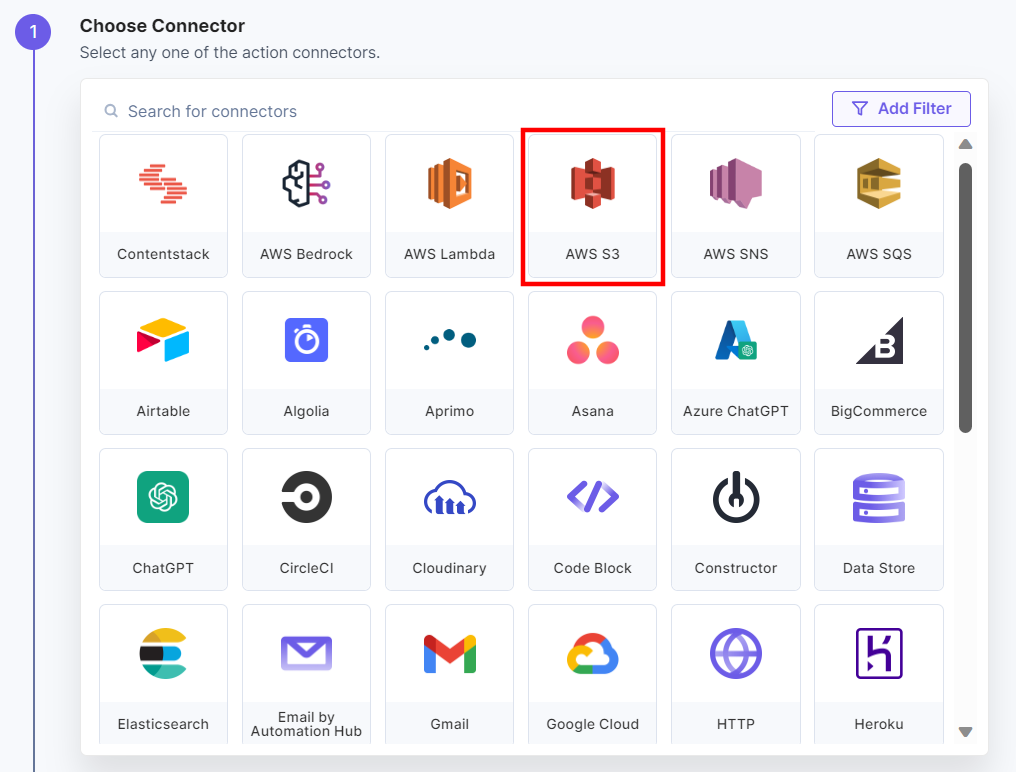
- Within the Configure Action Step, click the AWS S3 connector.
Note: You can sort and search the connector(s) based on the filter.
- Select the Create New Object action.

- Click + Add New Account to add your AWS S3 account.
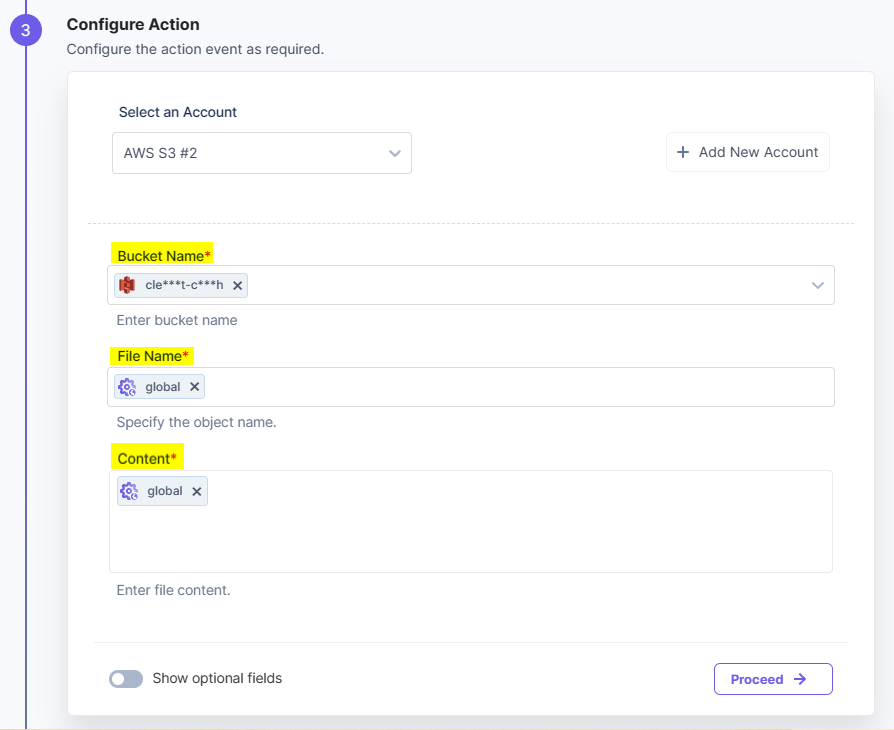
- Add Bucket name, File Name, and Content details in their respective fields. Once done, click Proceed.
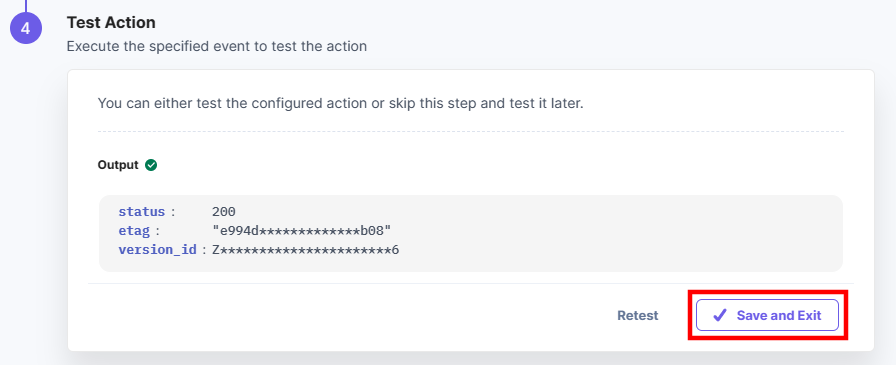
- Click Test Action.

- Once the action is successfully executed, click Save and Exit to finish the process.
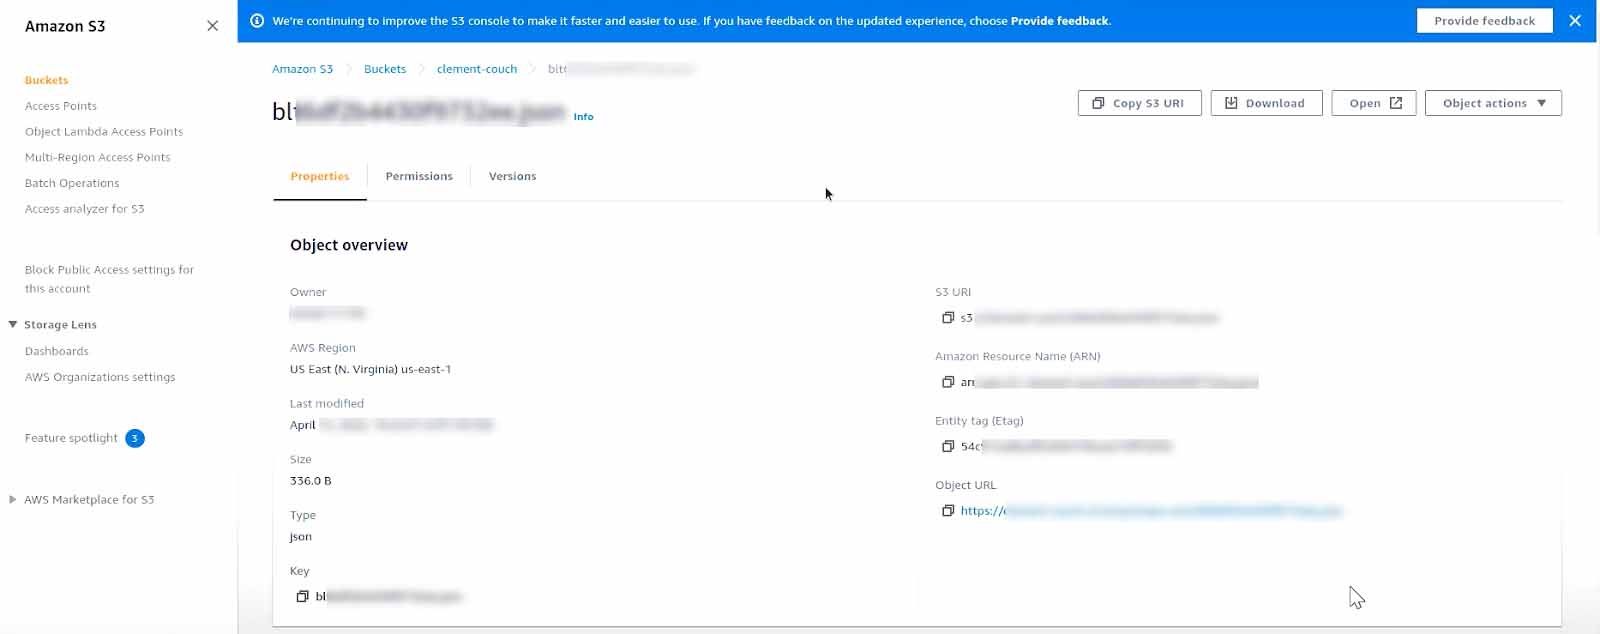
- Navigate to your AWS S3 bucket and check for the recently uploaded asset. You can view the details in the Object overview section.
This sets the Backup Entries/Assets to AWS S3 scenario.
- Click Configure Action Step from the left navigation panel.


.svg?format=pjpg&auto=webp)
.svg?format=pjpg&auto=webp)
.png?format=pjpg&auto=webp)


.png?format=pjpg&auto=webp)