

.svg?format=pjpg&auto=webp)
.svg?format=pjpg&auto=webp)
.png?format=pjpg&auto=webp)


.png?format=pjpg&auto=webp)
Translate Data using Smartling
The End-to-End Translation use case shows how you can use Contentstack Automate to set up an automated language translation system for your Contentstack-powered website.
In this use case, you will walk through the steps required to perform end-to-end translation of an entry created/updated in contentstack. Also, you will integrate a communication medium (say slack) to notify us whenever an entry gets successfully translated.
The entire translation process consists of eight major steps right from configuring the entry trigger to setting up the slack channel.
Here is the list of processes we need to execute.
- Configure Entry Trigger
- Add Content to a Project
- Pause an Automation
- Download Translated Content
- Add the Transform Function
- Localize an Entry
- Set Entry Workflow
- Send Message
Let’s have a look at the steps in detail.
Configure Entry Trigger
- Log in to your Contentstack account and click the “Automate” icon.
- Click + New Project to add a new project.
- Click + New Automation.
- Enter the Automation Name and Description.
- Click Create.
- Click Configure Trigger from the left navigation panel.
- Within the Configure Trigger step, click the Contentstack connector.
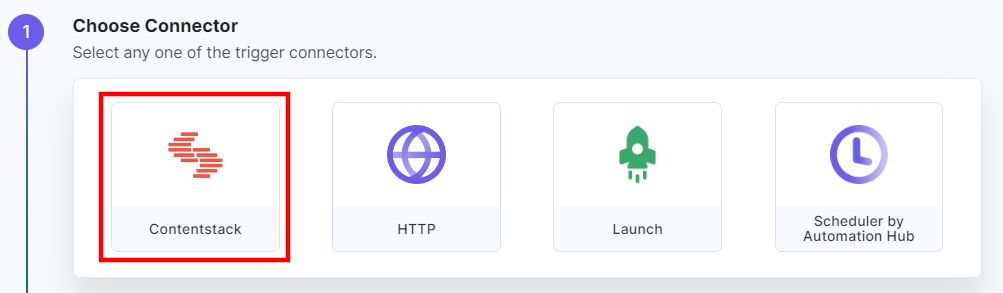
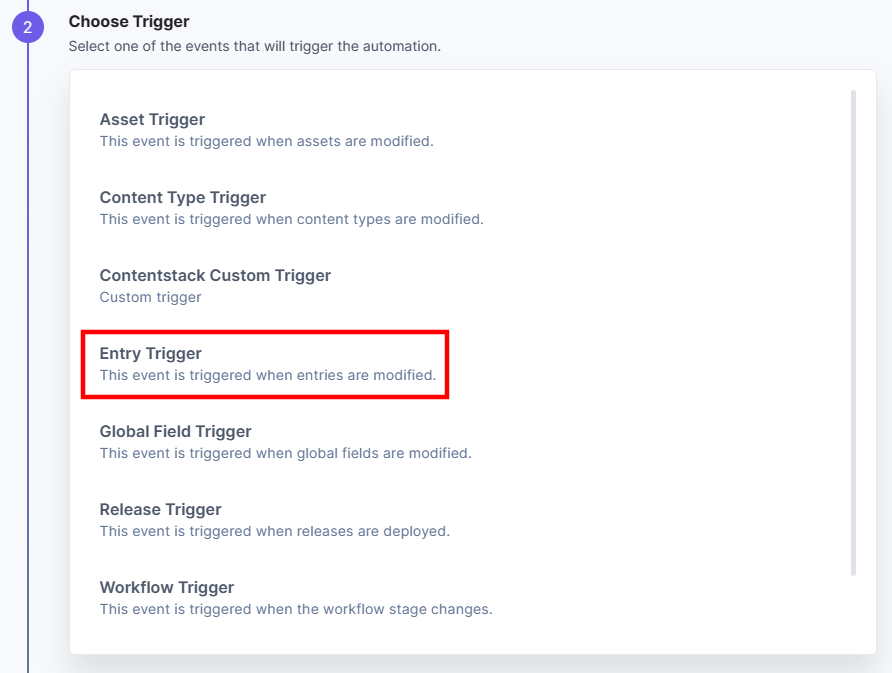
- Select Entry Trigger.
- Click + Add New Account to add your Contentstack account.
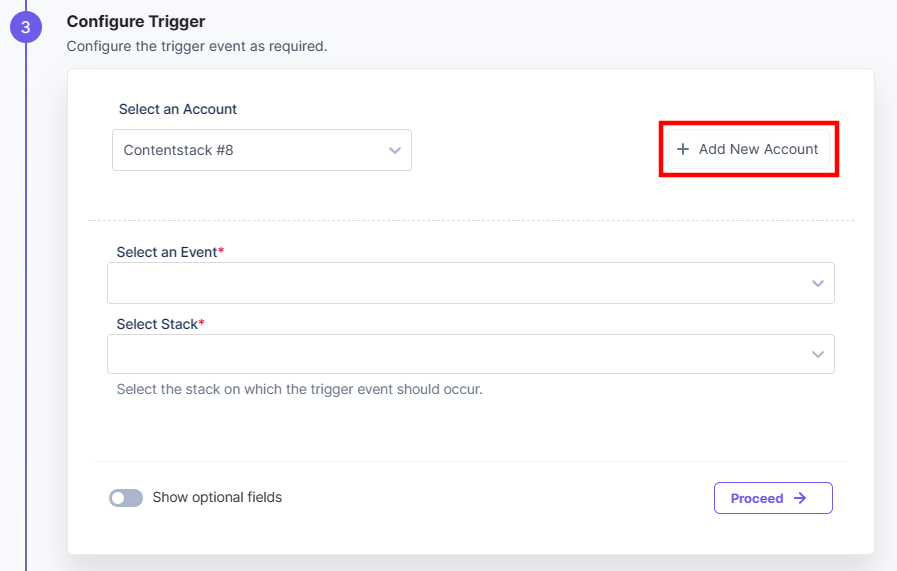
- Select the Event and the Stack for which you want to configure the trigger.
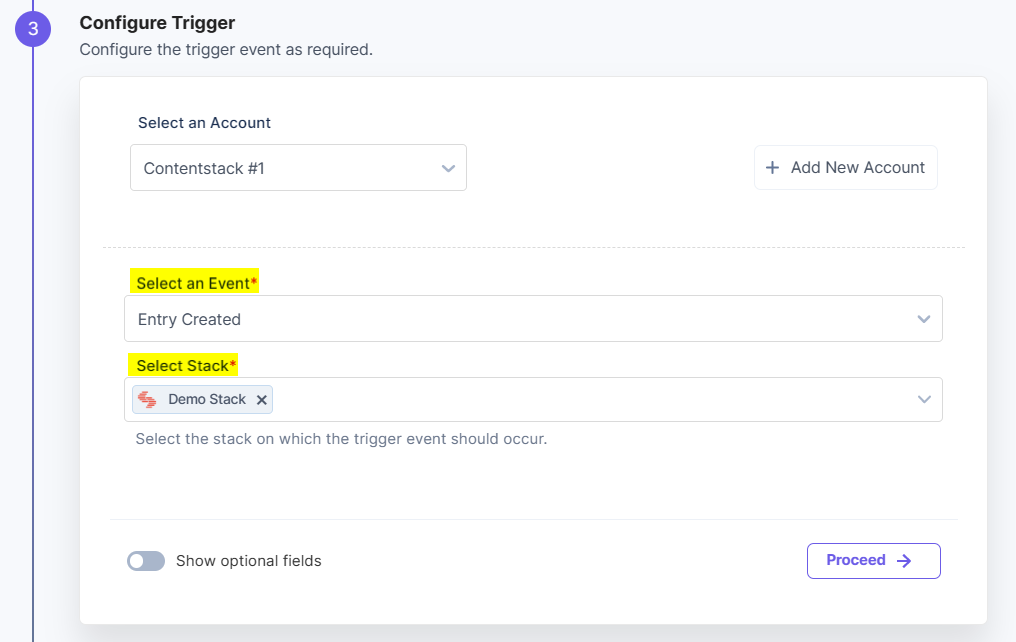
- Click Proceed.
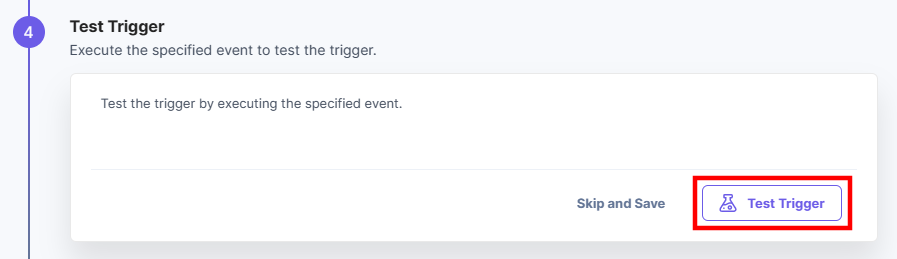
- Click Test Trigger.
- Click Save and Exit.
Add Content to a Project
After you configure the entry trigger, the next step is to configure the Smartling action connector by adding a project and the content you want to translate.
- Click Configure Action Step from the left navigation panel.
- Click Action Step to configure third-party services.
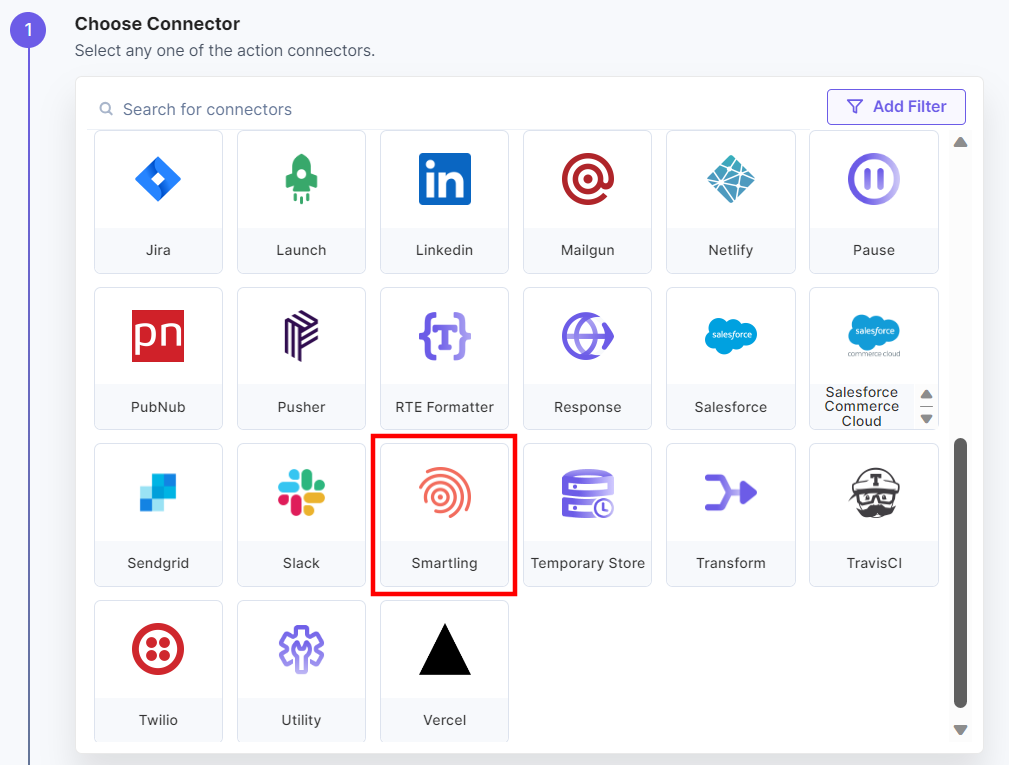
- Within the Configure Action Step, click the Smartling connector.
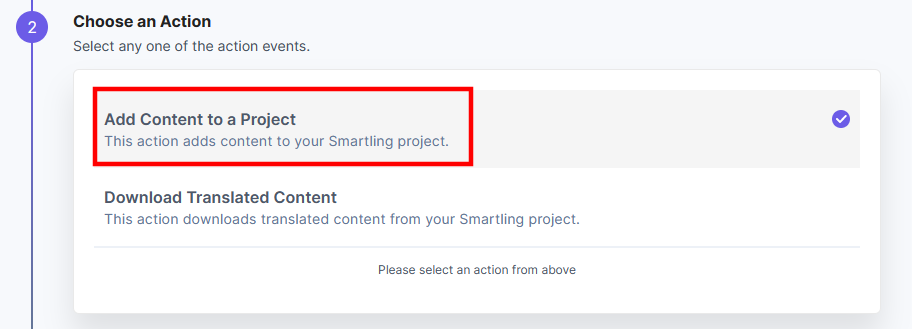
- Click Add Content to a Project action.
- Click + Add New Account to add your Smartling account.
Note: To add your Smartling account, refer to the Smartling Connector document.
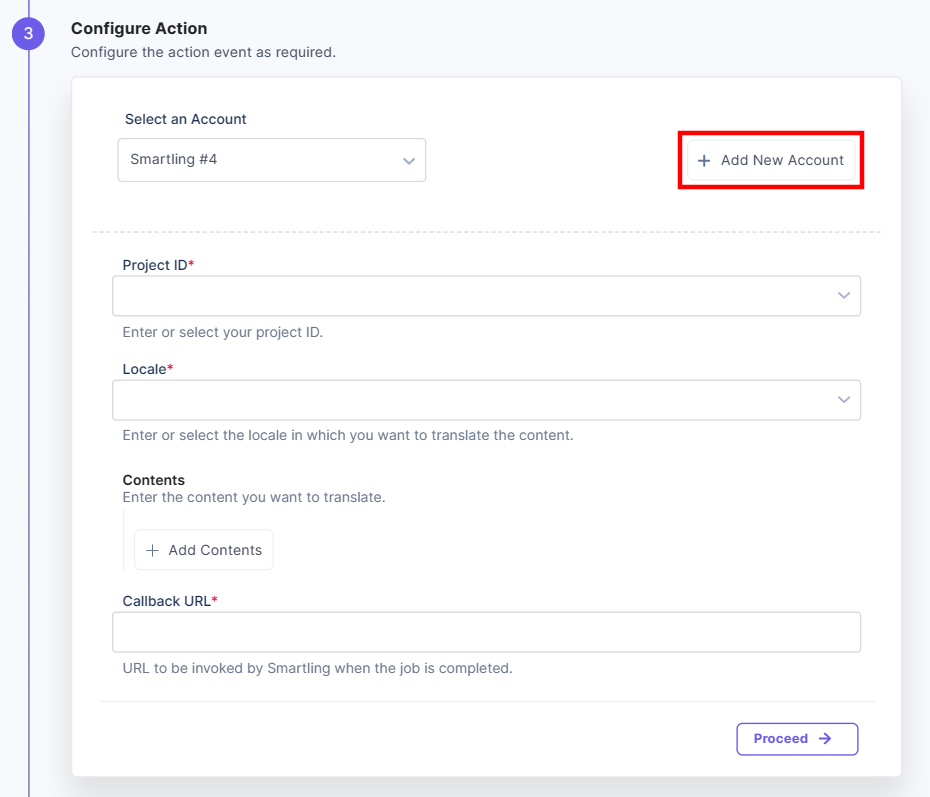
- Select the Project ID, the Locale in which you want the content to be translated, and add the Contents.
- Add the Callback URL and click Proceed.
Note: Smartling uses the Callback URL to resume the automations once the content is translated.

- Click Test Action.
- You will get the following response once the action is successfully executed.
Note: From the given set of response, preserve the fileuri as it will be used in the next steps.
- If all looks good, click Save and Exit to finish the process.
This sets the Smartling action connector and Add Content to a Project step.
Pause an Automation
The third step requires you to configure the Pause connector. The Pause connector lets you pause the automation until Smartling executes the translation process.
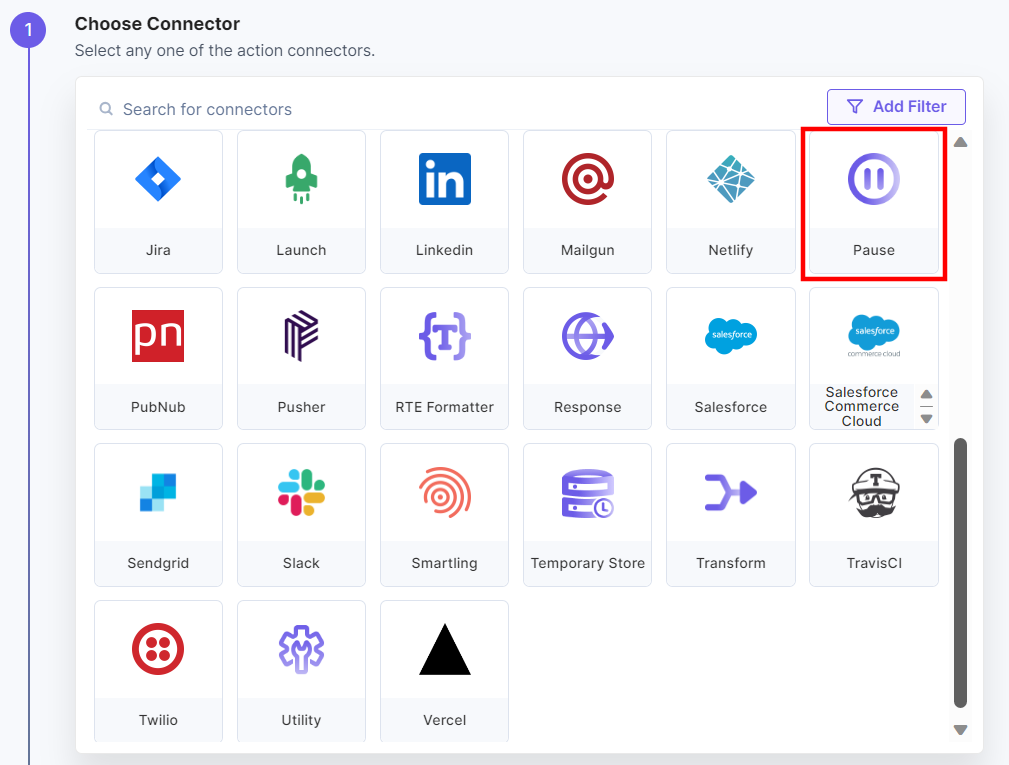
- Click + Add Step under the Else step from the left navigation panel.
- Within the Configure Action Step, click the Pause connector.
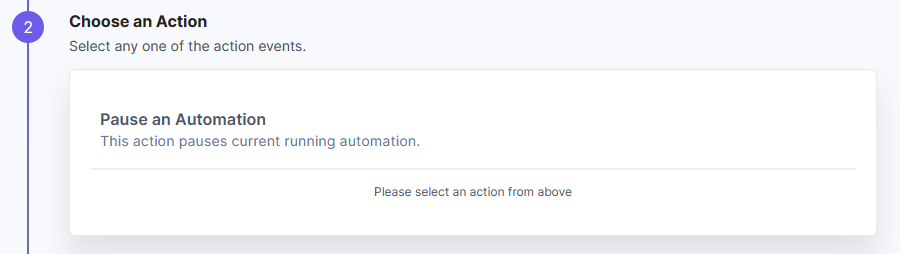
- Under Choose an Action, select the Pause an Automation action.
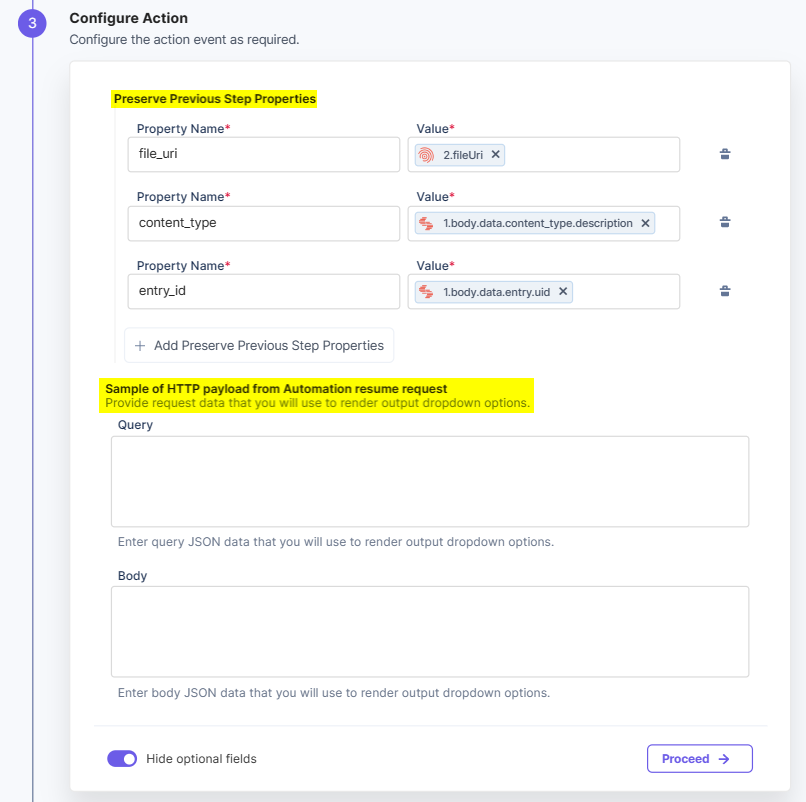
- Specify the properties you preserved in the previous steps such as file_uri,content_type, andentry_id in the given fields. Then, click Proceed.
- Click Test Action.
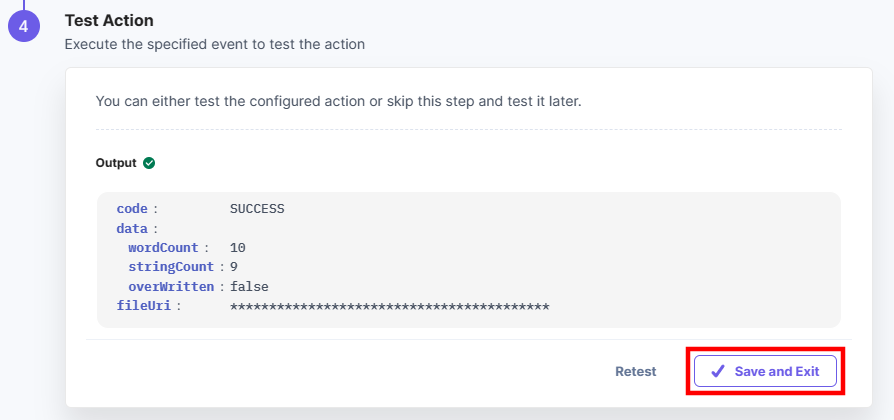
- You will get the following response once the action is successfully executed.
- If all looks good, click Save and Exit to finish the process.
This sets the Pause action connector.
Download Translated Content
Once the content is successfully translated, the next step is to download the translated content.
- Click + Add Step under the Else step from the left navigation panel.
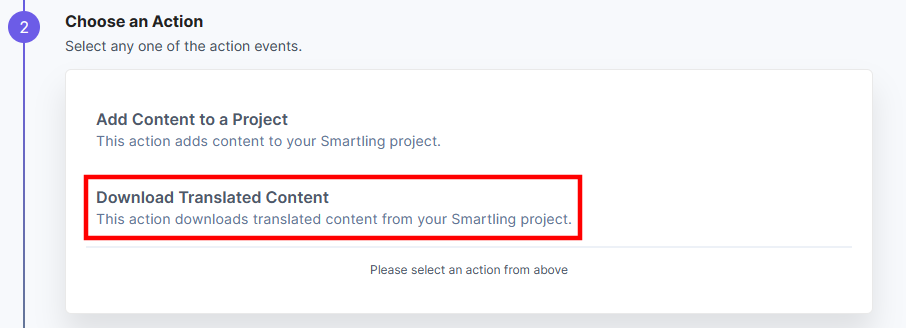
- Within the Configure Action Step, click the Smartling connector.
- Under Choose an Action, select the Download Translated Content action.
- Click + Add New Account to add an account.
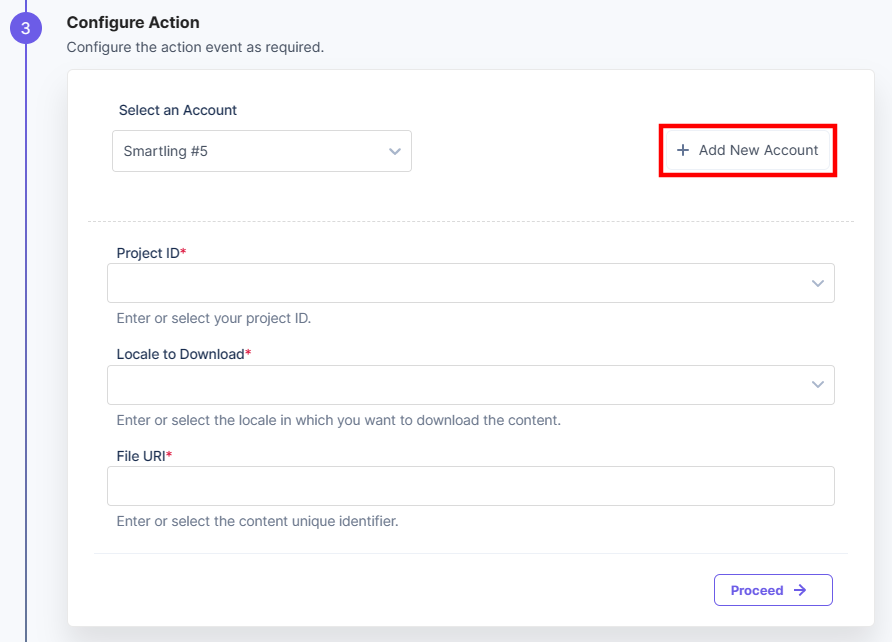
- Specify the Project ID, the Locale, and the File URI you preserved in the previous steps.
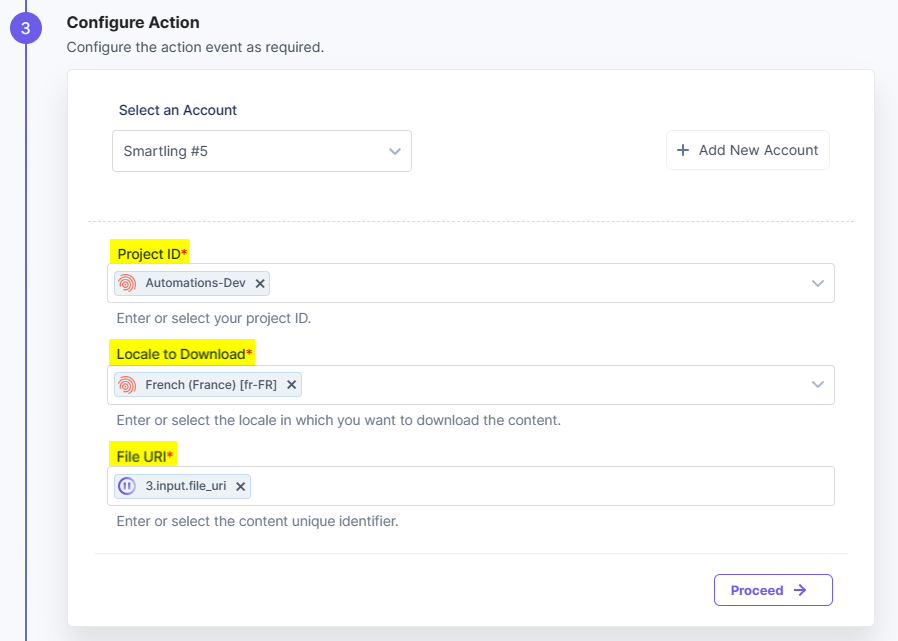
- Once done, click Proceed.
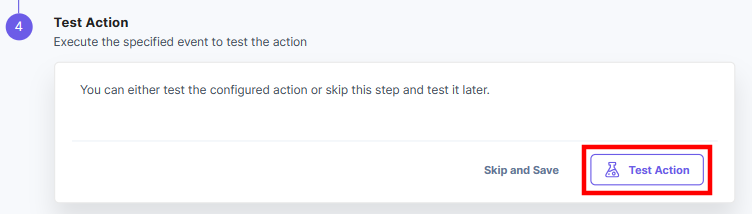
- Click Test Action
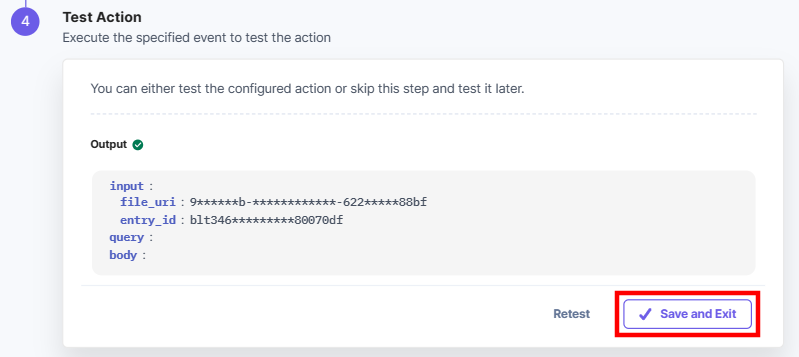
- You will get the following response once the action is successfully executed.
The translated content is appended in the data1 response shown here.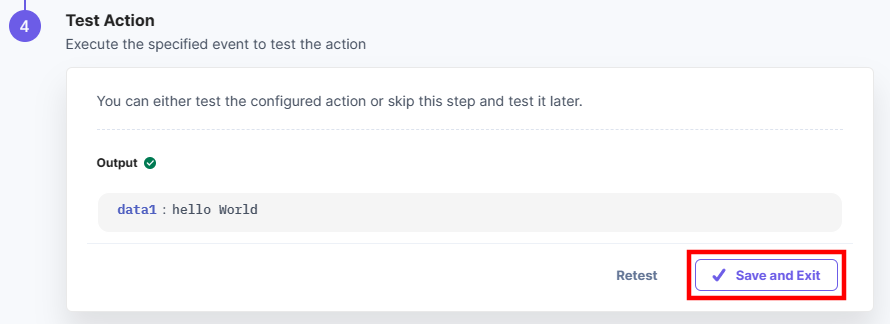
- Click Save and Exit to finish the process.
This sets the download translated content action for your Smartling connector.
Add the Transform Function
In the fifth step, you will add the data1 response preserved in the previous step in a Transform function. This step is required because the Contentstack API expects the translated data in a particular format.
- Within the Configure Action Step, click the Transform connector.
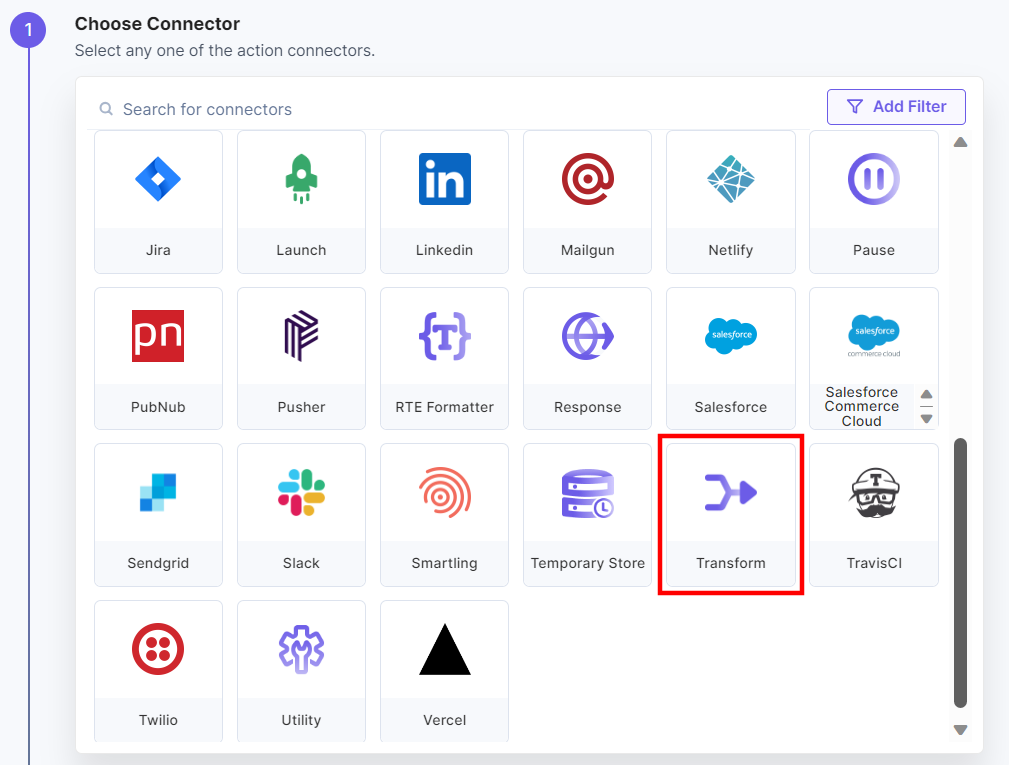
- Under Choose an Action, select the Transform action.
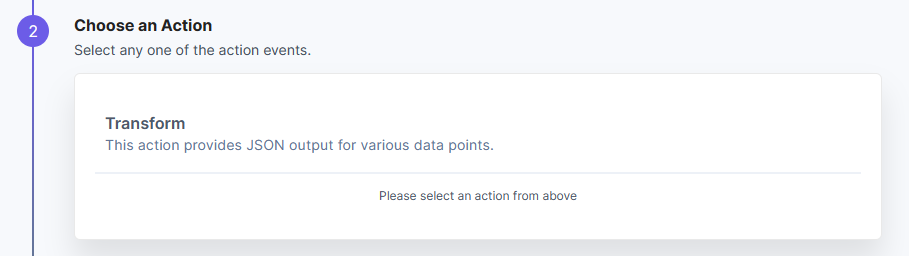
- Specify the Input Name and Input Value for the function in the given fields.
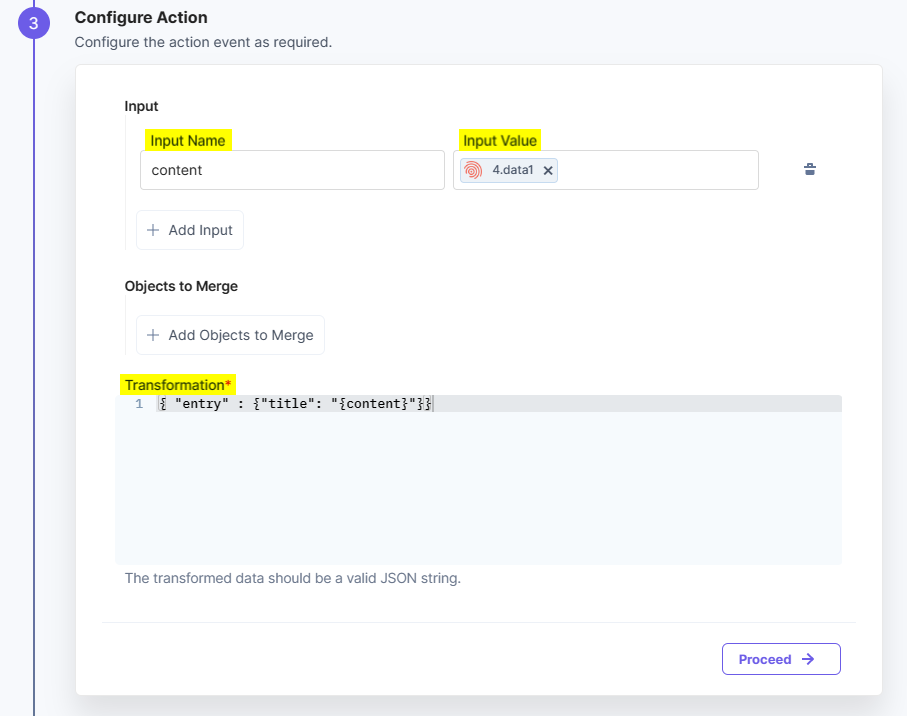
- Once done, click Proceed.
- Click Test Action.
- You will get the following response once the action is successfully executed.
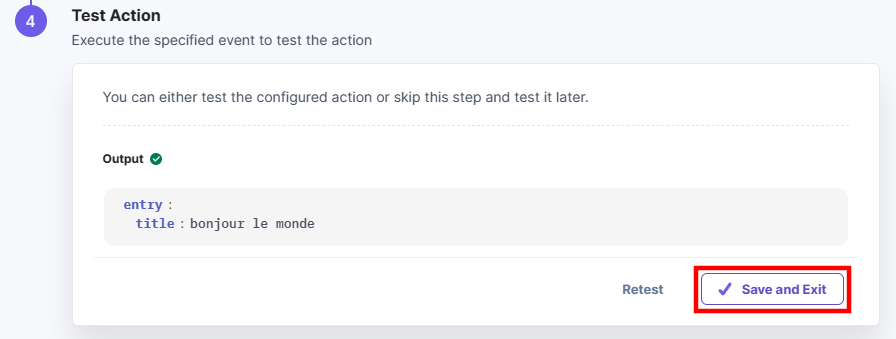
- Click Save and Exit to finish the process.
This sets the Transform function.
- Within the Configure Action Step, click the Transform connector.
Localize an Entry
- Click + Add Step under the Else step from the left navigation panel.
- Within the Configure Action Step, click the Contentstack connector.
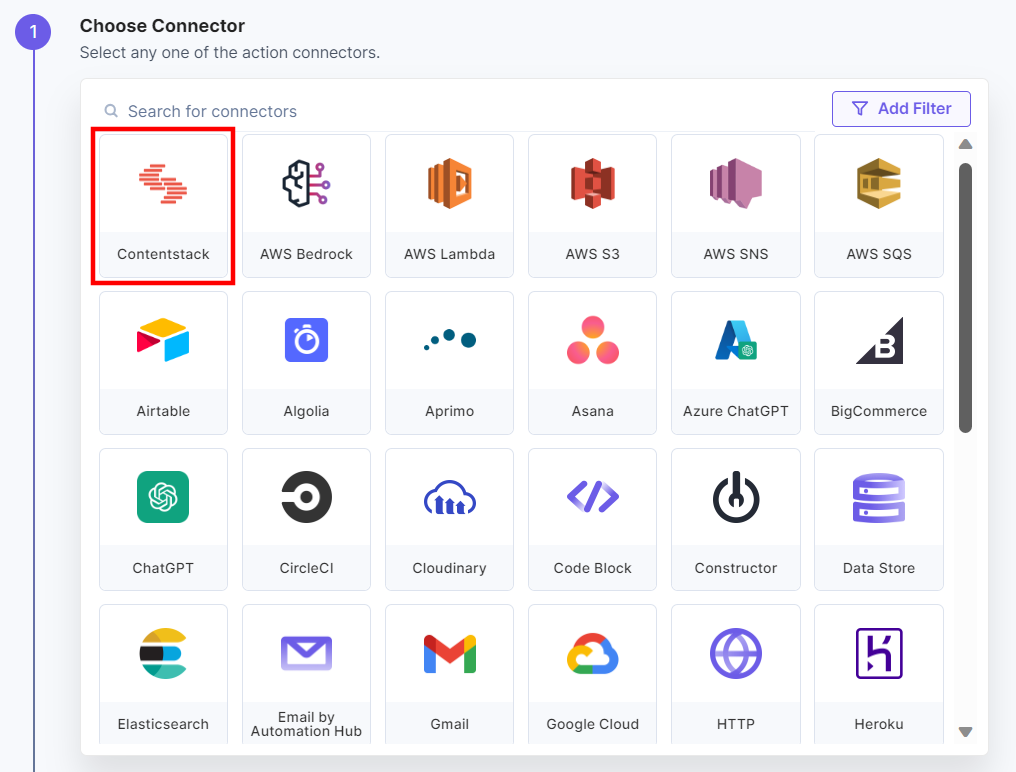
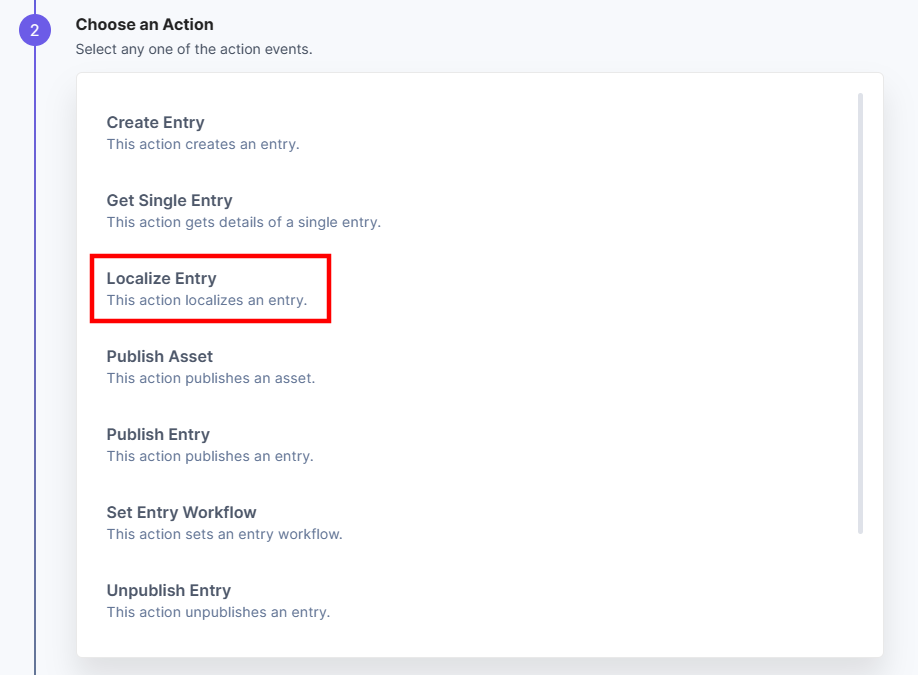
- Under Choose an Action, select the Localize Entry action.
- Click + Add New Account to add your Contentstack account.
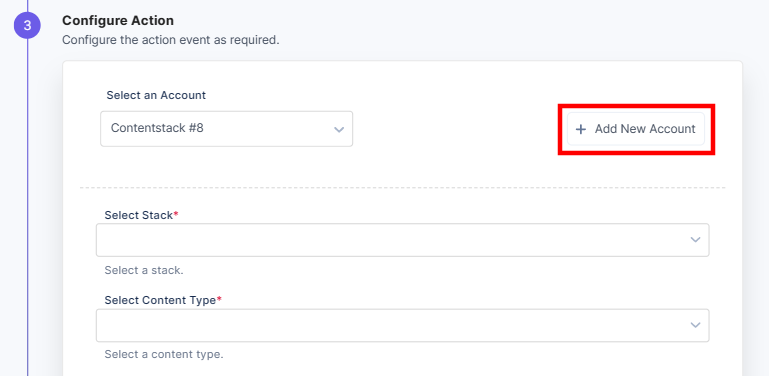
- Enter details such as Stack, Content Type, Entry, and Locale. Also, add the Entry Data preserved from the Transform function step (step 5).
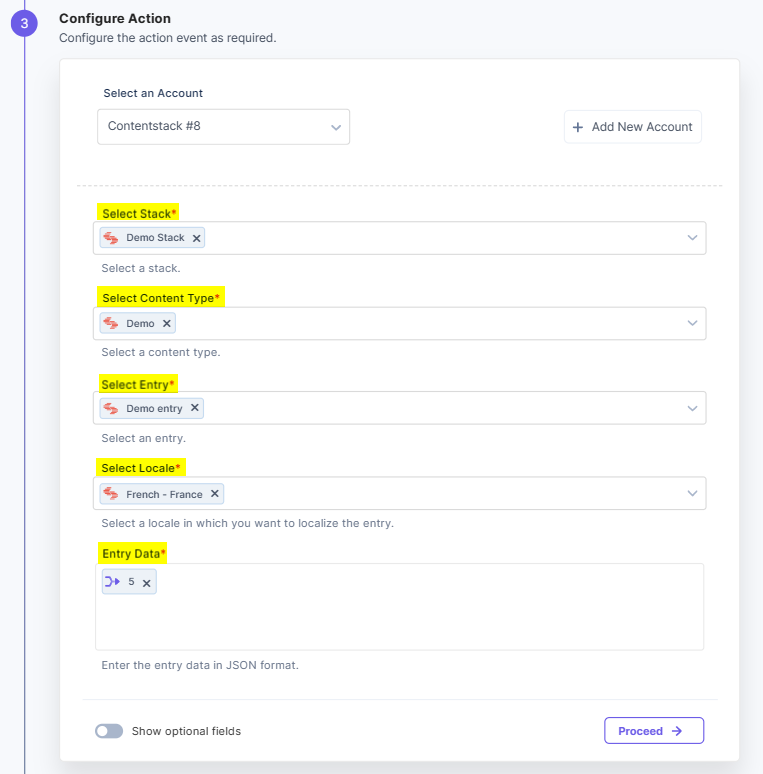
- Once done, click Proceed.
- Click Test Action.
- You will get the following response once the action is successfully executed.
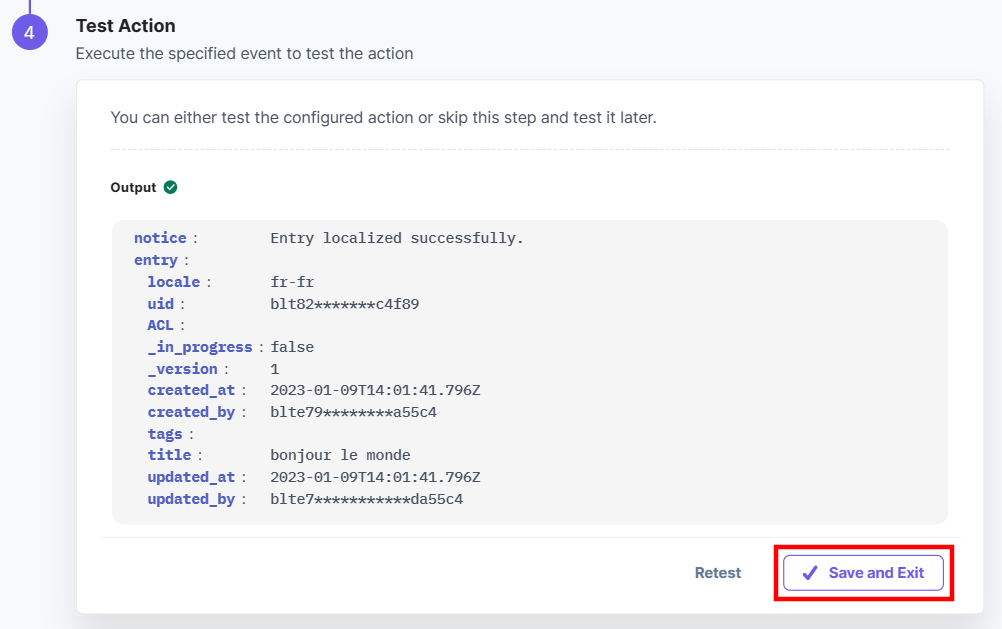
- Click Save and Exit to finish the process.
This sets the Localizing an Entry step.
Set Entry Workflow
The seventh step requires you to add workflow stages for your stack. This will allow you to define different stages of the review process for your team.
- Click + Add Step under the Else step from the left navigation panel.
- Within the Configure Action Step, click the Contentstack connector.
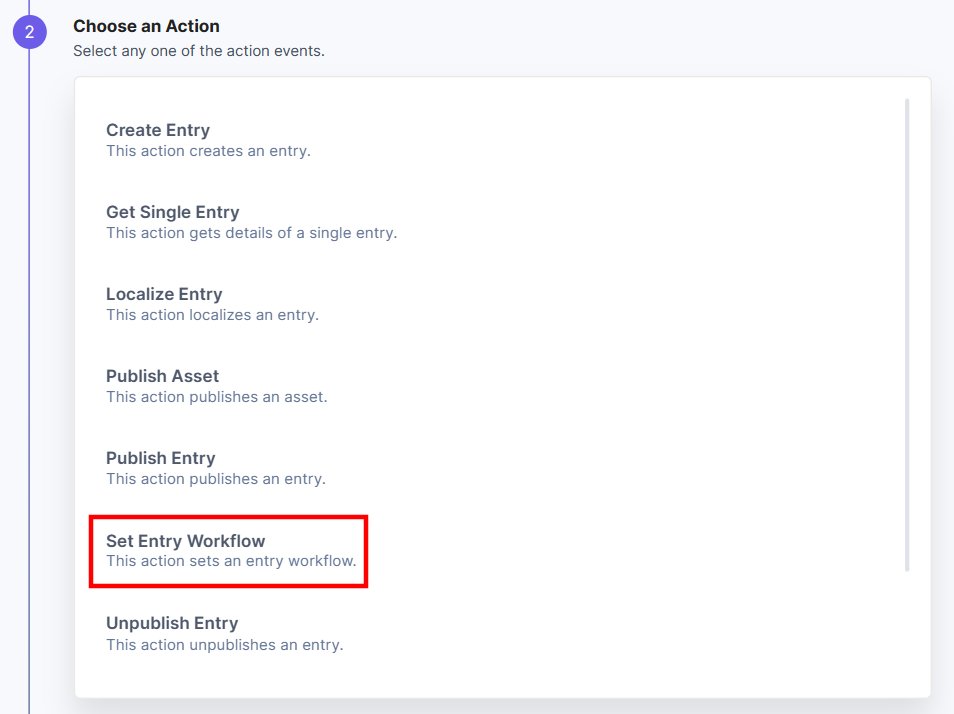
- Under Choose an Action, select the Set Entry Workflow action.
- Click + Add New Account to add your Contenstack account.
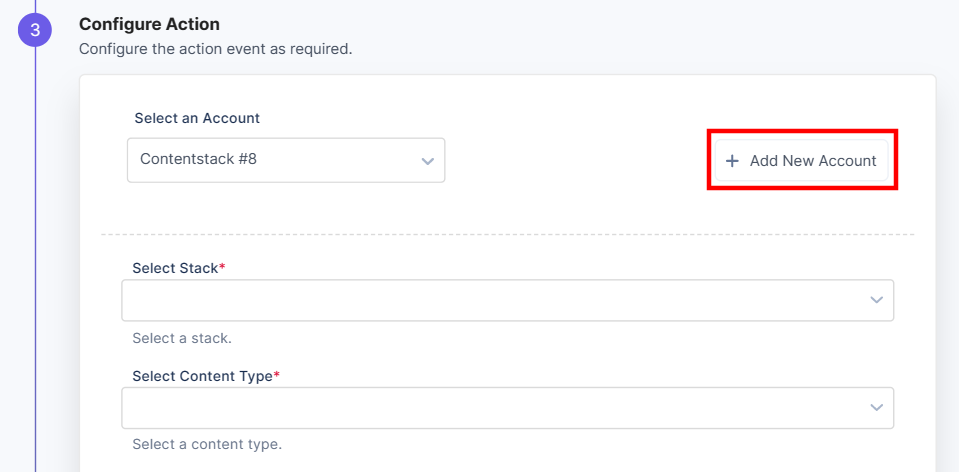
- Add details such as Stack, Content Type, Entry, Workflow Stage. You can add dynamic parameters such as Assignee Name, Assignee Role, Set Due Date, Notify via Email, Locale and let you add Workflow Comments.
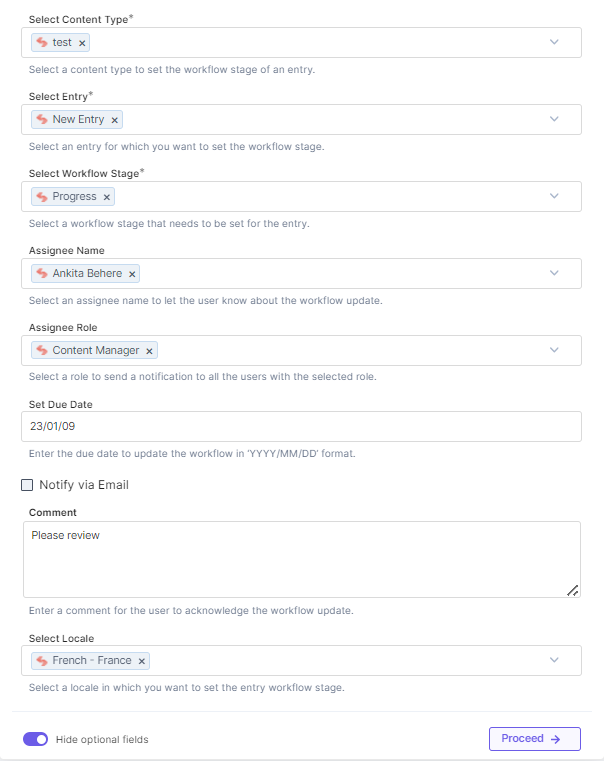
- Once done, click Proceed.
- Click Test Action.
- Click Save and Exit to finish the process.
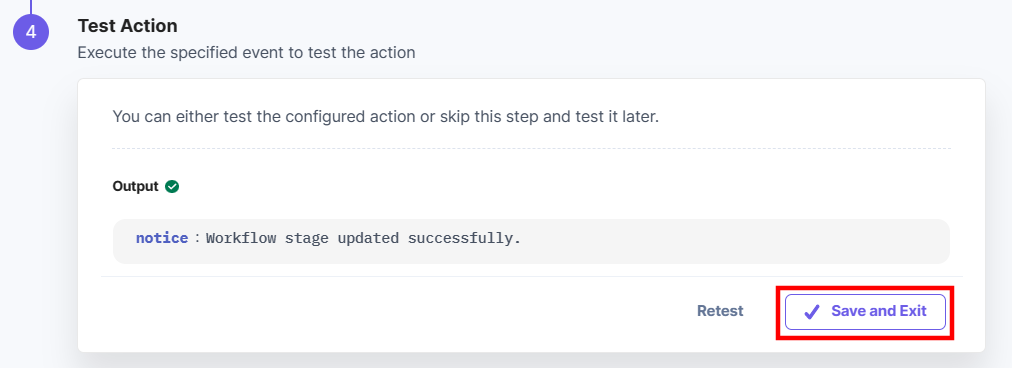
This sets the Set Entry Workflow step.
Send Message
The last step is to set up a notification channel in Slack.
- Click + Add Step under the Else step from the left navigation panel.
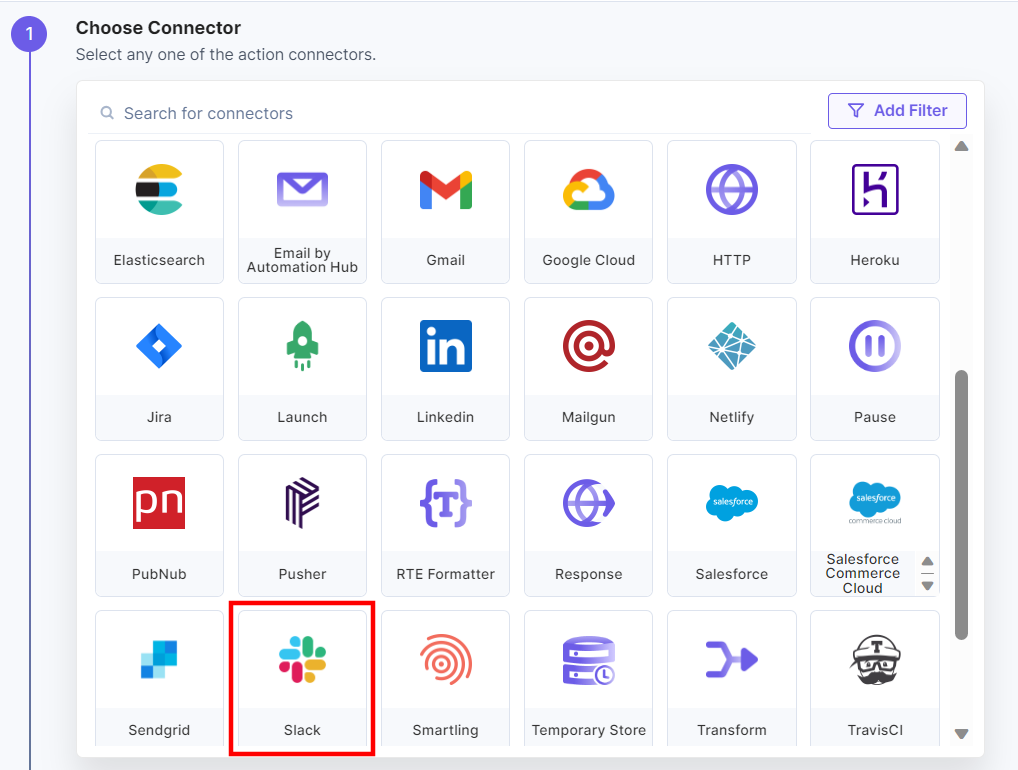
- Within the Configure Action Step, click the Slack connector.
- Under Choose an Action, select the Send Message action.

- Click + Add New Account to add your Slack account.
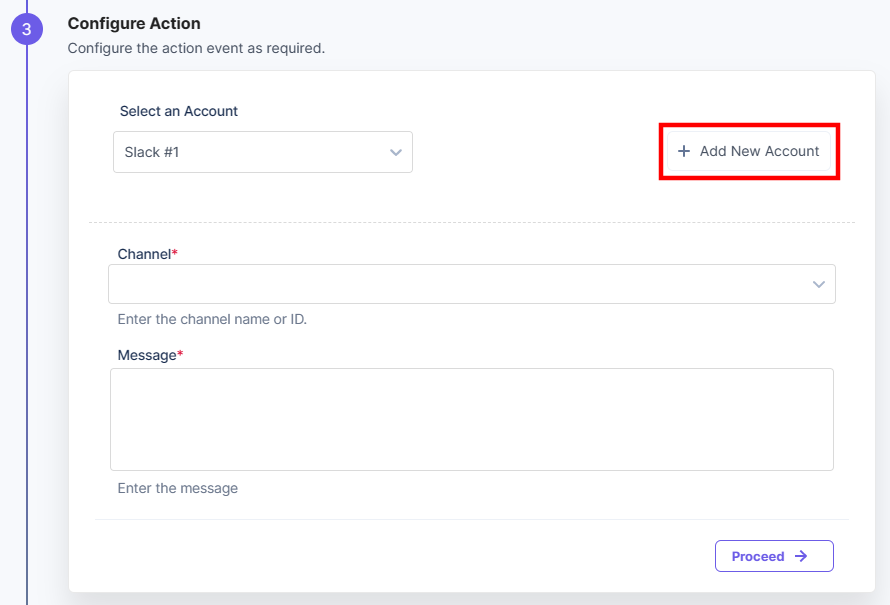
- Add the desired Slack Channel where you want to get the notifications. Enter the Message body.
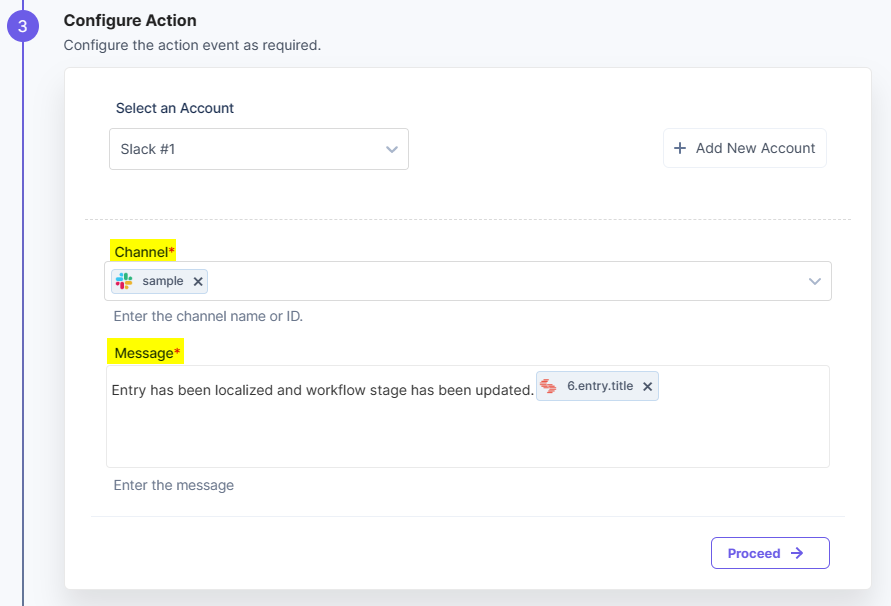
- Click Proceed.
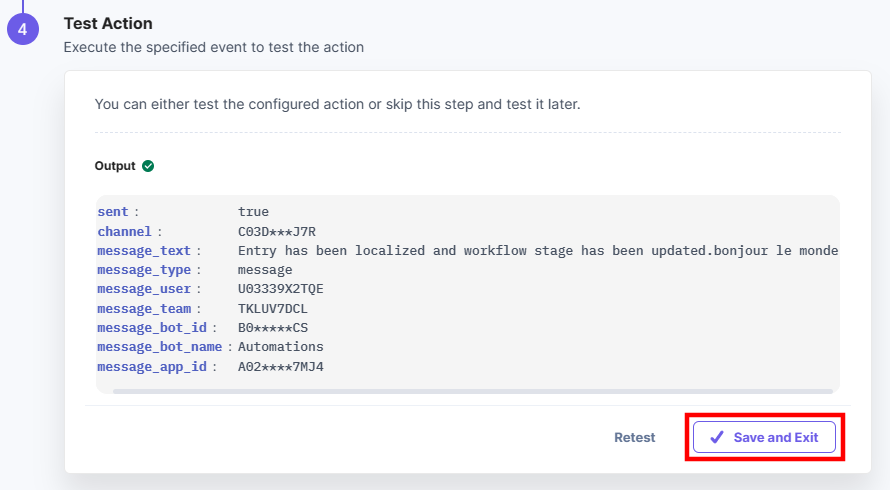
- Click Test Action.
- Click Save and Exit to finish the process.
This sets the last step to set up a notification channel in Slack.
More articles in "Automate Real World Scenarios"
