

.svg?format=pjpg&auto=webp)
.svg?format=pjpg&auto=webp)
.png?format=pjpg&auto=webp)


.png?format=pjpg&auto=webp)
ChatGPT Use Cases
The Contentstack Automate ChatGPT Connector integrates OpenAI's ChatGPT with Contentstack's content management system, allowing users to create high-quality AI-generated content directly within Contentstack. This streamlines content creation, enhances digital experiences, and offers two automation use cases for translating text and generating image URLs.
Below are two distinct ChatGPT automation use cases:
- For translating a specified string into a chosen language upon trigger invocation via the Function Calling action.
- For generating an image URL via the DALL-E 3 Image Generator action, which can then be utilized to create an asset in Contentstack.
Prerequisites
To use the ChatGPT connector, you first need to add your ChatGPT account and authorize it with a valid API Key and Organization ID.
Generate API Key and Get Organization ID from the OpenAI platform
To generate an API Key and Organization ID in your OpenAI platform account, follow the steps given below:
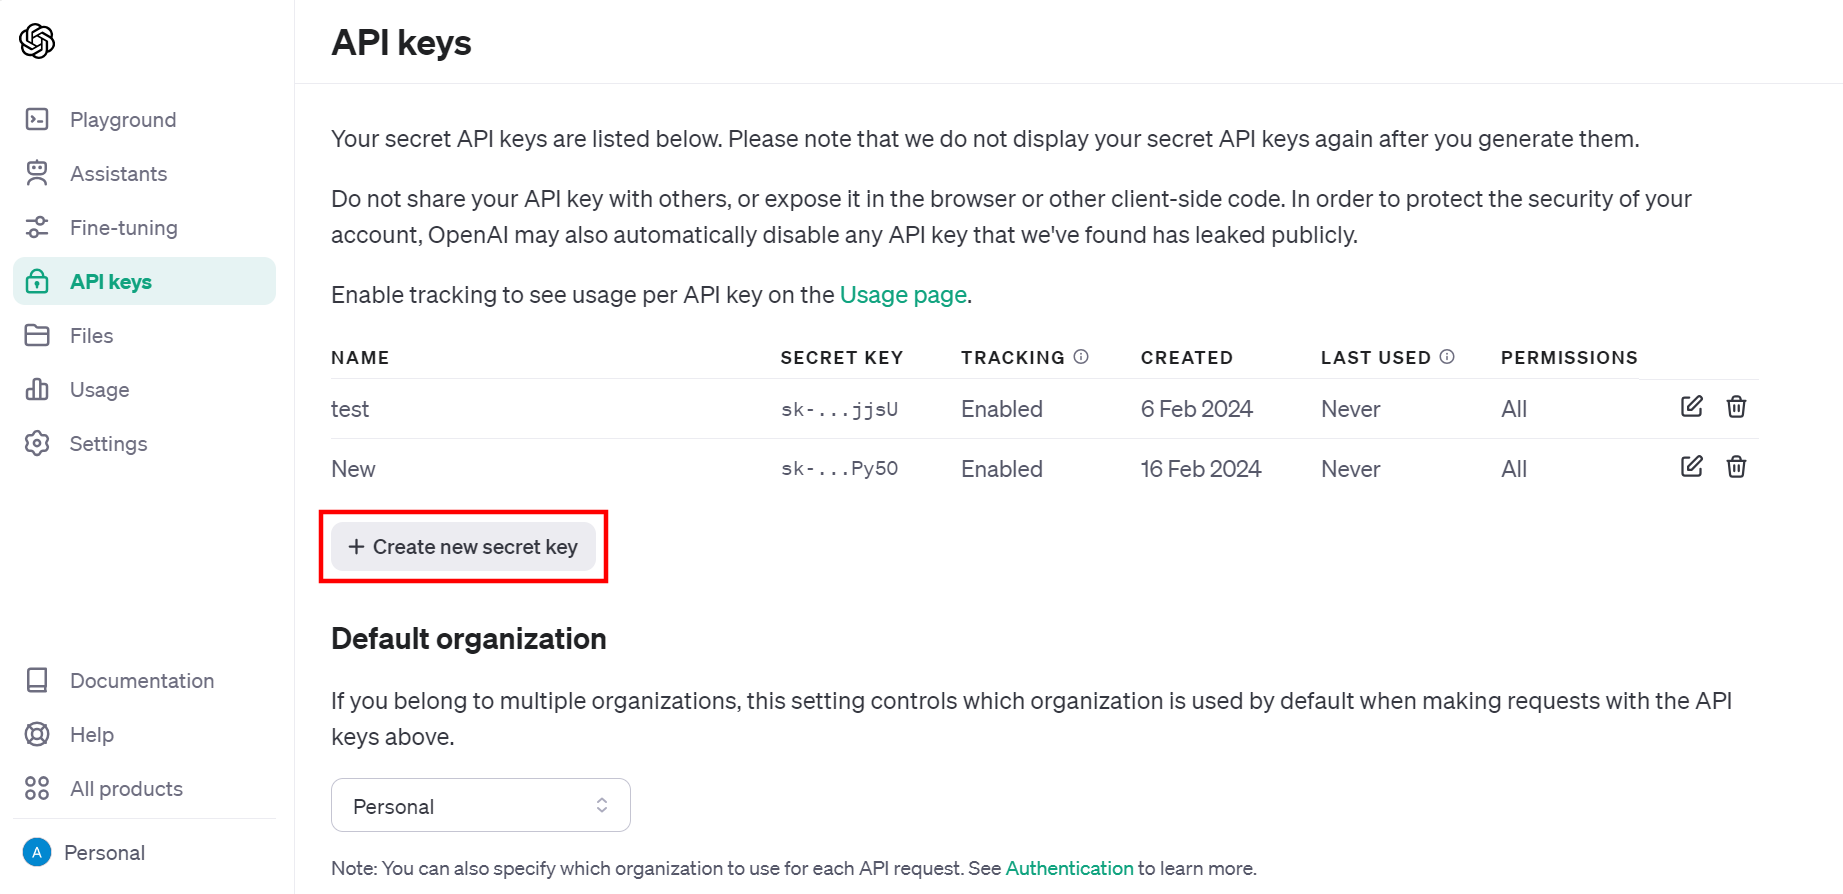
- Log in to your OpenAI platform account.
- Once you log in, you will be navigated to the API keys section as shown below. Click the + Create new secret key button to generate a new API Key.
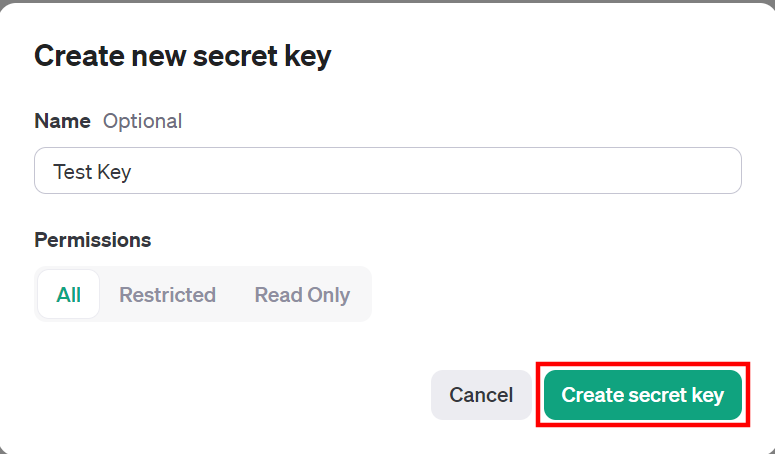
- On the Create new secret key modal, enter a Name (Optional) and select the appropriate Permissions. Click the Create secret key button to generate a new secret key.
An API Key gets generated. Copy it to your clipboard and click the Done button to close the pop-up.
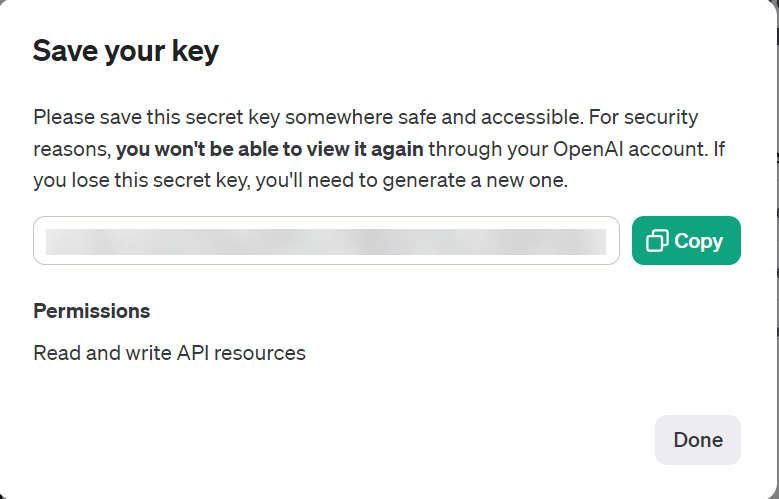
Note: Since the API Key is confidential, it is displayed only once. If you do not copy it to your clipboard, you will need to create a new secret key.
- We will now see how to get the Organization ID. So from the left navigation panel, click Settings, and you will get the Organization ID.
Copy the organization ID to your clipboard and paste it in the Organization ID field.
Note: Make sure you save the API Key and Organization ID to your clipboard, as these will be used to connect your ChatGPT account to Automate in the next step.
Connect your ChatGPT Account to Automate
Let’s take a look at how to add your ChatGPT account using the Organization ID and API Key generated above. To do so, follow the steps given below:
- Click Configure Action Step from the left navigation panel.
- Click Action Step to configure third-party services.
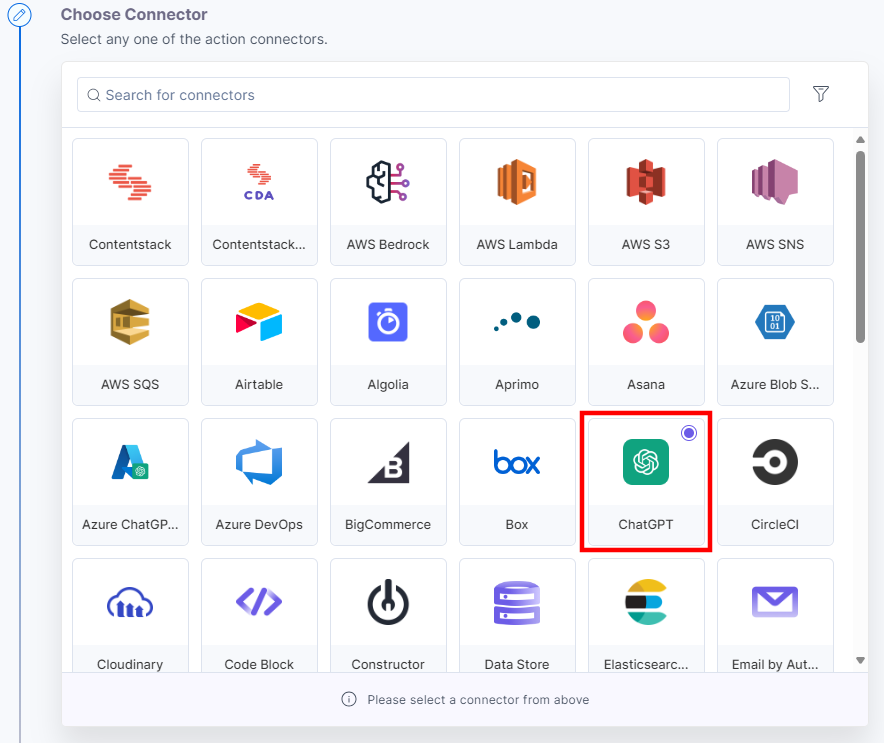
- Within the Configure Action Step, click the ChatGPT connector.
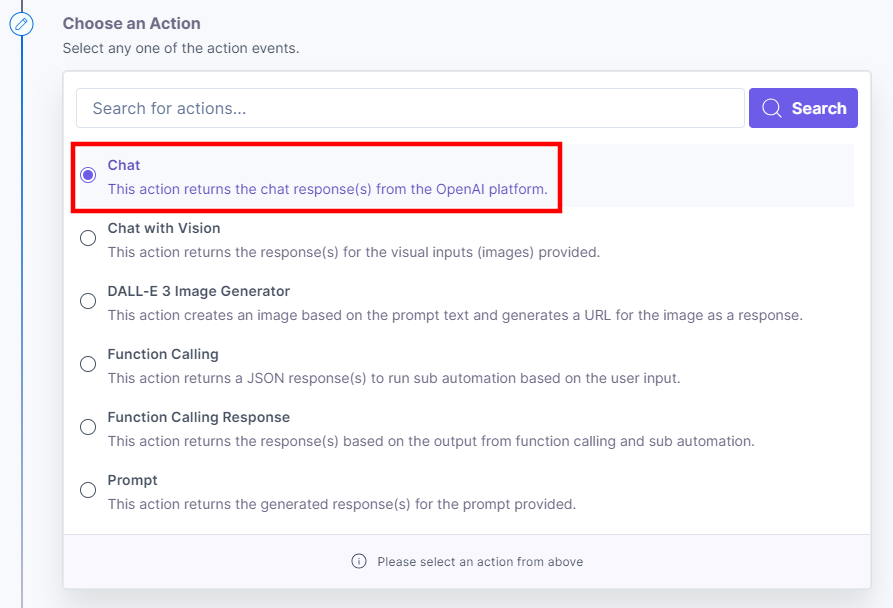
- Under Choose an Action tab, select any one action from the list. Here we are selecting the Chat action.
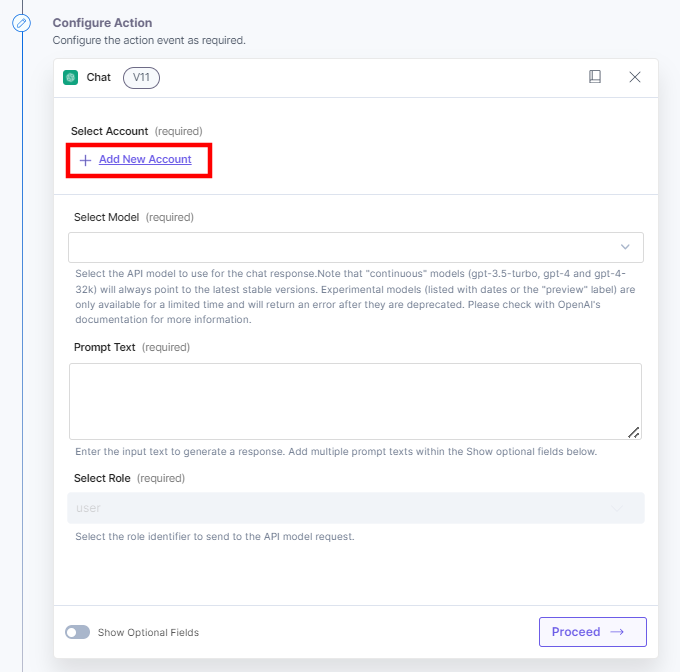
- On the Configure Action page, click the + Add New Account button to add your ChatGPT account.
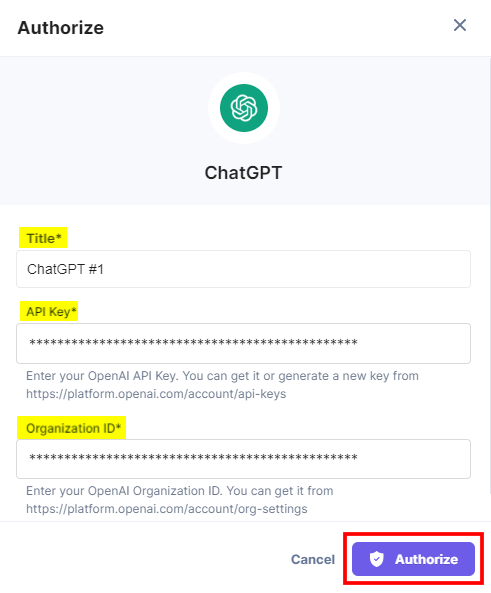
- In the Authorize modal, enter a Title. Enter the API Key and Organization ID retrieved in the Generate API Key and get Organization ID from the OpenAI Platform step from your OpenAI platform account. Click the Authorize button.
Once done, you can go ahead and set up your ChatGPT account.
Use Case 1: Translate the Response using Function Calling Action based on Sub Automation
Let’s see an example to understand the use of the Function Calling and Function Calling Response action.
In this use case, we will cover a scenario where, if a user hits a HTTP trigger URL, then a translated response will be shown.
Here, we configure the Function Calling action to add different sub automations created in a project. ChatGPT analyses and returns the response based on the most precise sub automation.
In the next step, after configuring the Sub Automation action, the user gets the translated output which can be formatted in string format using the Function Calling Response action.
Let’s look at the setup in detail.
Set up the Connectors
-
Configure HTTP Trigger
- From the left navigation panel, click Configure Trigger.
- Within the Configure Trigger step, click the HTTP connector.
- Select a Method, i.e. GET/POST.
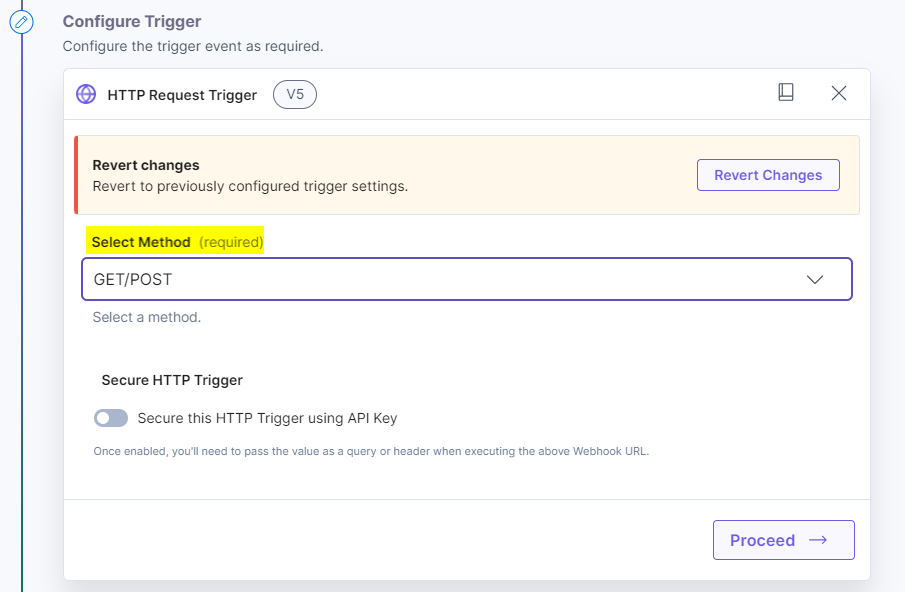
- Click the Proceed button.
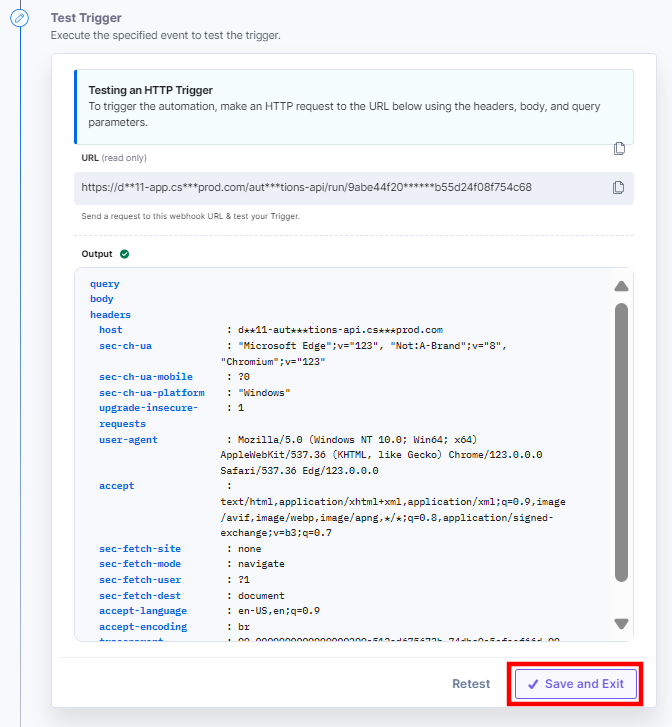
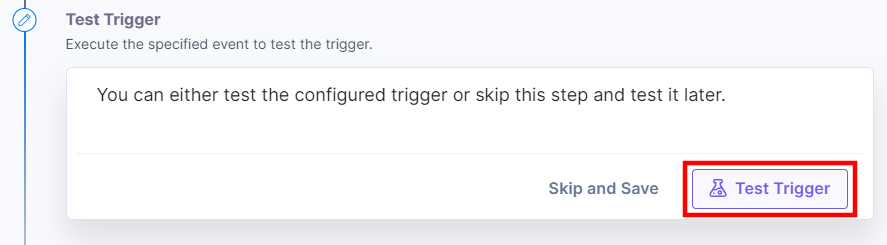
- Click the Test Trigger button.
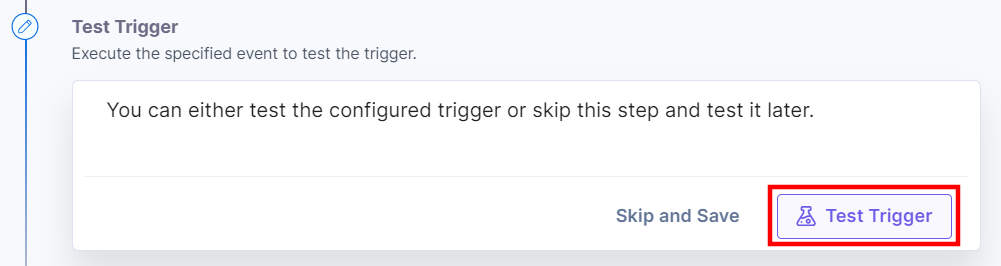
- Click the Save and Exit button.
-
Configure Function Calling Action
- From the left navigation panel, click Configure Action Step .
- Then, click Action Step to configure third-party services.
- Within the Configure Action Step, click the ChatGPT connector.
- Under Choose an Action tab, select the Function Calling action.
- On the Function Calling Configure Action page, enter the details given below:
- Click + Add New Account button to connect your ChatGPT account as shown in the Connect your ChatGPT Account to Automate step.
- Select the API Model from the drop-down list to generate content for the chat responses.
- Under the Prompt Input section, click + Add Prompt Text button.
- Select the Role and enter the Input Query. You can enter an input query i.e., Translate to German language.
- Click + Add Sub Automation button to add multiple sub automations configured within your project. ChatGPT will return the most accurate response based on the sub automations.
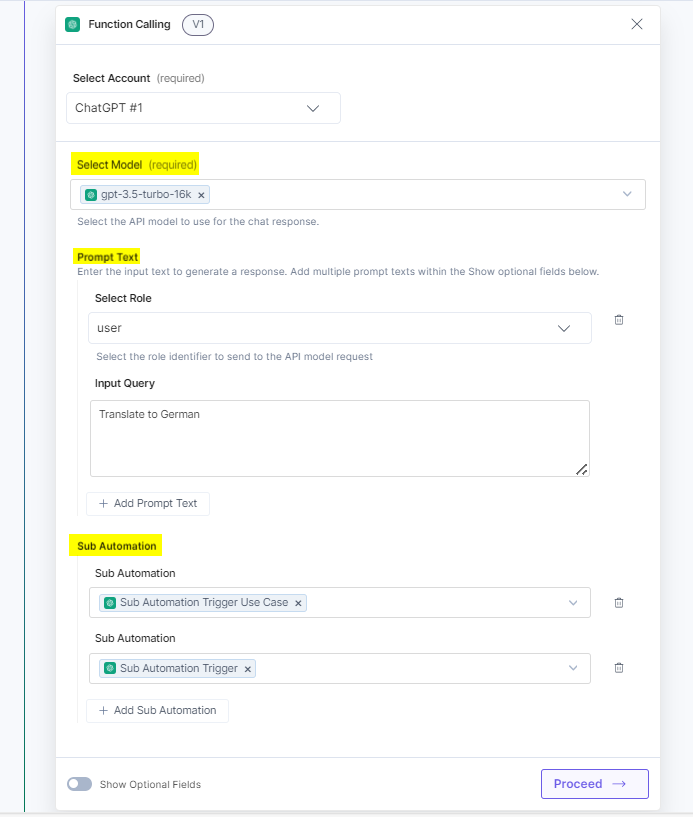
- Click Proceed.
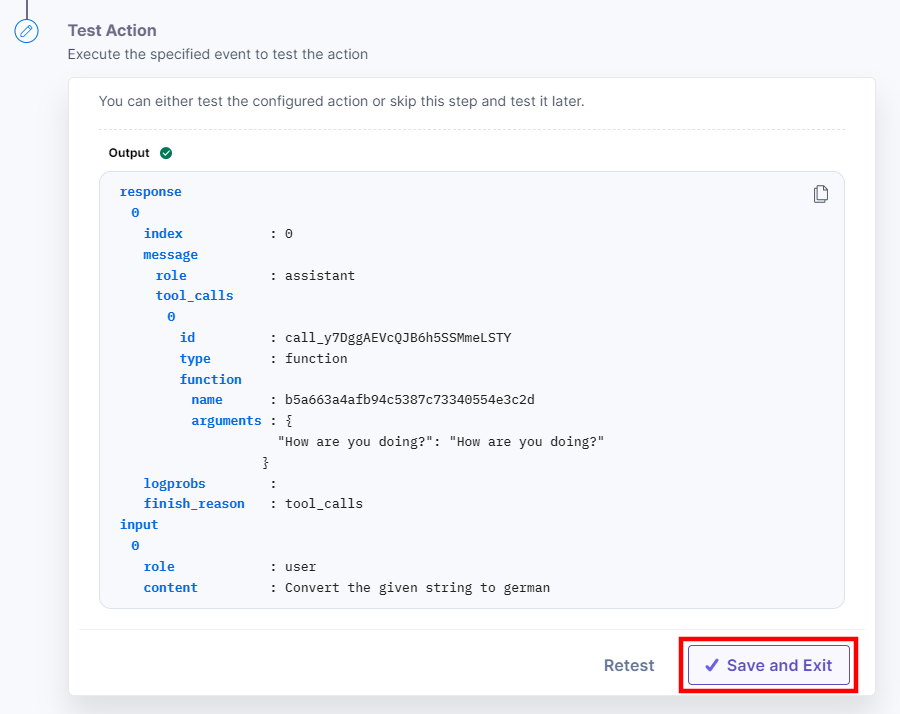
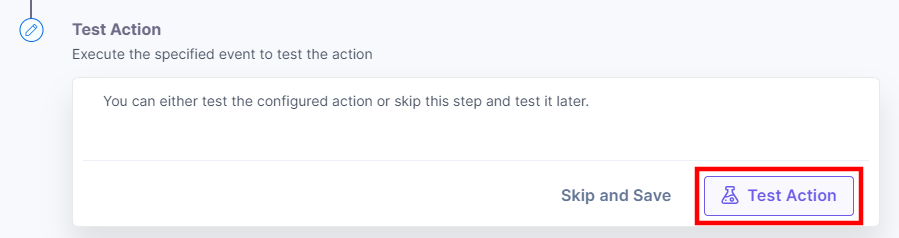
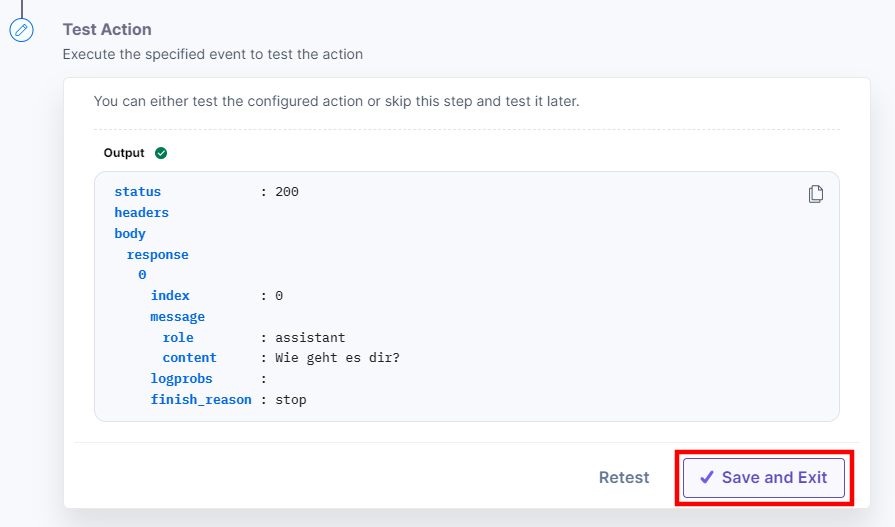
- Click the Test Action button.

- Click the Save and Exit button. You will see the response in the output.
-
Configure Sub Automation Action
- Within the Configure Action Step, click the Sub Automation connector.
- Under Choose an Action tab, select the Sub Automation action.
- On the Sub Automation Configure Action page, enter the details given below:
- Select the Sub Automation from the drop-down. Select the Suggested Data Element(s) value from the drop-down. The Suggested Data Element(s) will suggest the function name from the previous step.
- In the Sub Automation Template, select the Suggested Data Element(s). The Suggested Data Element(s) will suggest the sub automation response.
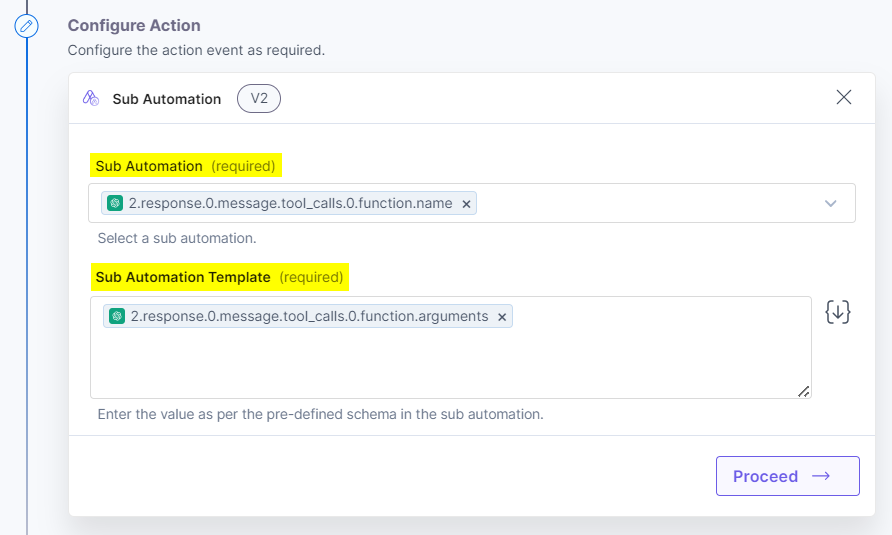
- Click the Proceed button.
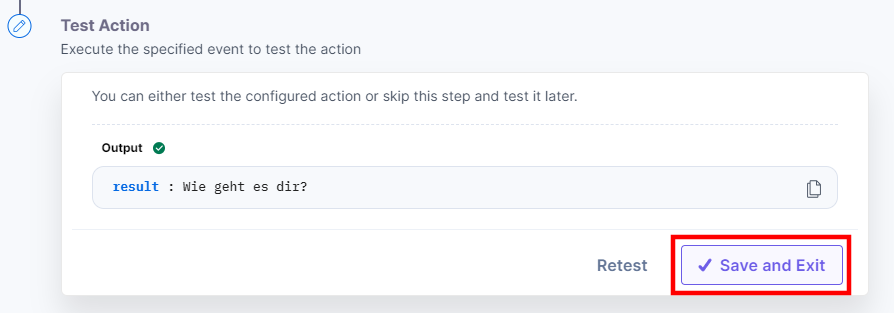
- To test the configured action, click the Test Action button.
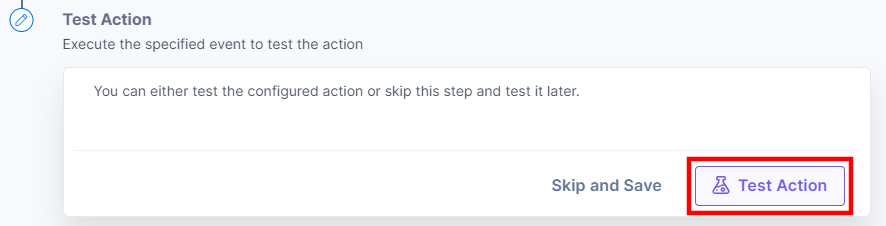
- Click the Save and Exit button. You will see the translated string in the output.
-
Configure Function Calling Response Action
- Within the Configure Action Step, click the ChatGPT connector.
- Under Choose an Action tab, select the Function Calling Response action.
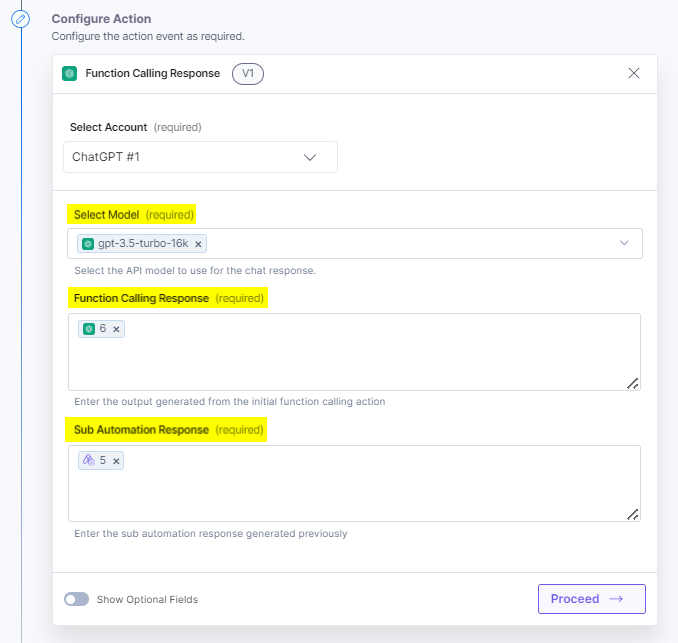
- On the Function Calling Response Configure Action page, enter the details given below:
- Click + Add New Account button to connect your ChatGPT account as shown in the Connect your ChatGPT Account to Automate step.
- Select the API Model from the drop-down list for response predictions.
Additional Resource: For more information about the API Models, please refer to ChatGPT API Models.
- In the Function Calling Response field, select the output of the Function Calling action from the previous step.
- In the Sub Automation Response field, select the output of the sub automation.
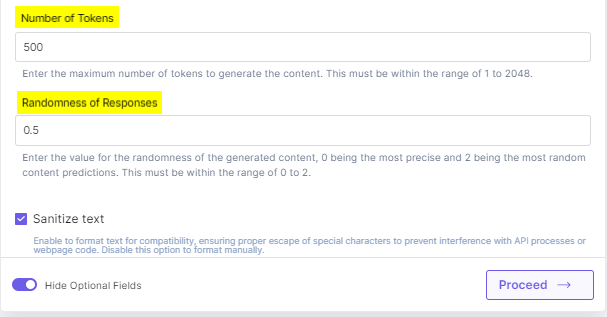
- Click the Show Optional Fields toggle button to use these optional fields.
- Click Proceed.
- Check if the details are correct. If yes, then click Test Action.
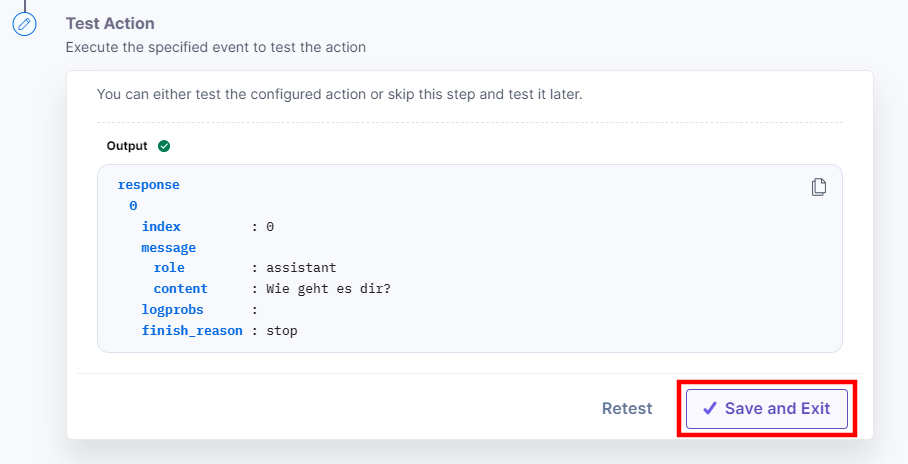
- You will get the response(s). Once set, click Save and Exit. You see the response in a proper string format.
-
Configure Response Connector
- Within the Configure Action Step, click the Response connector.
- Under Choose an Action tab, select the Response action.
- On the Response Configure Action page, enter the details given below:
- Based on the results of your configured action, enter the Response Status.
- In the Response Body field, add the data you want to send as the response. Fetch the data received from the Function Calling Response action.
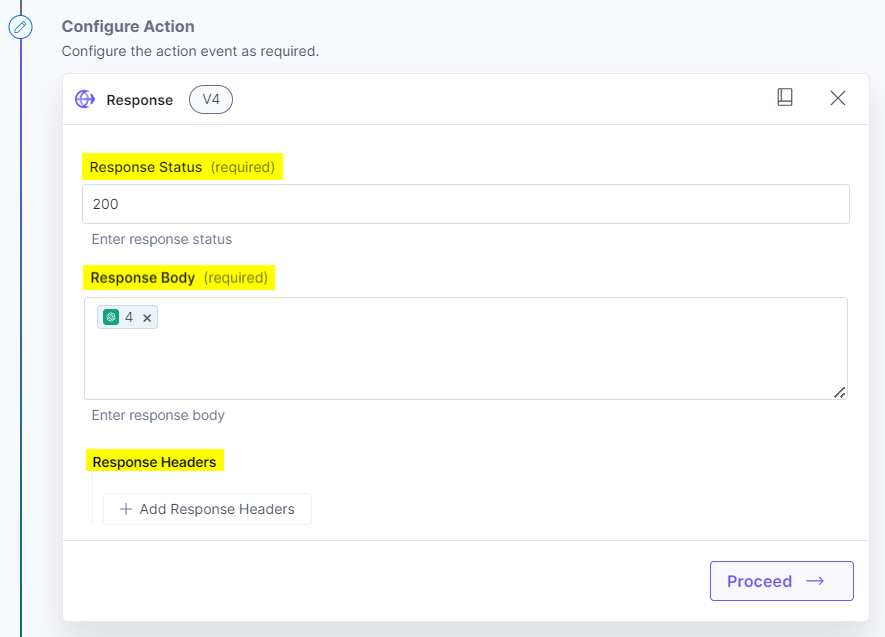
- Additionally, you can add Response Headers to provide any additional information.
- Click Proceed.
- To execute and test the configured action, click Test Action.
- On successful configuration, you can see the below output. Click Save and Exit.
-
You can check the response by activating the automation and visiting the HTTP webhook URL configured in the trigger step.
Use Case 2: Generate an Image using the DALL-E 3 Image Generator Action
Let’s see an example to understand the use of the DALL-E 3 Image Generator action.
In this use case, we will cover a scenario where, if a user creates an entry in Contentstack, the entry gets updated with the image generated via the DALL-E 3 Image Generator.
Creating a new entry triggers the automation, and the DALL-E 3 Image Generator generates an image based on the entry title fetched from the Entry trigger step. It generates an image URL based on the title.
In the next step, configure the Create an Asset action and fetch the image generated in the previous step. An asset is created in the Contentstack Assets module.
Once the asset is created, configure the Update an Entry action. Fetch the asset UID in the Entry Data field to update the entry with the image generated.
Let’s look at the setup in detail.
Set up the Connectors
-
Configure Entry Trigger
- Within the Configure Trigger step, click the Contentstack connector.
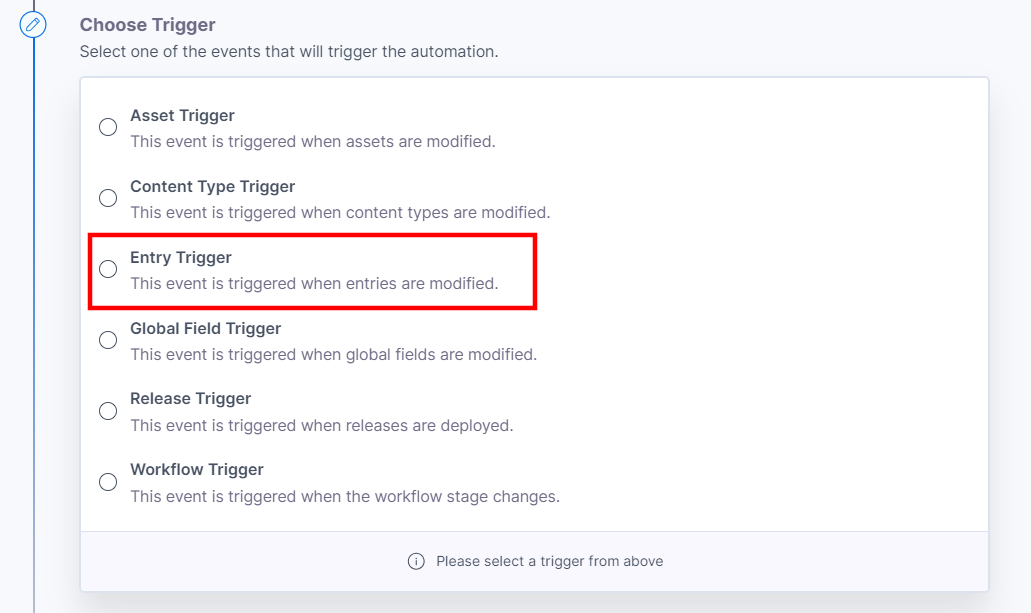
- Under Choose Trigger tab, select the Entry trigger.
- Add your Contentstack account. For more information, refer to the Contentstack Trigger documentation.
- In the Select an Event drop-down, choose the Entry Created event from the list of events.
- Select a Stack, and a Branch from the Lookup drop-down.
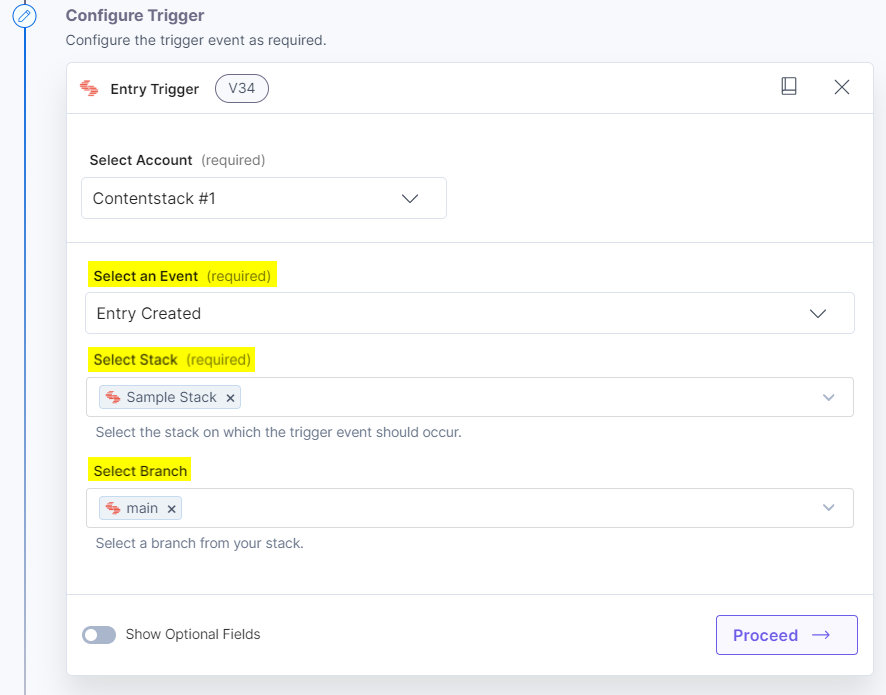
- Once done, click Proceed.
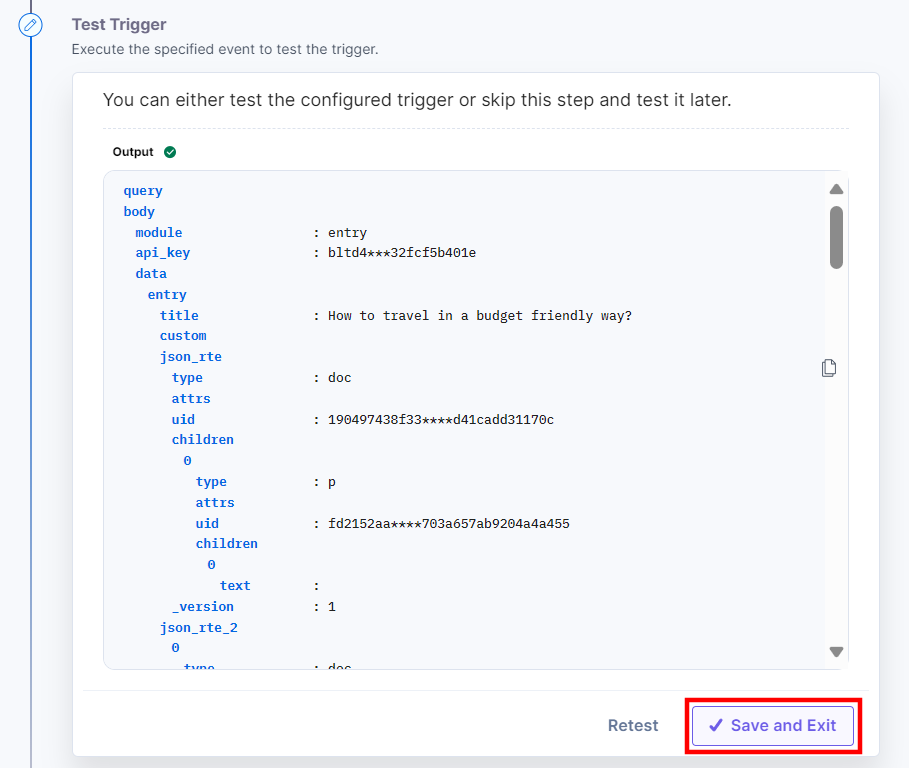
- Click Test Trigger to test the configured trigger.
Note: You can specify trigger conditions that will determine whether the complete automation should run or not. The automation and conditional path will not be carried out if the trigger conditions are not satisfied. You can see the updated list of executions in the Execution Log section.
- On successful configuration, you can see the below output. Click Save and Exit.
-
Configure ChatGPT Connector
- Within the Configure Action Step, click the ChatGPT connector.
- Under Choose an Action, select the DALL-E 3 Image Generator action.
- On the Function Calling Configure Action page, enter the details given below:
- Click + Add New Account button to connect your ChatGPT account as shown in the Connect your ChatGPT Account to Automate step.
- Provide the Prompt Text to generate an image response.
For our use case, provide the following prompt text as shown below: “Create an image for the Blog title - ” followed by the entry title fetched from the previous Entry trigger step.
- In the Select Image Size drop-down, select the resolution for the image generation from the drop-down list. This will generate an image in the defined size.
- In the Select Style drop-down, select the style for the image generation from the drop-down list. By default, the image is generated in Vivid style.
- In the Select Quality drop-down, select the quality for the image generation from the drop-down list. By default, the image is generated in Standard quality.

- Click Proceed.
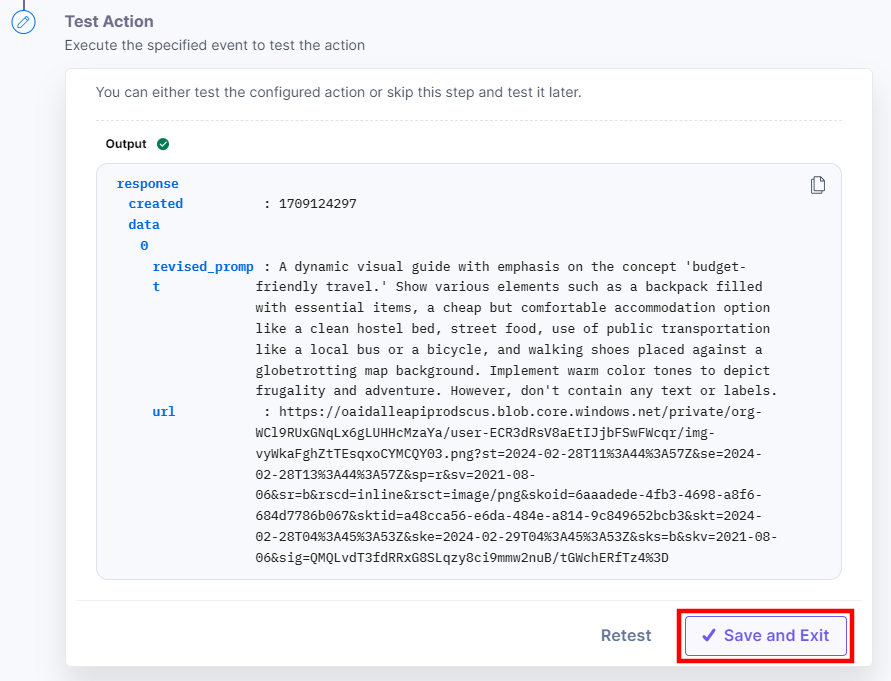
- Check if the details are correct. If yes, then click Test Action.
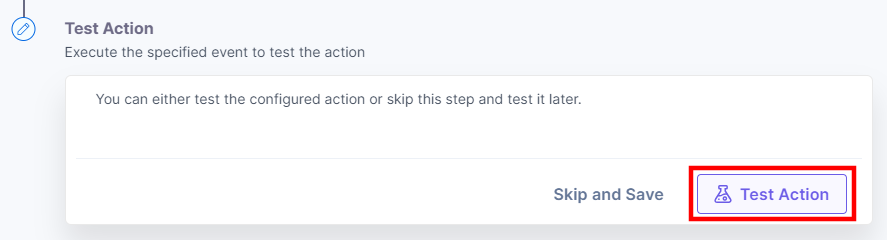
- You will get the following response. Once set, click Save and Exit.
-
Configure Create an Asset Action
- Within the Configure Action Step, click the Contentstack connector.
- Under Choose an Action tab, select Create an Asset action.
- On the Create an Asset Configure Action page, enter the details given below:
- Click + Add New Account button to connect your Contentstack account.
Additional Resource: For more information, refer to the Contentstack Management documentation.
- Select a Stack from the Lookup list and enter a Title for the asset. Fetch the entry title from the previous step as shown below. This will create an asset with the same name as the entry.
- Specify a File Name for the asset, such as ‘vacation.png’ or ‘vacation.jpeg’.
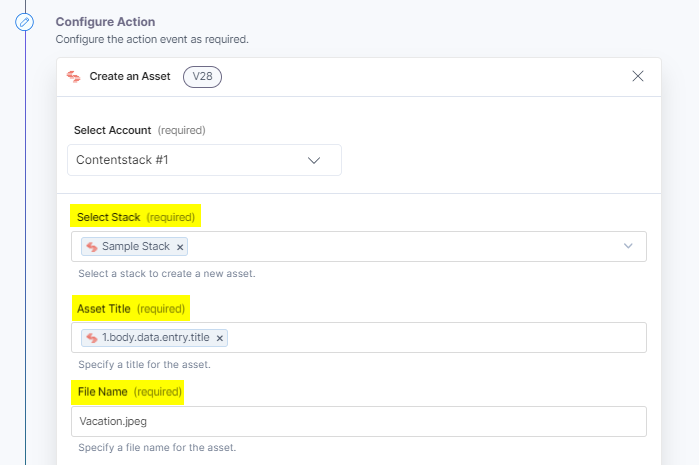
- Select the Input URL of the image fetched from the previous step, i.e., DALL-E 3 Image Generator action step and specify a suitable Description for the asset.

- Optionally, enable the Show Optional Fields toggle button to display the Select Folder field. In the Select Folder drop-down, choose a destination folder to create an asset in it.
- Click + Add New Account button to connect your Contentstack account.
- Once done, click Proceed.
- Click Test Action to test the configured action.
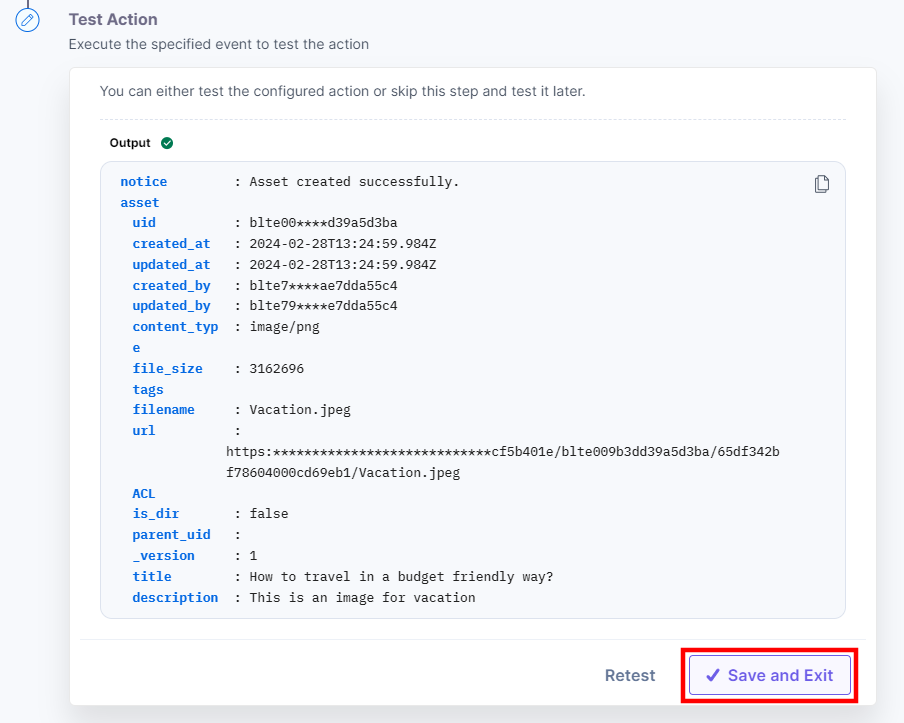
- On successful configuration, you can see the below output. Click Save and Exit.
-
Configure Update an Entry Action
- Within the Configure Action Step, click the Contentstack connector.
- Under Choose an Action tab, select Update an Entry action.
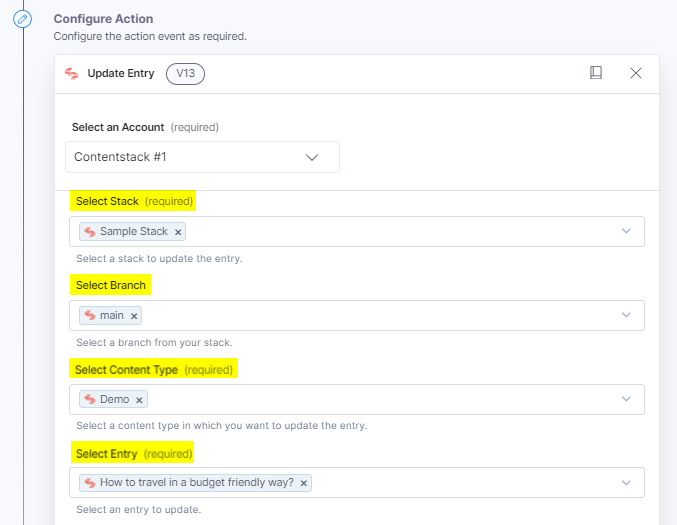
- On the Update an Entry Configure Action page, enter the details given below:
- Click + Add New Account button to connect your Contentstack account.
Additional Resource: For more information, refer to the Contentstack Management documentation.
- Select a Stack, Branch, Content Type, and Entry from the Lookup list.
You can fetch the UIDs for all the previously configured automation steps directly from the Suggested Data Element(s) list.
Note: By default, the main branch is selected (even if the Branch field is empty).
- In the Entry Data field, you can add a predefined schema template for your entry data. This will add a structure to provide your entry data in a particular format for different fields.
Note: You must configure the entry data for JSON Rich Text Editor, Custom, and Experience Container fields manually.
For our use case, provide the asset UID created in the Create an Asset step to add the image in the entry.
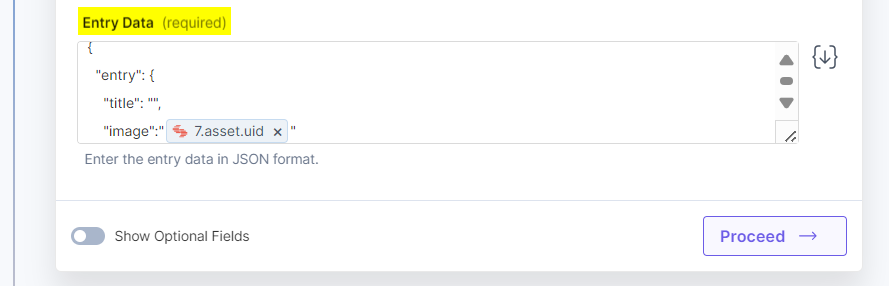
Note: Enter the data in JSON format only.
- Optionally enable the Show Optional Fields toggle button to display additional fields. Select the Locale and check the Include branch checkbox to fetch these details in addition to the entry details.
- Click + Add New Account button to connect your Contentstack account.
- Once done, click Proceed.
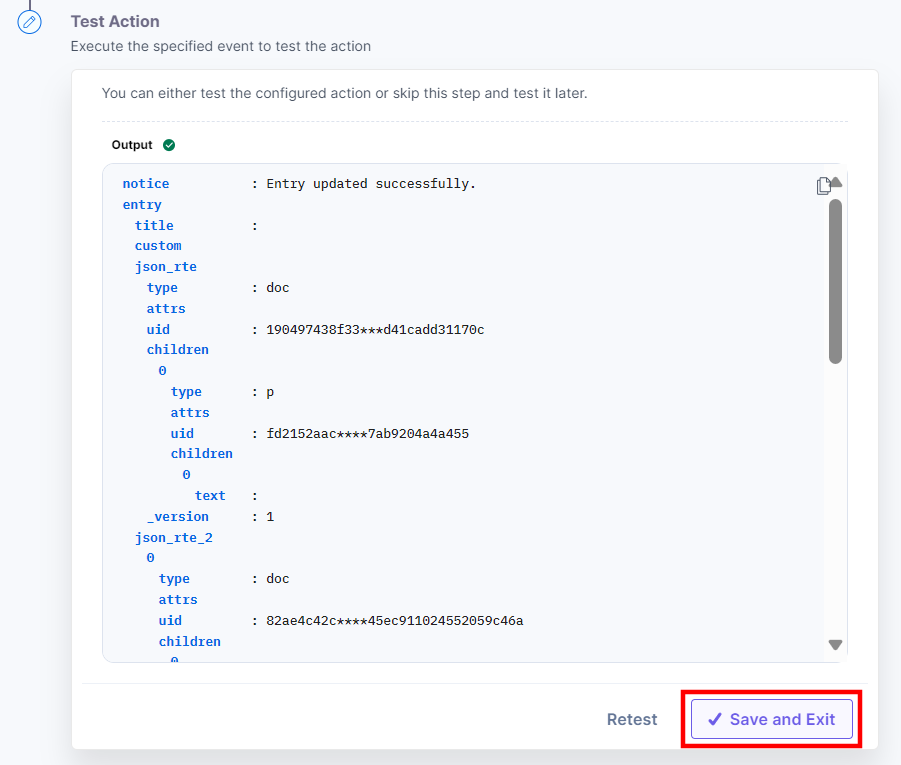
- Click Test Action to test the configured action.
- On successful configuration, you can see the below output. Click Save and Exit.
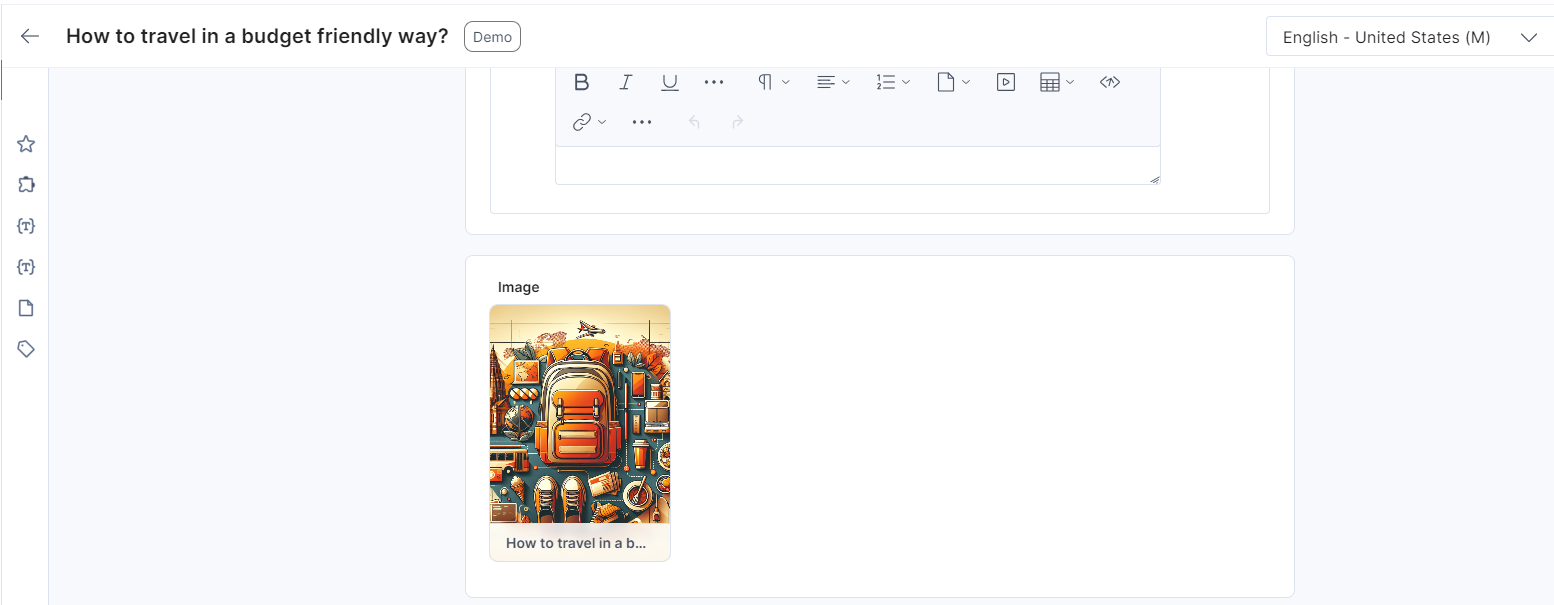
- Navigate to your entry and refresh the page to see the updated entry.
More articles in "Automate Real World Scenarios"
