Create/Upload Assets
Assets such as images, videos, documents, and other files are essential for creating rich and engaging content. In Contentstack, the Assets module allows you to upload, organize, and manage these files efficiently.
You can start adding assets directly into your default root location, or you can create folders and upload your assets within them.
Note: Assets are specific to the branch they are uploaded to. For example, an asset uploaded to the development branch can only be accessed within that branch. Assets in non-main branches include the branch UID in their URL. Refer to the Branch-Specific Modules document for details.
To upload a new asset, log in to your Contentstack account and perform the following steps:
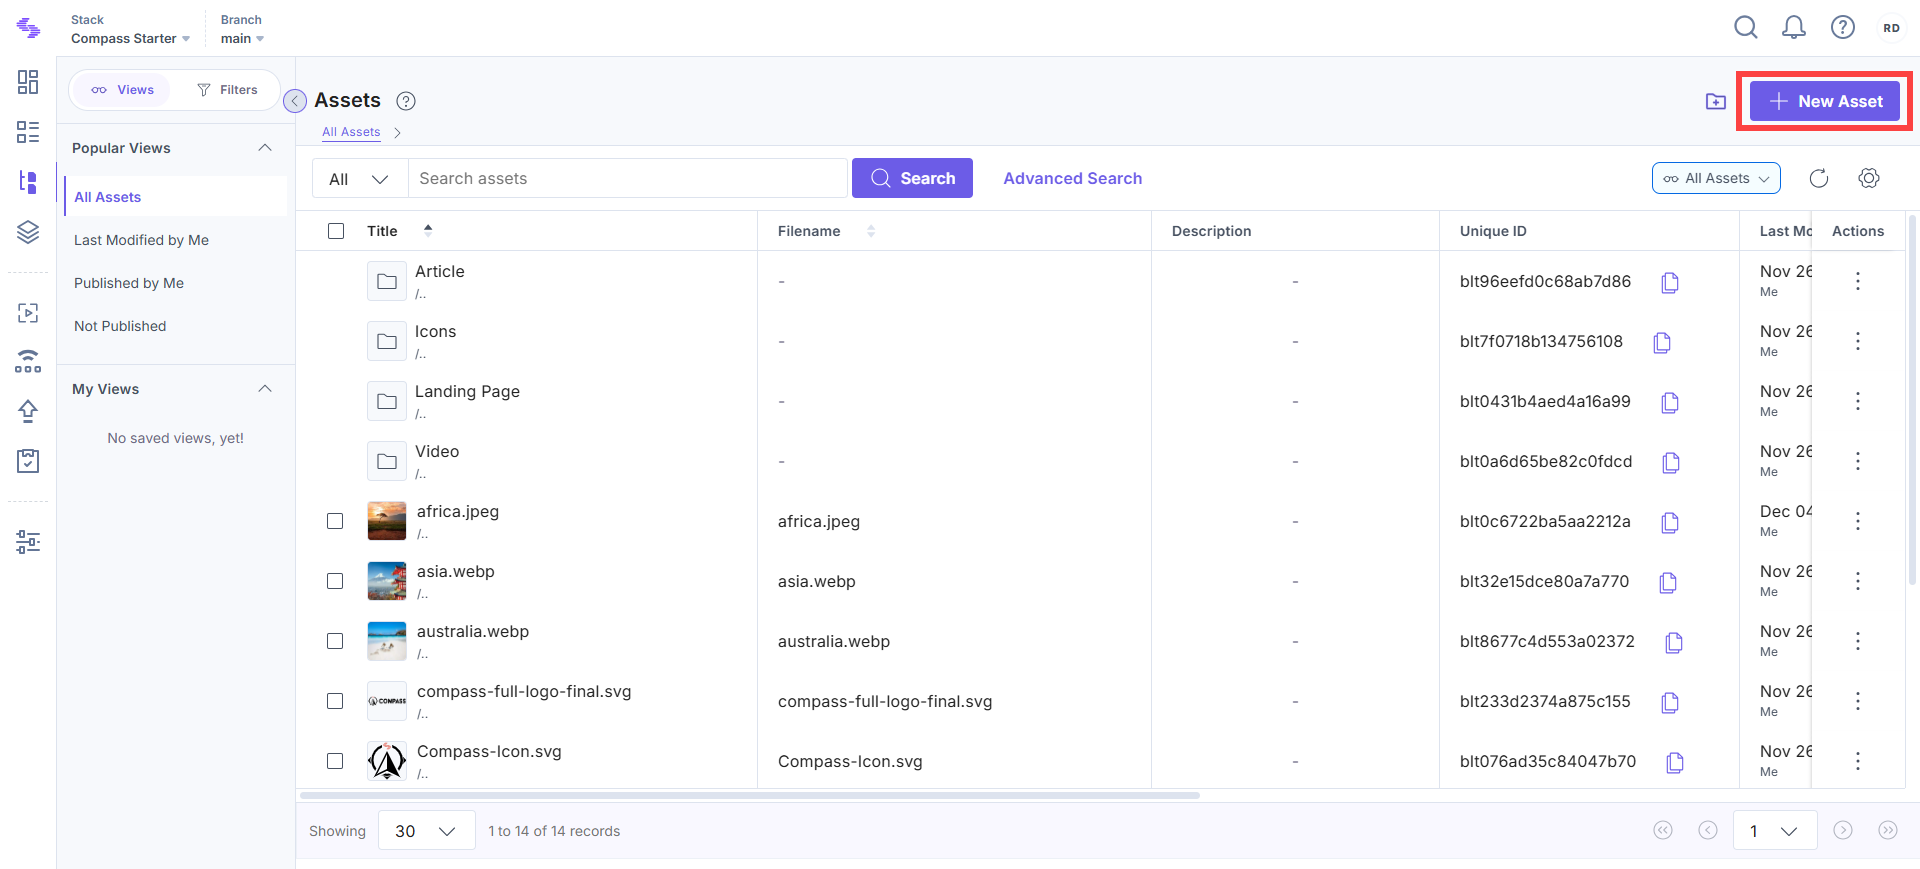
- Go to your stack and click the “Assets” icon in the left navigation panel or use the shortcut key “A” (for both Windows and Mac users).
- Drag files directly into the Assets module.
Note: You cannot drag and drop folders. Instead, create a folder and upload files into it.
- Alternatively, you can click + New Asset in the top right corner.

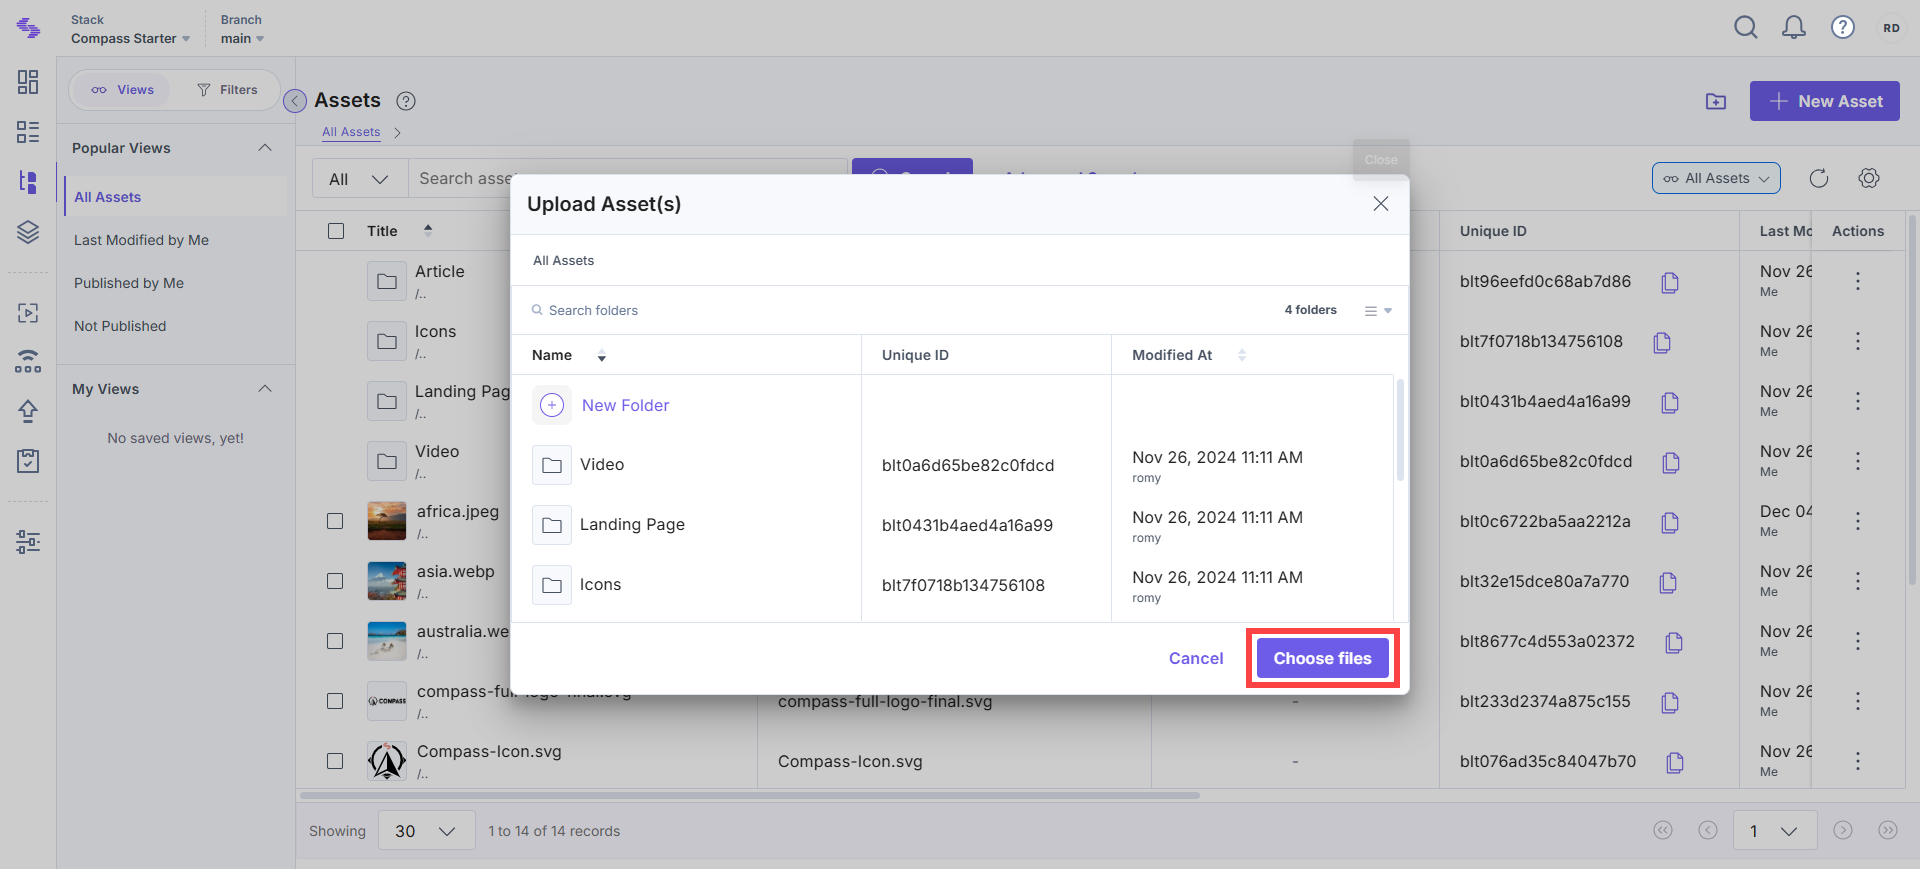
- In the Upload Asset(s) modal, click Choose files to select the files from your system.

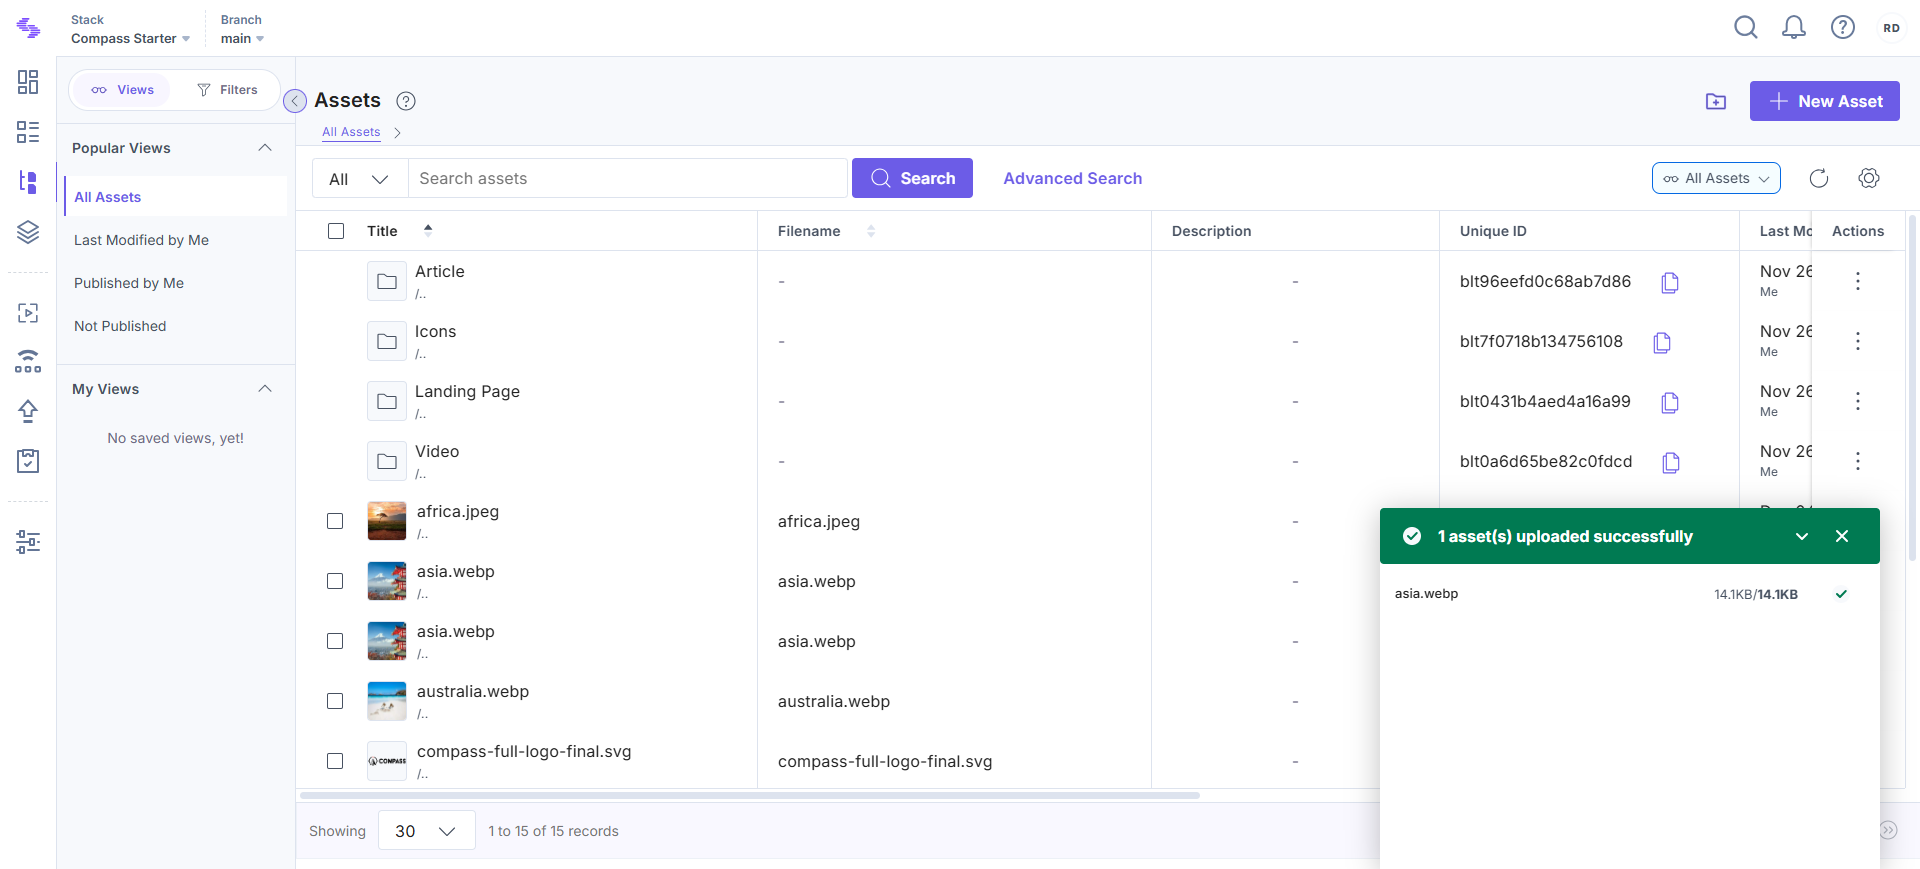
- Once selected, the upload progress and success status of the assets will be displayed.

- A maximum of 10 assets can be uploaded at once.
- Each asset file should not exceed 700 MB.
Asset Details
When you open an asset, its details are displayed on the asset detail page. Below is a list of the key fields and features.
- Title: The name of the asset file.
- Description: A short description of the asset.
- Tags: Tags associated with the asset for easier categorization.
- Filename: The original file name.
Note: Spaces are replaced with underscores.
- Unique ID: A unique identifier for the asset. This allows multiple files with the same name or multiple uploads of the same file.
- File URL: Automatically generated based on the filename and follows the pattern:
https://{base_url}/v3/assets/{stack_api_key}/{asset_uid}/{version_uid}/filenameUse the Click to copy icon to copy the URL.
- Permanent URL: Once generated, it is a URL that remains constant, even after modifications to the asset.
- File Location: The folder where the file is stored. You can use the Change location icon to update the location.
- Type, File Size, and Resolution: Displays the file type, size, and resolution for asset files.
- Created By/At: Details about the creator and the upload timestamp.
- Modified By/At: Details about the last person to modify the asset and the timestamp.
- Referenced In: A list of entries and content types referencing the asset.
API Reference
To create or upload assets via API, refer to the Upload asset API request.


.svg?format=pjpg&auto=webp)
.svg?format=pjpg&auto=webp)
.png?format=pjpg&auto=webp)


.png?format=pjpg&auto=webp)