

.svg?format=pjpg&auto=webp)
.svg?format=pjpg&auto=webp)
.png?format=pjpg&auto=webp)


.png?format=pjpg&auto=webp)
New Trial 10 Day Lesson Plan
Welcome to your personal Contentstack Trial!
If you signed up for a new trial account, you should have received your login credentials in an email (look for subject “Contentstack Login”). Please login before you begin your lessons.
If you don’t have a trial account setup, you can Request a Free Trial.
Table of Content:
- Day 1 – Let’s Get Started
- Day 2 – Create Your First Content Model
- Day 3 – Work with APIs and Environments
- Day 4 – Leverage Contentstack SDKs
- Day 5 – Check In and Additional Support
- Day 6 – Advanced Content Modeling
- Day 7 – Set Up Workflows, Roles, and Permissions
- Day 8 – Get an Editor to Test Your Creation
- Day 9 – Use Webhooks
- Day 10 – Leverage the Power of Extensions
Let’s start on each lesson plan below.
-
Day 1 – Let’s Get Started
So let’s get started!
When you log in, your Contentstack instance is a clean slate. That’s intentional so you can build your experience from the ground up without any legacy baggage. It’s your trial, so you’re in control.
You can choose one of two routes (or both, really).
Simple HTML Site Static Site with Gatsby If you want to launch a simple site, follow these steps to launch your first webpage: Quickstart in 5 mins Or connect Contentstack to a static site generator through the Gatsby sample app: Build a sample website using Gatsby and Contentstack You may also want to check out our Postman Collections. We’ve seen this help developers who already know REST/GraphQL get up to speed quickly.
We’re here for you. We want your Contentstack Trial to give you the answers you’re looking for. Take advantage of our:
- Documentation - If you prefer to read and watch our tutorials in your own time, check out Contentstack Docs for concepts, code, and samples.
- In-App Support - If you get stuck, give us a shout through our in-app chat. No bots, no sales folks, just real engineers who will help you in a matter of minutes.
- Personal Q&A - Want to chat through something one-on-one? Our solution architects are happy to help you out directly too. Schedule half an hour with a product expert. No strings attached. Just respond to this email with some days and times that work for you.
-
Day 2 – Create Your First Content Model
This is day two of your Contentstack Trial! How was your first lesson? If you’re new to headless, you may want to read this blog on how a headless CMS differs from a traditional one.
Let’s look at Content Modeling
Content Modeling is at the core of making a headless CMS work for you and your business users. Let’s create a simple content type first and then dive into some best practices for content modelling.
-
Create a new content type
- Go to your stack from yesterday and click on the CONTENT tab at the top.
- Click on the + New Content Type button.
-
In the Create New Content Type form that appears:
-
Select either Webpage or Content Block depending on the content structure:
- Webpage: For web pages (such as home page, about us, and so on)
- Content Block: For mobile applications or the partials of a website (header, footer, navigation, menu).
- Enter a Name for the content type. The Unique ID will be auto-generated.
- Select either Single (for creating a single page) or Multiple (for creating multiple pages of the same structure).
- Add a Description for your content type. This is an optional step.
- Finally, click on Create and Add Fields.
- In the Content Type Builder page, drag and drop the fields you want, modify their behavior by setting their properties, and click on either Save or Save and Close to save your content type.
-
Select either Webpage or Content Block depending on the content structure:
For more information, check out the Create a Content Type section.
Your last step for today is to create an entry of your new Content Type. You’ll need an entry to test out Contenstack’s APIs tomorrow.
Did you know? With Contentstack, you can create as many content types as you need. That is crucial because you’ll definitely need more during development and you don’t want to get stuck because you hit your license limits. This is the #1 reason for messy headless implementations and cost creep.
-
Using Content Types
Content Types define the structure of your content, that much is obvious. They can also define the structure of a page in your web property, an app, a kiosk, or whatever you are coding for. Content Types can also be used to manage navigation, headers, footers, labels, or even turn features on and off, so you can give your business colleagues as much autonomy as possible without affecting your work.
-
Modular Blocks
Modular Blocks is our most popular field type. It allows content managers to dynamically create and modify components in a page or app. It gives your business colleagues the flexibility they need (within the bounds you decide on) that will make them love your headless implementation.
Fluid Page Compositions, Advanced Menu structures, and basic Geo segmentation are some of the real-life examples of what Contentstack customers are doing with Modular Blocks. It’s a real super power. You can even NEST THEM! 😱
Learn more about Modular Blocks.
Did you know? The flexibility you gain in Contentstack using modular blocks is pretty unique in the headless CMS world and crucial for you to get business user buy-in.
Can’t get enough of Content Modeling? Here are our Content Modeling best practices.
-
-
Day 3 – Work with APIs and Environments
Now that you have a stack set up and we’ve covered the fundamentals of content types and modelling, let’s start working with Contentstack APIs and Environments.
Here are the Contentstack APIs:
API Description Content Delivery API The Content Delivery API (CDA) is used to retrieve content from your Contentstack account and deliver it to your web or mobile properties. Contentstack GraphQL API The GraphQL Content Delivery API is a more efficient alternative to the Content Delivery API. Fetch customized responses or retrieve data from multiple resources through a single API request. Content Management API The Content Management API (CMA) is used to make changes to Contentstack. This includes creating, updating, deleting content, or any function you can do through our web UI. Image Delivery API The Image Delivery API is used to retrieve, manipulate, or convert image files and display them to your delivery endpoints without modifying the source image in the CMS. Here’s a simple website architecture as an example of how the different components come together:

Read the detailed explanation on our documentation site.
Let’s talk Environments
A publishing environment is one or more content delivery destinations (app/website) where the content needs to be published.
After you create an entry, you will publish it to an environment. After publishing, you will see the content on your website’s URL (specified in the environment).
Note: You will only be able to view the content on your website after publishing, and if you've configured the code that fetches data from Contentstack’s server.
In this short video, we create a development environment with the base URL: http://localhost:4000.
Rather read through the process step by step? Here’s our documentation on how to set up publishing environments.Did you know? There are no restrictions on creating environments in a stack. A typical setup has a preview, staging, and production environment, but you can also use environments more creatively. For instance, if you’re working on multiple versions of your home page, you can set up multiple preview environments and share them with your team for review simultaneously.
Remember, if you have questions on the way, our support team is happy to point you in the right direction. Just use the in-product chat.
-
Day 4 – Leverage Contentstack SDKs
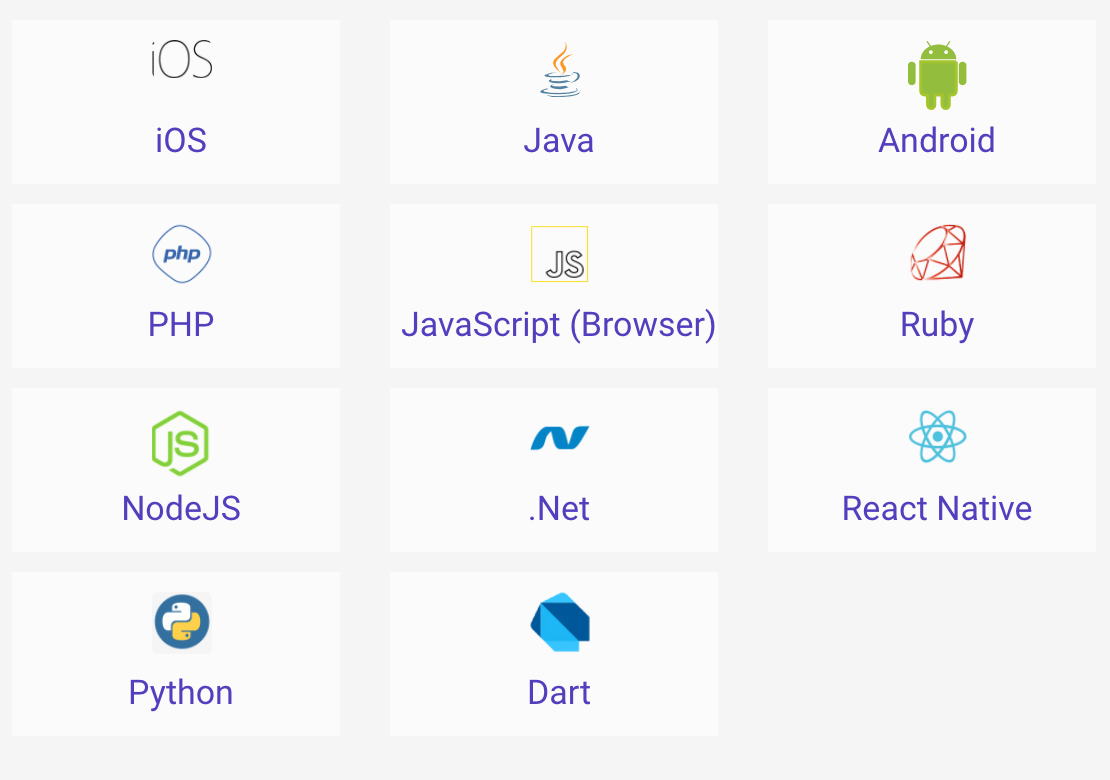
Now that we’ve gone through the basics of developing with Contentstack, let’s look at our SDKs.
We think it’s really important that you’re able to use the development language and framework that you know best. That’s the beauty of the headless capabilities in a modern CMS.
Did you know? Many Contentstack customers have large and complicated applications they’re moving to Contentstack. They migrate to Contentstack by slowly migrating individual sections of their website and keeping their legacy frontend in place. Then, they gradually move to more modern frontend frameworks like React or start building out their mobile, in-store, or IoT experiences first. This significantly reduces the complexity of introducing Contentstack and you can start from a clean base, while leaving the content and marketing production rolling.
You can find all our SDK documentation online if you want to start from scratch. Or, check out one of our sample apps and start tinkering.
Did you know? Contentstack DataSync lets you sync your published data to your local database. That way, you can reduce API calls or even support offline use cases for events, smart spaces, or to meet regional regulatory requirements, such as in China.
We’re curious to see what framework you are interested in, so give us a shout if you have any questions.
-
Day 5 – Check In and Additional Support
Enjoying your course so far? By now, you’ve probably had a good look around. In our experience, that’s when the first questions start coming up.
For your convenience and to help guide you through this trial, we offer:
- Documentation - If you prefer to read and watch our tutorials in your own time, check out Contentstack Docs for concepts, code, and samples.
- In-App Support - If you get stuck, give us a shout through our in-app chat. No bots, no sales folks, just real engineers who will help you in a matter of minutes.
- Open Tech Hours - Meet our tech experts (no sales guys allowed) every Tuesday 12pm PT / 3pm ET / 7pm GMT / 9pm CET or Thursday at 6am PT / 9am ET / 1pm GMT / 3pm CET. No need to sign up, just walk in.
- Personal Q&A - Want to chat through something one-on-one? Our solution architects are happy to help you out directly too. Schedule half an hour with a product expert. No strings attached. Just email us with some days and times that work for you.
-
Day 6 – Advanced Content Modeling
As you spend more time in Contentstack, you’ll notice that there are lot more options and features than we can tell you about in a few emails. You can find tons of helpful information in our documentation.
Meanwhile, here are a few other fields we wanted to make sure you try out:
- Global fields allow you to easily reuse content structures throughout your application. This is popular for shared components (carousels, video players, galleries, etc.) and for metadata such as SEO.
- Custom fields are perfect for filling the gap for your unique needs. You may need to access external content or you have a unique structure that our pre-built fields don’t support, build a custom interface as a custom field and store the data however you need
- Groups are great for helping organize your content more clearly and when you need to repeat a set of fields (such as an image/caption/source in a photo gallery)
- Releases are another great feature to check out. They allow you to deploy a set of entries or assets all at once in an environment, perfect for launches and campaigns.
Did you know? Some developers prefer to build their content types in code. Contentstack makes it super simple. See how to do it in our JSON schema for creating a content type documentation.
-
Day 7 – Set Up Workflows, Roles, and Permissions
Users, roles, permissions, and workflows may not be the most fun stuff to try out, but it’s crucial for determining if a CMS will actually work for your business teams. So I want to quickly share the basics and point you to what makes Contentstack stand out.
All Users in Contentstack have permissions based on the Roles assigned to them. Contentstack assigns permissions to a group of users rather than assigning permissions individually.
Here’s a quick video on how to add a new user. Let’s add a fellow developer:
Depending on the permissions users have, they can be classified into five types: Owner, Admin, Developer, Content Manager, or a User With Custom Permissions. Check out our documentation to understand these types in more detail.
Let’s create a new custom role to explore the granular permission levels of Contentstack.
To create a role, log in to your Contentstack account, and perform the following steps:
- Go to your stack, navigate to the “Settings” gear icon, and select Roles. Here, you will see the list of existing roles of the stack.
- Click on the + New Role button located at the top right corner of the Roles page.
- Enter a suitable Name and Description for the role.
-
Under PERMISSIONS, define the permissions that you want to assign to the new role. You can set permissions on entries, assets, and asset folders.
- Permissions on entries: Set permissions for all entries of all/specific content types, or specific entries, or even specific fields. Refer to the “Permissions on entries” section to learn how you can use this permission.
- Permissions on assets: Set permissions on all/specific assets, or on specific assets’ folder. Refer to the “Permissions on assets” section to learn how you can use this permission.
- Exceptions: If you do not want any role to access data of certain entries and/or fields, or any assets, you can add exceptions.
-
Finally, set the publishing rights for environments, and languages:
- Publishing Environments: Set on which environment(s) the role can publish content.
- Languages: Set to which language(s) the role has access to.
-
Click Save to create the new role.
Did you know? You can reconfigure the standard roles to meet your needs (except Admin and Owner). Also, you can create as many additional roles as you need, without any impact on pricing. Here’s a few examples of how Contentstack customers use custom roles.
In the next lesson, we should start getting buy-in from your business team. To prepare for that, let’s set up a simple workflow for them. You can start with something as straightforward as draft content -> approve draft -> publish.
Create the workflow by completing these steps:
- Navigate to the Workflows tab and click on the + Add Workflow button.
- Set up the workflow details and stages
- Add stage transitions and access rules.
- Enable and save the workflow
Read through Add Workflows and Stages in our documentation to get step-by-step instructions.
-
Day 8 – Get an Editor to Test Your Creation
I really hope you’re enjoying your Contentstack Trial so far. Our customers tell us that giving their content and marketing teams a chance to explore Contentstack made their trial experience even more effective.
So let’s add them to the trial. Learn how to add a user here.
Did you know? Contentstack is the highest-rated headless CMS on G2Crowd and across Gartner Peer Reviews. By developers and business users alike.
Here’s a few things you can walk through with your business users:
- Show how to create an entry
- Show them modular blocks and how they will be able to change not only content but also the structure of your websites, apps, kiosks, or IoT experiences with it
- After saving their changes, show them how they can use workflows to schedule a task for another user.
- Show them how to easily preview their content
- Show them releases and how they can use this to push projects or campaigns in one go
If you’d rather have us help out and give your editors a quick tour, then let’s schedule a short call to understand your use case and make sure you get business buy-in.
-
Day 9 – Use Webhooks
We’ve covered the basics of developing in Contentstack and talked about the importance of getting business user buy-in, but there are a few more capabilities we want you to know about.
Any time you want your changes in Contentstack to trigger an action in another platform or to push data to a different system, Webhooks are the way to go.
In this short video, we create a webhook and take a look at webhook activity logs:
A lot of our customers use them as part of their translation workflow, but there are so many things you can do with webhooks. Here are a few examples.Did you know? Many of our customers told us they had problems getting their editors to organize assets. Why not use AI to auto-tag your images so you can organize them automatically?
-
Day 10 – Leverage the Power of Extensions
This is the last day of your 10 Days of Contentstack! 😢
We know that every company is unique and we can’t anticipate everything you’ll want to do in Contentstack. So let me present to you: Experience Extensions!
You can create three types of Experience Extensions within Contentstack: Custom Fields, Custom Widgets, and Dashboard Widgets.
This short video shows how you can create a new custom widget.
Two of the most popular extensions our customers use are the Google Analytics widget and the IBM Watson widget. You can peruse our full list of our experience extensions, to see what other third-party apps you can easily connect to Contentstack.
Did you know? A few years ago, our team was traveling to meet with one of the largest gaming companies in the world. While waiting at the airport, we noticed they were very active on social media. On the flight, one of our developers (who had never used the Twitter, Facebook or LinkedIn SDK before!) built a social widget in just two hours as a surprise for the customer.
So this is it, your 10 Days of Contentstack are over. I hope you got a good overview of the system.
We hope you found this course enjoyable and helpful!
