

.svg?format=pjpg&auto=webp)
.svg?format=pjpg&auto=webp)
.png?format=pjpg&auto=webp)


.png?format=pjpg&auto=webp)
Java Sample App
This demo Java terminal app works using Contentstack’s Java SDK. It uses Contentstack to store and deliver the content of the news app.
Quickstart
To help you get started, we have provided a Java code snippet that shows how to generate queries and fetch entries from Contentstack.
Prerequisites
- A text editor or an IDE, for example, IntelliJ IDEA
- JDK 1.8 or later
- Gradle 4+ or Maven 3.2+
- Contentstack Account
Steps for Execution
- Creating a Java Project
- Create a Stack
- Add a Publishing Environment
- Import Content Type
- Add Content
- Download the Code and Configure the App
- Run the Application
Creating a Java Project
- Create a new project under File > New > Project > Java and provide a name for your application, {applicationName}.

- Next, open the project in a code editor or an IDE of your choice, for example, IntelliJ, and open the pom.xml file. You will see the dependency section. You need to add one more dependency in the file as shown below:
<dependencies>
   <dependency>
       <groupId>com.contentstack.sdk</groupId>
       <artifactId>java</artifactId>
       <version>{latest}</version>
   </dependency>
</dependencies>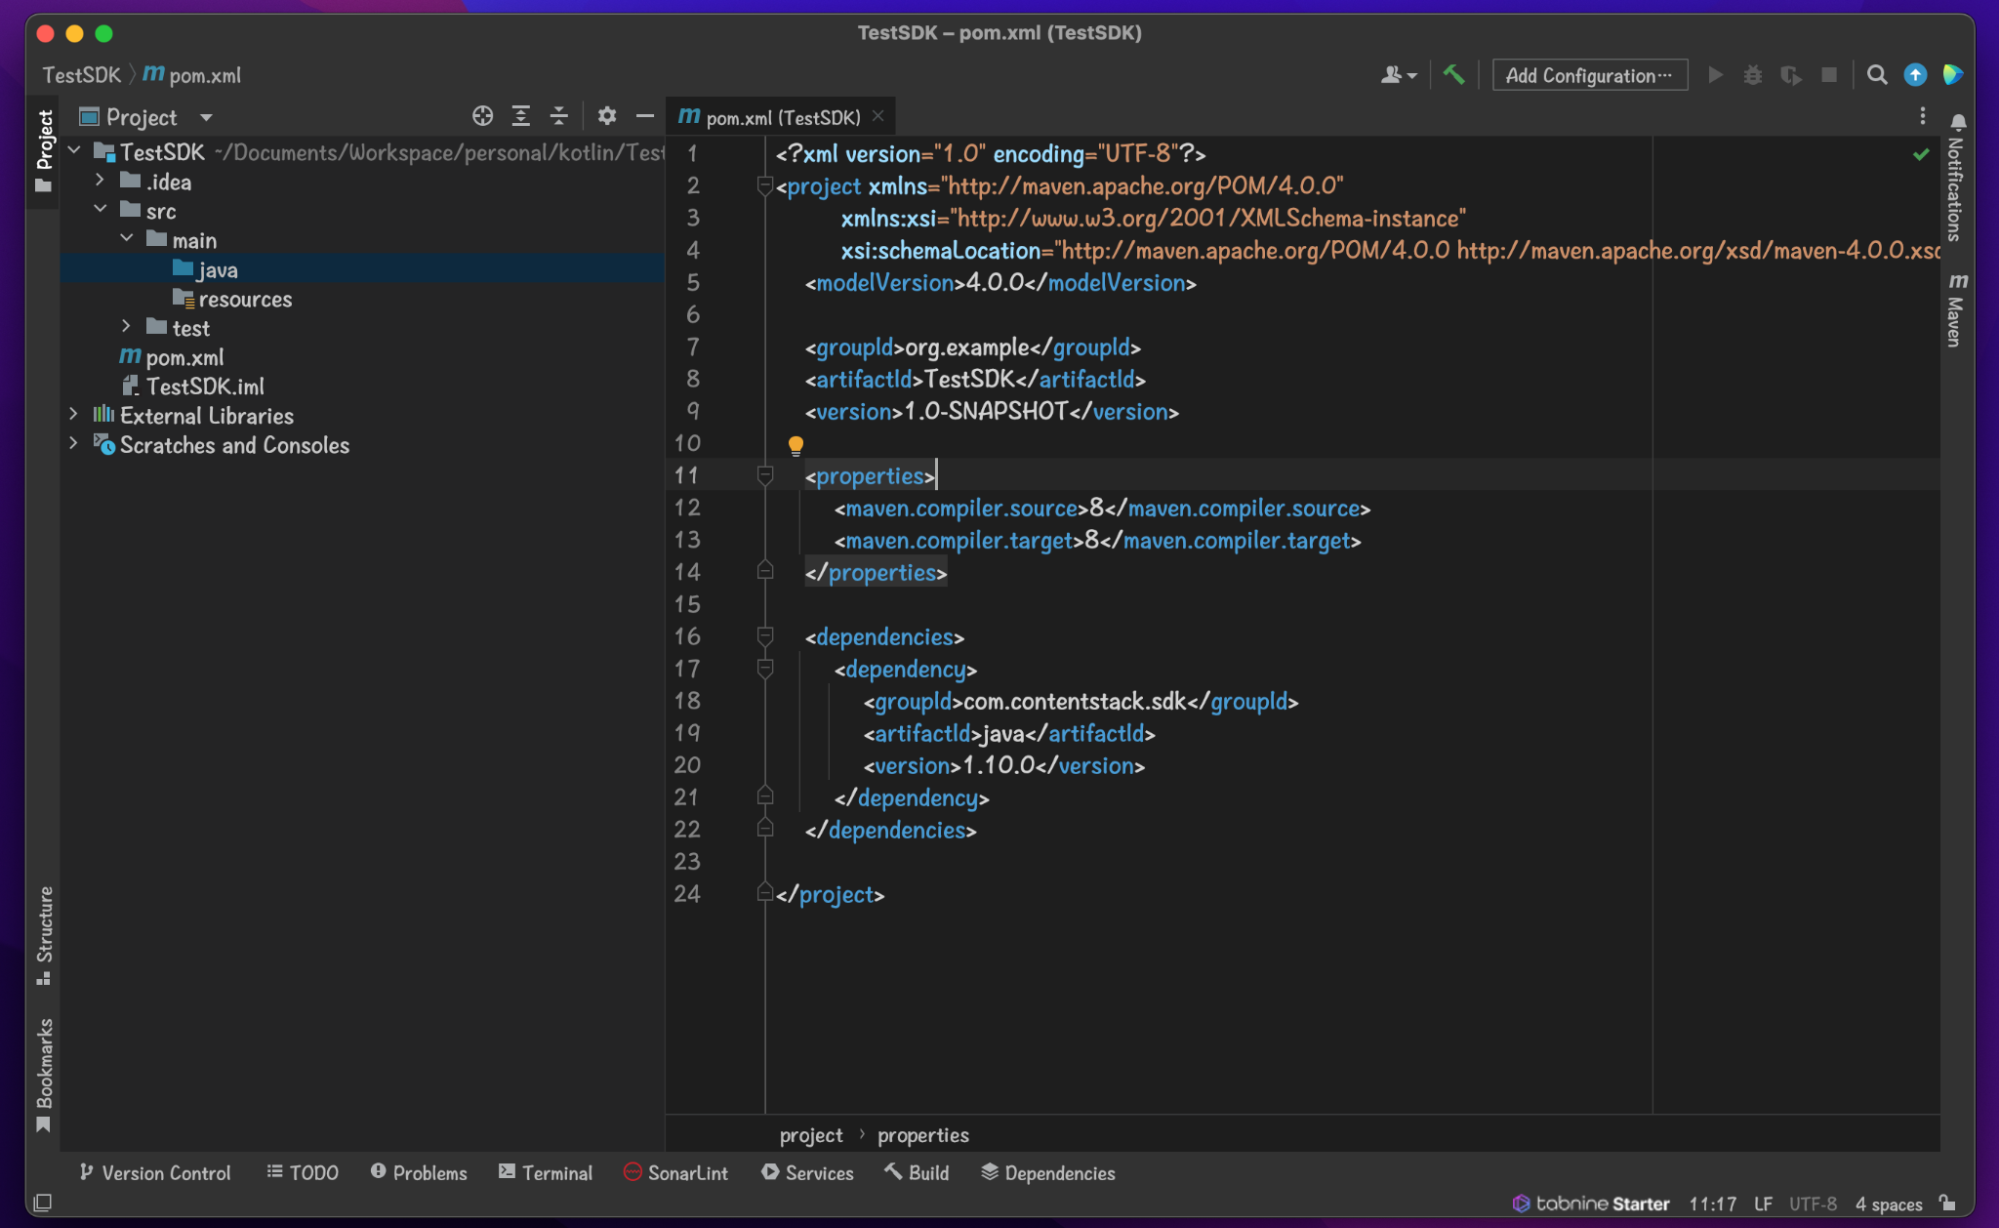
- Save the file and then follow the instructions given in the "Run the Application" section below:
- Create a new project under File > New > Project > Java and provide a name for your application, {applicationName}.
Create a Stack
Log in to your Contentstack account, and create a new stack. This stack will hold all the data specific to your website.
Add a Publishing Environment
To add an environment in Contentstack:
- Navigate to Settings and then Environment.
- Click the + New Environment tab.
- Provide a suitable name for your environment; say ‘staging’.
- Specify the base URL (e.g., ‘http://YourDomainName.com’), and select the language (e.g., English - United States).
- Then, click Save.
Import Content Type
A content type is like the structure or blueprint of a page or a section of your web or mobile property. For this app, we need one content type named News. We need this content type to add the content for our app.
For quick integration, we have already created the content type. Download the content type and import it to your stack. You can also create your own content type if required. Now that your content type is ready, let’s add some content to your app.
Add Content
Create and publish entries for the News content type you just downloaded and imported, as discussed in the above step.
Now that we have created the sample data, it’s time to configure the presentation layer.
Download the Code and Configure the App
Download and unzip the source repository for this guide, or clone the repository by using the following command:
git clone https://github.com/contentstack/contentstack-java-news-web-app-example.gitOnce the project has been downloaded, move inside the project directory (cd into contentstack-java-news-web-app-example root directory).
Then open the MainApp.java file which is inside the \contentstack-java-news-web-app-example\src\main\java\io\contentstack\webapp folder and update your stack credentials (Stack API key, Delivery Token, and Environment name) as follows:
public static void main(String[] args) throws Exception {
   Stack stack = Contentstack.stack("btl23..........", "cs27..........", "env");
   ContentType contentType = stack.contentType("products");
   Query query = contentType.query();
   query.find(new QueryResultsCallBack() {
   @Override
   public void onCompletion(ResponseType responseType,
                           QueryResult queryresult,Error error) {
       System.out.println(queryresult.getResultObjects());
    }
  });
Note: The credentials are loaded from the local environment .env file. You need to generate those yourself.
Run the Application
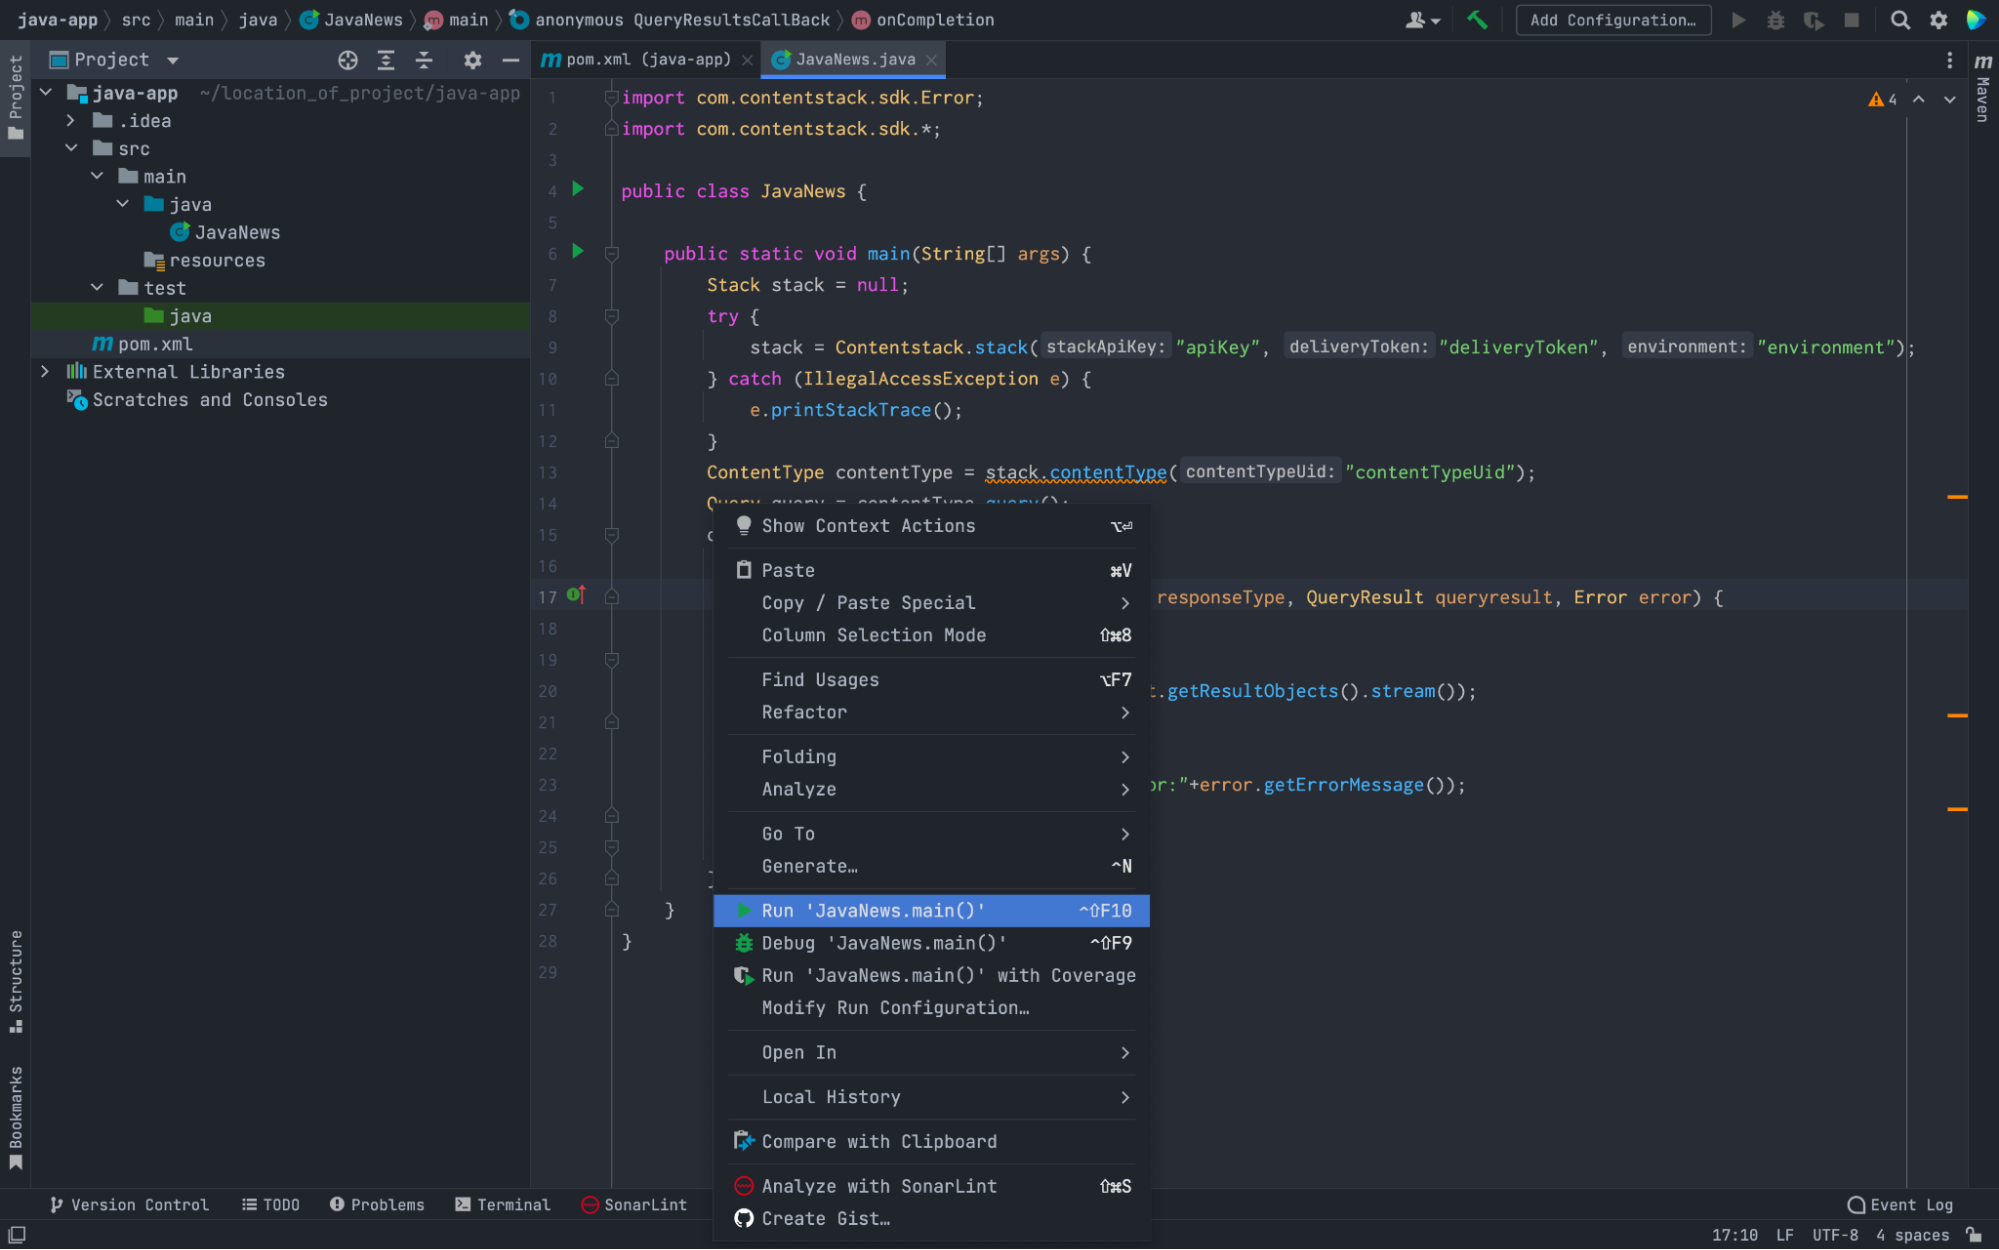
To run the application, open the downloaded code in any IDE of your choice. For this project, we have used IntelliJ IDE. Once you open the application in IntelliJ, it looks like this:
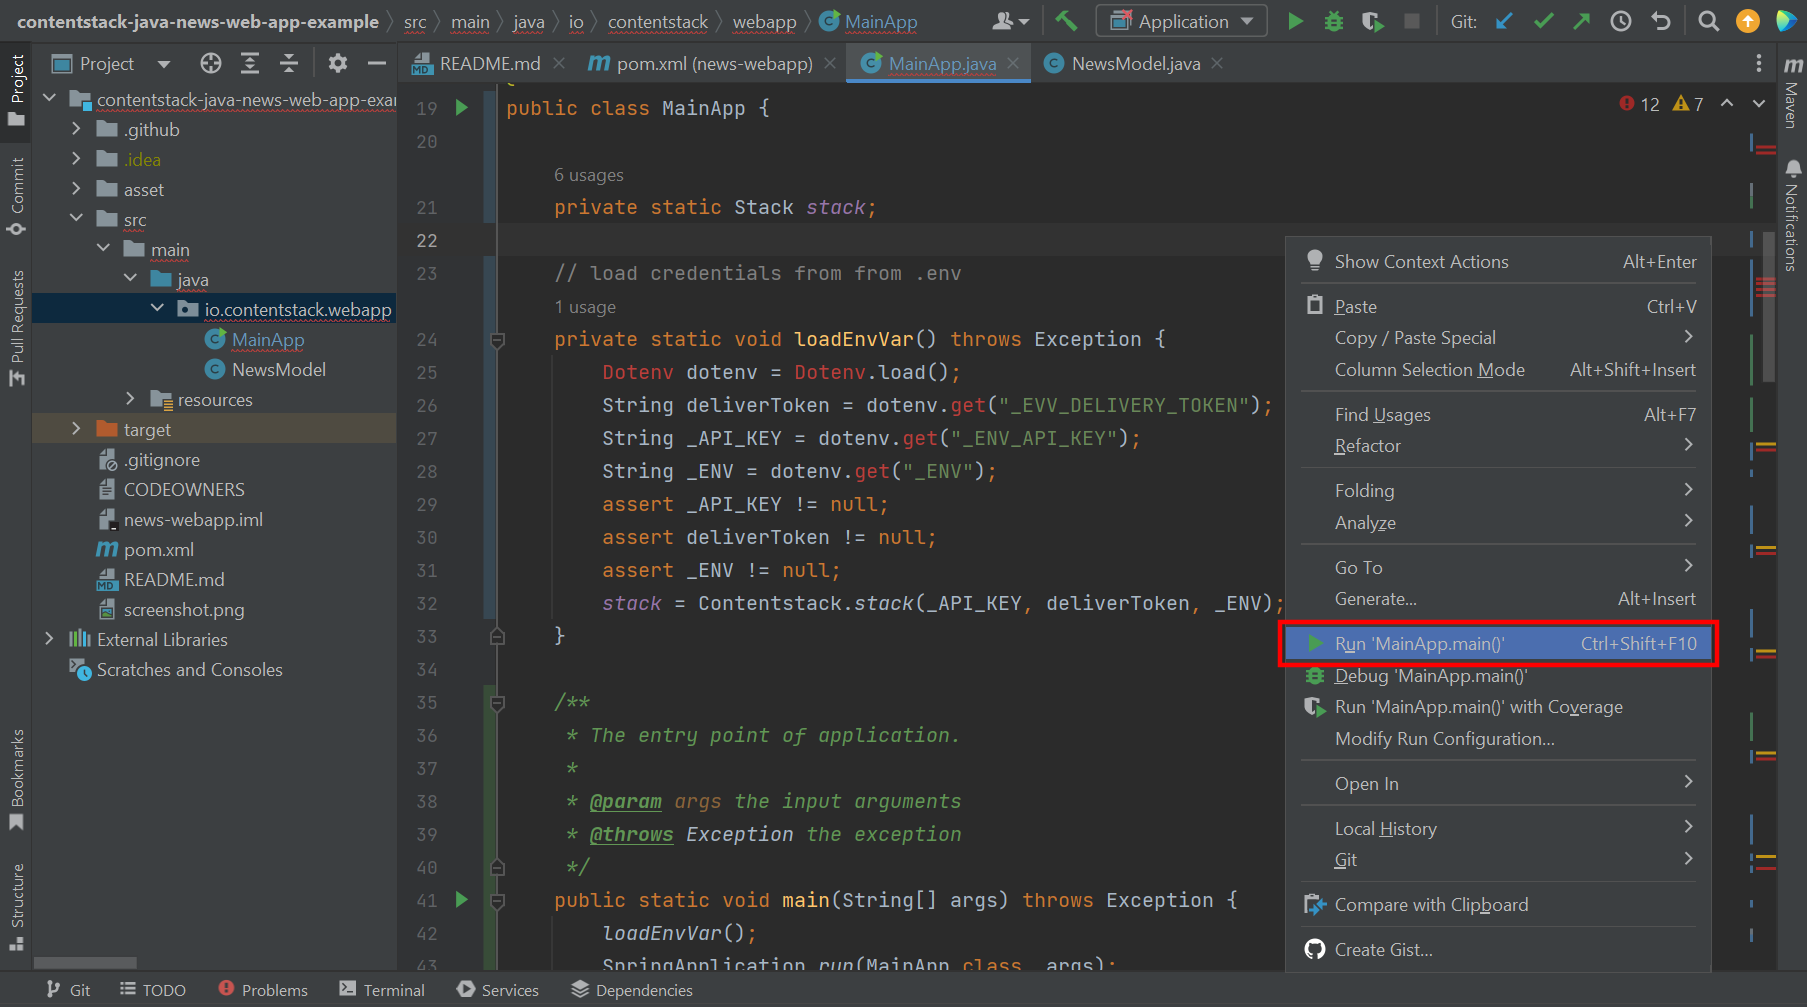
Right-click the interface (as shown above), and click Run MainApp.main(). The application runs and notifies that the application can be viewed at port number 8080.
Alternatively, you can execute the following command from the command prompt of the IDE. To do this, go to the root directory of the application and run the following command:
If you have selected Gradle while setting up the project:
./gradlew bootRun
If you are using Maven, run the following command:
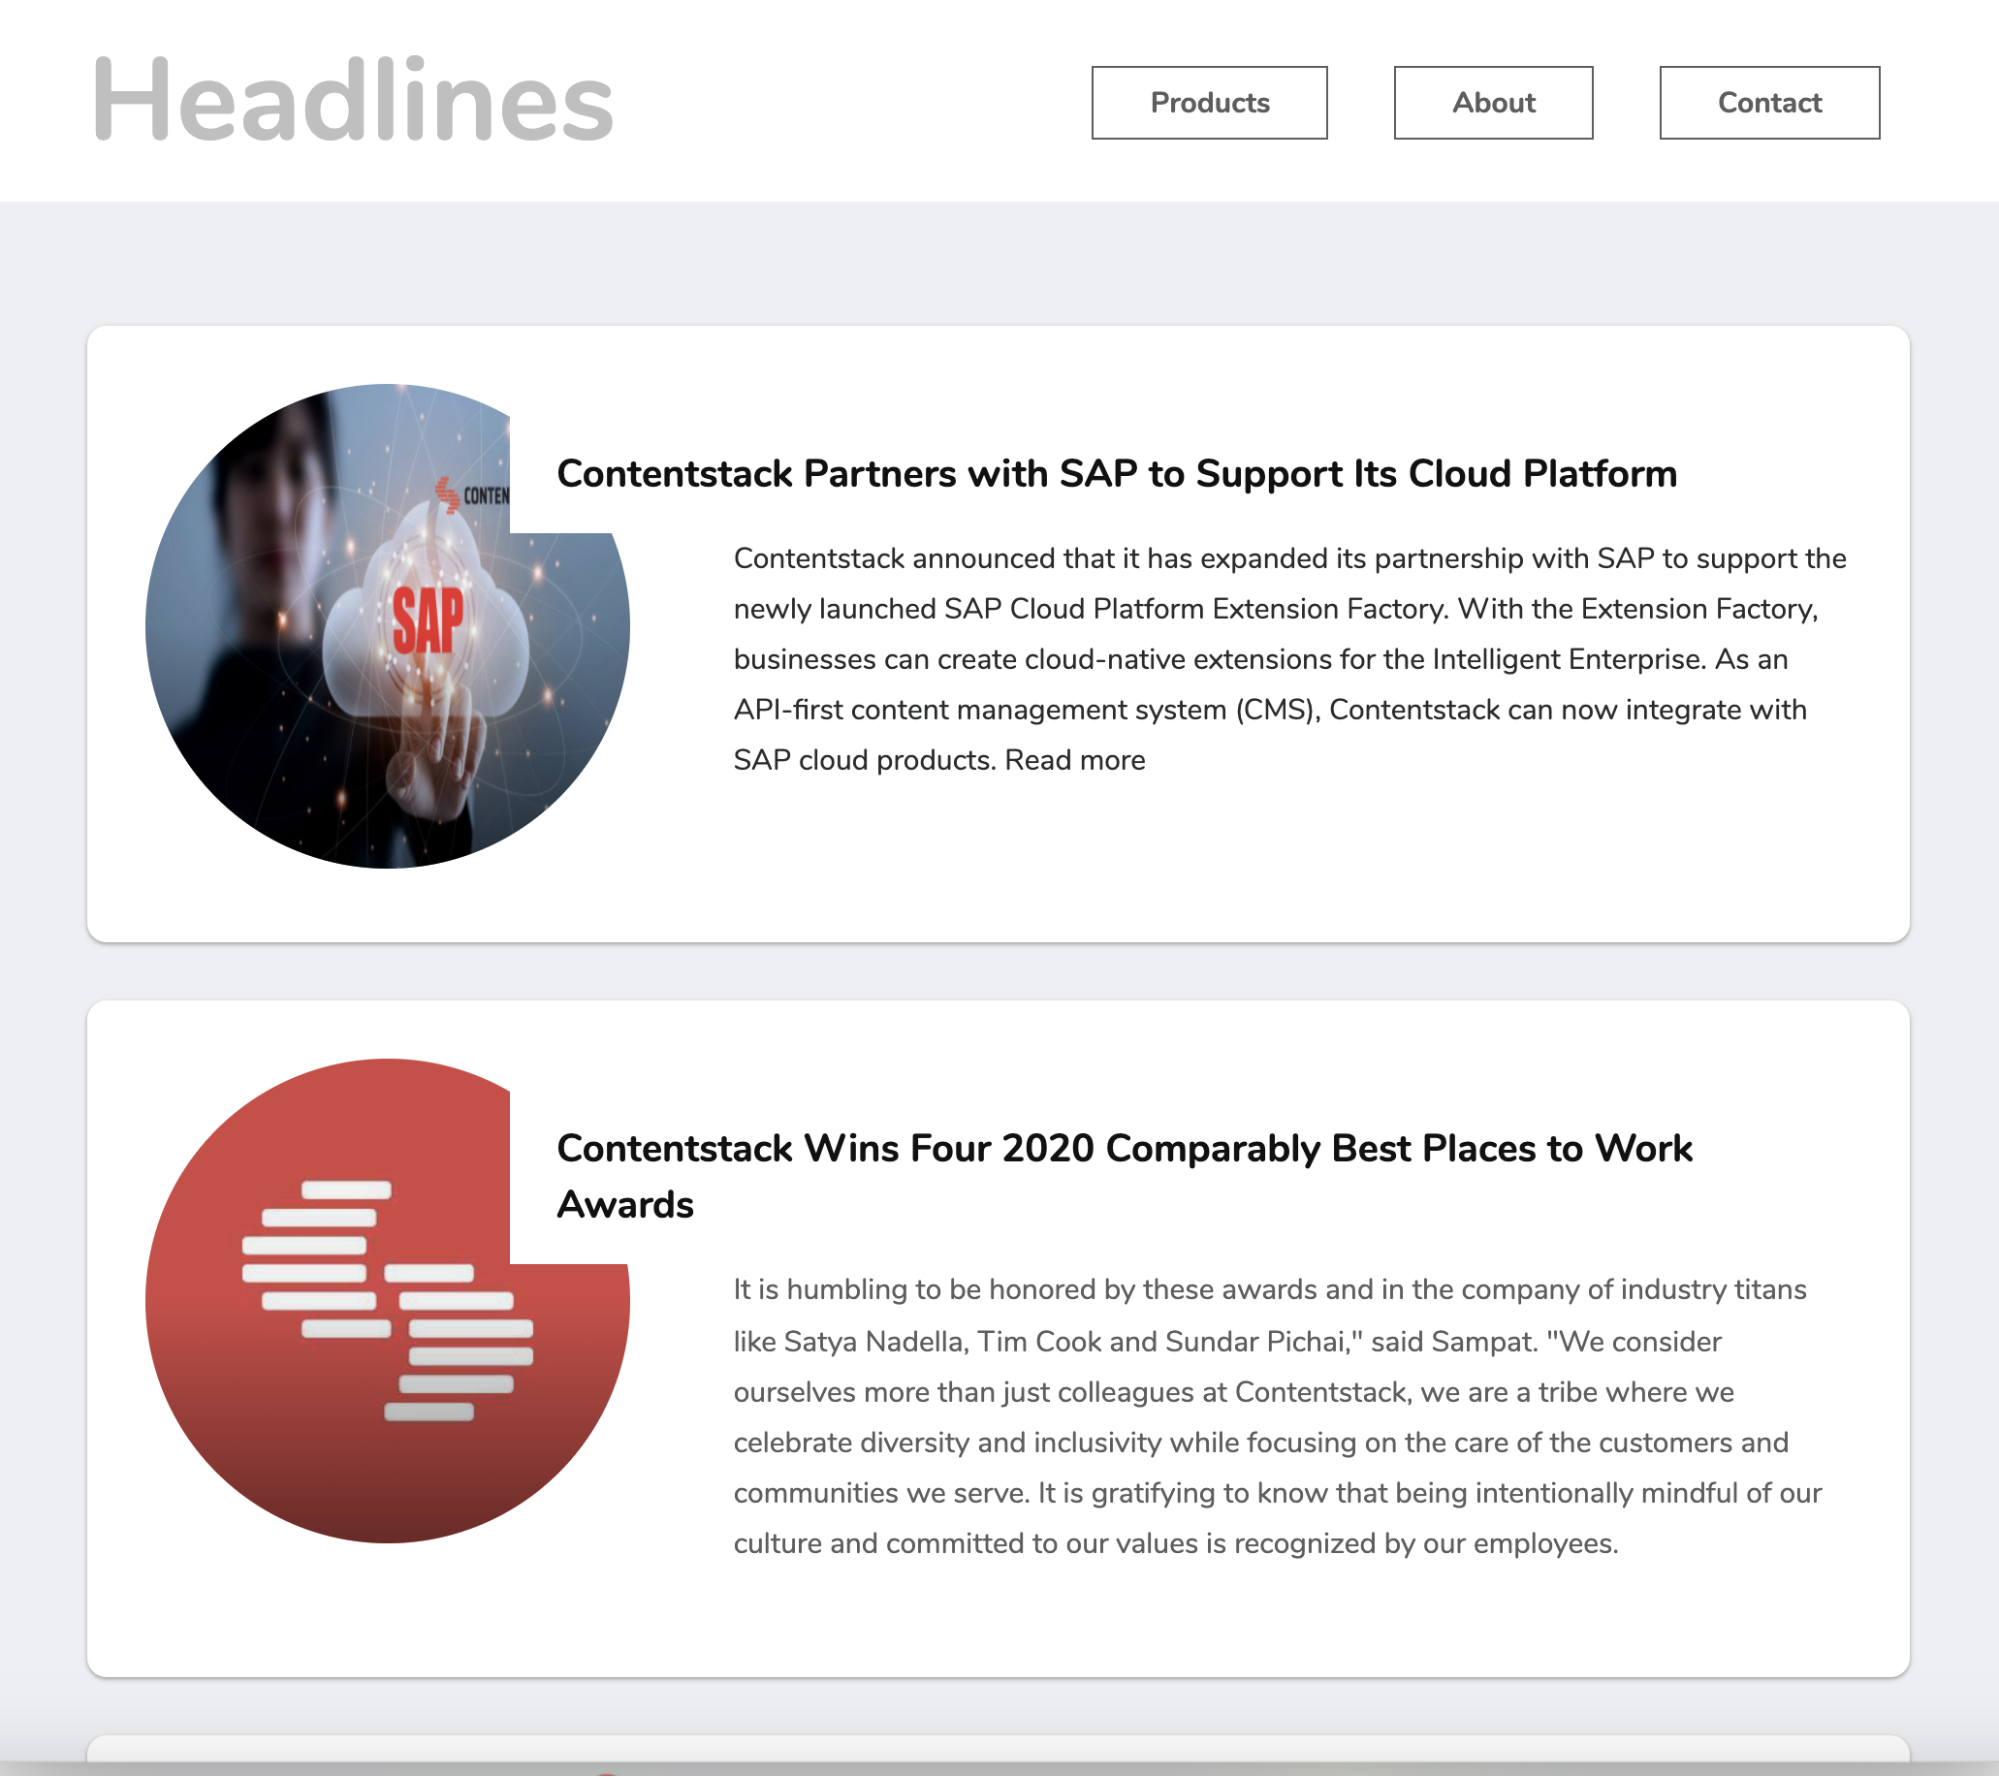
./mvnw spring-boot:runNow run the service with curl (in a separate command prompt window), by executing the following command:
$ curl localhost:8080You will see the application running at port 8080 as shown below:
Additional Resource: You can also use the Contentstack Java SDK to build a news app. Read our Build a news app using Contentstack and Contentstack Java SDK guide for more details.
More resources
More articles
