

.svg?format=pjpg&auto=webp)
.svg?format=pjpg&auto=webp)
.png?format=pjpg&auto=webp)


.png?format=pjpg&auto=webp)
About Contentstack Management Actions
The Contentstack Management connector lets you perform specific actions within your stack. With this connector, you can perform CRUD operations on entries, releases, content types, assets, branches, taxonomy, global fields, languages, branch alias, variants, and user-specific information such as first name, last name, etc.
- Assets: Within Contentstack, all uploaded files such as images, videos, PDFs, audio files, and more are stored in your repository for later access. This repository, where uploaded files reside, is referred to as Assets. You can perform asset based operations using the Contentstack Management Assets Actions.
- Branches: Branches offer isolated workspaces for safe, independent development of new features or updates. With branches you can create multiple copies of your stack content. You can perform branch-based operations using the following Contentstack Management Branches Actions.
- Branch Alias: An Alias acts as a pointer to a specific branch. The Branch Alias actions allow you to retrieve details of a single or all branch aliases, assign or reassign aliases to a specific branch, and delete them. These actions offer streamlined management of your branches, ensuring a well-organized and efficient development workflow using the Contentstack Management Branch Alias Actions.
- Content Types: A Content Type serves as the framework or blueprint for a page or section within your web or mobile platform. It allows you to establish the fundamental structure of this blueprint by incorporating fields and configuring their attributes. By using the Contentstack Management Content Types Actions, you can fetch all content types from a selected stack.
- Entries: An Entry is a specific piece of content that you intend to publish. This could be a blog post, article, product description, or any other type of content that you want to make available to your audience. You can perform entry based operations using the Contentstack Management Entries Actions.
- Global Fields: A Global Field is a reusable field (or group of fields) that you can define once and reuse in any content type within your stack. You can perform global field based operations using the following Contentstack Management Global Fields Actions.
- Languages: Contentstack offers advanced multilingual content capabilities with over 200 pre-configured locales for creating and publishing entries in multiple languages. You can fetch the details of all the locales in a stack using the Contentstack Management Language Actions.
- Releases: A Release comprises entries and assets that need to be deployed at the same time, either in a published or unpublished state, to a designated environment. You can perform release based operations using the Contentstack Management Releases Actions.
- Taxonomy: Taxonomy assists in organizing the content within stack into categories, making it easier to navigate, search, and retrieve information. You can perform taxonomy based operations using the following Contentstack Management Taxonomy Actions.
- Users: Contentstack, being an Enterprise Content Management (ECM) system, accommodates numerous users with different permissions collaborating together. In Contentstack, all the member accounts of a stack are referred to as users. By using the Contentstack Management Users Actions, you can fetch user related details, such as name, email, and so on.
- Variants: Variants are the different variations of an entry displayed to different audiences created within a Personalize project. You can perform variant-related operations using the Contentstack Management Variants Actions.
Details of each action are covered in their respective documentation.
Prerequisites
To use the Contentstack Management connector, you first need to add your Contentstack account. To do so, follow the steps given below:
Connect your Contentstack Account to Automate
- Click Configure Action Step from the left navigation panel.
- Click Action Step to configure third-party services.
- Within the Configure Action Step, click the Contentstack connector.
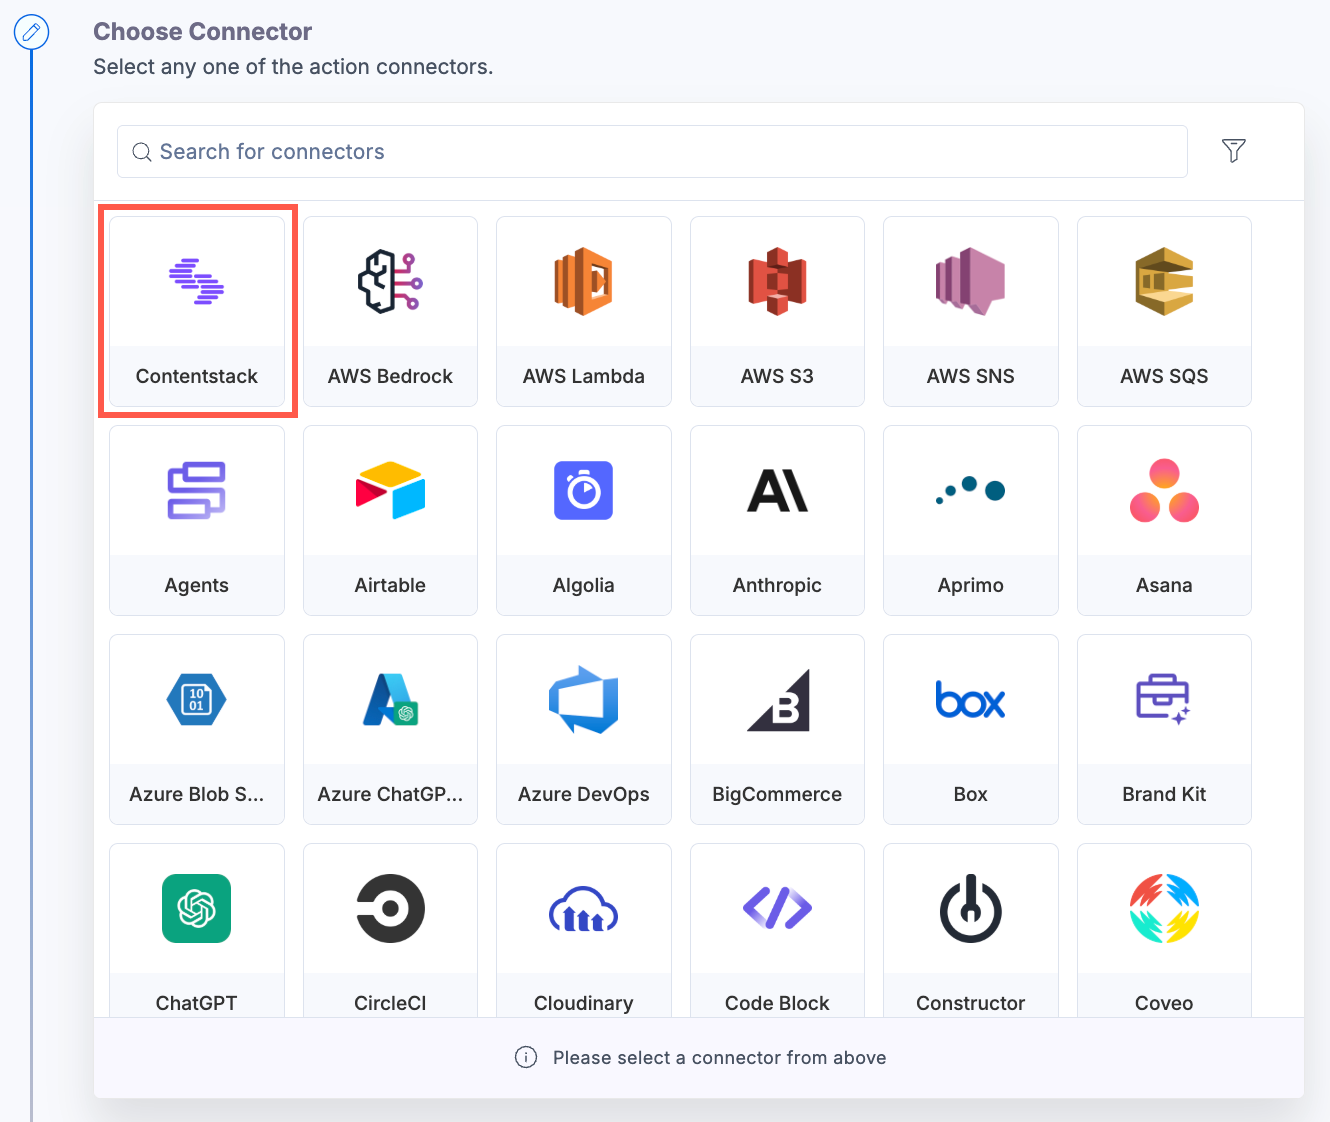
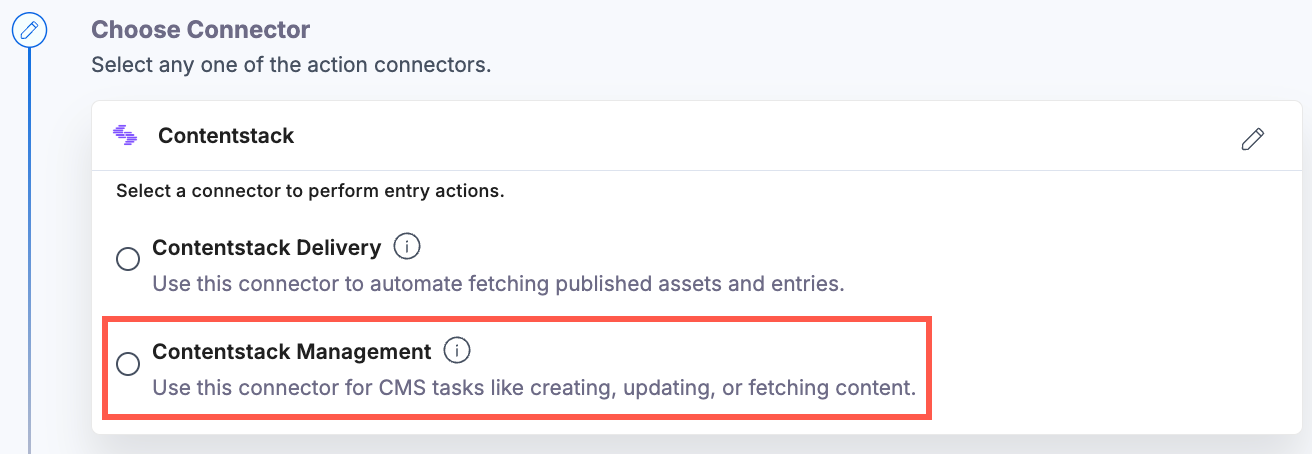
- Select the Contentstack Management connector to perform CMS tasks.
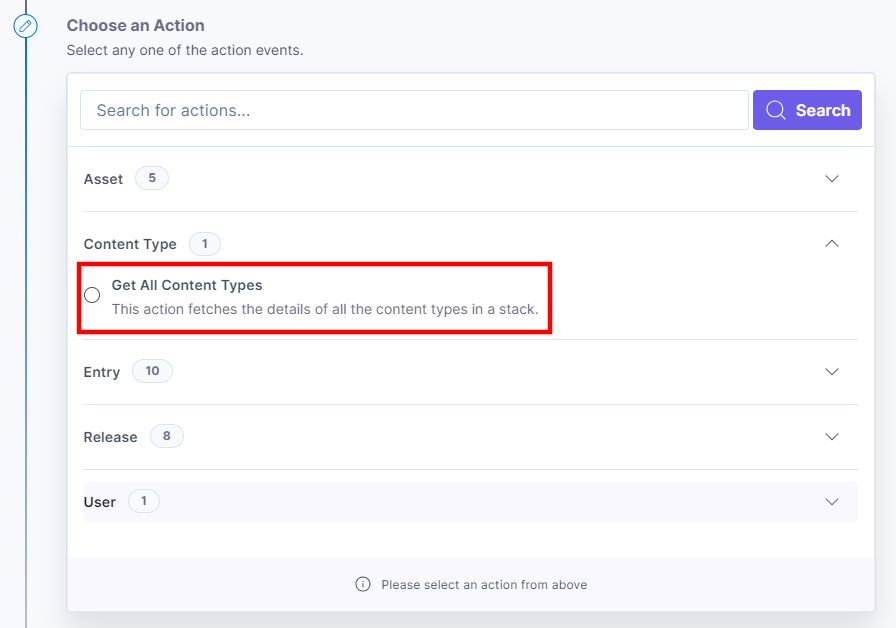
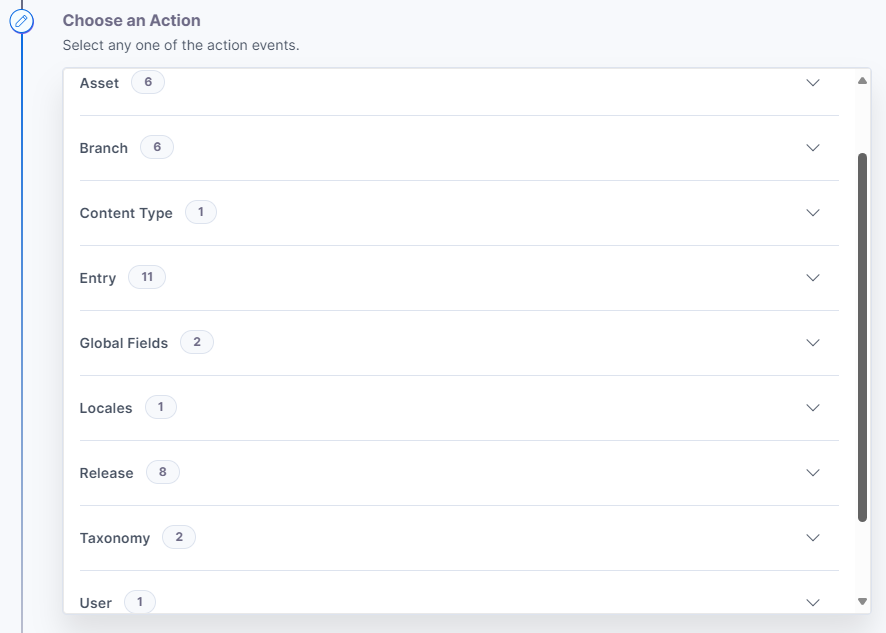
- Under Choose an Action tab, select any one action from the list. Here, we are selecting the Get All Content Types action.
- On the Configure Action page, click the + Add New Account to add your Contentstack account.

- Select a way to add a new account. You can authenticate your account in two ways: Contentstack or Management Token.
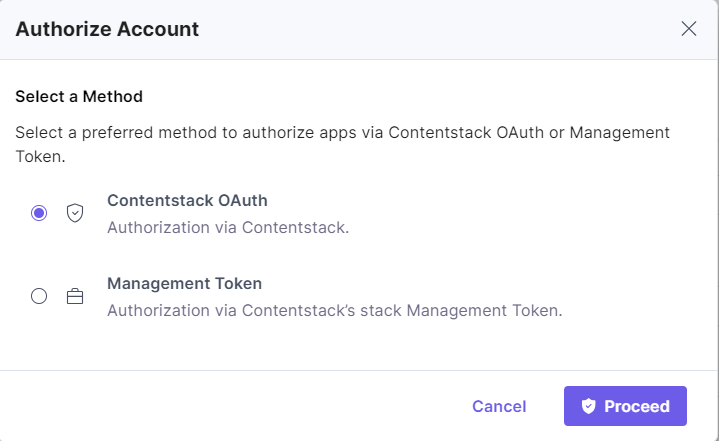
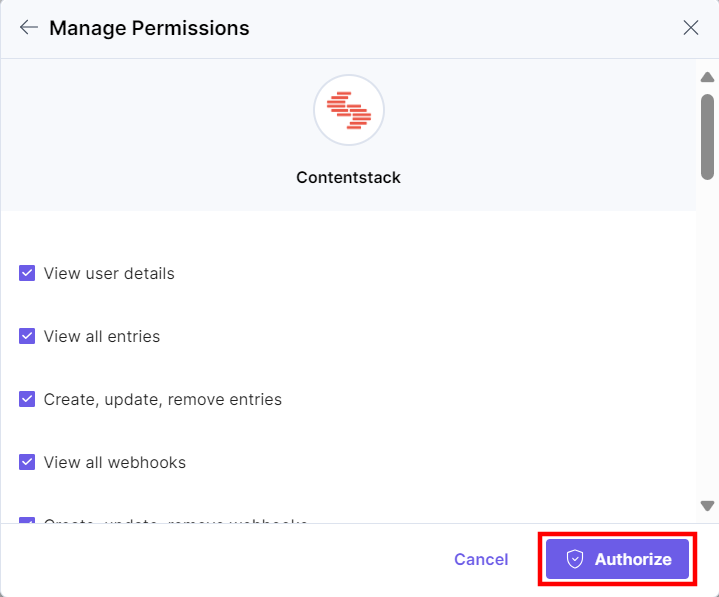
- If you select Contentstack OAuth and click Proceed, the Manage Permissions modal will open, as shown below. Provide the OAuth permissions for all the values by checking the boxes and click Authorize.
Note: Contentstack offers support for Branches in Automate. You must authenticate and re-authorize your existing account by checking all the permissions to add your Contentstack account.
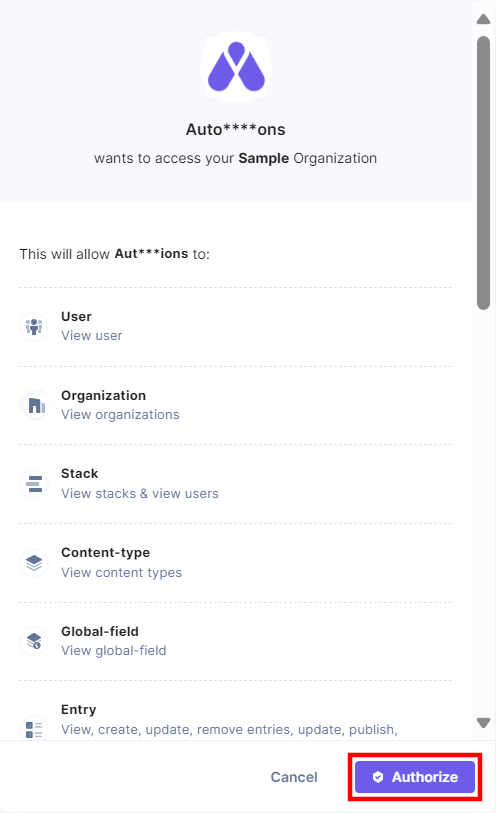
- In the pop-up, select your organization to complete the authorization.

- In the pop-up that appears, view the module-specific access rights provided to the app. Click Authorize to complete authorization.
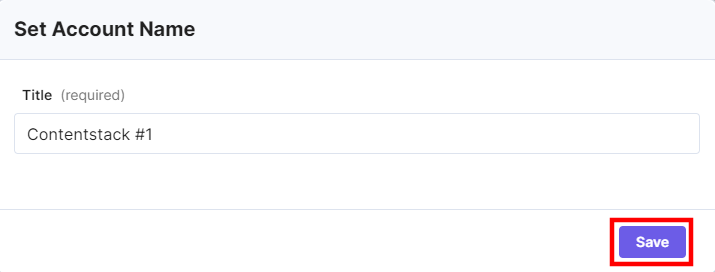
- Provide an Account Name and then click Save.
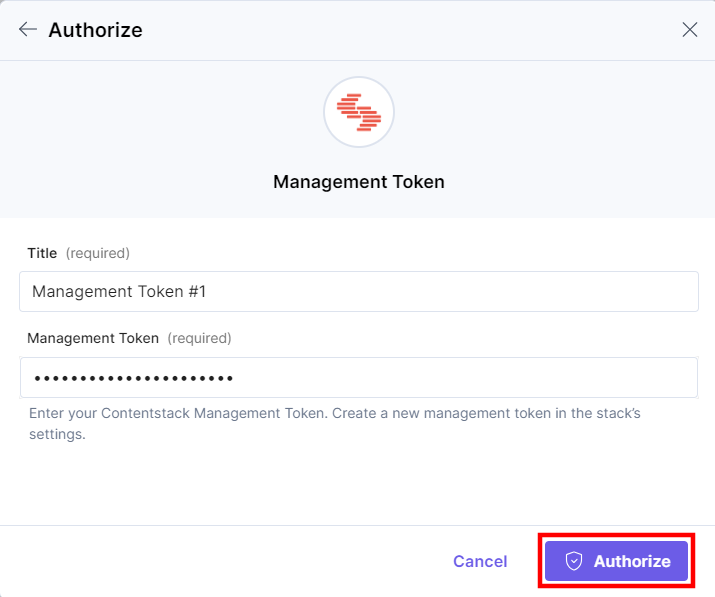
- If you select Management Token and click Proceed, the Authorize modal will open, as shown below. Enter a Title and the Management Token of your stack and click Authorize.
- If you select Contentstack OAuth and click Proceed, the Manage Permissions modal will open, as shown below. Provide the OAuth permissions for all the values by checking the boxes and click Authorize.
This sets up your Contentstack account for the Contentstack Management action connector.
Set up the Contentstack Management Connector
Perform the following steps to set up the Contentstack Management connector:
- From the left navigation panel, click Configure Action Step.
- Then, click Action Step to configure third-party services.
- Within the Configure Action Step, click the Contentstack connector.
Note: You can sort and search the connector(s) based on the filter.
- Select the Contentstack Management connector to perform CMS tasks.
- Under Choose an Action, you will see nine categories of actions: Asset, Branch, Branch Alias, Content Type, Entry, Global Fields, Locales, Release, Taxonomy, User, and Variant.
Once done, you can go ahead and set up your Contentstack Management action connector.
More articles in "Contentstack Management"
