

.svg?format=pjpg&auto=webp)
.svg?format=pjpg&auto=webp)
.png?format=pjpg&auto=webp)


.png?format=pjpg&auto=webp)
Implementing RSS on Your Website Using Contentstack
RSS (Really Simple Syndication or Rich Site Summary) in simplest terms can be described as a way to let you readers know that new content has been published. It saves your readers' time in having to visit your website and look for any new published content manually.
If your website allows readers to subscribe to your RSS feeds, readers will get a notification that new content is now available along with a direct link to the newly published article.
A lot of websites these days have this provision. If you want to add this functionality to your website, you can do this easily using Contentstack. And in this guide, we'll discuss exactly that.
Prerequisites
- Contentstack account
- Access to any RSS Reader (in our example, we have used Google FeedBurner)
- Node.js 8+ installed on your machine
Overview of the Process
For our exercise, we have used Express.js and Nunjucks for templating. Our sample website that we have built for this exercise has two main navigation sections named Home and Blog with a header and footer.
The Home page has a basic template, whereas the Blog page consists of multiple blogs posted through Contentstack with dynamic routes. We have created sample code and content types for this exercise. Download it from our GitHub page and import the content types in your stack.
We have used the following sample content types for this exercise:
- Express Header: Inside this content type, create an entry which will serve as the header of your website.
- Express Footer: Inside this content type, create an entry which will serve as the footer of your website.
- Express Home: Create an entry inside this content type which will be the homepage of your website.
- Express Blogs: Create multiple entries inside this content type. Make sure you provide proper data within the trial blog content-type schema as for this example we are considering the blog post format. Therefore, the rss.xml file will have the following format. For your use case, it can be news, blog, recent articles, and so on where the data is added at a given time interval for the RSS Reader to read.
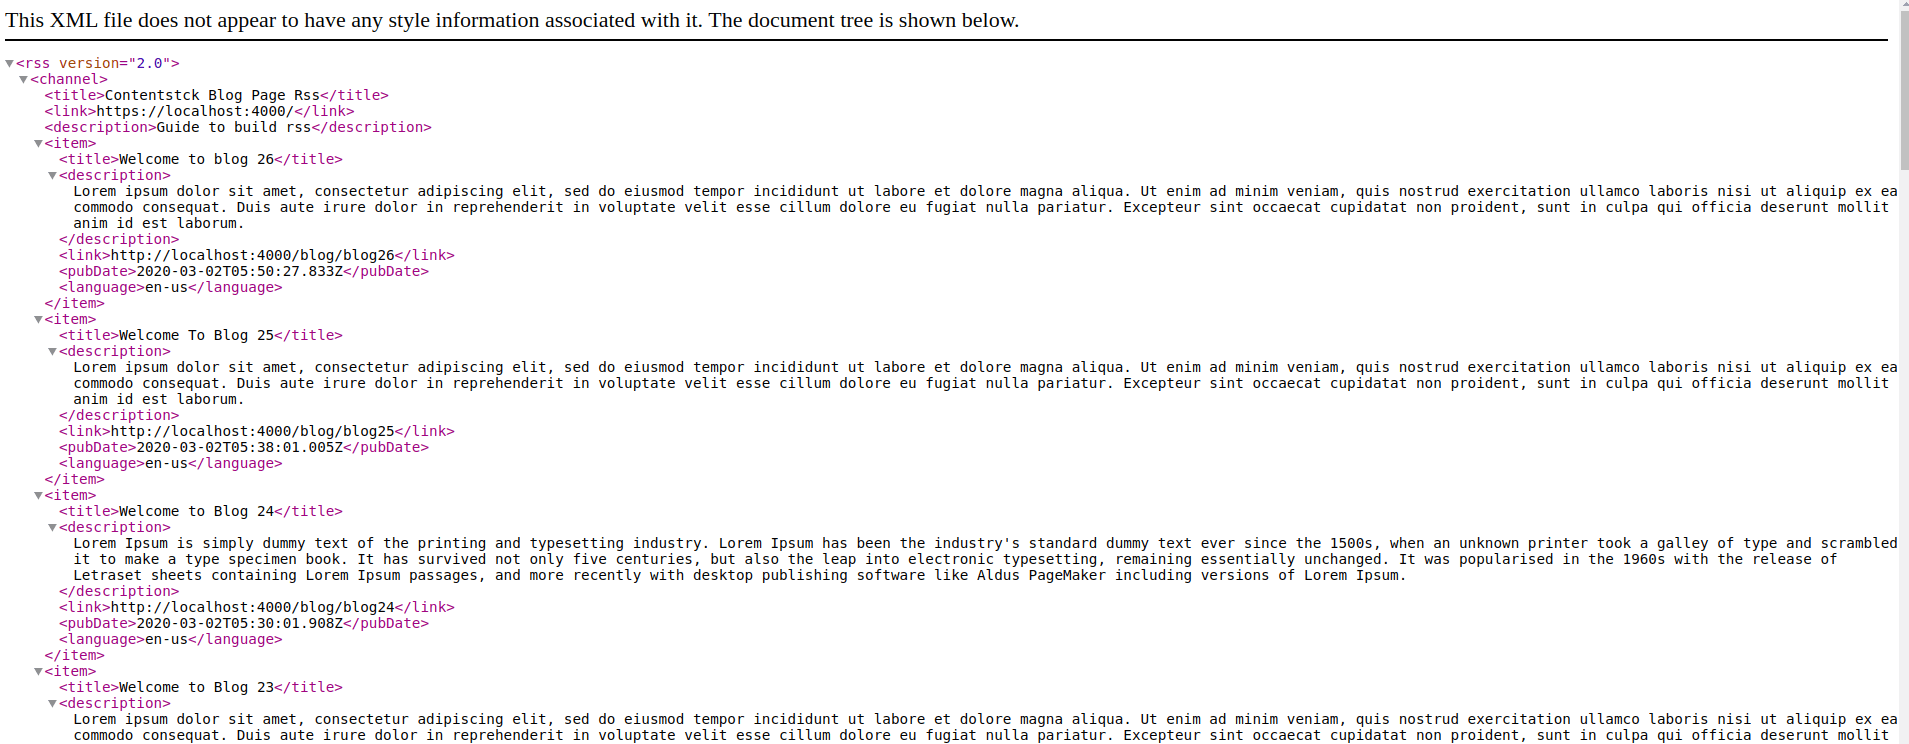
Note: RSS is implemented for a specific section or a page of your website & not for the entire website. For example, we have implemented it in our Blog section or page so the content-type is also specific.
Once you have added entries to these content types, publish them on your environment. In our example, we have published them on the “development” environment.
Working with the Code
Before we implement RSS, let's discuss the sample code and what it holds. Based on this, create your own code for your website and add the RSS functionality as required.
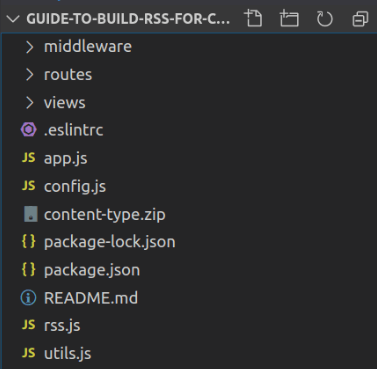
- Open the downloaded code in any code editor of your choice. The downloaded code will look similar to the following:
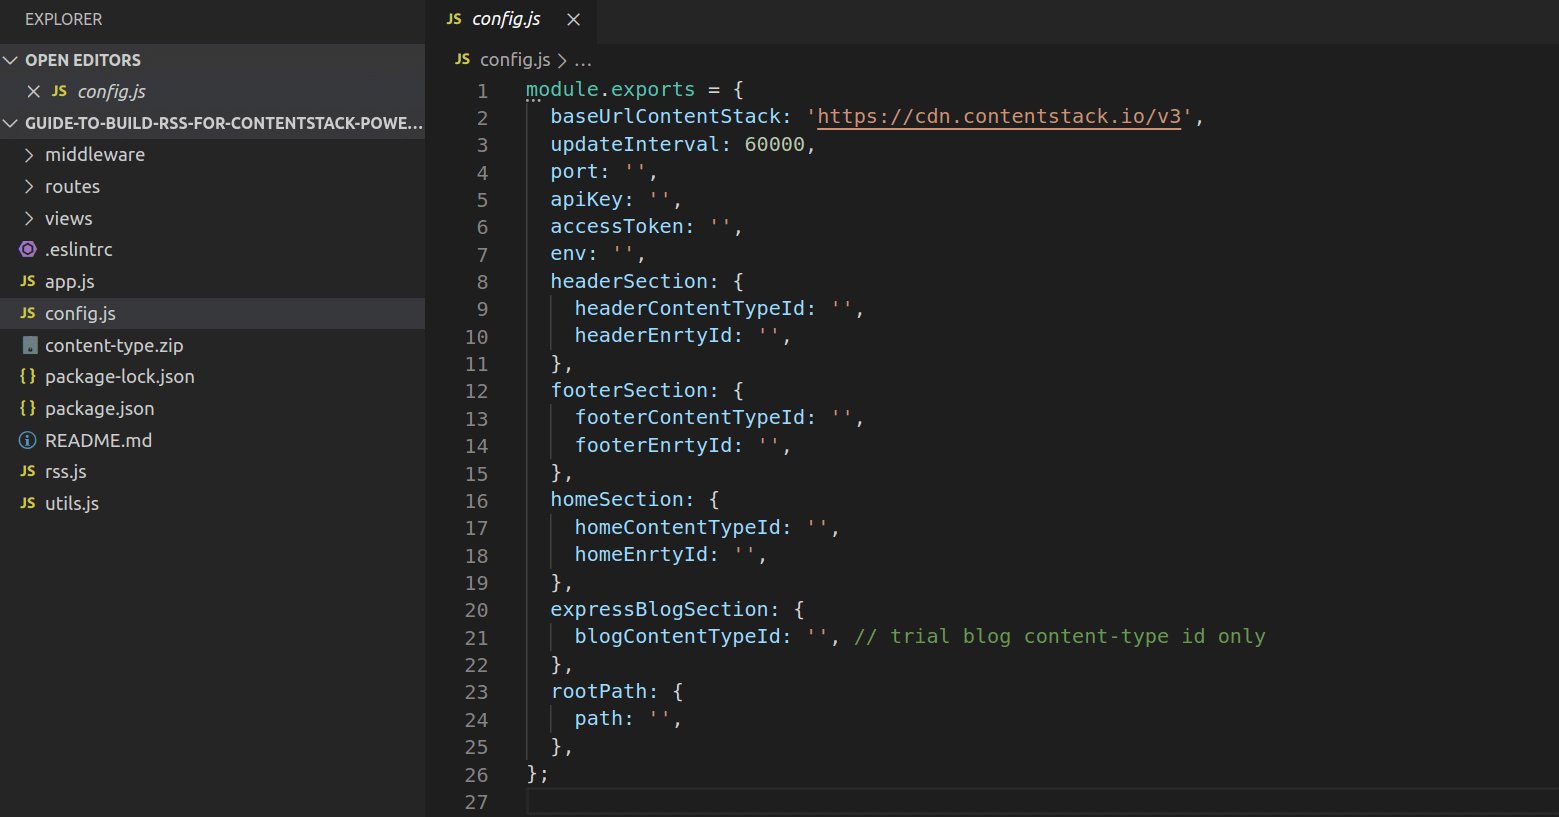
- Now, open the config.js file and add your stack credentials such as your API Key and Delivery Token. Also, provide the environment name, port number, UIDs of Header, Footer, Home, Blog, content types and their respective entries as shown below:
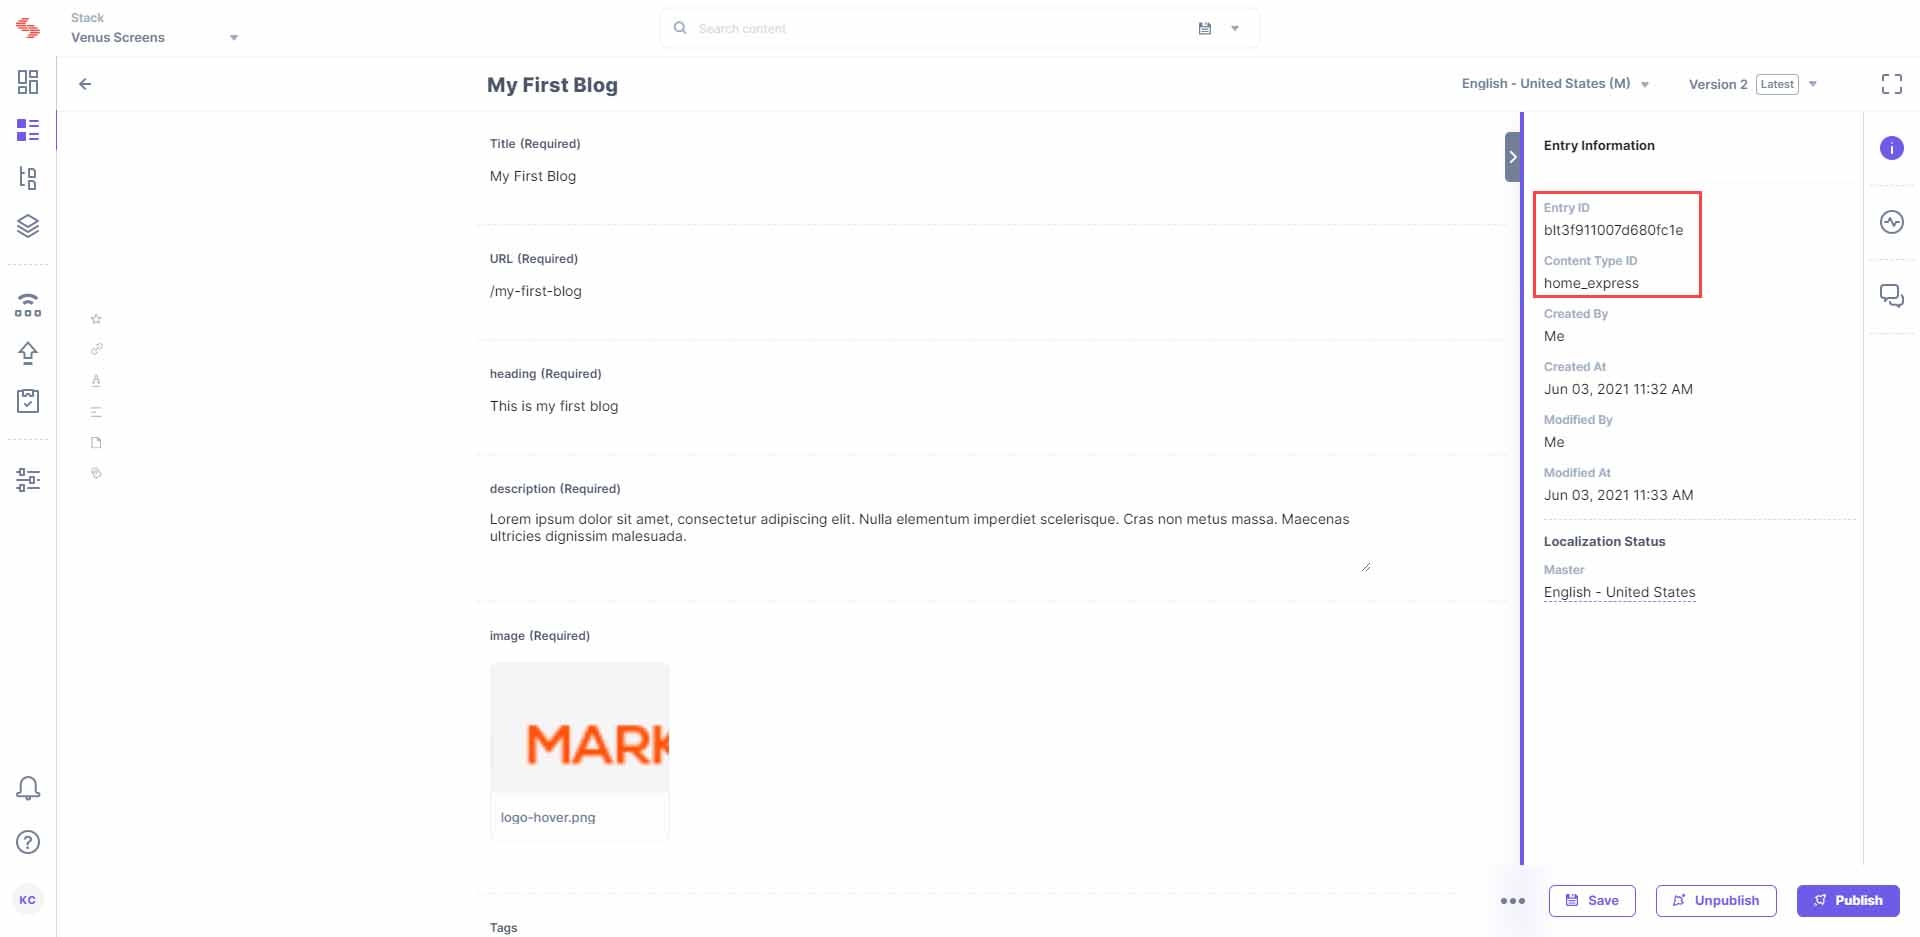
- To get the UIDs of the content types and entries, open the entry, click on the “i” on the right that will open the Entry Information modal, and you will see the UID of content type and entry as shown below:
Note: For Blog content type, just provide the UID of the content type. In the rootPath section provide the URL of your website (in our example it is localhost:4000) and in your case, it can be (www.yourwebsitename.com). Also, baseUrlContenstack cannot be changed.
- Next, we need to install the required dependencies. So fire up your terminal, move inside the project directory, and run the following command:
npm install
- Now start the server using the following command:You should see the app running on localhost:4000. You will see the rss.xml file created along with syntoken.txt file within the root directory.
npm start
- You can access the RSS file by hitting this route http://localhost:4000/rssfeed. It will be different for your website based on its name (for example, www.yoursitename.com/rssfeed).
- Once the file is created and you can see the data in it, select any RSS Reader of your choice such as Google's FeedBurner where you can add your feed.
- Now paste the URL (for example, www.yoursitename.com/rssfeed) in it as shown below:
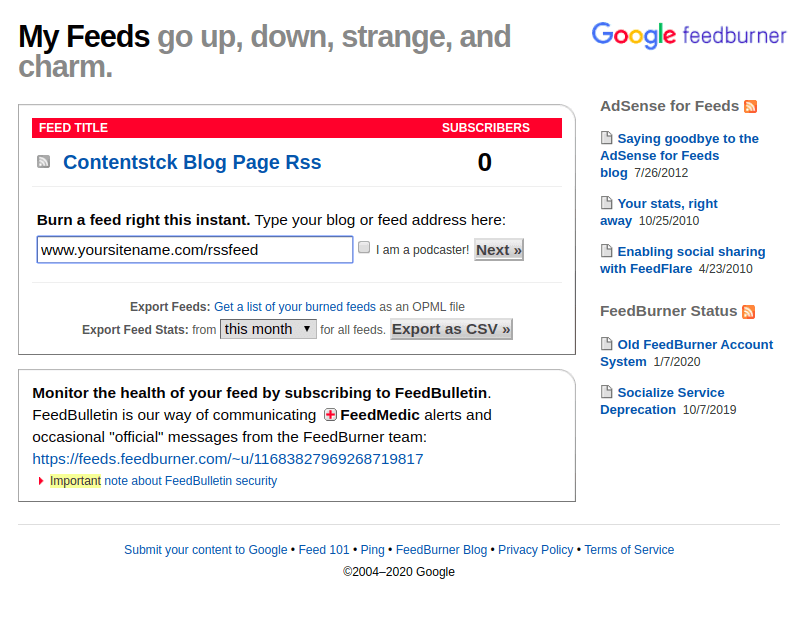
Note: We've used the URL created by ngrok (https://5179d861.ngrok.io/rssfeed) for this example.
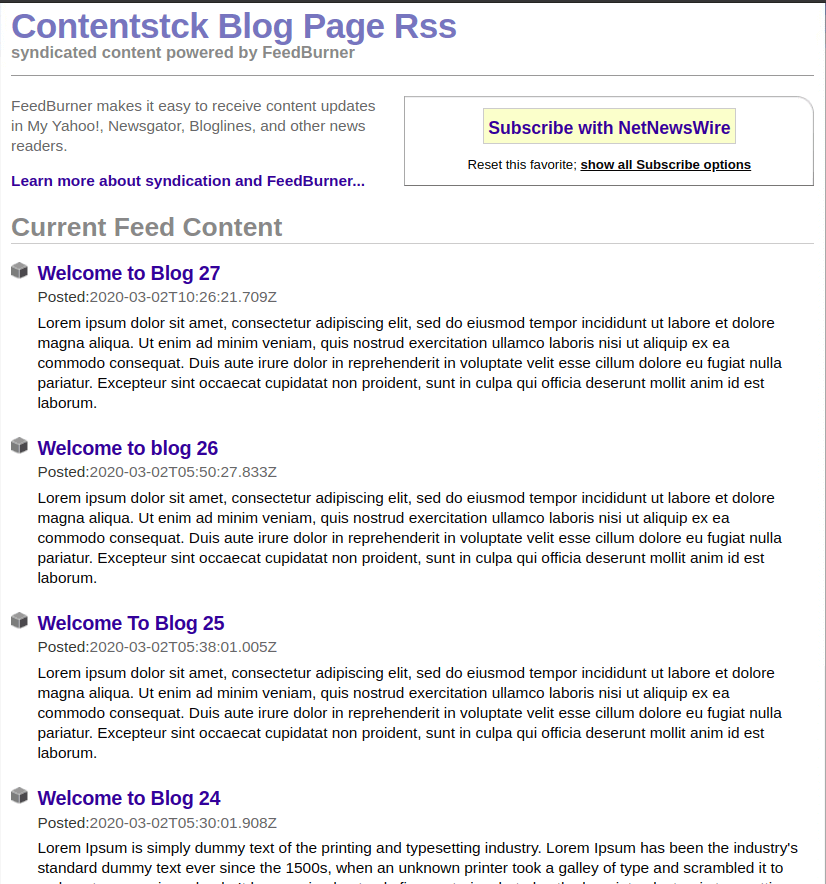
Once you have added the feed to the reader, you can now periodically watch for any content updates for your blog.
How it Works
For this example, we have used the Sync API. Therefore, through Sync APIs, the RSS just gets updated instead of getting created every time on the running server. Refer to our Sync APIs documents to understand how it works.
If a new blog is published, the RSS file will be updated with the content. However, you won't see see any changes within the Feedreader service as it will update based on the given time interval. The interval time for the RSS file update is different than the Feedreader service update time.
So just by refreshing the page, the changes will not be reflected. It's only after the time that you have provided in your code, you'll see the changes (if any new content is published). The RSS page will change based on the changes you have made to you blogs, for example, if you have deleted any blog Google FeedBurner will update accordingly.
Additional Resource: Refer to our documentation on how to send Contentstack Content Over Email using the Express.js web application framework.
More articles
