

.svg?format=pjpg&auto=webp)
.svg?format=pjpg&auto=webp)
.png?format=pjpg&auto=webp)


.png?format=pjpg&auto=webp)
Creating and Managing Sitemaps Using Sync APIs
Sitemaps are the maps of your website and contain all the necessary information about the web pages. They help search engines, like Google, to quickly identify and navigate through your website content.
This information is in a machine-readable format which allows search engines to make your web pages more accessible. Therefore, sitemaps are essential and must be managed effectively to ensure your web pages remain accessible at any time.
In this guide, we'll discuss how to set up sitemaps for your websites with the help of an example website. We'll also discuss how to automate the process of adding new URLs to your sitemap.
Prerequisites
- Contentstack account
- Node.js 8+ installed on your machine
Overview of the process
For our exercise, we have used Express.js and Nunjucks for templating. The sample website that we have built for this exercise has two main navigation sections named Home and Blog with a header and footer.
The Home page has a basic template, whereas the Blog page consists of multiple blogs posted through Contentstack with dynamic routes. We have created sample code and content types for this exercise. Download it from our GitHub page.
We have used the following sample content types for this exercise:
- Express Header: Inside this content type, create an entry that will serve as the header of your website.
- Express Footer: Inside this content type, create an entry that will serve as the footer of your website.
- Express Home: Create an entry inside this content type that will be the homepage of your website.
- Express Blogs: Create multiple entries inside this content type.
- Untracked URLs: Inside this content type, you need to add URLs that will not change frequently (for example, Home and Blog in our case). Websites often contain URLs that do not change over time and remain untracked.
Once you have added entries to these content types, publish them on your environment. In our example, we have published them on the "development" environment.
Working with the Code
Before we discuss sitemaps, let's discuss the sample code and what it holds. Based on this, you can create your own code for your website and add sitemap functionality as required.
- Open the downloaded code in any code editor of your choice. The downloaded code will look similar to the following:
.png)
- Now, open the config.js file and add your stack credentials such as your API Key, Delivery Token, Environment name, UIDs of Header, Footer, Home, Blog, Untracked URLs content types and their respective entries as shown below:
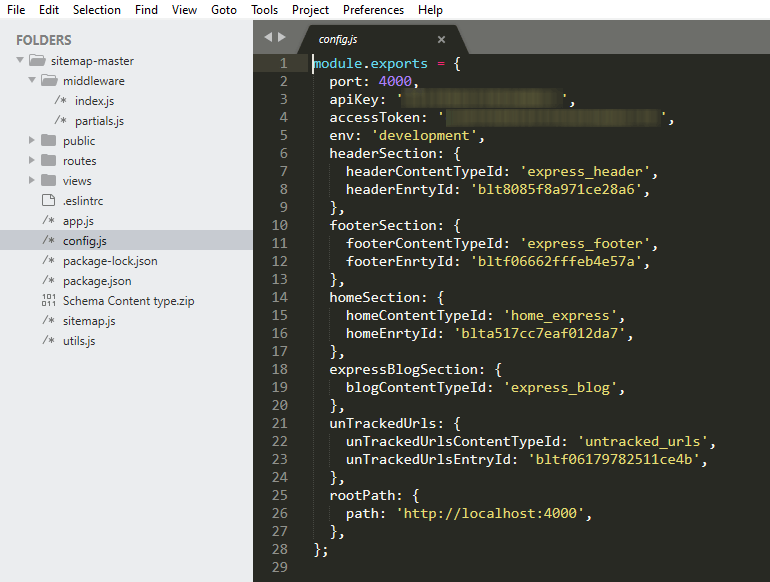
Note: For Blog content type, just provide the UID of the content type. In the rootPath section provide the URL of your website ( in our example it is http://localhost:4000) and in your case, it can be (www.yourwebsitename.com).
- Next, we need to install the required dependencies. So fire up your terminal, move inside the project directory, and run the following command:
npm install
- Now start the server using the following command:
npm start
You should see the app running on localhost:4000 as shown in the following screenshot:
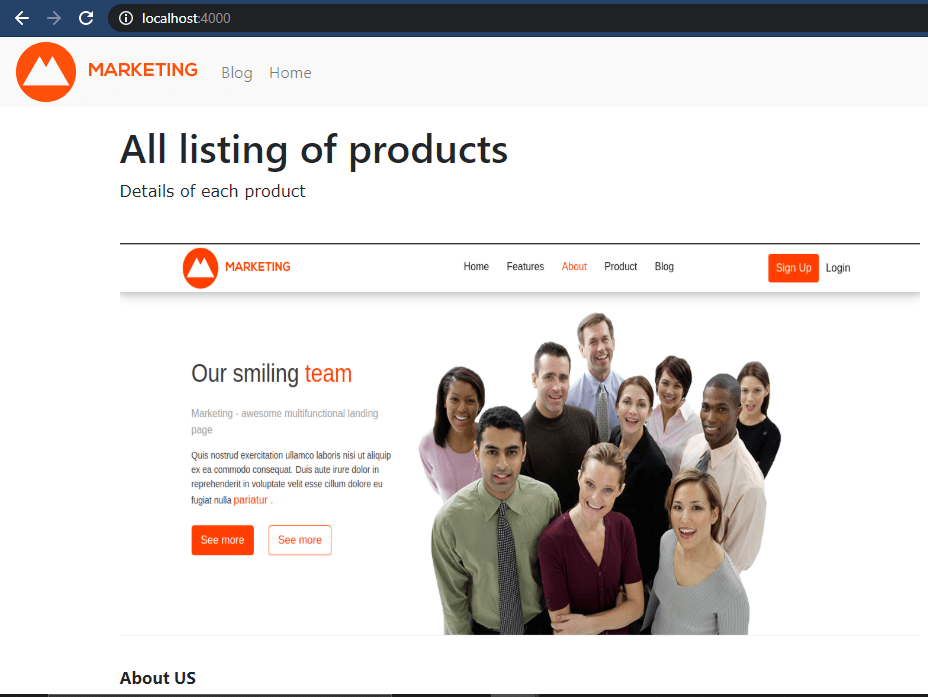
To check the sitemap, hit http://localhost:4000/sitemap on your browser. Now go ahead and add new entries inside the Blog content type and you'll see the new URL has been added to the sitemap automatically.
How it Works
Once the sitemap is created, any change in the URL (that is, update, delete, or addition) is handled using the Sync token that the Sync API generates at the specified intervals (for example, one day or two days for blogs).
Therefore, through the Sync APIs, the sitemap just gets updated instead of getting created every time on the running server. Refer to our Sync APIs documents to understand how they work. For untracked URLs, you can change them manually by re-running the server or keeping long intervals (for example, 30 days, depending on how frequently you change your static routes).
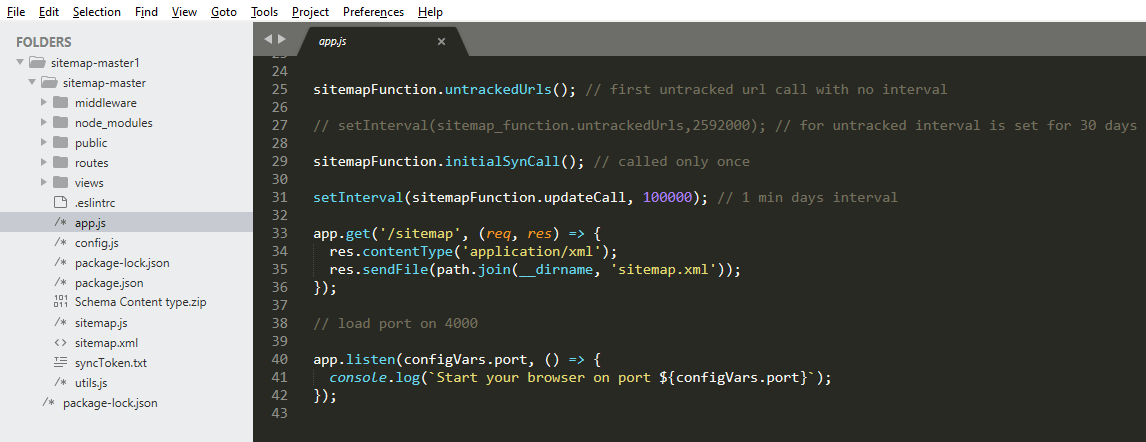
In this example, we have kept 1 minute. So after every minute, the Sync API will fetch the updated URLs (if any) and add them to the sitemap. You can change this interval by opening the app.js file (available in the downloaded code) and update the interval in the following lines of code:
Additional Resource: To know how the Sync API works with Python SDK, refer to our guide Using the Sync API with Python SDK for more details.
More articles
