

.svg?format=pjpg&auto=webp)
.svg?format=pjpg&auto=webp)
.png?format=pjpg&auto=webp)


.png?format=pjpg&auto=webp)
Build an E-commerce Website Using Contentstack and commercetools
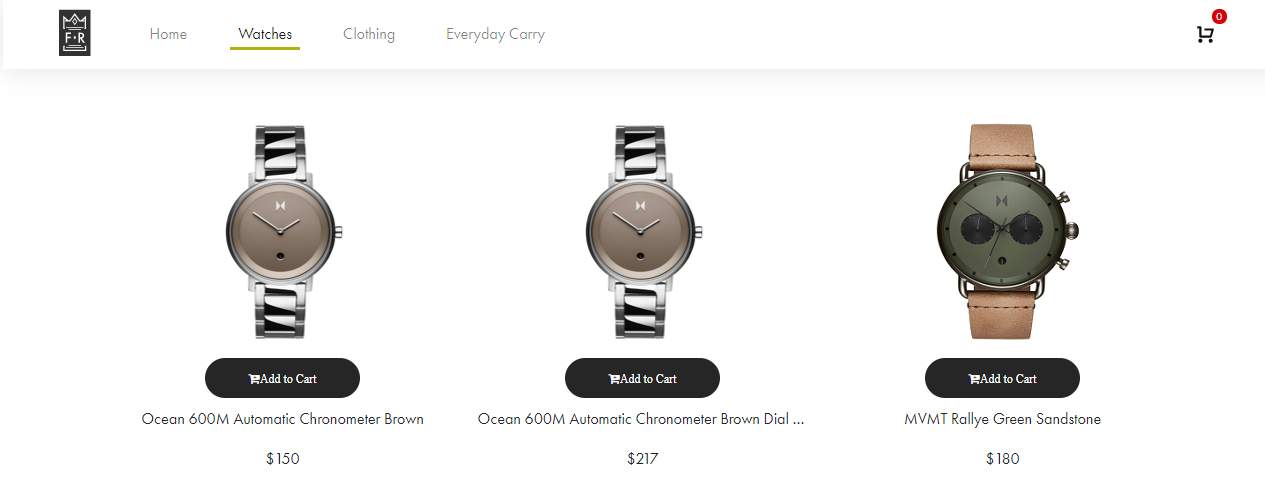
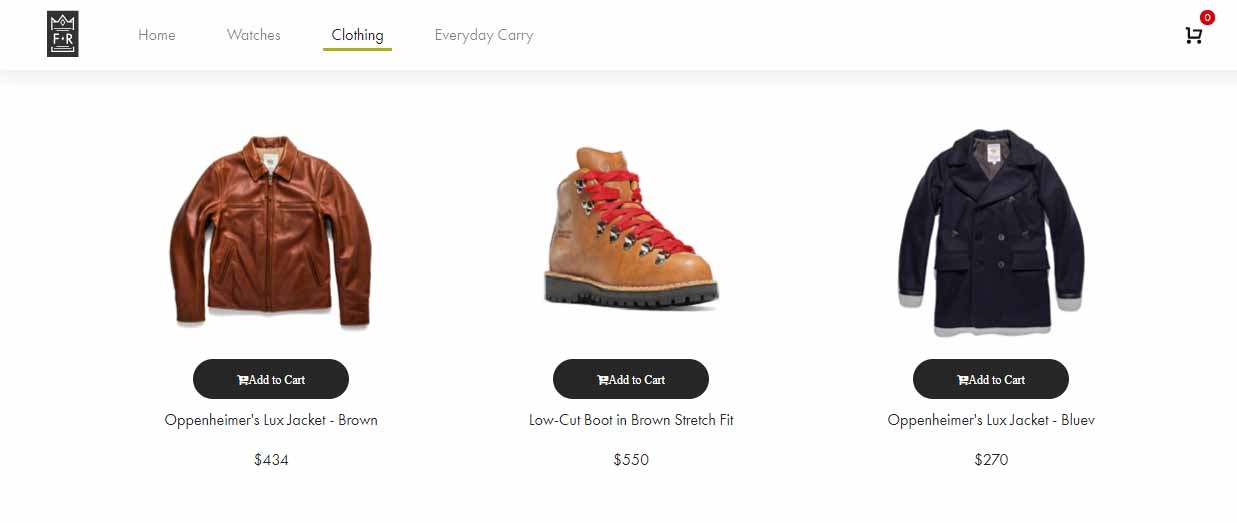
This demo e-commerce app is built using Contentstack and commercetools. It uses Contentstack to store the content and images of your product and commercetools to get the product price and product ID.
Screenshots
Quickstart
Here’s a quick guide on how to create an e-commerce app using Contentstack and commercetools.
Prerequisites
- commercetools account along with a few published products
- Contentstack account
Note: For this tutorial, it's assumed that you are familiar with Contentstack and commercetools. If not, then please refer to Contentstack and commercetools documentation for more details.
Set up your App
- Create a Stack
- Add Content to your commercetools Store
- Create and Retrieve Credentials from commercetools
- Add Products to your commercetools Extension and Publish the Content
- Build and Configure the Website
- Start the App
Create a Stack
We will now set up the essentials in Contentstack. Log in to your Contentstack account and create a new stack. Now, follow the steps given below:
- Firstly, add a management token for your newly created stack. This management token will be required to authenticate our stack in the CLI.
- Then, install the Contentstack CLI by following the steps mentioned in the Install the CLI guide.
- Before using any of our CLI commands, you need to authenticate your stack. To do so, follow the steps mentioned in the authenticate with CLI guide.
For this exercise, we have created the code for our sample app. You can download or clone it from our GitHub repository.
You can clone the GitHub repository using the following command:
git clone https://github.com/contentstack/contentstack-commercetools-nodejs-demo- Download the contents zip file, extract it, and note down its path to use in the next step.
In your command prompt, use the following command to import this content to your destination stack:
csdx cm:stacks:import --alias <management_token_alias> --data-dir <path_of_folder_where_content_is_stored>In the above command, enter the path of your "contents" folder.
- After the successful completion of this command, go to your stack and you will see that content has been imported to your new stack.
Add Content to your commercetools Store
Now go to your commercetools account and add products in your commercetools account based on the list of entries seen in the products content type that you imported in your stack.
Tip: You can add products in your commercetools store project from the assets of your stack.
Add other product information such as product pricing in USD, tax categories, categories, description and other details.
Warning: It is mandatory to add relevant product images and other details, according to the entries in products content type for the sample app and extension to work smoothly.
Now lets proceed to create commercetools credentials, that we require to set up the extension and build the website.
Create and Retrieve Credentials from commercetools
To work with commercetools, you need to create API client keys and HTTP APIs in commercetools.
Additional Resource: Refer to the API Clients and HTTP APIs guides to learn how to generate these values.
Add products to your commercetools Extension and Publish the Content
- Navigate to the commercetools extension settings and add your commercetools' client credentials as config values.
- Once done, Save your extension.
- Go to your Products content type, you will find the commercetools custom extension field. The extension will fetch products from your commercetools store and display them in a field in your content type.
Additional Resource: Follow our detailed step-by-step guide on how to create commercetools custom field extension for your content types in Contentstack.
- Add all the relevant products from your commercetools store to the extension field in your entries.
- Now, navigate to Settings -> Environments, and hard refresh (Ctrl+Shift+R) the page to view the environments that we imported.
- Finally go to your entries, Save and publish the entries on any of the environment.
With this step, you have created sample data for your E-commerce website.
Build and Configure the Website
Now go to the code which you downloaded from our GitHub repository, navigate the config folder and open the default.js file.
Add your stack’s API key, delivery token, publish environment, and commercetools extension ID.Note: To get the commercetools extension ID, go to your stack and open the "Products" Content Type Builder and note the commercetools extension "Unique ID" as shown below and add it to the configuration file.

module.exports = exports = {
    port: 4000,
    // Contentstack Config
    contentstack: {
        api_key: '<<YOUR API KEY>',
        delivery_token: '<<YOUR DELIVERY TOKEN>>',
        environment: '<<publish_env>>',
        ct_extension_id: '<<YOUR COMMERCETOOLS EXTENSION UNIQUE ID>>',
    },
Also, you need to add your commercetools project ID, domain, client ID, client secret, and scope as shown below.
Note: User can create a new API client key in commercetools with scope manage_project:{project_key} and use it in the sample app config as shown below. Make sure the extension API client config and the sample app API config should be different.
commercetools: { "project_id": "<<YOUR PROJECT KEY>>", "domain": "<<API host URL>>" //For eg. "us-central1.gcp.commercetools.com", "client_id": "<<YOUR CLIENT ID>>", "client_secret": "<<YOUR CLIENT SECRET KEY>>", "scopes":[ ] // For eg. ["manage_project:project_key"] } };Note: While creating client API credentials in commercetools for sample app make sure to select Admin client as scope in the dropdown section, to avoid errors while running the app.
Start the App
Now that the set up is completed, fire up your terminal and point to your project location.
Start the application using the following commands:npm install npm start
You can view the website at http://localhost:4000/. Create some orders and as soon as you click on checkout, a cart and order get created on the commercetools platform with a cart and order ID.
