

.svg?format=pjpg&auto=webp)
.svg?format=pjpg&auto=webp)
.png?format=pjpg&auto=webp)


.png?format=pjpg&auto=webp)
Build an Android E-commerce App using Contentstack's Android SDK
This demo Android E-commerce app is built using Contentstack’s Android SDK in Kotlin. It uses Contentstack to store and deliver the content of the e-commerce app.
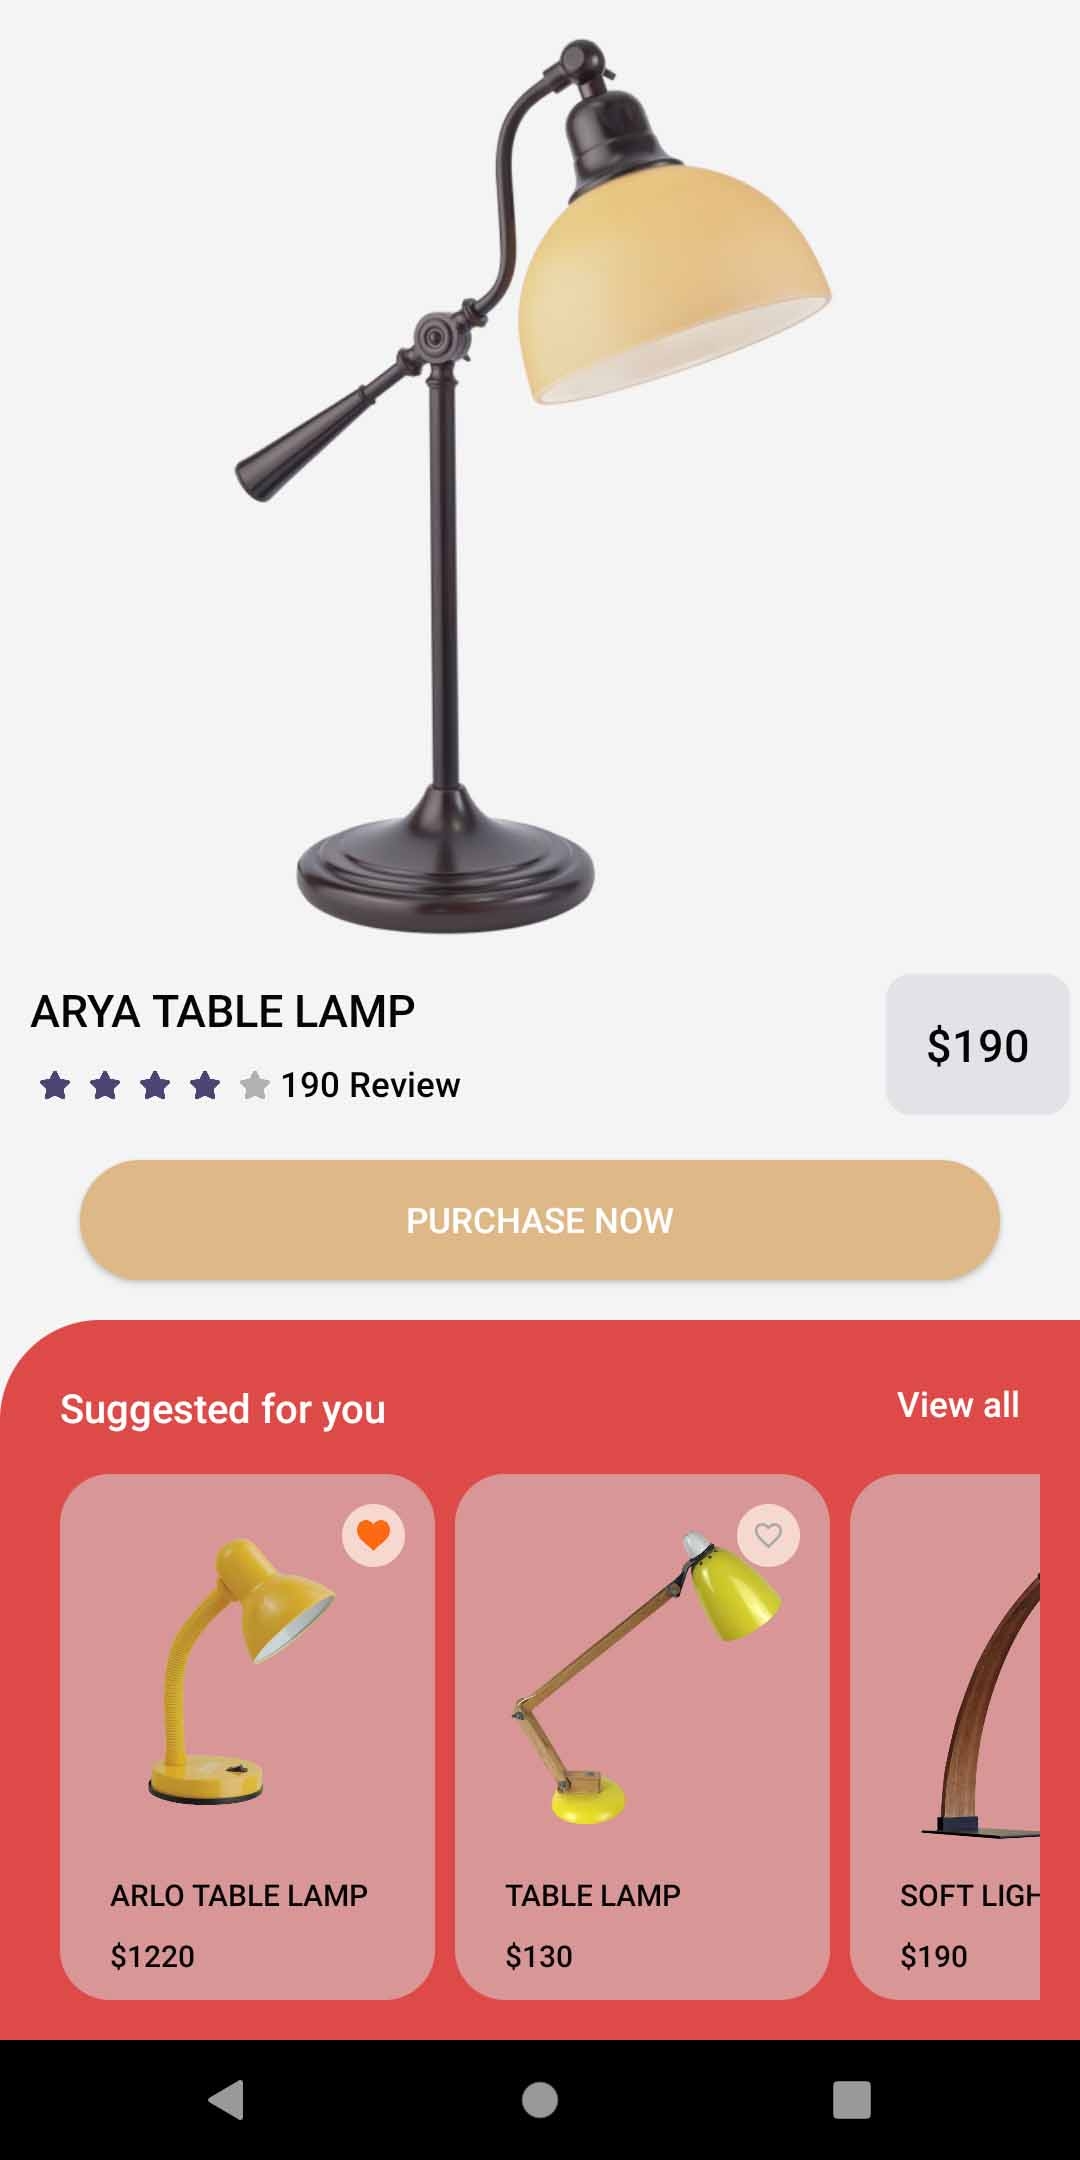
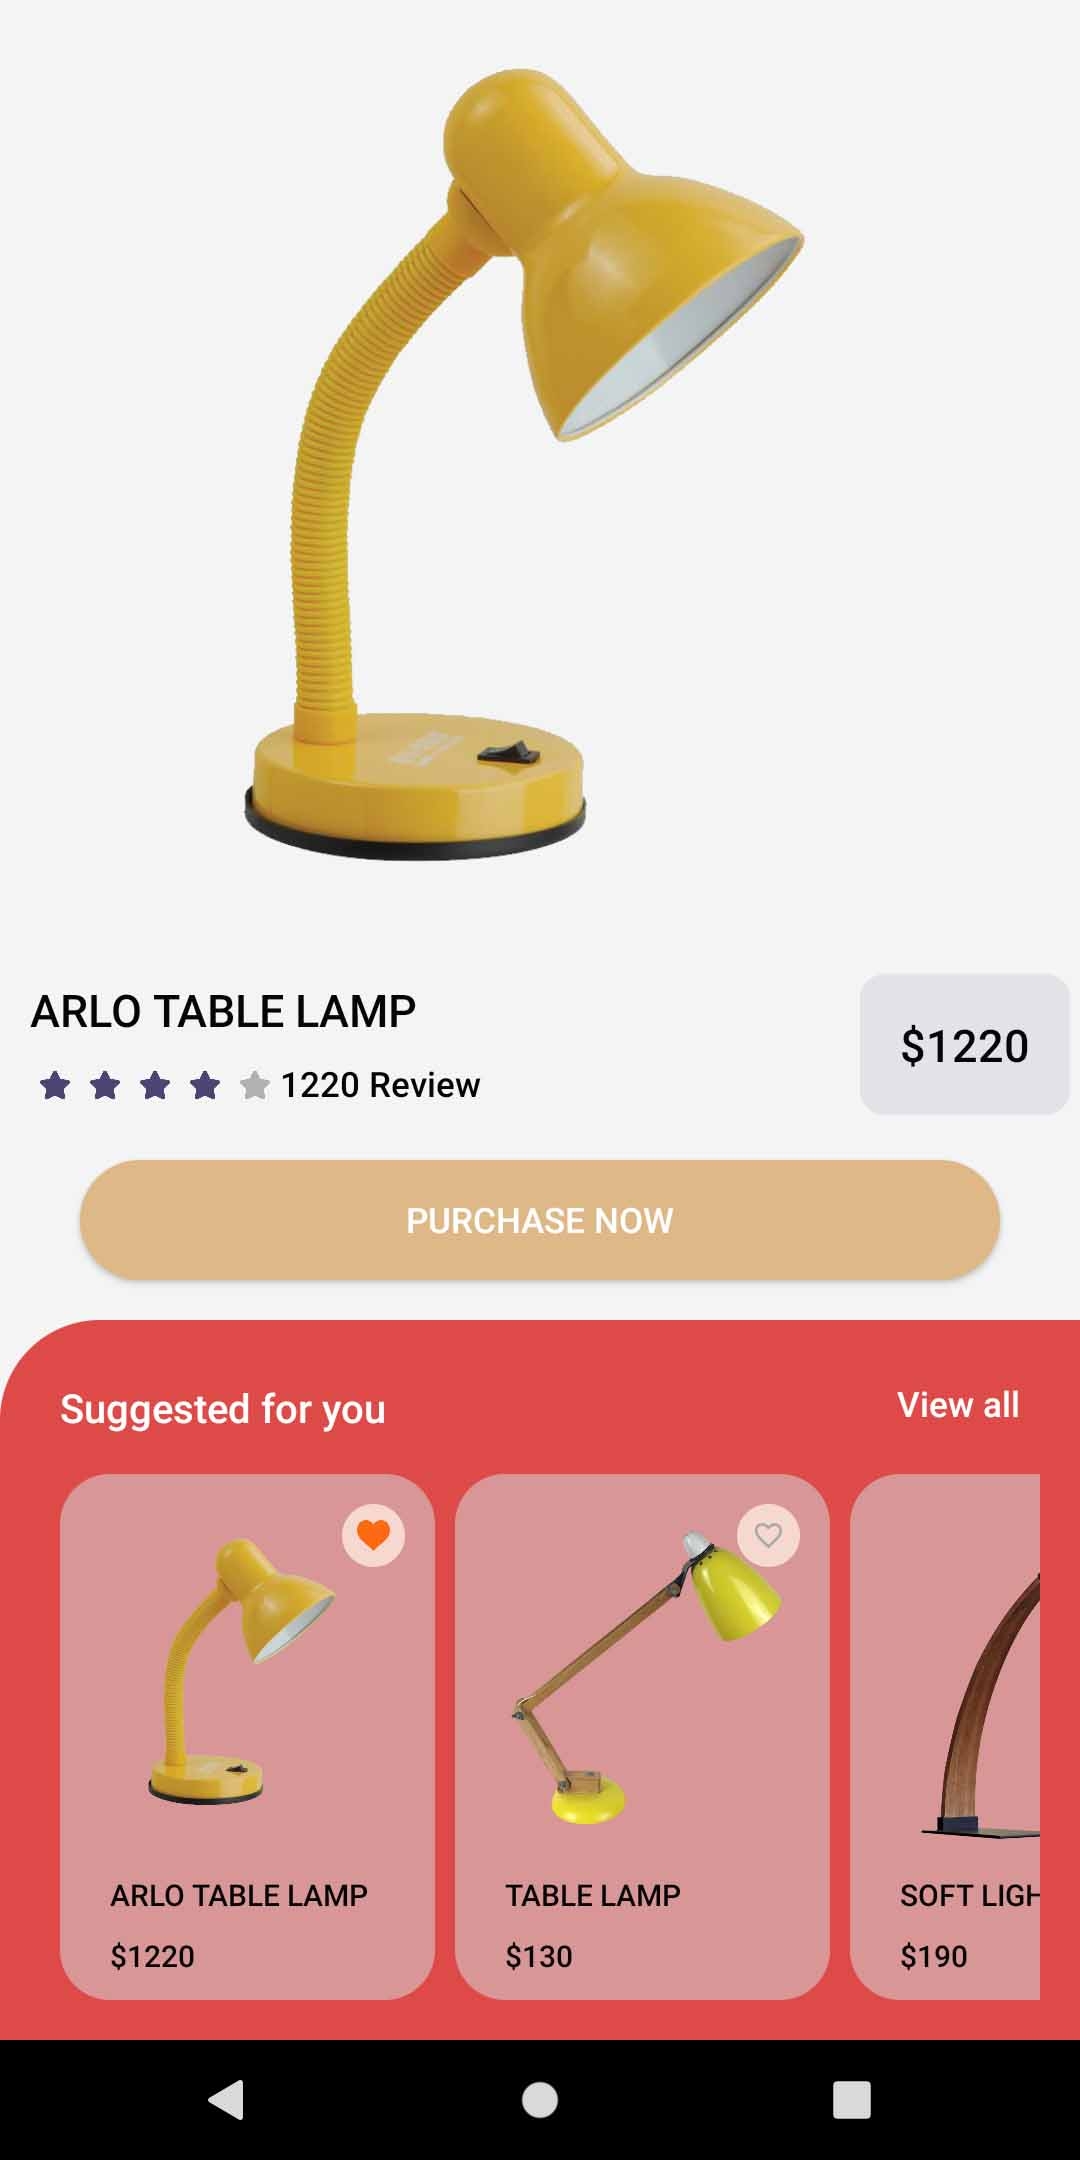
Screenshots
Warning: This sample app is no longer maintained. It remains available for reference. If you have questions regarding this, please reach out to our support team and we will do our best to help!
Quickstart
Here’s a quick guide on how to create an Android E-commerce app in Kotlin using Contentstack’s Android SDK.
Prerequisites
- Android Studio installed on your machine
- Contentstack account
Note: For this tutorial, we have assumed that you are familiar with Contentstack and Android. If not, then please refer to the docs (Contentstack docs) for more details.
In this tutorial, we will first go through the steps involved in configuring Contentstack, and then look at the steps required to customize and use the presentation layer.
Create a Stack
Log in to your Contentstack account, and create a new stack. This stack will hold all the data, specific to your website. Learn more on how to create a stack.
Add a publishing environment
To add an environment in Contentstack, go to your stack and click the “Settings” icon on the left navigation panel. Select Environments, and click on the + New Environment button. Provide a suitable name for your environment, say “staging”. Specify the base URL (e.g., “http://YourDomainName.com”), and select the language (e.g., English - United States). Then, click on Add. Read more about environments.
Import Content Types
A content type is like the structure or blueprint of a page or a section of your web or mobile property. Read more about Content Types.
For this website, we have already created content types. You simply need to import them to your stack. Refer to our Create a Content Type documentation to learn how to create your own content types.
To import the content types, first, save the zipped folder of the JSON files given below on your local machine. Extract the files from the folder. Then, go to your stack in Contentstack and access “Content Models” from the left panel. Click the “Import” button, and select the JSON file saved on your machine.
Now that all the content types are ready, let's add some content for your e-commerce app.
Add Content
Create and publish entries for the content types we just imported into our stack. Once you have added content, save and publish these entries. Learn how to create and publish entries.
With this step, you have created sample data for your website. Now, it’s time to use and configure the presentation layer.
Clone and Configure the Application
To get your app up and running quickly, we have created a sample Android app for this project. You need to download it and change the configuration. Download the app using the command given below:
$ git clone https://github.com/contentstack/contentstack-android-ecommerce-app.gitOnce you have downloaded the project, unzip it, and add your Contentstack API Key, Delivery Token, and Environment to the project during the SDK initialization step. (Learn how to find your Stack's API Key and Delivery Token. Read more about Environments.)
Stack stack = Contentstack.stack(context, "API_KEY","DELIVERY_TOKEN","ENVIRONMENT_NAME");This will initiate your project.
Set up Android Studio and Initialize Android SDK
To set up Android Studio and initialize Android SDK, refer to our Get Started with Android SDK documentation.
Build and Run your E-commerce App
Now that we have a working project, you can build and run it. Open Android Studio and click on File. Then, select Open and an Open File or Project window will pop. Select your project that you just downloaded and click on OK.
- In your Android Studio IDE, select your device from the Target selector and click on the green Run icon to run the app.
- If you can't see the device listed in the Target Selector, go to the Tools option and select AVD Manager. You'll see a virtual device listed there.
- Click on the Run icon in the device select toolbar, or invoke the menu item Run.
Additional Resource: We have built a similar E-commerce app using Flutter and Contentstack Android SDK. To learn more, read our guide on how to build a Flutter E-commerce App using Contentstack's Dart SDK.
More resources
