

.svg?format=pjpg&auto=webp)
.svg?format=pjpg&auto=webp)
.png?format=pjpg&auto=webp)


.png?format=pjpg&auto=webp)
Build a Starter Website using PHP, Laravel, and Contentstack GraphQL
The Laravel framework makes web development easier by adding tools and libraries to the PHP platform.
This guide will help you create a starter marketing website using PHP and Laravel with minimal steps. It uses Contentstack’s GraphQL to store and deliver the website content from Contentstack.
Let’s look at the steps to create this starter website using PHP, Laravel, and Contentstack.
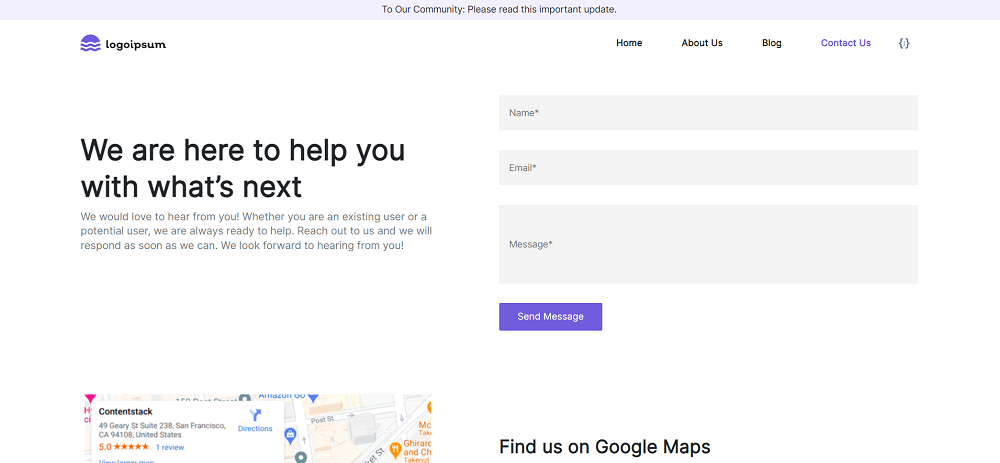
Screenshots
Warning: This sample app is no longer maintained. It remains available for reference. If you have questions regarding this, please reach out to our support team and we will do our best to help!
Prerequisites
Note: For this tutorial, we have assumed that you are familiar with the Contentstack app and Laravel framework. If not, please refer to the Laravel documentation for more details.
Set up your App
Here is an overview of the steps involved in creating our Laravel app:
- Set the Region
- Log in to your Account
- Import Content
- Create Delivery Token
- Build and Configure the Website
- Deploy the Website
-
Set the Region
To use the North American, European, Azure North American, Azure Europe, or Google North America endpoint, run the following command in your terminal (command prompt):
csdx config:set:region <<region>>Note:- For North American users, set the region as NA.
- For European users, set the region as EU.
- For Azure North American users, set the region as AZURE-NA.
- For Azure European users, set the region as AZURE-EU.
- For Google North America users, set the region as GCP-NA.
-
Log in to your Account
To import content to your stack, first, you’ll need to log in to your Contentstack account via CLI by running the following command in your terminal:
csdx auth:loginThis command will ask you to provide your Contentstack account credentials (email and password).
-
Import Content
The seed command lets you import content to your stack in a few steps. To do so, run the following command in your terminal:
csdx cm:stacks:seed --repo "contentstack/stack-starter-app"This command will prompt the following options as follows:
- Organization name: You’ll get a list of organizations to which you have access. Select the one from the list where your source stack is located or where you want to create a new stack.
- Stack preference: Select your choice to create a stack:
- Select New, and then enter a name for your stack.
- If you select Existing, select the particular stack where you have the specific permissions for importing content.
Additional Resource: Refer to the stack roles documentation to learn more about permissions.
Note: For creating new stacks, choose an organization where you are either an owner or admin.
Tip: To avoid the chances of any error, we recommend that you select the option of creating a new destination stack. If you choose to import content to an existing stack, ensure that the stack is empty.
Finally, you’ll get the content imported to your stack.
-
Create Delivery Token
A delivery token lets you fetch published content of an environment.
You can create a delivery token for the “development” environment for running the website on localhost. Later, while deploying your site, you can create tokens for other environments.
-
Build and Configure the Website
Navigate to the main folder, update the configuration file named .env (rename .env.example to .env), and provide your credentials:
CONTENTSTACK_HOST_NAME= <<CONTENTSTACK_HOST_NAME>>
CONTENTSTACK_API_KEY= <<CONTENTSTACK_API_KEY>>
CONTENTSTACK_ACCESS_TOKEN= <<CONTENTSTACK_DELIVERY_TOKEN>>
CONTENTSTACK_ENVIRONMENT= <<CONTENTSTACK_ENVIRONMENT>>
CONTENTSTACK_REGION= <<CONTENTSTACK_REGION>>
Import php graphQL library using the below command:
composer require gmostafa/php-graphql-clientRun the following commands to start your website:
php artisan serve
That’s it!
You can now view the website at http://localhost:8000. And you also have the stack that has all the content and resources for the website. Try experimenting by creating new entries and publishing them in the “development” environment. You should be able to see the changes on the website at the localhost.
-
Deploy the Website
You have two ways to deploy a Laravel starter website on production:
- AWS
- XAMPP (Local machine)
Note: You need an AWS account before you start deploying.
AWS
- Log in to your AWS Account.
- Create an EC2 instance (prefer Ubuntu version 18 or above).
- Log in to AWS Server and use the following command:
- Install the latest versions of Apache and PHP.
- Use the following command to enable Apache anywhere:
- Use the following command to install PHP and connect it to Apache:
- Paste your source code into the /var/www/html folder.
- Import php graphQL library using the following command:
- Run the following commands to install and update the composer.
- Install composer packages
- Upgrade the installed packages
$ composer install
$ composer update
- Enter the following command to generate keys:
- Run the following command to start your website:
- Access your server's domain address or IP address from your browser:
http://server_domain_or_IP
$ ssh username@ip-address
$ sudo apt install apache2
$ sudo ufw app list
You should receive the following message after running the above command:
Available applications: Apache Apache Full Apache Secure OpenSSH$ sudo ufw allow in "Apache"$ sudo apt install php libapache2-mod-php
composer require gmostafa/php-graphql-client$ php artisan key:generate$ php artisan serve
XAMPP
- Install XAMPP and Composer on your local machine.
- Start the Apache server in XAMPP.
- Paste your source code in the xampp/htdocs/project_path folder.
- Import php graphQL library using the below command:
- Run the following commands to install and update the composer.
- Install composer packages
- Upgrade the installed packages
$ composer install
$ composer update
- Run the following command in the terminal after changing the directory to your project path:
composer require gmostafa/php-graphql-client$ php artisan serve
That’s it!
You can now access your website using the http://localhost:8000 URL.
