

.svg?format=pjpg&auto=webp)
.svg?format=pjpg&auto=webp)
.png?format=pjpg&auto=webp)


.png?format=pjpg&auto=webp)
Custom Field Location
The Custom Field Location of an app lets you add/ create custom fields that you can use in your content type. Apart from using the default fields such as "Single-line textbox", "Rich Text Editor", and so on, you can integrate with numerous business applications, such as "Bynder", "Cloudinary", "Shopify", by adding them as custom fields to your stack's content type.
Additional Resource: Refer to the App SDK Custom Field Location documentation to learn more.
Let's see how to add custom field location to your app:
-
Via the Developer Hub Console:
To add the custom field location to your app via the Developer Hub console, login to your Contentstack Account and follow the steps given below:- Click the Developer Hub icon in the left navigation panel.
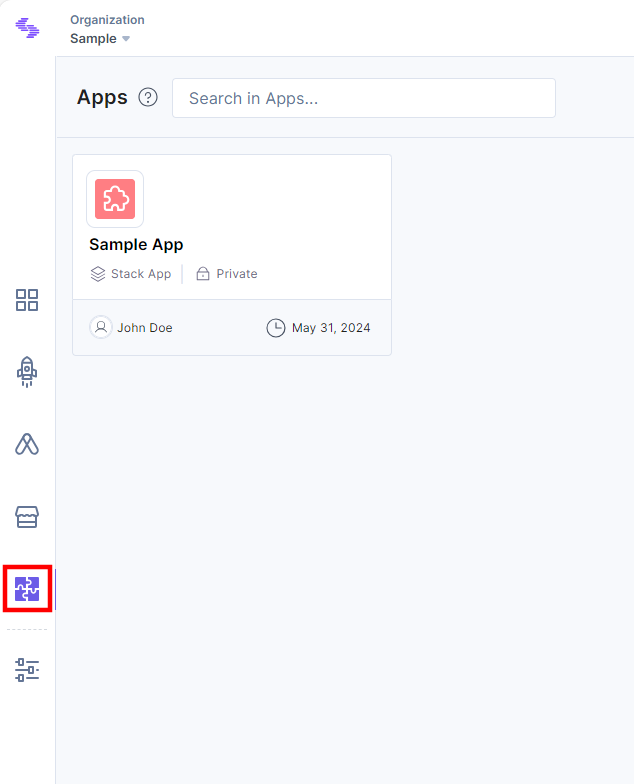
- Select an application for which you want to add the custom field location.
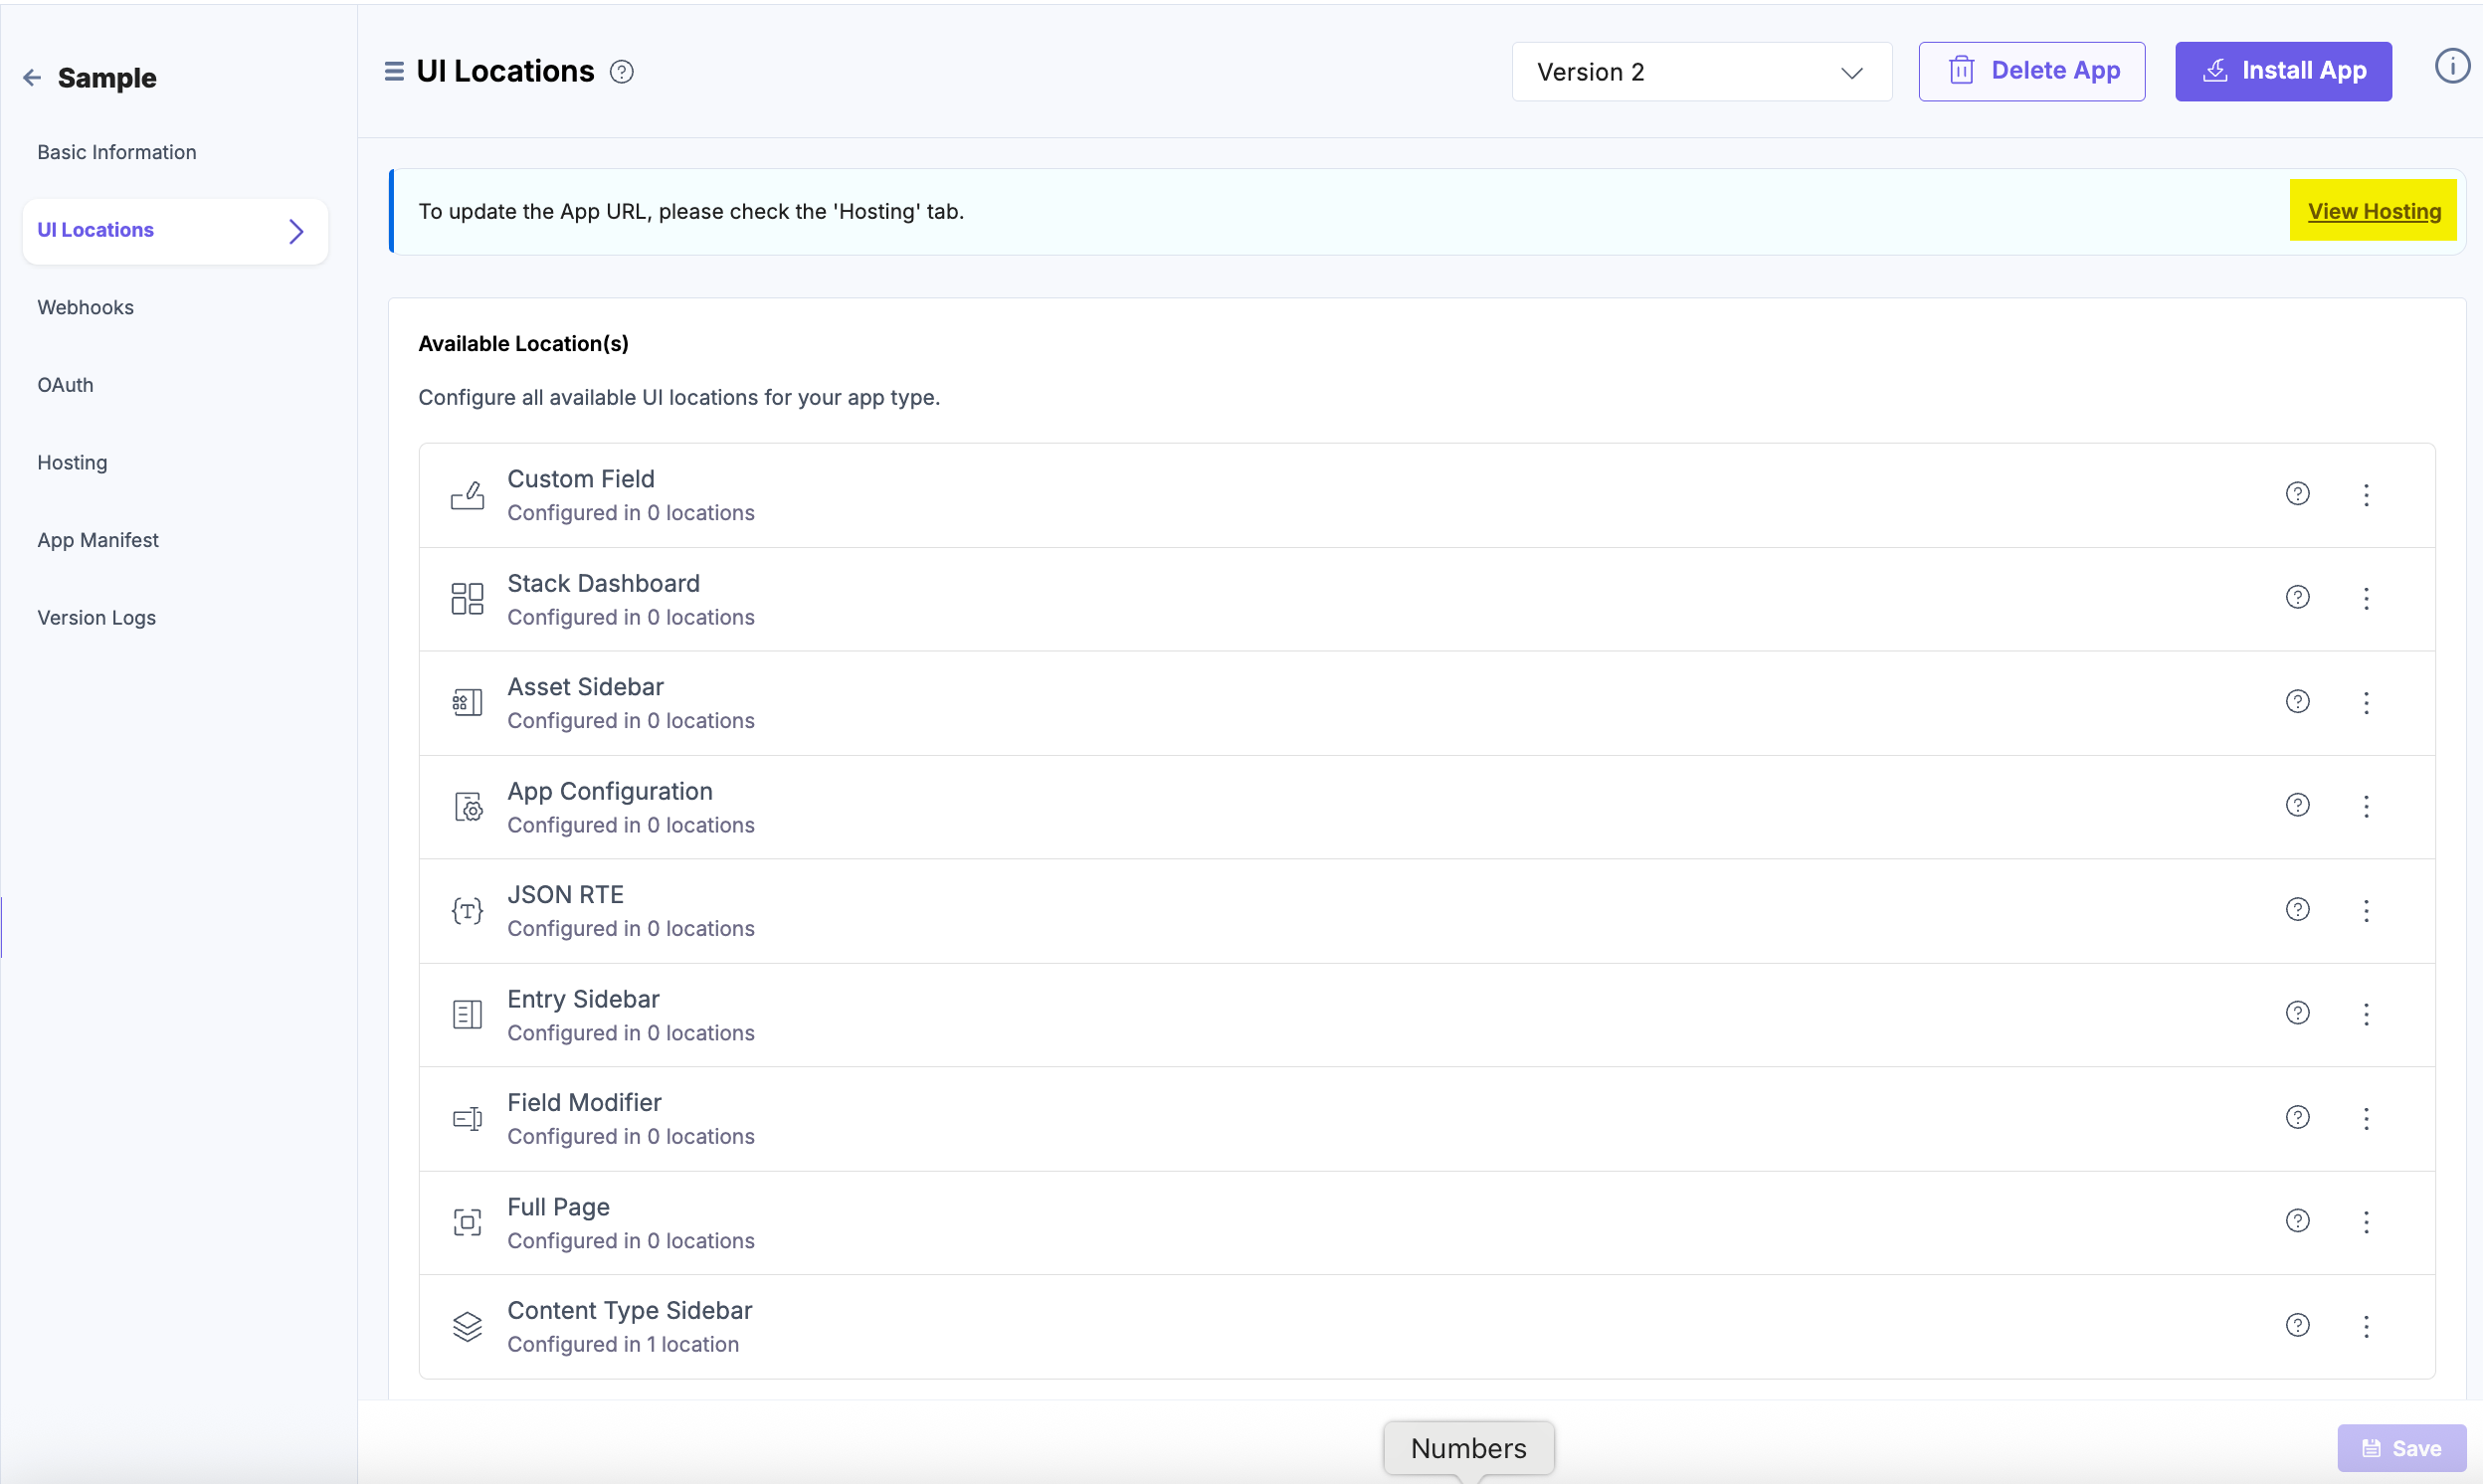
- Click the UI Locations tab. To set the App URL, click the View Hosting link. You will be redirected to the Hosting tab.
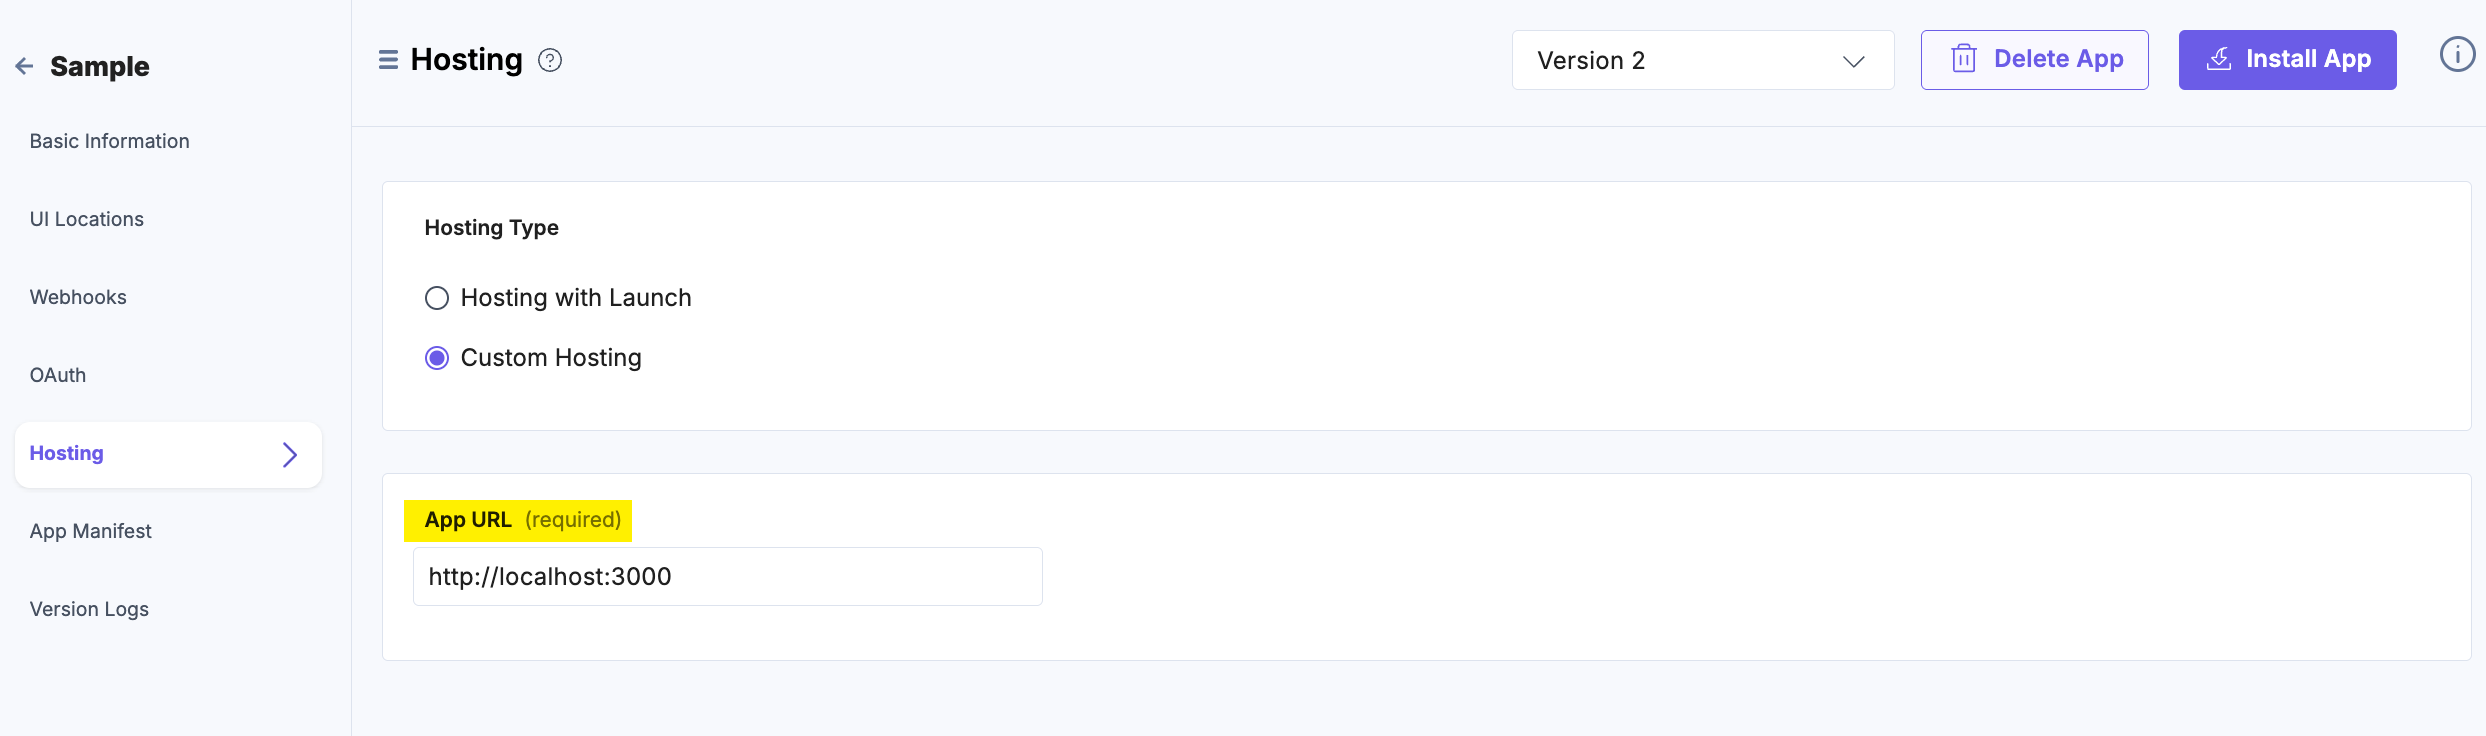
- In the Hosting tab, you can select Hosting with Launch or Custom Hosting options. Select the Custom Hosting option to enter the hosted URL of your application. Click the Save button to save your hosting configuration.
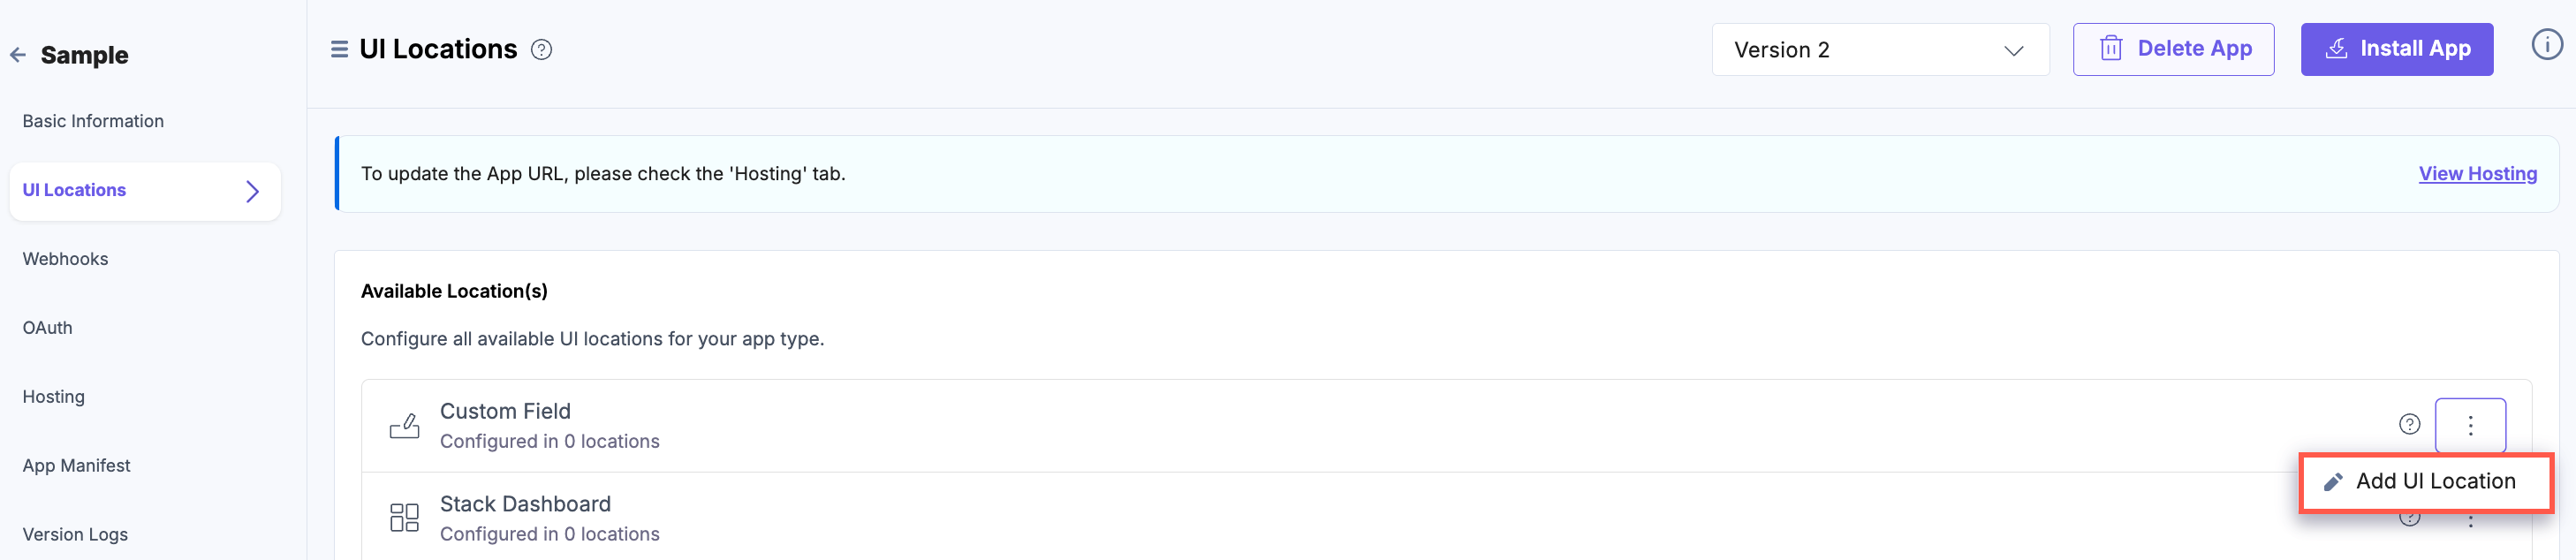
- Navigate to the UI Locations tab to configure the Custom Field location.
- Hover over the Custom Field location, and click the + Add UI Location button.
- On the resulting Configuration page, set up the configurations for custom field location by providing details such as Name, Path, Data Type, and Description. You can also enable the configuration using the Enabled toggle button.
Properties that can be specified for this UI location:
- Name (optional): Specifies the name of the UI location. This name will be displayed at the location after the app is installed. If not provided, the app name will be used. Ensure unique names for multiple configurations of the same location.
- Signed (optional): When enabled, Contentstack adds a JWT token to the initial HTTP request made for your app's first page. This token can be used to verify that the request originated from Contentstack. For more information, please refer to Signed Locations.
- Path (optional): Enables you to define the location relative to the base URL where the app is hosted. This is particularly useful when the developer intends the app to appear in multiple locations.
- Enabled (optional): Determines whether the location is visible after the app installation. If not specified, the location is enabled by default. Users can manage this option post-installation via the UI Locations tab on the app’s configuration screen.
You can configure any UI location as mandatory using the Required toggle button. If the toggle is enabled, the location becomes mandatory and cannot be disabled. Whereas, if the toggle is disabled, the UI location is available to use but not mandatory. With the Multiple field, you can save input values in array.
Additional Resource: Refer to the Marketplace App Manifest documentation for comprehensive details.
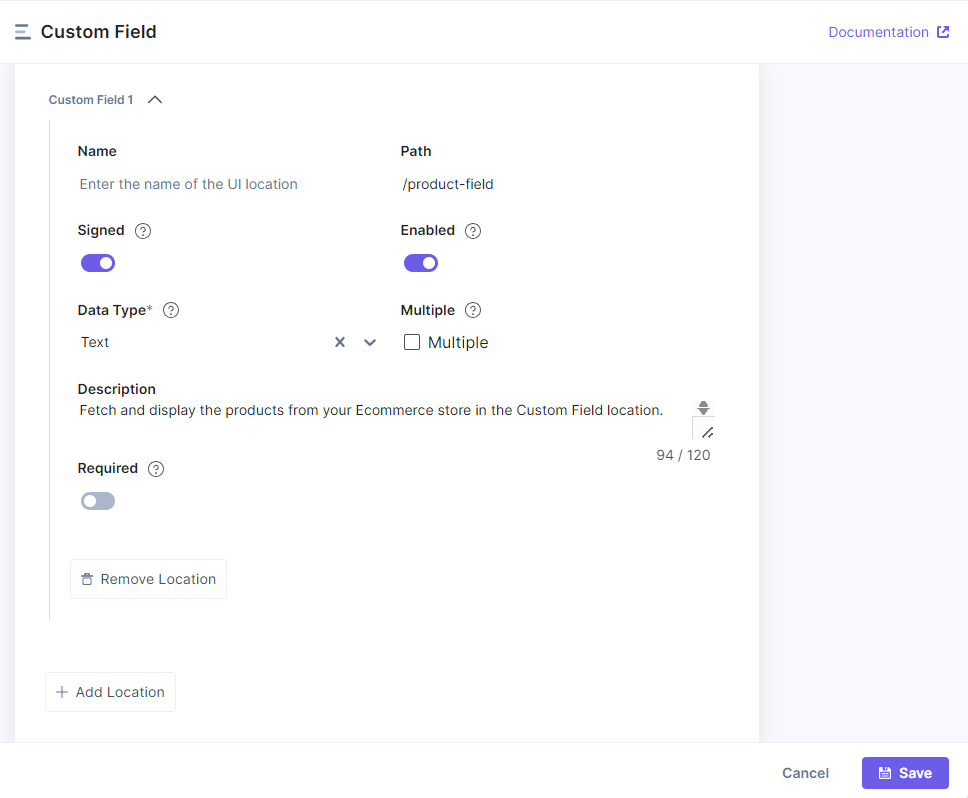
- Finally, click the Save button to save the custom field location’s configuration details.
You will see the details of the configured UI location on the UI Locations tab in the App Configuration screen after installing the app.
You can enable or disable the non-required UI locations. Apps which have the Custom Field location configured will be visible in the custom fields of an entry. Navigate to the entries page to view the app on the Custom Field location.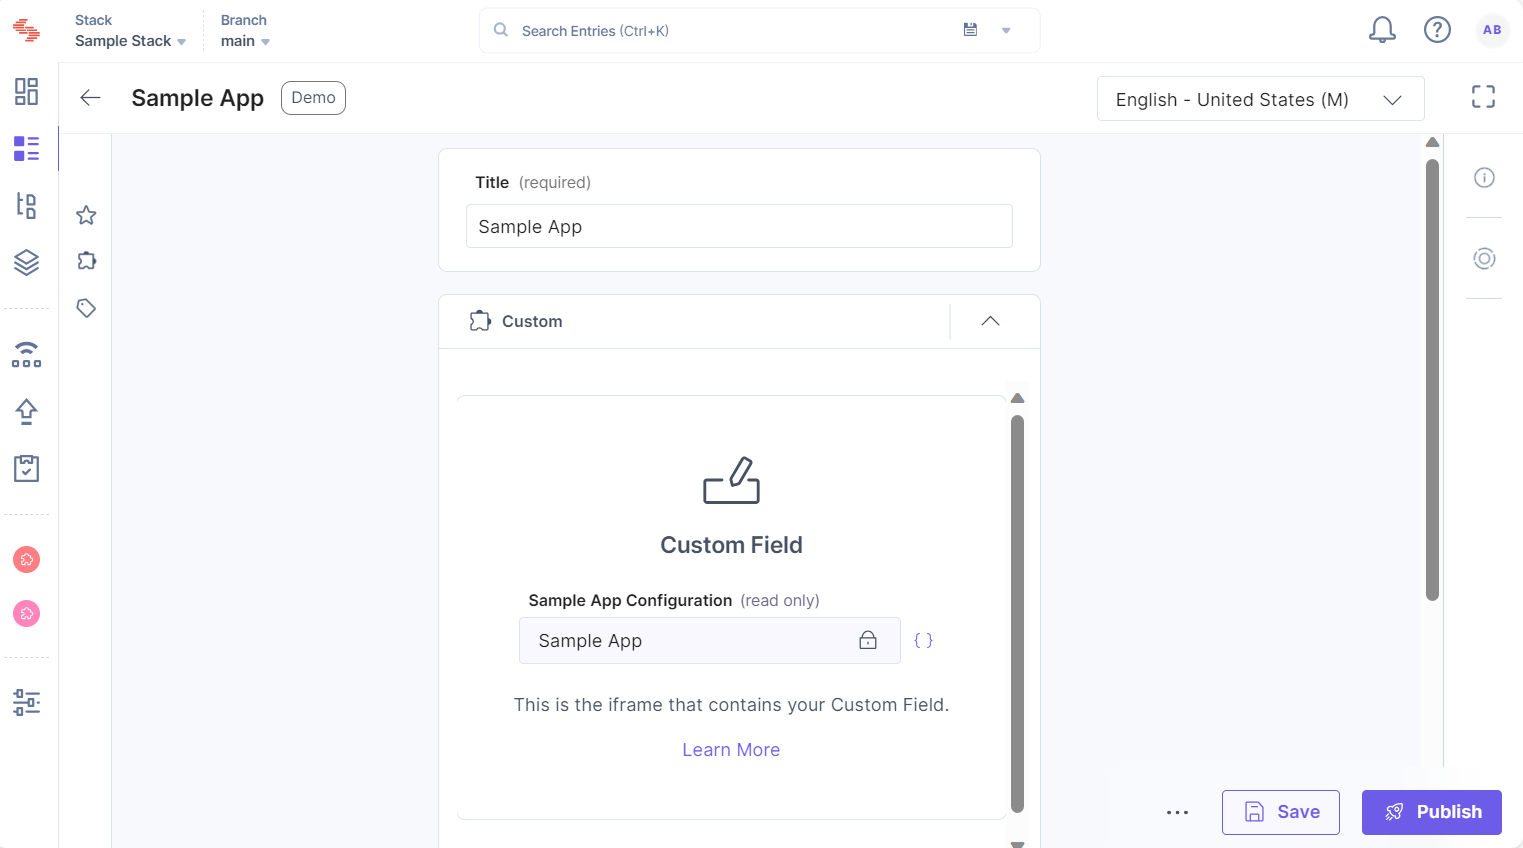
- Click the Developer Hub icon in the left navigation panel.
Note: A single app supports up to ten custom field locations.
You can create new custom field locations by writing your custom code, or you can use the prebuilt boilerplate and modify the given code to suit your requirements.
More articles in "Managing UI Locations"
