

.svg?format=pjpg&auto=webp)
.svg?format=pjpg&auto=webp)
.png?format=pjpg&auto=webp)


.png?format=pjpg&auto=webp)
IBM Watson
The IBM Watson Sidebar Extension lets you analyze the content of an entry and extract meta-data from the content such as categories, concepts, emotions, entities, keywords, relations, semantic roles, and sentiment. This Sidebar Extension uses custom annotation models developed by Watson Knowledge Studio to analyze the data and identify industry- or domain-specific entities and relations in unstructured text.
This Sidebar Extension uses IBM Watson APIs to offer a wide variety of services that let you get more out of your content. Refer to the IBM Cloud API docs for more details.
This step-by-step guide explains how to create the IBM Watson Sidebar Extension in Contentstack. The steps to be performed are as follows:
- Create service instance in IBM Watson
- Generate service credentials
- Configure and deploy Lambda function
- Add "IBM Watson" Sidebar Extension to your stack
- Use the extension
Create service instance in IBM Watson
To begin with, you need to create an instance of the "Natural Language Understanding" service and create service-specific credentials to provide authentication to the selected service in IBM Cloud. To do so, perform the steps given below:
- Log in to your IBM Cloud account.
- Go to the Natural Language Understanding page in the IBM Cloud Catalog.
- Click Create. This creates your service instance.
Next, we’ll see how to retrieve the service credentials.
Additional Resource: For more information, refer the Getting started with Watson and IBM Cloud page.
Generate service credentials
After creating your service instance, perform the following steps:
- When you are led to the Manage page, go to the Credentials tab
- Click Show to view your credentials. You will find the API key and URL of your service.
- Note down the API key and URL, as you will need to use them in Step 6.
Additional Resource: For more information, refer the Service credentials for Watson services page.
Configure and deploy Lambda function
To protect sensitive information (such as API Key and URL) and avoid Cross-Origin Resource Sharing (CORS) issues, you can use Lambda function for this extension. To do so, perform the below functions:
- After retrieving the credentials, deploy the code for the lambda function to AWS Lambda.
Note: Refer Step 4 for the source code along with the lambda function of the IBM Watson extension.
- In the Environment Variables section of AWS Lambda, enter the credentials against the variables as follows:
WATSON_SERVICE_API_KEY= API Key received in service instance credentials WATSON_SERVICE_URL= URL received in service instance credentials- After retrieving the credentials, deploy the code for the lambda function to AWS Lambda.
Add "IBM Watson" Sidebar Extension to your stack
To add IBM Watson Sidebar Extension to your stack, log in to your Contentstack account and perform the following steps:- Go to your stack and click on the “Settings” icon on the left navigation panel.
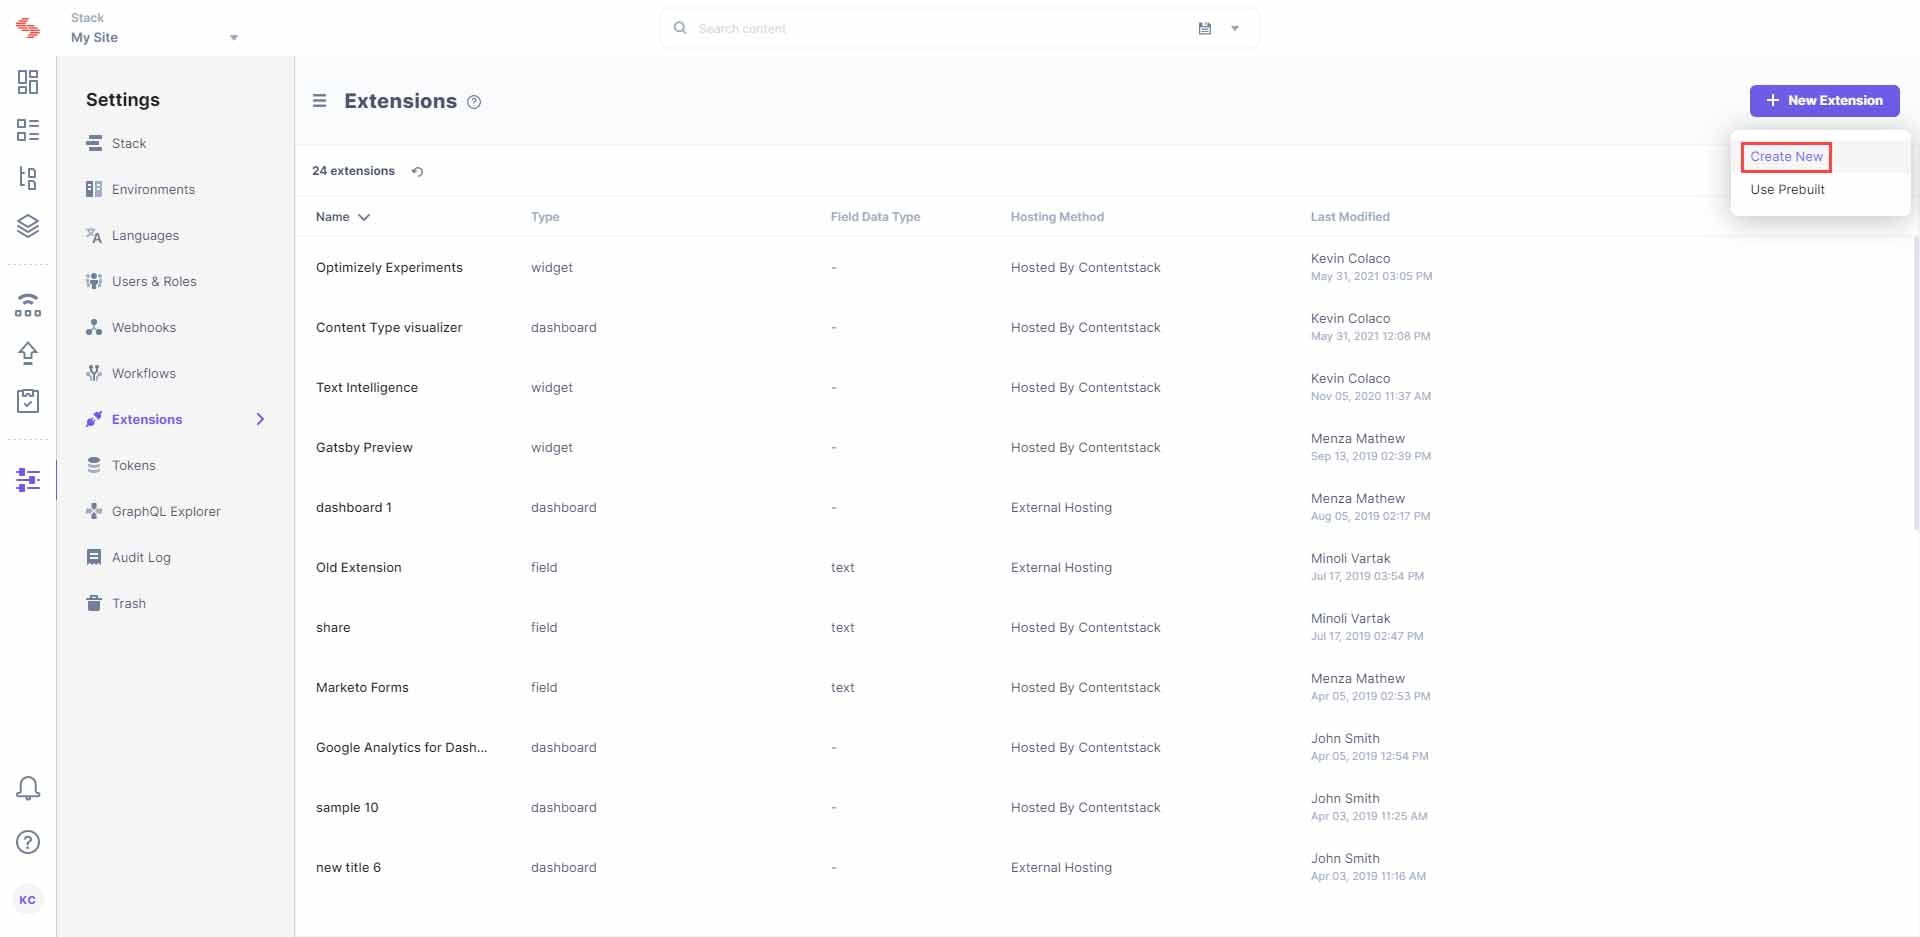
- Click on Extensions. You can also use the shortcut keys “alt + X” for Windows OS users, and “option + X” for Mac OS users to access the extensions menu.
- Click on the + New Extension button on the top-right corner and select Create new.
- Select the extension type as Sidebar Extension.

- You will be led to the “Create New Extension” details page where you need to enter details in the fields as given below:
- Title: Provide a suitable title. For example, IBM Watson.
- Hosting method: Select Hosted By Contentstack. As soon as you do this, you will see the "Extension Source Code" field below.
- Extension Source Code: In this field, you need to enter the extension code. If Extensions are part of your plan, contact our Support team to get the code for the extension.
The support team will provide you with the source code (src file). Copy the code from the index.html file located in the root folder and paste it in the "Extension source code" field. - Config Parameter: Enter the configuration details for the extension. Here, you need to mention the AWS API gateway URL for the lambda function (in the "url" parameter). If you have enabled API key for secured access, you need to mention that too.
{ "url": "https://abcde1234.execute-api. us-east-1.amazonaws.com/default/ contentstack-ibm-watson-ai-widget", "x-api-key": "SSS111Sss1ssSSsssS11s11SS11SS" } - Scope: You can choose to incorporate this Sidebar Extension in either “All Content Types” or “Specific Content Types.” Selecting the latter option displays a list of content types from which you can select the required ones.
- Click on Save. This will create your extension.
Now, let’s understand how to use this Sidebar Extension in your entries.
Use the extension
Once you have added this Sidebar Extension to your stack, you can use it in the entries of the selected content type(s). Let’s look at the steps involved in using this widget.
- Go to your stack and click on the “Entries” icon on the left navigation panel.
- Select the content type for which you have enabled the Sidebar Extension.
- Click on an entry where you want to add the extension. You will see the “Sidebar Extensions” icon on the right-hand side of the page, as shown in the image below:
- Click on it to expand the sidebar, and select IBM Watson from the drop-down menu.
- Select a Field from the dropdown.
- Select a Model and click on Run. Based on the model selected, you will find the result on the sidebar.

