

.svg?format=pjpg&auto=webp)
.svg?format=pjpg&auto=webp)
.png?format=pjpg&auto=webp)


.png?format=pjpg&auto=webp)
Create an Automation
Automation is the process of creating a workflow that sets up a connection between two or more web apps or services, including Contentstack.
Automations help you set up specific steps that will perform based on the specified conditions. Once you define these steps, Contentstack Automations will automate the executions of the steps.
First, perform the following steps to create an Automation:
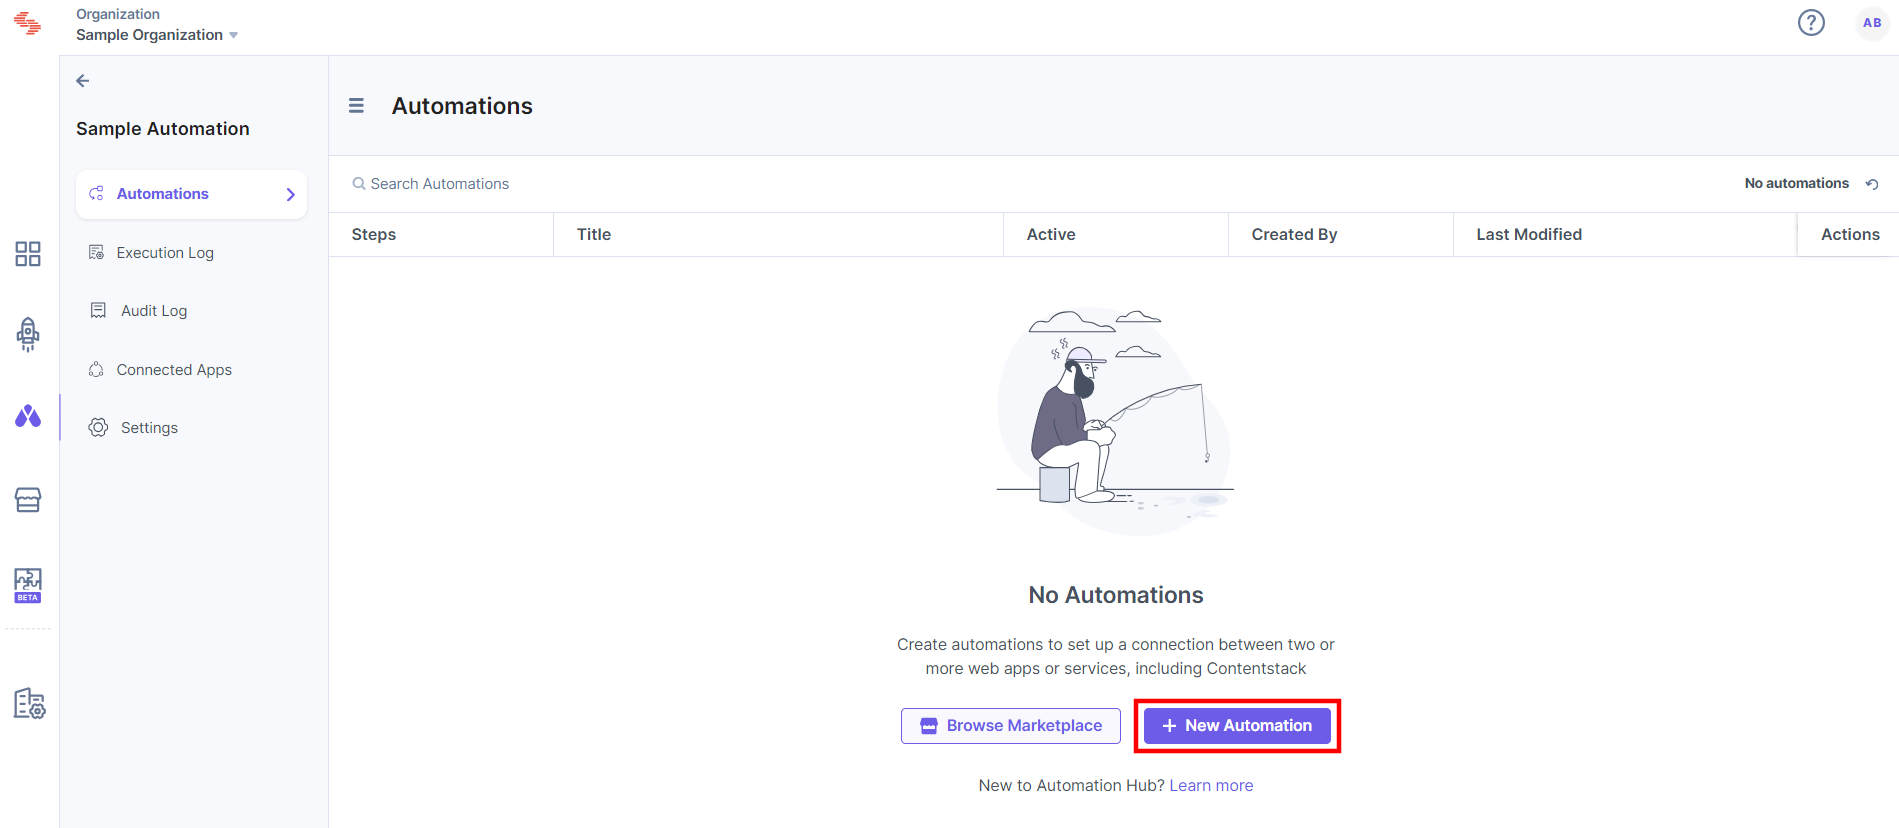
- On the Automations page, click + New Automation.
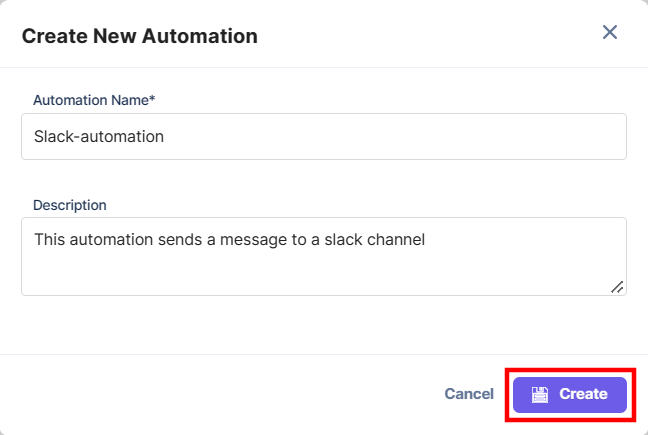
- Provide an Automation Name and an optional Description. Click Create.
- After entering the basic details of the automation in the above step, the next set of actions can be broadly classified into the following two main steps:
Let’s look at the above steps in the next section.
Note: You can now throttle the execution for your automations to avoid rate limit. For more information, refer to the Throttle Execution document.
Configure Trigger
Triggers are conditions or invocation points that fire off an Automation when an event occurs in Contentstack or an external app or service. They help automate a business workflow to accomplish required tasks.
Configuring a trigger can be broken into the following steps:
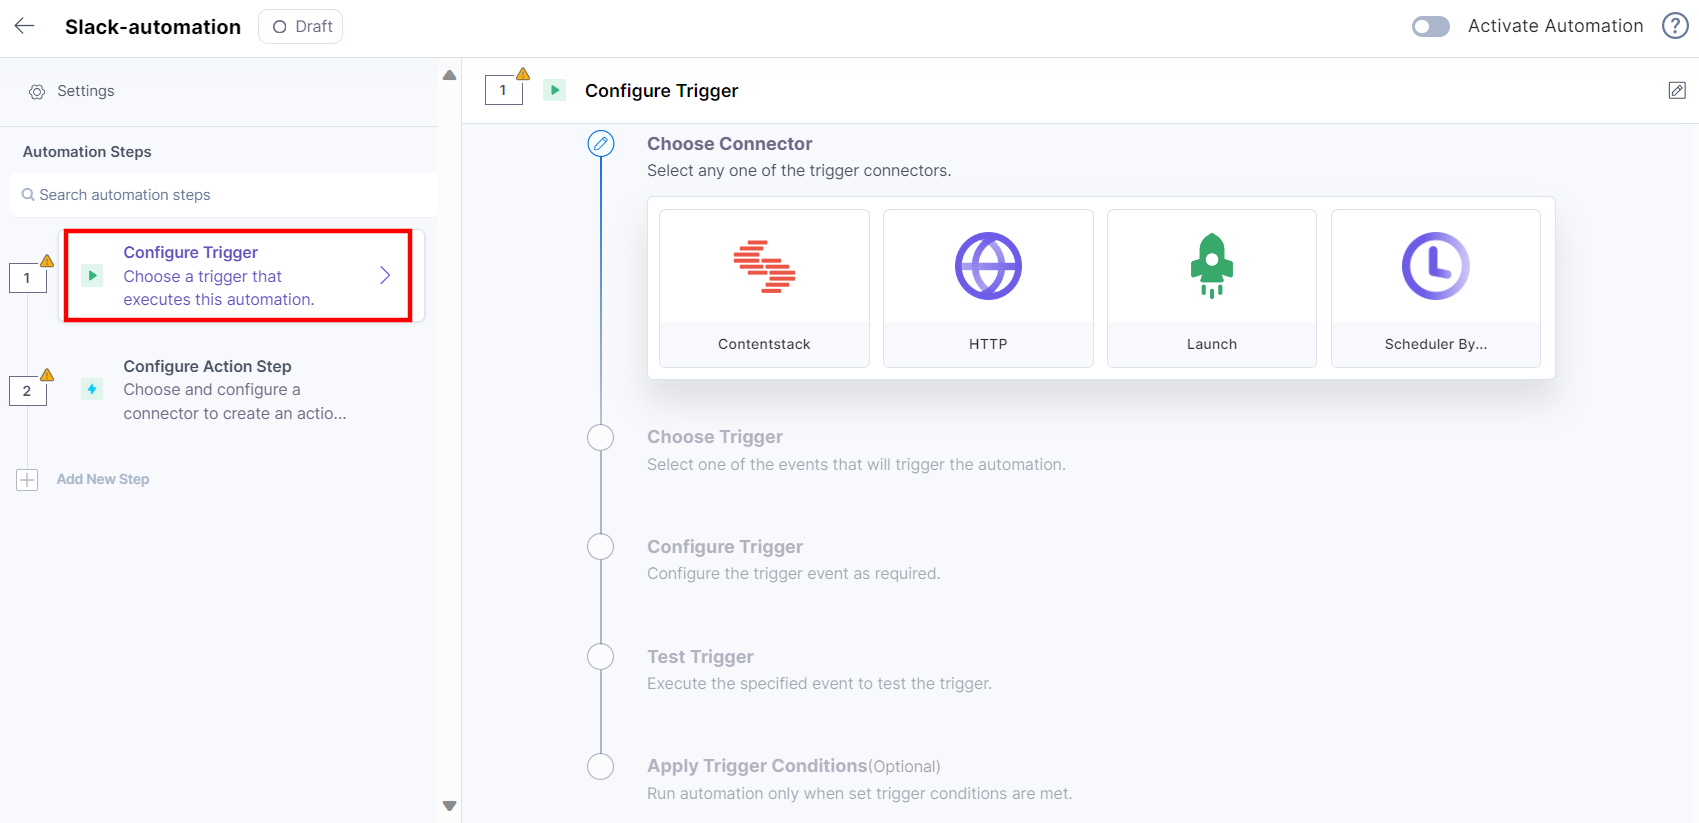
- Click Configure Trigger from the left navigation panel.
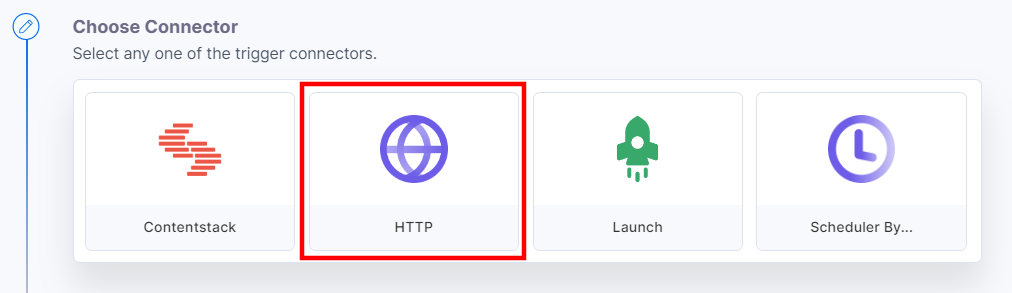
- Choose Connector: Here, you can select Contentstack or an available third-party app or service which will serve as the trigger connector. For example, click HTTP.
Note: For more details on the “HTTP” Connector and other available connectors, refer to Automate Connectors.
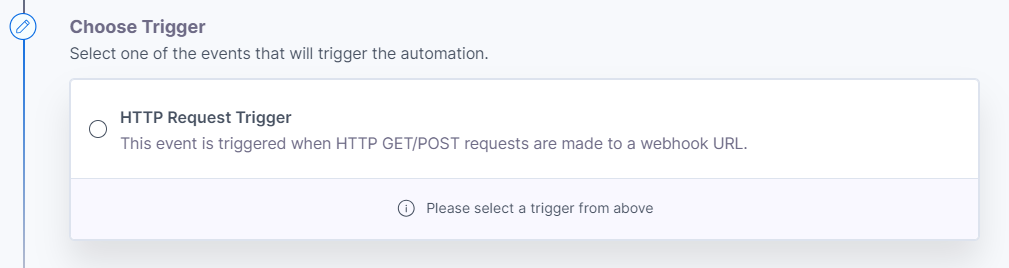
- Choose Trigger: Select the Trigger or the webhook event listed under the selected connector. In our case, you will select the HTTP Request Trigger. This trigger will be activated whenever you make an HTTP GET/POST request to a specific webhook URL.
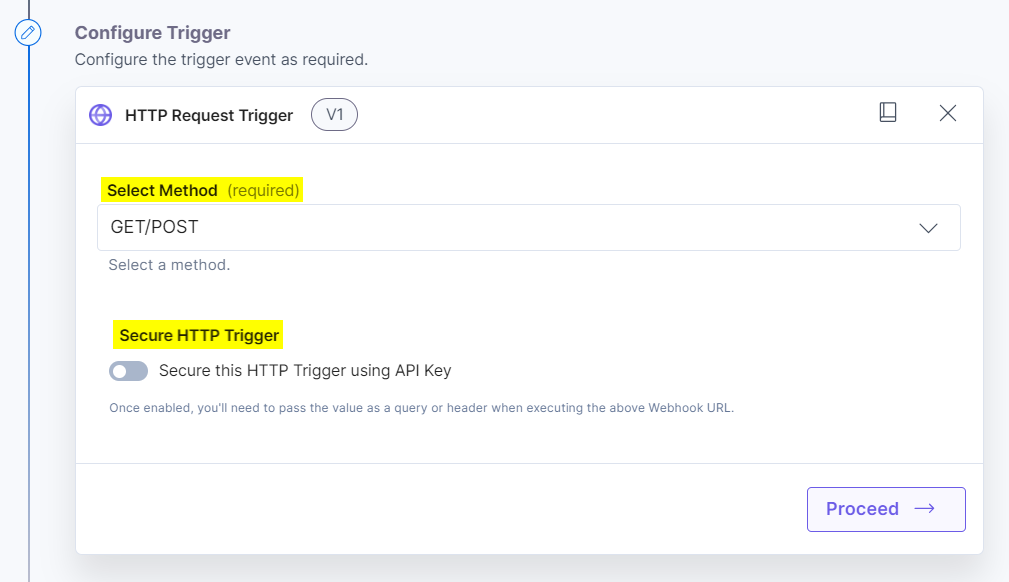
- Configure Trigger: Here, you need to provide additional details with respect to the trigger you selected in the above step. This section will differ for each trigger. For our example, click the displayed Method, i.e., GET/POST. You can also enable the Secure HTTP Trigger using the toggle to add security to the HTTP trigger and click Proceed.
Note: For more information, refer to the HTTP Trigger documentation.
You will find the applicable Input methods and an Input URL in the Test Trigger section.
Note: Once you configure your trigger, you cannot make changes in the first two steps, i.e., you can’t change the connector and its corresponding trigger event. To make any kind of changes, you will need to delete the trigger you set up and configure a new one with the new connector.
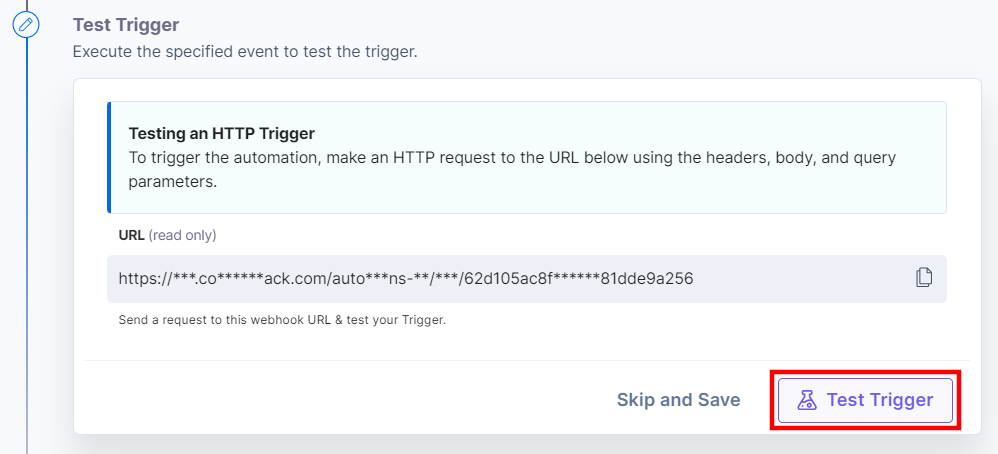
- Test Trigger: The final step is to test the trigger you created. The Input URL you find here will be the webhook URL that you can use to see the trigger working. Click Test Trigger.
You should be able to see the output as follows:
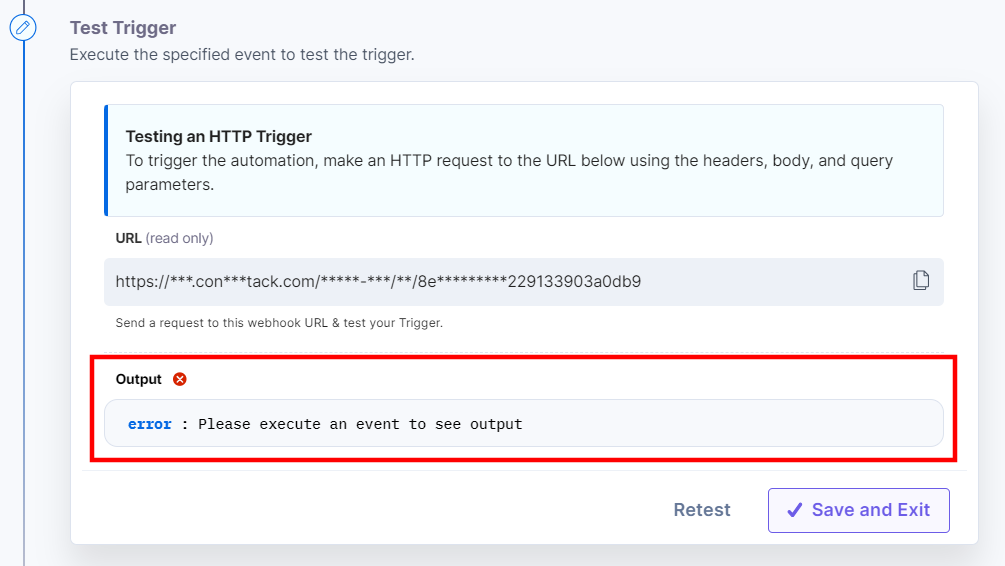
Note: The output doesn’t appear because we haven’t tested the Trigger URL yet.
- Click Configure Trigger from the left navigation panel.
Next, to try if the trigger is working real-time, perform the following steps:
- Copy the Input URL that you see above and paste it on a new browser tab.
- Pass a query parameter to the Input URL, for example, https://trigger_input_URL?name="john" and hit enter. You should see an output similar to the following:
{"result":"The automation is currently being tested or not activated","trigger_id":"1111ab1c1ab11111ca11b111111ca1bc"} - Return to your Test Trigger setup page and click Retest to test trigger again. In the output, you will see your query parameter as follows:
query:
name:"john"Here’s what you see:
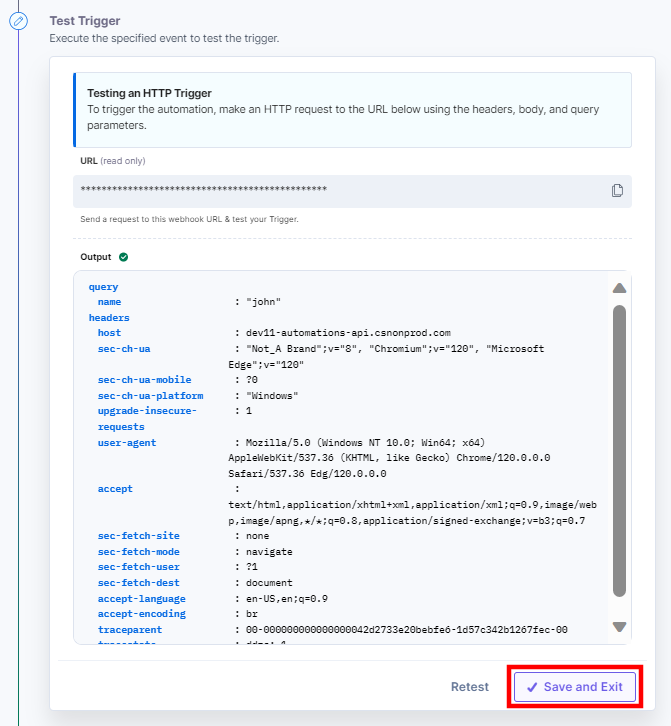
The Trigger Conditions section lets you filter the data displayed in the output. For example, if you want your trigger to proceed further with the configured actions, under the condition that the name parameter (the one you passed in the above step) is “john” in the output result, click + Add Trigger Condition and pass the following filter condition:
query.name | Matches (Text) | john- Lastly, you can either pass a new query parameter and Retest the trigger or hit Save and Exit (see screenshot in step 3).
This completes your step of configuring your HTTP trigger.
Note: You will find more details on how to rename a trigger and delete a trigger in the Additional Functions on Triggers and Actions sections.
Configure Action
Action is the event that happens as a result of a triggered event.
To understand the concept of Actions, let’s consider the above example where you set an HTTP Request trigger that is activated when a user fires a GET/POST request. And, you can set up an action that will notify a particular Slack channel when such an event occurs.
After configuring the Trigger, click Configure Action Step and perform the following steps to set up the corresponding action:
- Click Action Step to configure third-party services.
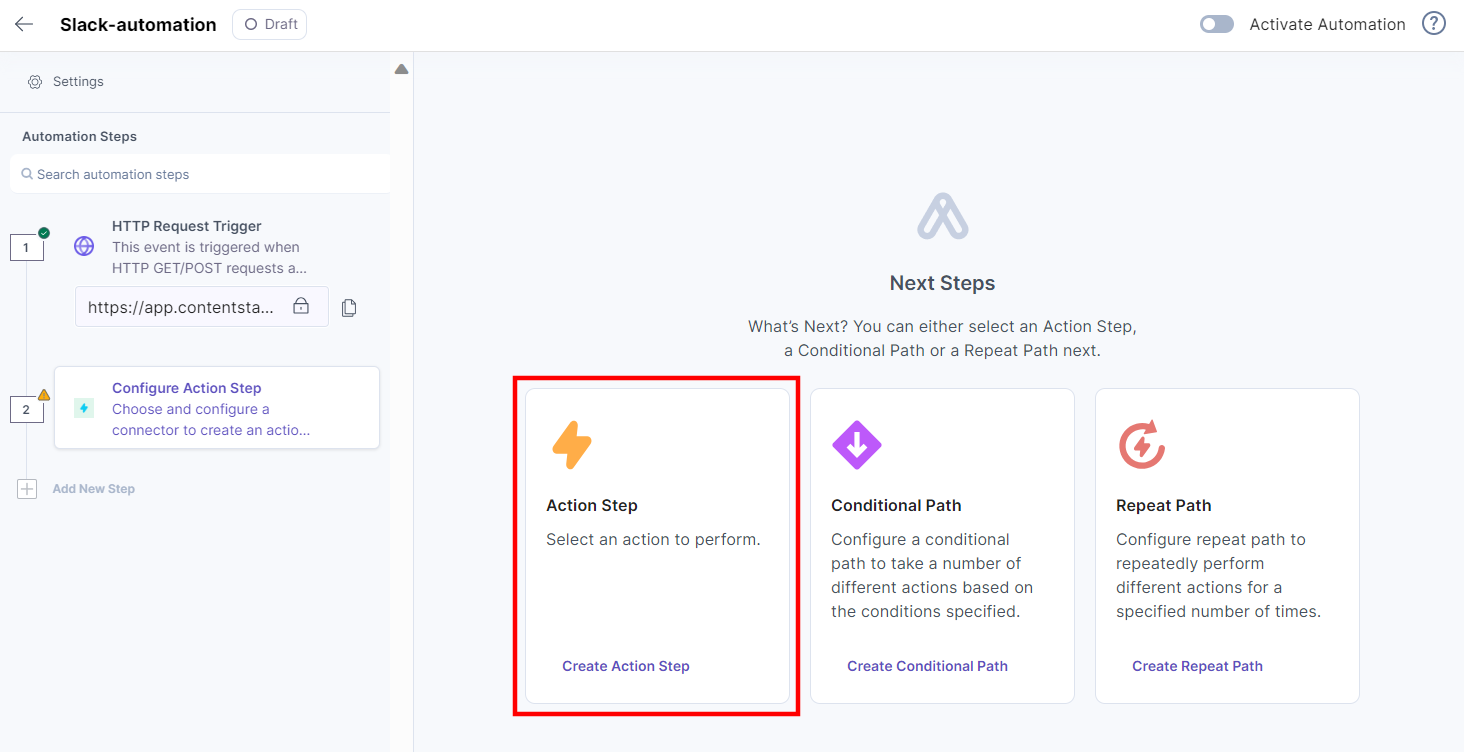
Note: Conditional Paths allow you to customize your automations by setting a condition and configuring different actions within the If and Else blocks.
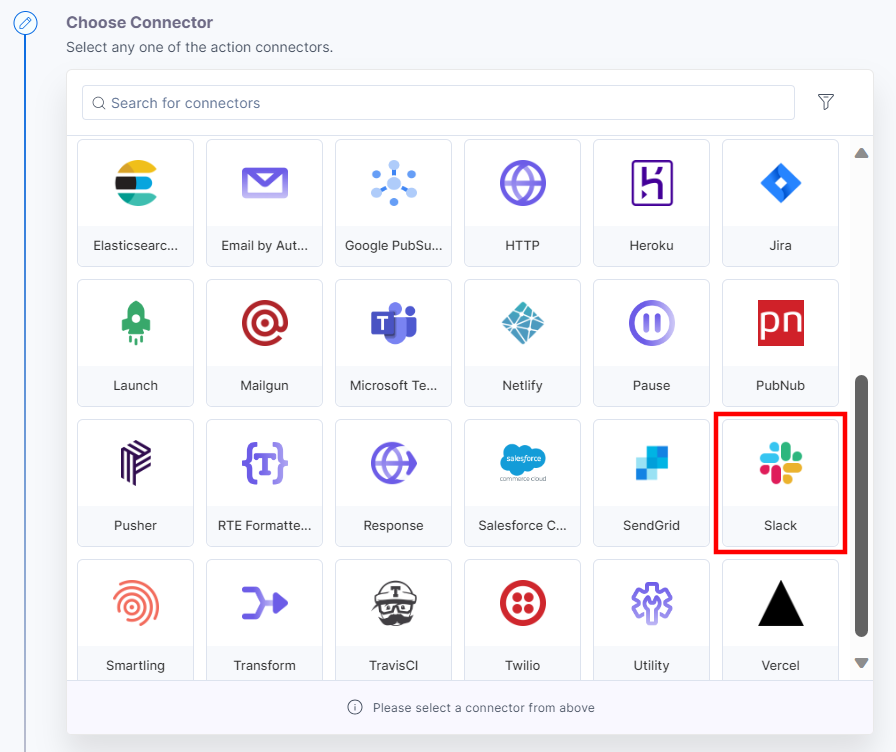
- Choose Connector: Click the connector (Contentstack or a third-party app or service) where you want your workflow to perform the next set of actions. In our case, click Slack.
Note: You can sort and search the connector(s) based on the filter.
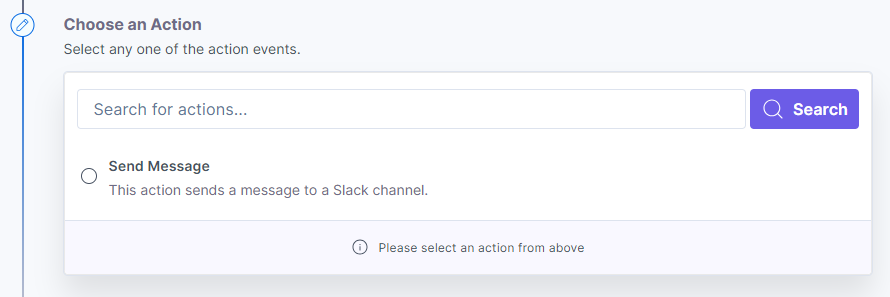
- Choose Action: Select the action listed under the selected connector, Slack. In our case, select Send Message that will send a message to a specific Slack channel that you choose.
- Configure Action: Here, you need to provide additional details for the action you selected in the above step. This section will differ for each action. For our example, we will add the Slack account.
- Click + Add New Account (add Slack account).

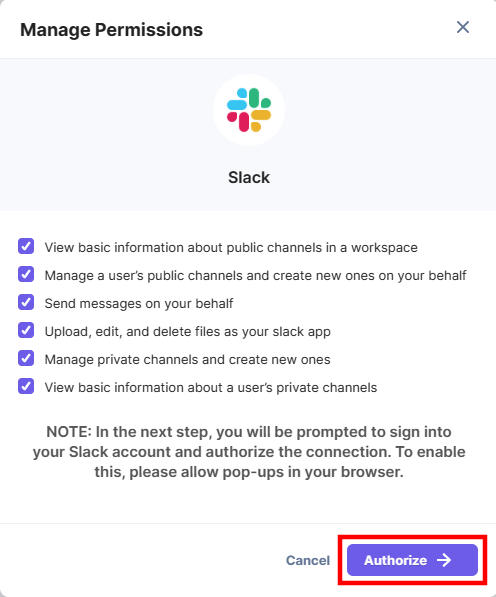
- You will see a list of permissions that you can choose to Authorize.
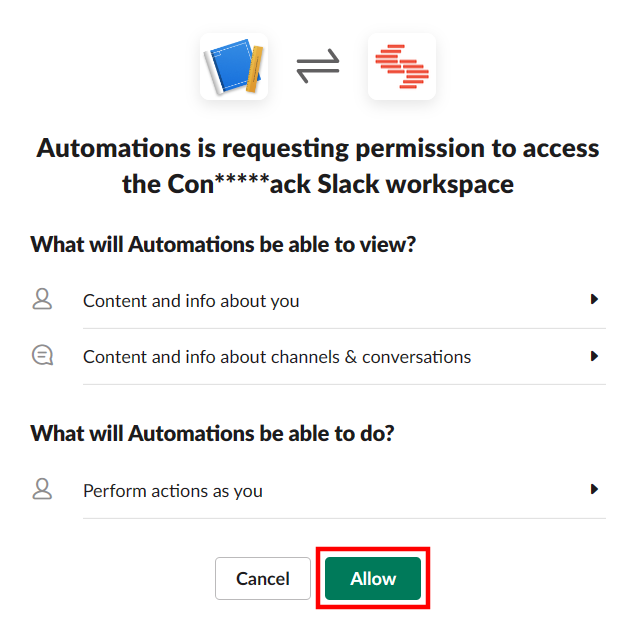
- Next, you will see a window open with access requests from the app. Click Allow to proceed further.
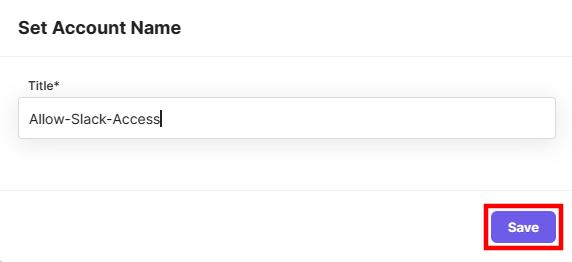
- Enter a Title for this account, say “Allow-Slack-access” and click Save.
- Next, click the Channel textbox. It displays a Lookup list containing all the channels in your Slack account. Click Load More until you locate your channel.
For our example, select the sample channel, and its name is displayed in the entry box.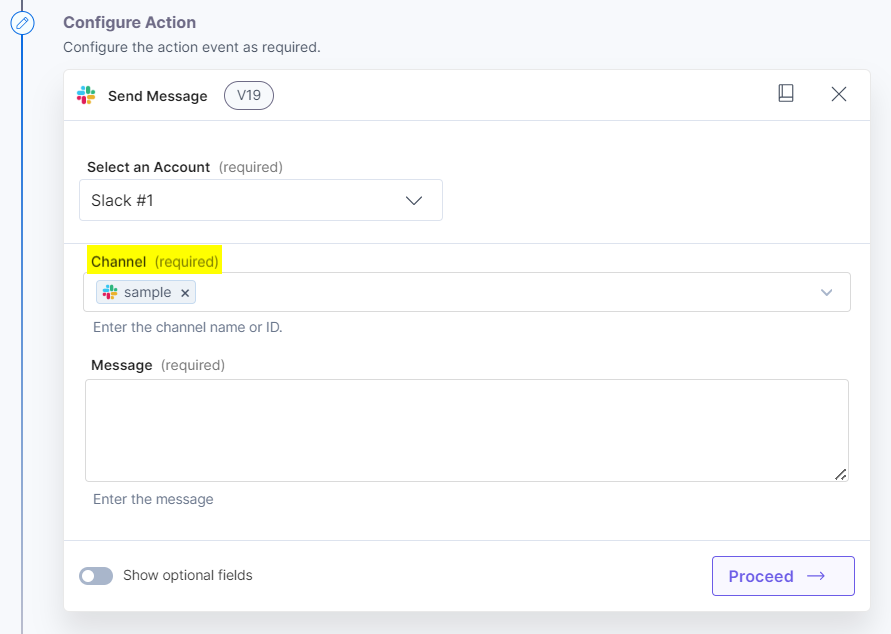
- Click the Message textbox. You will see all the values related to the “1.HTTP Request trigger” you set up earlier. Click a parameter, say query.name, that you want to send as a message to the selected Slack channel.
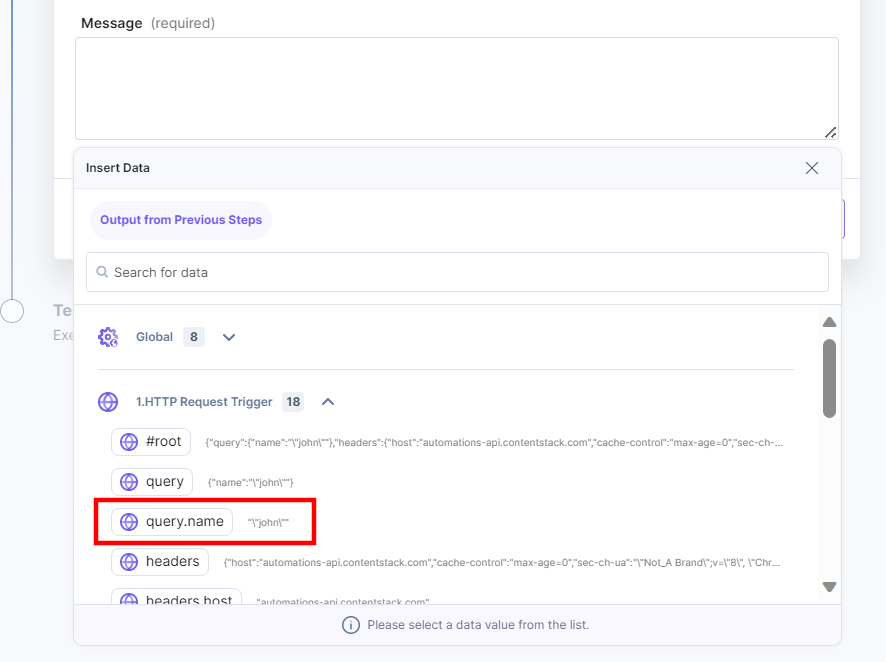
For example, if you want to send the name param, select query.name and type ahead a message if needed, say “1.query.name has sent a GET/POST request”.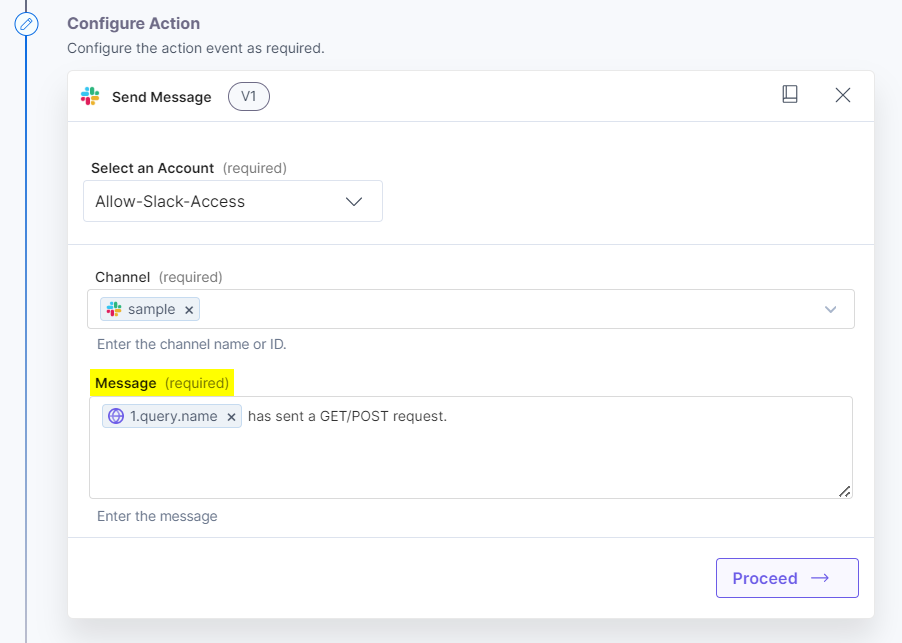
- Once done, click Proceed.
- Click + Add New Account (add Slack account).
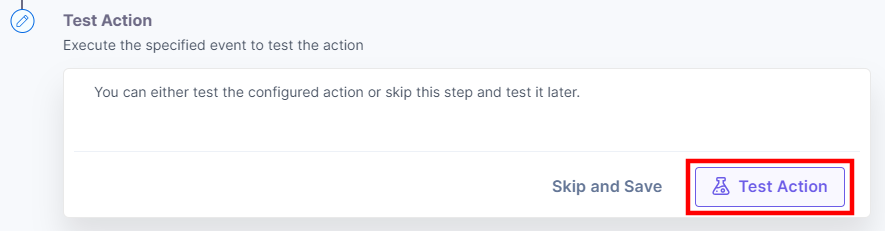
- Test Action: Finally, you can test the configuration you have set up by clicking the Test Action button.
The output shows the message that will be sent on the linked Slack channel.
Check your Slack channel. You will see the message delivered to the Slack channel as below: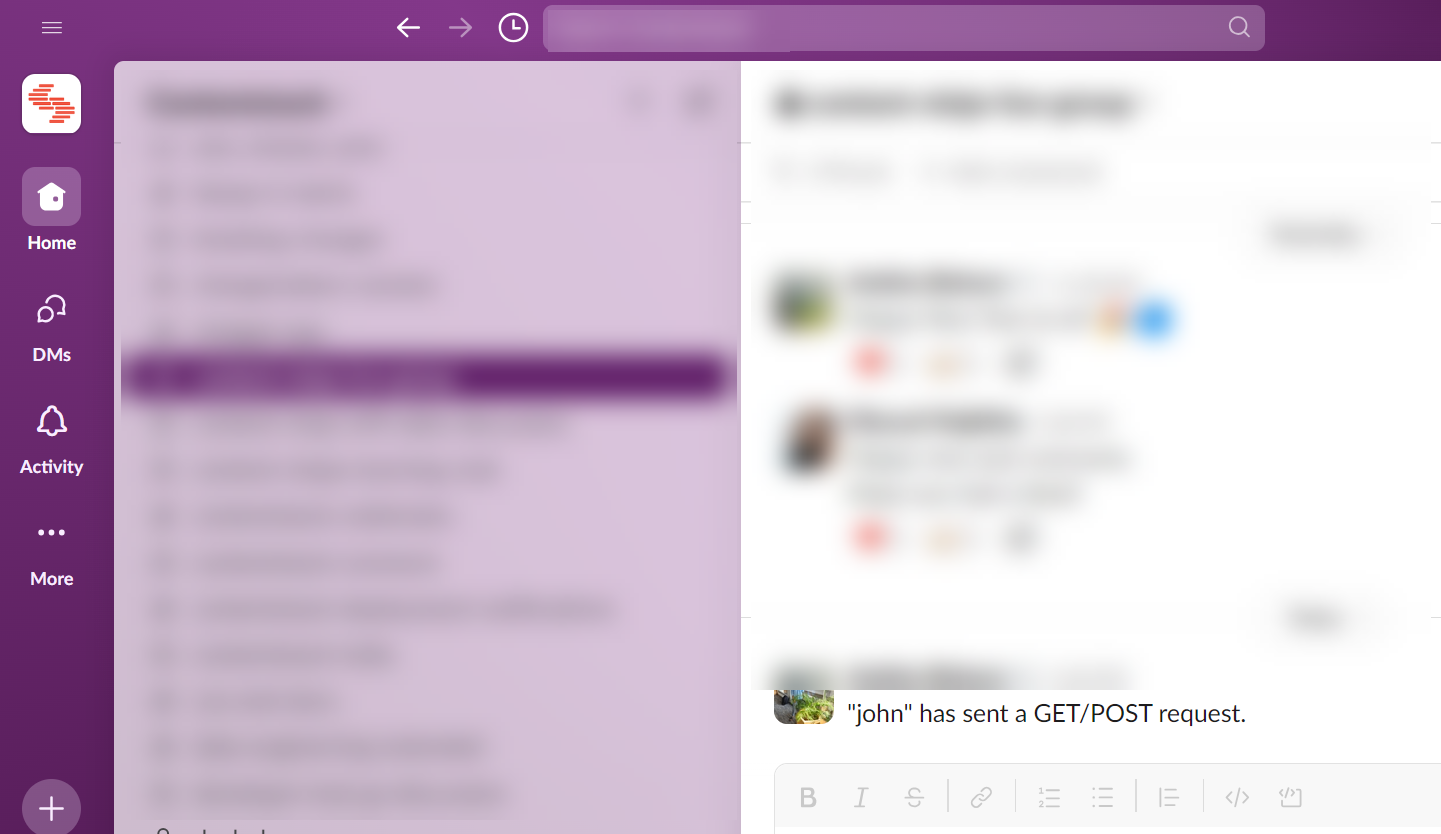
Once it works as expected, click Save and Exit.
The action is now tested. If you hover over the number (2), the message “Tested” will be displayed.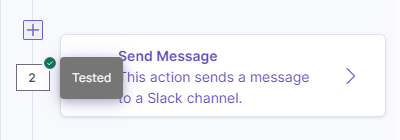
- Click Action Step to configure third-party services.
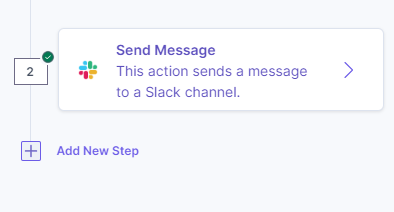
You can add multiple actions in an automation if needed. To do so, click the + Add New Step icon below the added action.
Then, perform all the steps similar to steps that were covered in the Step 2.2 - Configure Action section.
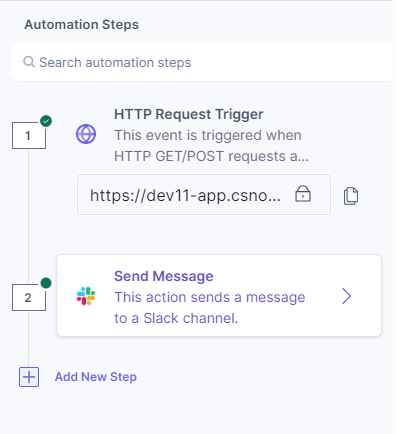
Once done, on the left panel of the page, you will see the Automation Steps summarizing the trigger and actions used in the automation.
Note: To automate the process, you must activate the automation.
More articles in "Working with Automate"
