

.svg?format=pjpg&auto=webp)
.svg?format=pjpg&auto=webp)
.png?format=pjpg&auto=webp)


.png?format=pjpg&auto=webp)
Launch Trigger
The Launch trigger lets you add Deployment and Environment based trigger events, such as create/update/delete/start/fail/complete, etc., for your Contentstack Launch projects.
With the Launch trigger, you can create trigger events when a deployment has started/failed/completed. Similarly, you can create trigger events when an environment is created/updated/deleted in the Contentstack Launch.
Set up Launch
You will find the following trigger events for the Launch connector:
- Deployment Trigger: Triggered whenever a deployment is started/completed/failed in the Contentstack Launch.
- Environment Trigger: Triggered whenever an environment is created/deleted/updated in the Contentstack Launch.
Let’s look at each of them in detail.
Deployment Trigger
The Deployment trigger event lets you trigger an automation whenever a deployment is modified.
Let’s look at the steps to set up the trigger event.
- Click Configure Trigger from the left navigation panel.
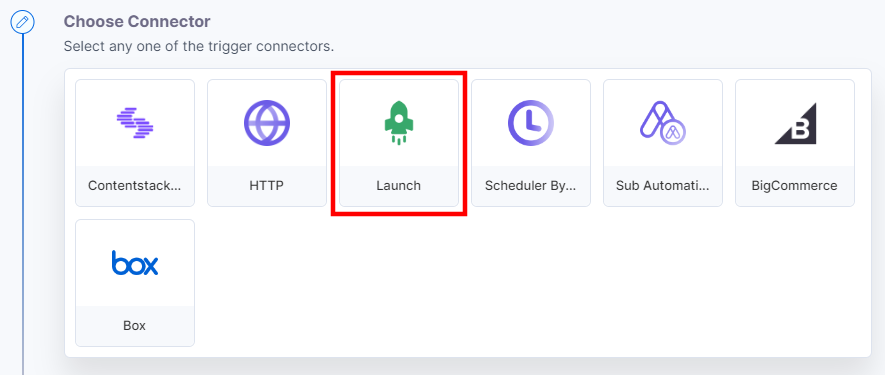
- Within the Configure Trigger step, click the Launch connector.
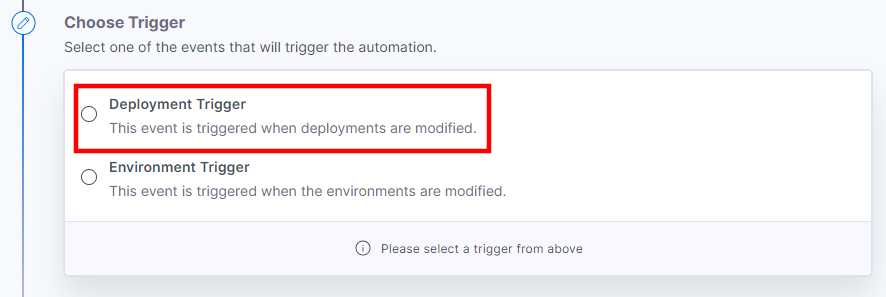
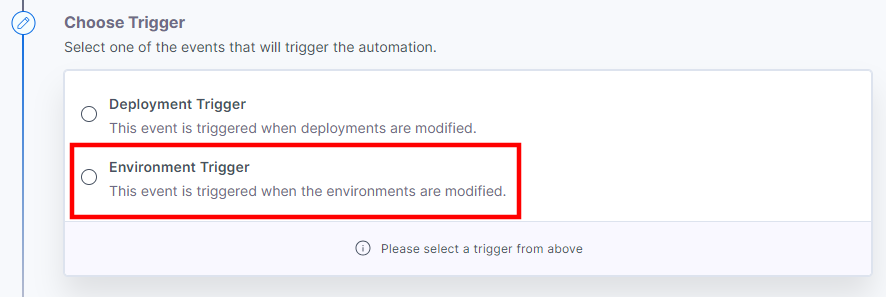
- Under the Choose Trigger tab, select Deployment Trigger.
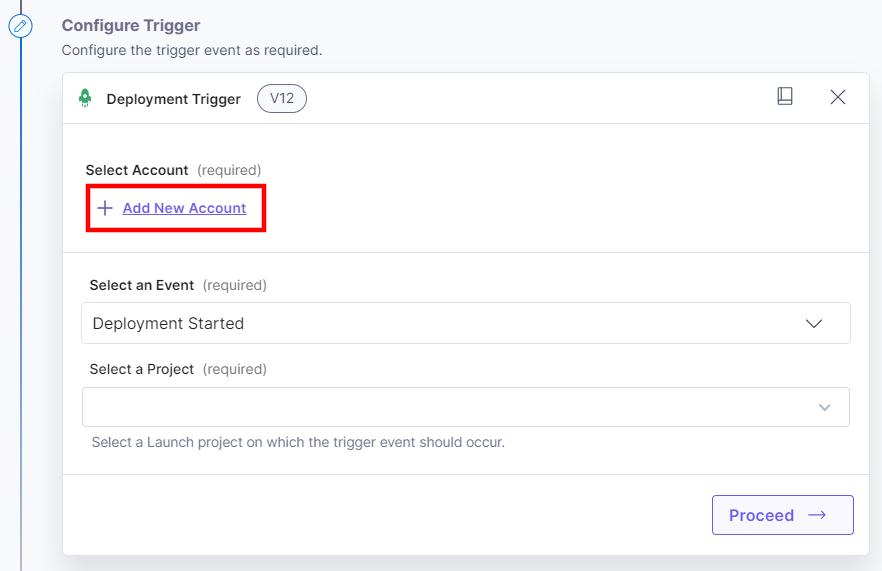
- In the Configure Trigger tab, click + Add New Account to add your Launch account.
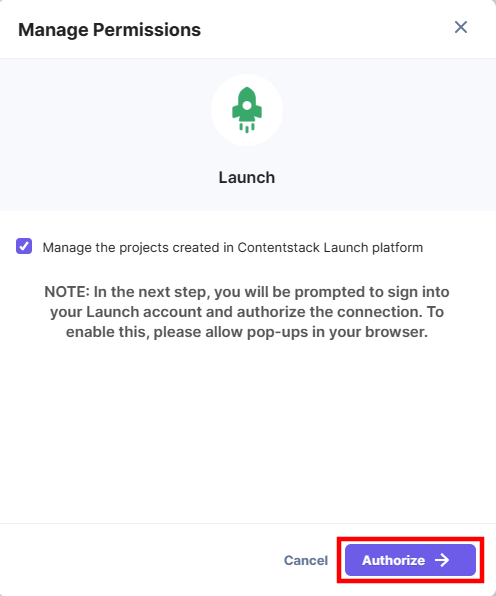
- In the pop-up window, mark the checkbox for all the OAuth permissions and then click the Authorize button.
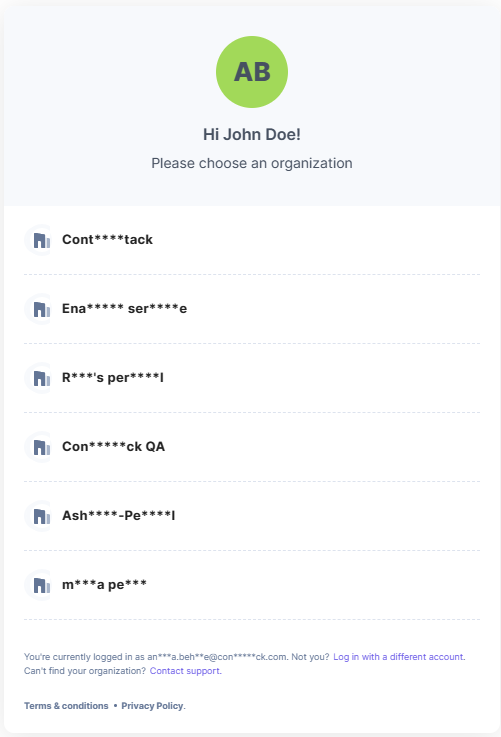
- In the pop-up that appears, select your organization to complete the authorization.
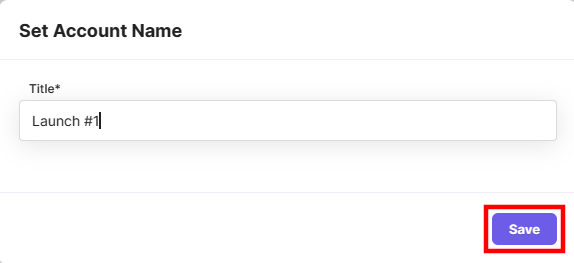
- Enter an Account Name and then click the Save button.
- Select the trigger event from the dropdown, i.e, All.
For Deployment, you will find the following sub-events:- Deployment Started: Triggers when a new deployment is initiated.
- Deployment Failed: Triggers when a deployment fails.
- Deployment Completed: Triggers when a deployment is completed.
- All: Triggers when any of the above events is performed on a deployment.
- Select a Launch Project from the Lookup dropdown.
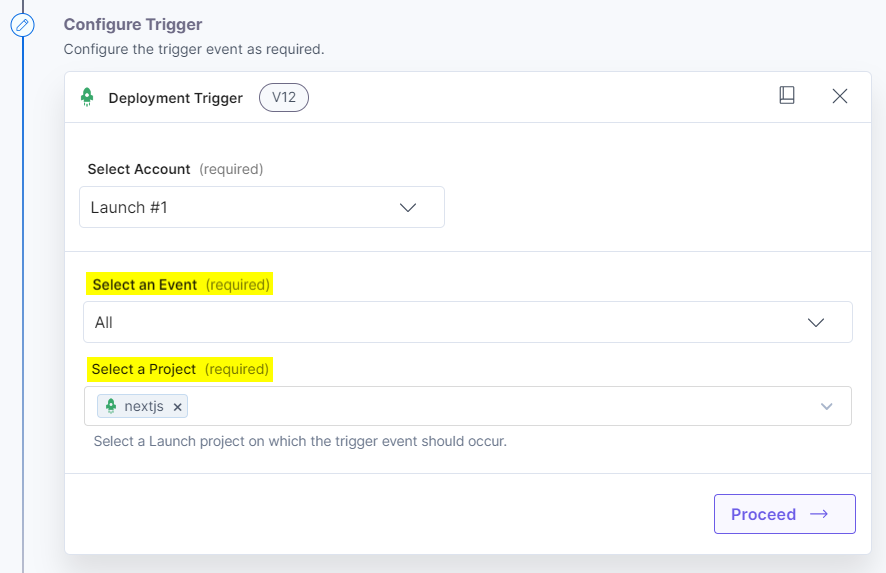
- Click Proceed.
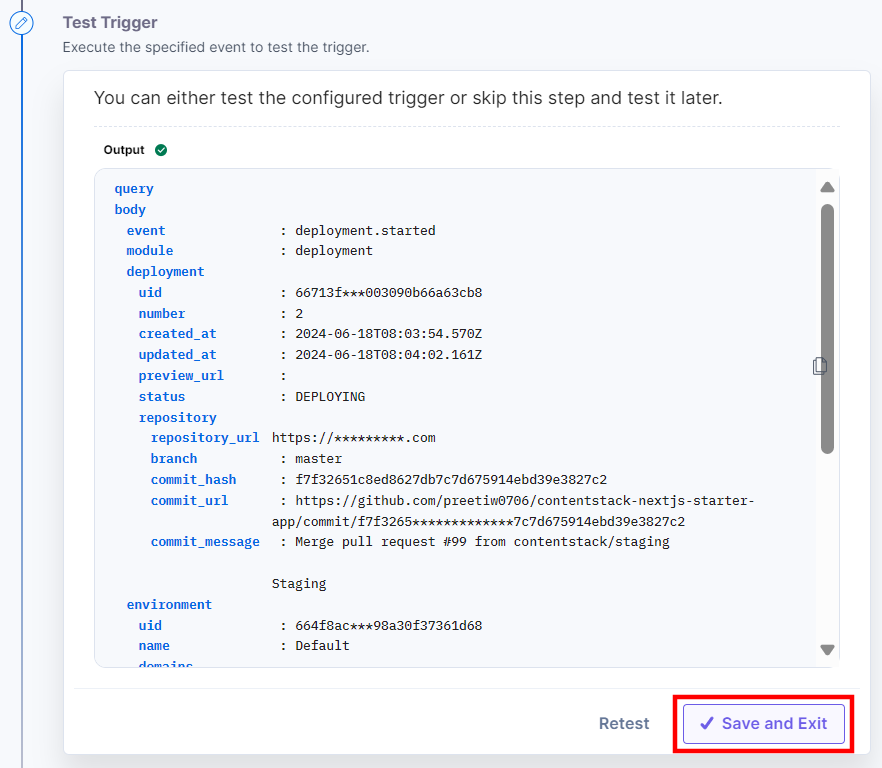
- Click Test Trigger to execute and test the trigger that you configured.
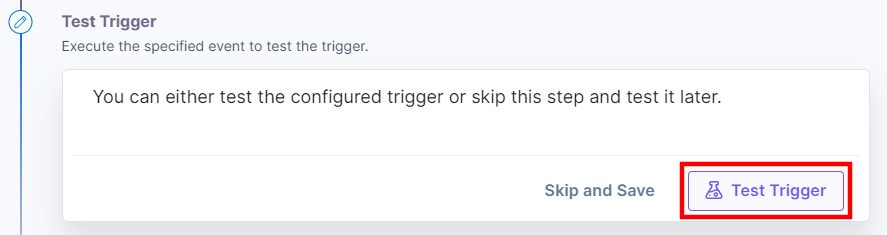
- If successful, you will see an output as follows. If it looks appropriate, click Save and Exit.
Note: In the Contentstack Launch, you can either import your project from a GitHub repository or upload a zip file from your system.
This sets your Deployment trigger.
Environment Trigger
The Environment trigger event lets you trigger an automation whenever an environment is modified.
Let’s look at the steps to set up the trigger event.
- Click Configure Trigger from the left navigation panel.
- Within the Configure Trigger step, click the Launch trigger.
- Under the Choose Trigger tab, select Environment Trigger.
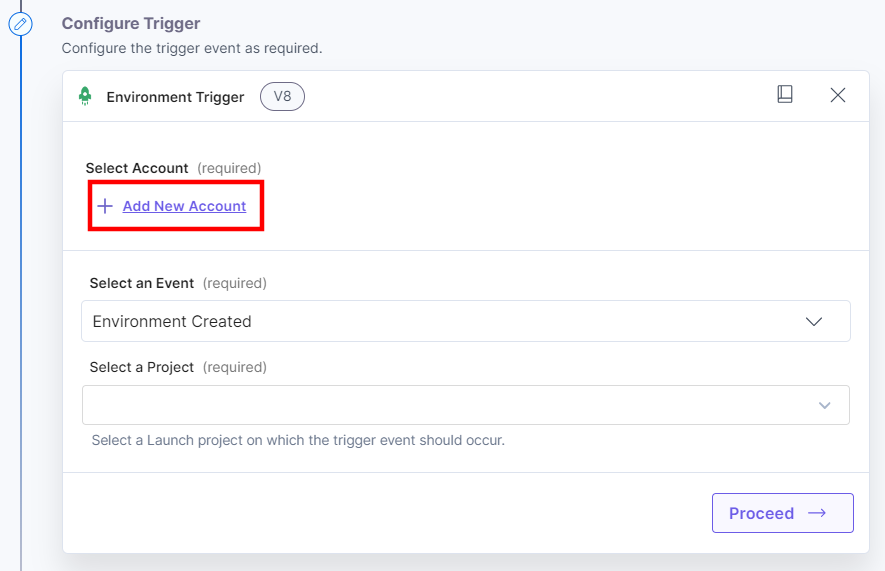
- In the Configure Trigger tab, click + Add New Account to add your Launch account.
- In the pop-up window, mark the checkbox for all the OAuth permissions and then click the Authorize button.
- In the pop-up that appears, select your organization to complete the authorization.
- Enter an Account Name and then click the Save button.
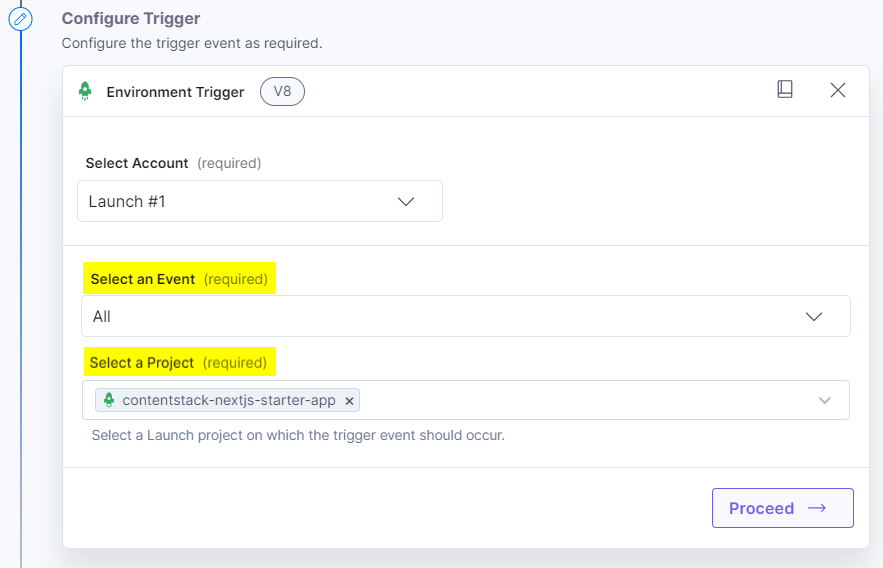
- Select the trigger event from the dropdown, i.e, All.
For Environment, you will find the following sub-events:- Environment Created: Triggers when a new environment is created.
- Environment Deleted: Triggers when an environment is deleted.
- Environment Updated: Triggers when an environment is updated.
- All: Triggers when any of the above events is performed on an environment.
- Select a Launch Project from the Lookup dropdown.
- Click Proceed.
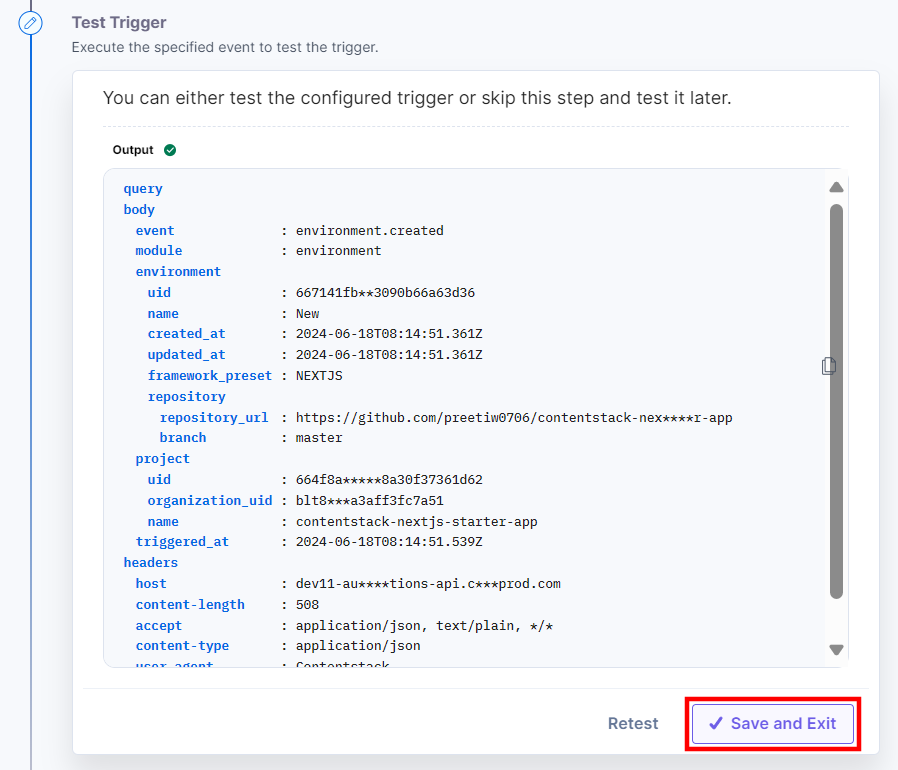
- Click Test Trigger to execute and test the trigger that you configured.
Note: While creating a new environment for a Launch project, you must upload a zip file of your project. For projects deployed on GitHub, you must select a branch to fetch the project and create a new environment.
- If successful, you will see an output as follows. If it looks appropriate, click Save and Exit.
Note: After successfully configuring a trigger, if you re-configure any other trigger you will be prompted to revert to the previously configured trigger. You can revert back to the last trigger configurations by clicking the Revert Changes button.
This sets your Environment trigger.
More articles in "Triggers"
