

.svg?format=pjpg&auto=webp)
.svg?format=pjpg&auto=webp)
.png?format=pjpg&auto=webp)


.png?format=pjpg&auto=webp)
Change Workflow Stage of an Entry
Once you are done working on a particular stage of an entry (e.g., Draft), you can change the stage of the entry (e.g., Ready for Review) and assign a user to work on the next stage. You can also add a due date for the next stage. Let’s look at how it’s done.
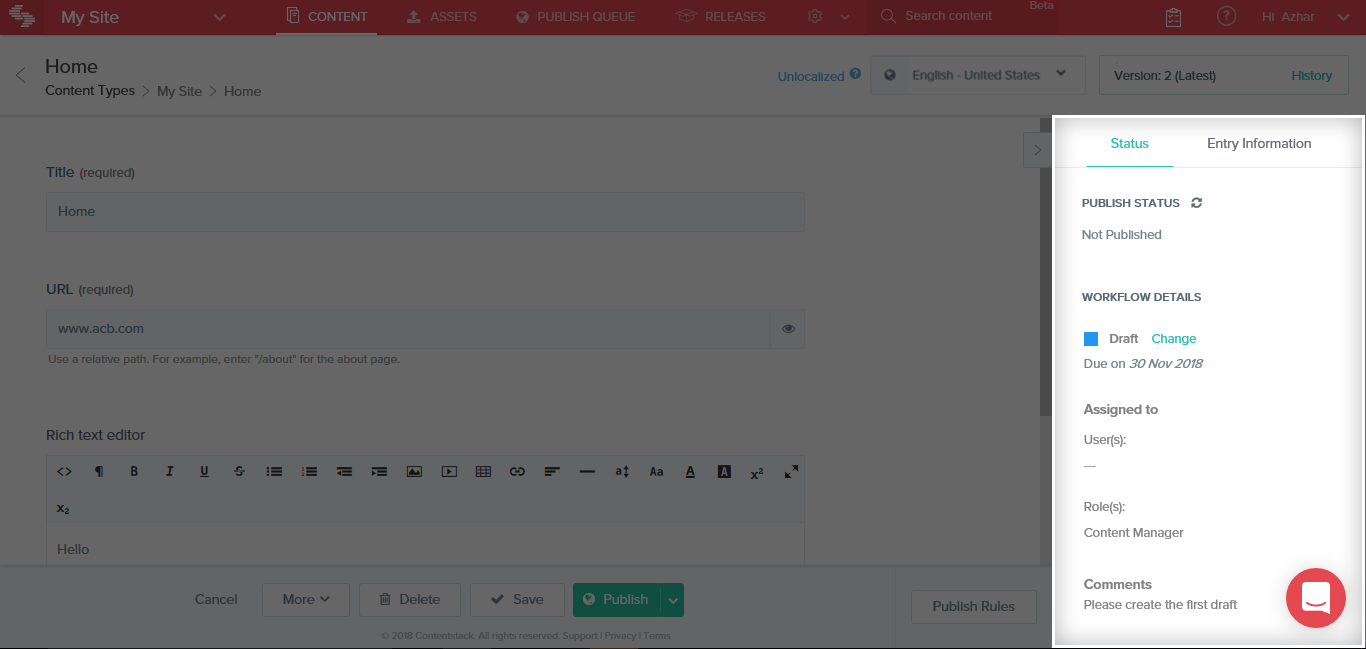
- On the entry page, go to the Workflow Details section on the right side panel. You will see the current stage of the entry, along with the stage’s color label as shown below:
- Click on the Change link located beside the stage name.
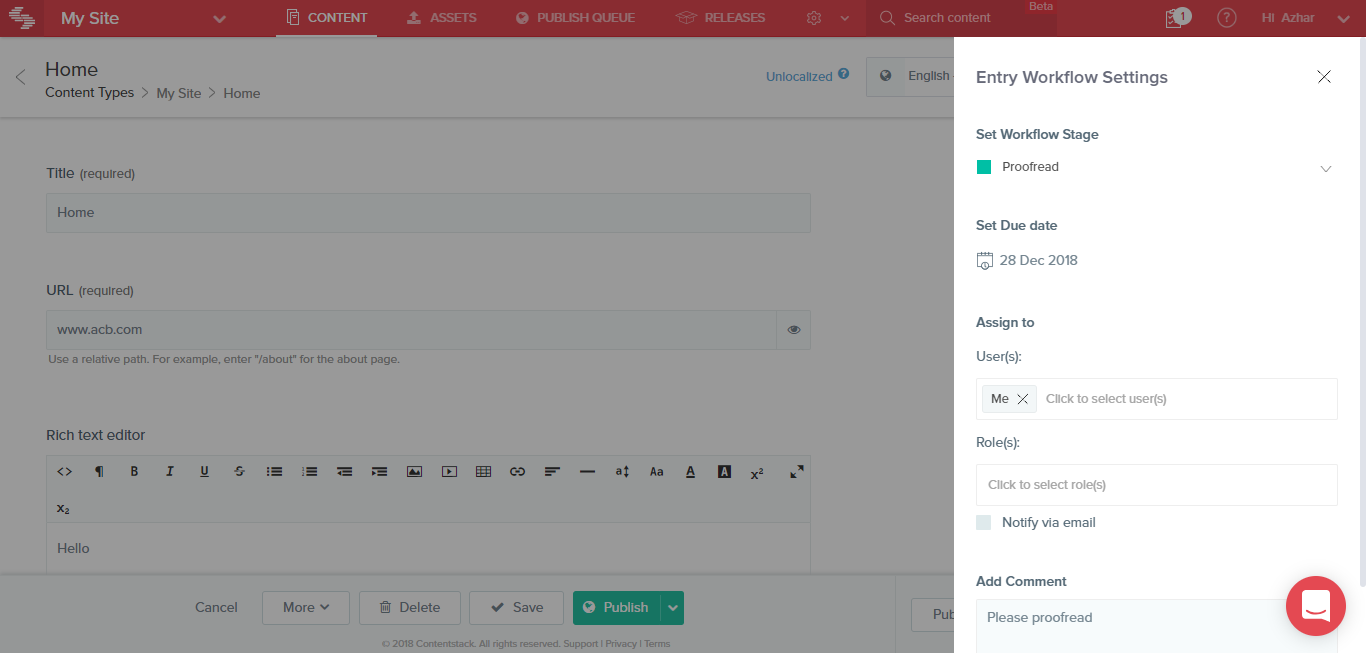
- This will open up a new window where you can make changes to the Workflow Stage of the entry as shown below:
- Under Set Workflow Stage, select the stage that you want to set for this entry.
- Set a Due Date for this new stage by using the date picker tool.
- Assign this stage to one or more users of your stack. To assign it to a user, click the User(s) field under Assign to, and select the user(s) from the list. If you can see a Role(s) field, you can assign the stage to a role.
- You can also choose to send a notification email to the assignee by selecting the Notify via Email field.
- Lastly, add any comments in the Add Comments field. A comment could be a short description or guidelines to the assignee on what needs to be done in the next stage.
- Click on Update to update the Workflow Stage of the entry.
As soon as an entry stage is assigned to a user, it is added as a new task in the Tasks section of the assignee. Learn more about Tasks later in the document.
Was this article helpful?
More articles in "Work with Workflows"
