

.svg?format=pjpg&auto=webp)
.svg?format=pjpg&auto=webp)
.png?format=pjpg&auto=webp)


.png?format=pjpg&auto=webp)
Build a marketing website using Express and Contentstack
This example marketing website is built using Express and Contentstack’s JavaScript Delivery SDK. It uses Contentstack to store and deliver the content of the website.
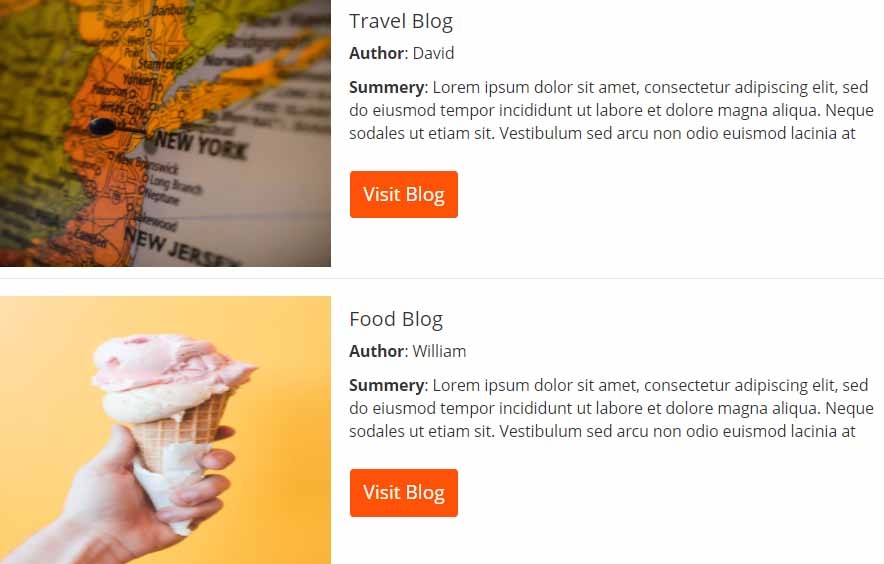
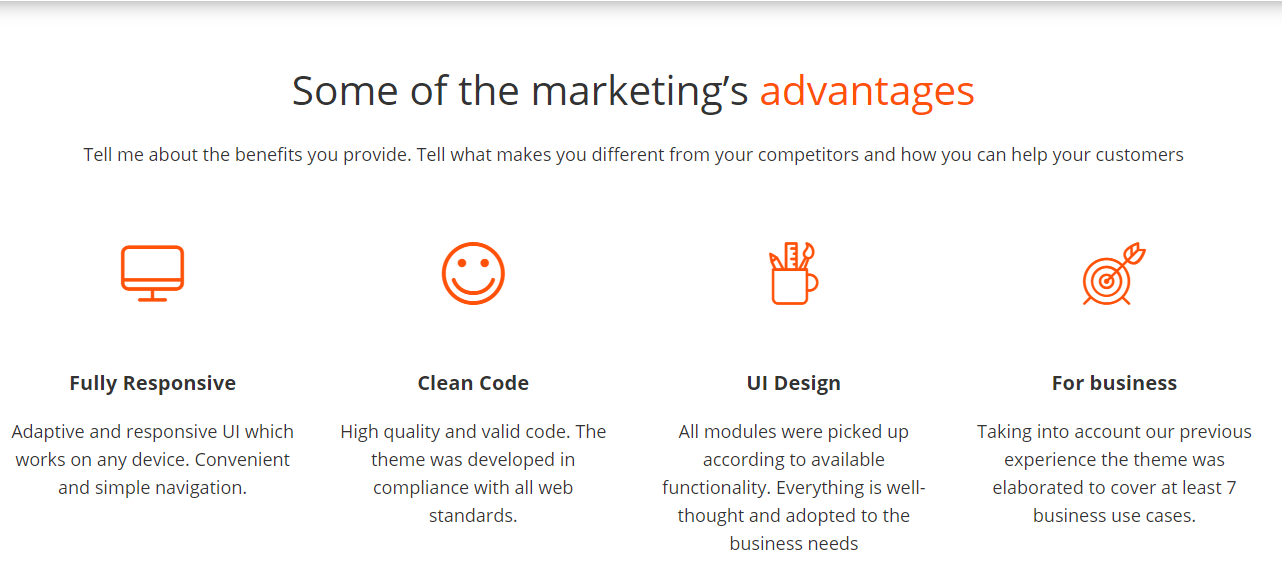
Screenshots

Quickstart
Warning: contentstack-express framework has been deprecated. We will soon stop supporting this framework. Instead, we recommend using DataSync, which is faster and more flexible than the web framework.
Here’s a quick guide on how to create a marketing website using Express and Contentstack’s JavaScript Delivery SDK.
Prerequisites
Note: For this tutorial, we have assumed that you are familiar with Contentstack and Express. If not, then please refer to the docs (Contentstack docs and Express docs) for more details.
In this tutorial, we will first go through the steps involved in configuring Contentstack and then look at the steps required to customize and use the presentation layer.
Create a stack
Log in to your Contentstack account, and create a new stack. This stack will hold all the data, specific to your website. Learn more on how to create a stack.
Add a publishing environment
To add an environment in Contentstack, navigate to ‘Settings' -> 'Environment', and click on the '+ New Environment’ tab. Provide a suitable name for your environment, say ‘staging’. Specify the base URL (e.g., ‘http://YourDomainName.com’), and select the language (e.g., English - United States). Then, click on 'Save'. Read more about environments.
Note: For our example, we have used the development environment. If you want to use any other environment, let's say production, you will have to create a file named production.js inside your config folder.
Import content types
A content type is like the structure or blueprint of a page or a section of your web or mobile property. Read more about Content Types.
For this website, basic content types are required: Header, Footer, Home, About, Feature, product. For quick integration, we have already created these content types. You simply need to import them to your stack. (You can also create your own content types. Learn how to do this).
To import the content types, first, save the zipped folder of the JSON files given below on your local machine. Extract the files from the folder. Then, go to your stack in Contentstack. The next screen prompts you to either create a new content type or import one into your stack. Click the ‘Import’ link, and select the JSON file saved on your machine.
Note: Import JSON files in the sequence: header, footer, and then the rest of the files.
Here’s a brief overview of all the content types required for this project.
- Header: The 'Header' content type enables you to add content for the header section of your website.
- Footer: The 'Footer' content type enables you to add content for the footer section of your website.
- Home: The 'Home' content type enables you to add content for the home page of your website. It includes the main banner and the About us section.
- About: The 'About' content type enables you to add content for the about page of your website.
- Feature: The 'Feature' content type enables you to add content for the feature page of your website.
- Product: The 'Product' content type enables you to add content for the product page of your website.
Now that all the content types are ready, let’s add some content for your website.
Adding content
Create and publish entries for the ‘Header’ and ‘Footer’ content types
Using the ‘Header’ content type, add the name, logo, menu, and other details for your website. Similarly, add footer content using the ‘Footer’ content type. Learn how to create and publish entries.
Create and publish entry for the other content types
Add entries for the ‘Home’, 'About', 'Feature', and 'Product' content type. The ‘Home’ content type includes two reference fields: ‘Header’ and ‘Footer’. You need to select the respective entries in these fields. Save and publish the entry. Learn how to create and publish entries.
With this step, you have created sample data for your website. Now, it’s time to use and configure the presentation layer.
Build and configure website
To get your app up and running quickly, we have created a sample website (using Node.js and Express) for this project. You simply need to download it and change the configuration.
Note: The website uses the Content Delivery API (which has in-built CDN support) to deliver content to the website. Read more about our CDN-enabled content delivery system.
Once you have downloaded the project, add your Contentstack API Key, Delivery Token, and Environment to the project. (Learn how to find your Stack's API Key and Delivery Token. Read more about Environments).
The config/default.js file would look something like this:
// Contentstack Config
    contentstack: {
        api_key: 'Your API_Key',
        delivery_token: 'Your Delivery Token',
        environment: 'Your Publishing Environment'
    }
Fire up your terminal (command prompt or similar on Windows), point it to your project location and run the following:
npm install
npm start
Note: This will work on node version 6.9.0 or above. Now open http://localhost:3000 to see your website. This will initiate your project.
Go live
You can make the application live by deploying it on any cloud- hosting service. In this tutorial, we have used Heroku as the hosting service.
Deploying your application on Heroku is quick and easy. If you are new to Heroku, refer to these steps to deploy your app.
Additional Resource: React.js is a powerful tool for building user interfaces and UI components. To know how to use it in building a Marketing app, read our guide on how to build a Marketing App Using Contentstack and React.js.
More resources
