

.svg?format=pjpg&auto=webp)
.svg?format=pjpg&auto=webp)
.png?format=pjpg&auto=webp)


.png?format=pjpg&auto=webp)
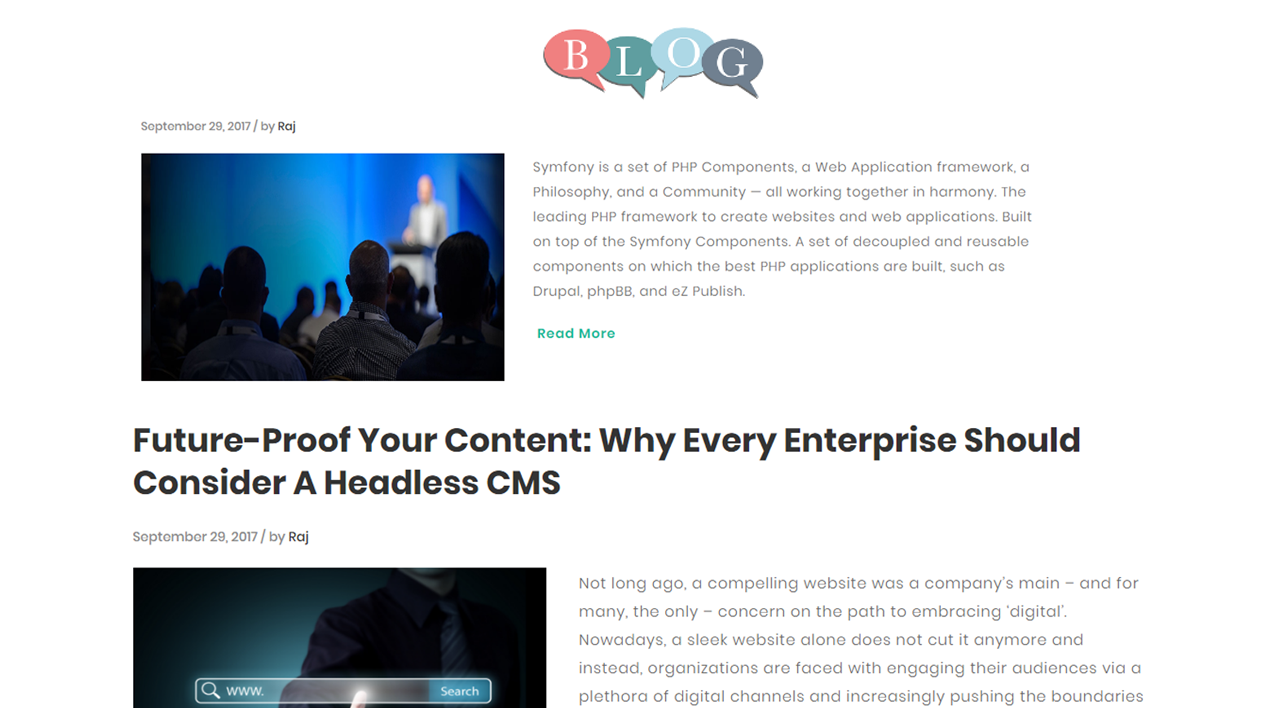
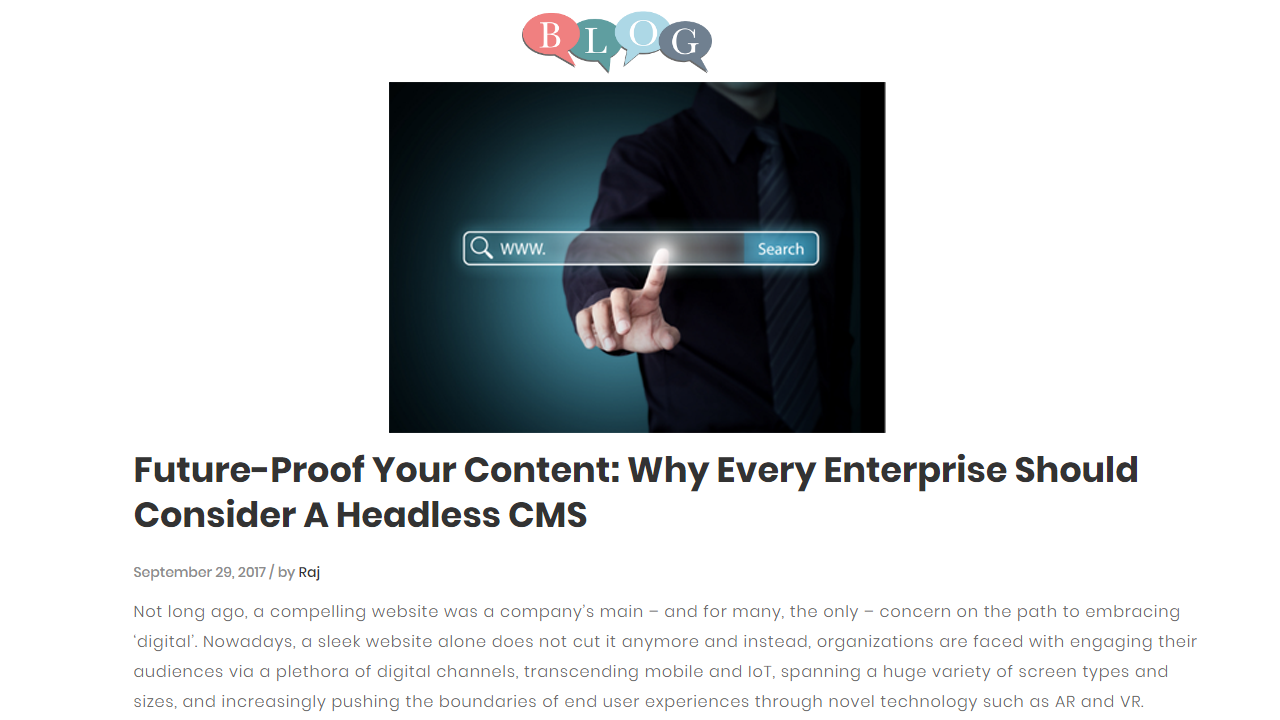
Build a blog demo using Contentstack's PHP SDK and Symfony framework
This example application is built using Symfony and PHP. It uses Contentstack to store and deliver the content of the website.
Screenshots
Warning: This sample app is no longer maintained. It remains available for reference. If you have questions regarding this, please reach out to our support team and we will do our best to help!
Quickstart
Here’s a quick guide on how to create a blog using Contentstack’s PHP SDK and Symfony Framework.
Prerequisites
- Symfony 3 or above
- Composer
- PHP version 5.6.12 or above
- Contentstack Account
Note: For this tutorial, we have assumed that you are familiar with Contentstack and Symfony Framework. If not, then please refer to the docs (Contentstack docs and Symfony Framework) for more details.
In this tutorial, we will first go through the steps involved in configuring Contentstack and then look at the steps required to customize and use the presentation layer.
Create a stack
Log in to your Contentstack account, and create a new stack. This stack will hold all the data, specific to your website. Learn more on how to create a stack.
Add a publishing environment
To add an environment in Contentstack, navigate to Settings -> Environment, and click on the + New Environment tab. Provide a suitable name for your environment, say ‘staging’. Specify the base URL (e.g., http://YourDomainName.com), and select the language (e.g., English - United States). Then, click on Save. Read more about environments.
Import content types
A content type is like the structure or blueprint of a page or a section of your web or mobile property. Read more about Content Types.
For this example app, four basic content types are required: Header, Footer, Posts, and Authors. For quick integration, we have already created these content types. You simply need to import them to your stack. (You can also create your own content types. Learn how to do this).
To import the content types, first, save the zipped folder of the JSON files given below on your local machine. Extract the files from the folder. Then, go to your stack in Contentstack. The next screen prompts you to either create a new content type or import one into your stack. Click the ‘import’ link, and select the JSON file saved on your machine.
Here’s a brief overview of all the content types required for this project.
- Header: This content type lets you add content for the header section of the site.
- Footer: The Footer content type enables you to add content for the footer section of your site.
- Authors: This content type lets you add authors for your blog posts. The fields in this content type include first name and last name.
- Posts: This content type will help you create blog posts. The fields include name, URL, author, date, featured image, and so on.
Now that all the content types are ready, let’s add some content for your app.
Adding content
- Create and publish entries for the ‘Authors’ and ‘Posts’ content type
Add a few entries each for the ‘Category’ and ‘Products’ content type. Save and publish these entries. Learn how to create and publish entries. - Create and publish entries for the ‘Header’ and ‘Footer’ content types
Add a few entries each for the ‘Header’ and ‘Footer’ content type. Save and publish these entries. Learn how to create and publish entries.
With this step, you have created sample data for your blog. Now, it’s time to set up your Symfony application and initiate the Contentstack app.
- Create and publish entries for the ‘Authors’ and ‘Posts’ content type
Set up Symfony Application
If you still use PHP 5.3 or can't use the Symfony installer for any reason, you can create Symfony applications with Composer, the dependency manager used by modern PHP applications.
If you don't have Composer installed on your computer, start by installing Composer globally. Then, execute the create-project command to create a new Symfony application based on its latest stable version.
Follow these steps for Creating Symfony Applications with Composer.
Initialize your project
To initialize your project, perform the following steps:
- Download ‘contentstack-php’ SDK and add it in the ‘src\AppBundle’ folder.
- Create a your own controller file and place it in the ‘src\AppBundle\Controller’ folder.
- Within your Controller file, add the code snippet given below:This will include your ‘contentstack-php’ SDK in your Controller file.
use Contentstack\Contentstack; require_once dirname(__DIR__).'/contentstack-php/lib/index.php'; - Connect the Symfony framework with Contentstack by adding the following code snippet in the Controller file you created in the above step:Learn how to find your Stack's API Key and Delivery Token. Read more about Environments.
public function postlistAction()
{
    $stack = Contentstack::Stack('Stack_API_Key', 'Delivery_Token', 'Environment Name');
}
Build and configure app
To get your app up and running quickly, we have created a sample blog app (using Symfony Framework and contentstack-php SDK) for this project. You simple need to download it and change the configuration.
Fire up your terminal (command prompt or similar on Windows), point it to your project location and run the following command:
php bin/console server:runYou can check your blog post on your local machine by hitting the URL: http://127.0.0.1:8000
Note: This will initiate your project. However, you will not be able to see your blog post until all the content types are published.
Go live
You can make the application live by deploying it on any cloud hosting service. In this tutorial, we have used Heroku App.
Follow these steps to make it live on Heroku.
Additional Resource: The Contentstack Python SDK fetches content and delivers it to your Python-based apps. We have built a sample app using the Python SDK. To learn more, go through our detailed guide on how to build a Python News App Using Contentstack’s Python SDK.
More resources
