

.svg?format=pjpg&auto=webp)
.svg?format=pjpg&auto=webp)
.png?format=pjpg&auto=webp)


.png?format=pjpg&auto=webp)
Add Lucidworks Search to Contentstack-powered Websites
Warning: You are viewing an old document which will soon be deprecated. We recommend referring to other integrations like Swiftype, Elasticsearch, and Algolia.
Lucidworks Search is a powerful, fully-featured enterprise search application. With the advanced search algorithms, Lucidworks provides enterprise-grade capabilities required to design, develop, and deploy smart search applications at any scale.
The simple yet powerful UI of Lucidworks offers advanced search capabilities, query modification to get desired results, entity extraction, search analytics to let apps provide better search results, and much more.
In this document, we will see how to use Lucidworks Fusion with Contentstack-powered website.
Prerequisites
- Lucidworks is a heavy application and requires high-end systems to use it. Refer to the Lucidworks' System Requirement page for more details before getting started.
- Contentstack account
- Only Java version 1.8 is supported (it cannot be any other version)
Setting up Lucidworks Search
To set up Lucidworks Fusion with your Contentstack-powered website, follow the steps given below:
Download and Install Lucidworks
- Visit the Lucidworks Fusion website and download the application. Depending upon your operating system, you can install the desired Lucidworks Fusion distribution package that includes Apache Solr, Apache Spark, and Logstash.
Note: The application is heavy and might take several minutes for the download to complete.
- After the application is downloaded, install it by unzipping the file. This unzips into a folder named “fusion.” The subfolder inside the main “fusion” folder is named as the version number of Fusion installed on the machine.
- Visit the Lucidworks Fusion website and download the application. Depending upon your operating system, you can install the desired Lucidworks Fusion distribution package that includes Apache Solr, Apache Spark, and Logstash.
Start the Fusion App
To start the fusion app, follow the steps given below:
- Fire up your terminal and move inside the fusion project bin directory and start the project as follows:
fusion start
- The fusion app will start initiating different services such as Zookeeper, Solr, API services, admin-ui, SQL, log0shipper, and so on, on relevant ports. For example, Zookeeper starts on port 9983, Solr on port 8765, and so on.
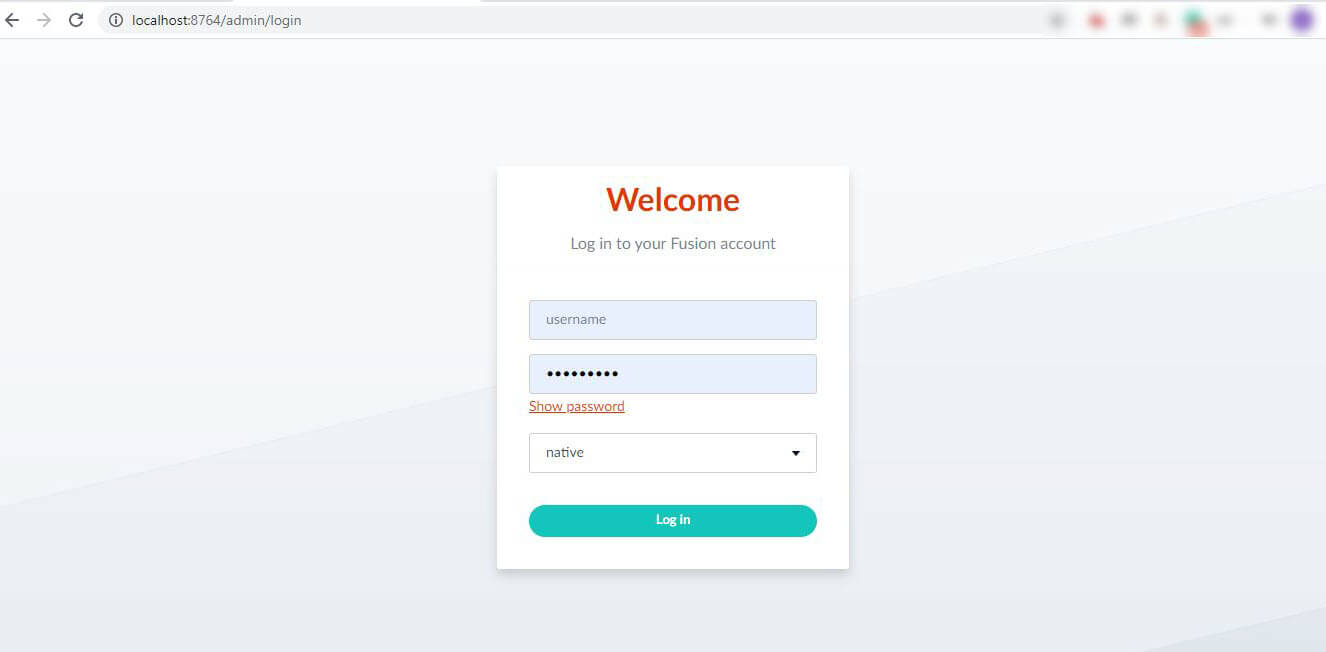
- The Fusion Studio app will start on port 8764. So open your browser and point to port 8764 and sign-up with your details and use your credentials to log in to your admin panel.
Note: Before starting the Fusion app, ensure you have set the path for JAVA_HOME correctly. Otherwise, you'll get errors and Fusion will not start.
- Fire up your terminal and move inside the fusion project bin directory and start the project as follows:
Create a New Fusion App
Now that you have logged into the Fusion admin panel. Let's create our first Fusion search app by using the steps given below:
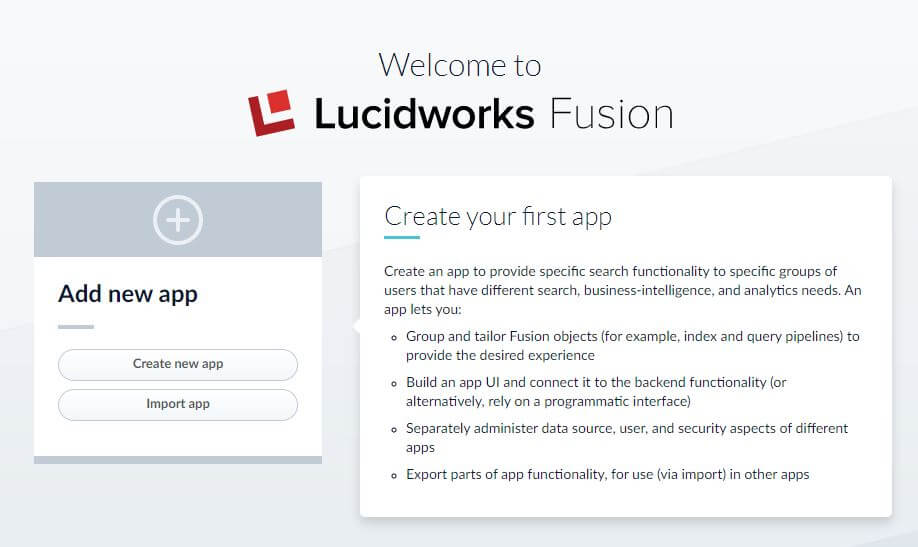
- Once you log in to your Fusion account, you'll get a Lucidworks Fusion welcome page where you can add a new app or import an app if you already have it. Click on Create new app:
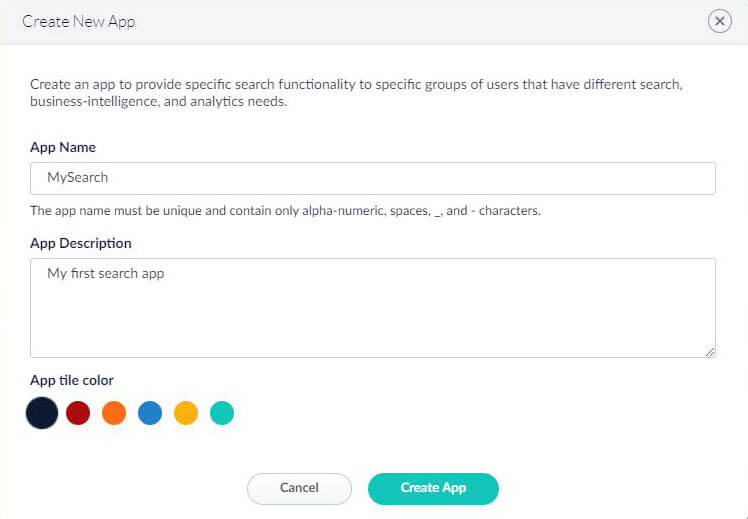
- On the Create New App page, provide a suitable name say “MySearch” and an optional description & app tile color. Click on Create App. In this way, Lucidworks creates the required backend and frontend components for your use cases.
- You are redirected to the log-in page, but this time you also have your first search app listed there. Click on your app.

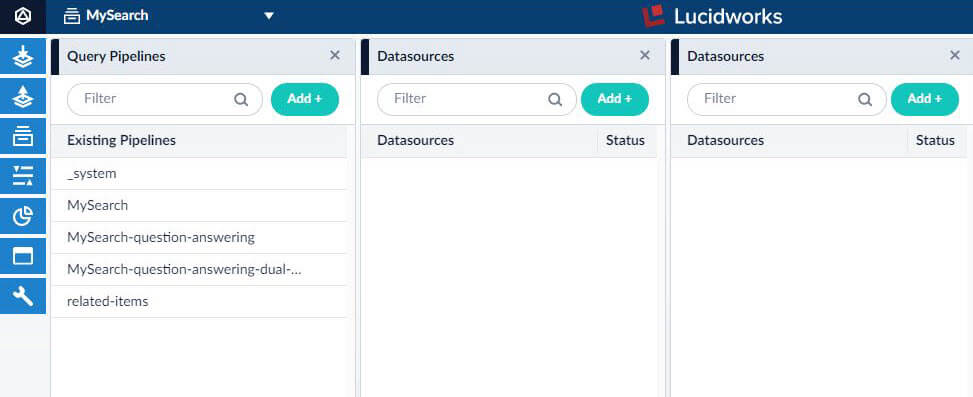
- You are then taken to your Lucidworks dashboard as shown below:
- Once you log in to your Fusion account, you'll get a Lucidworks Fusion welcome page where you can add a new app or import an app if you already have it. Click on Create new app:
Add Data to your App
The dashboard interface has several options. Once you get into your admin area, the first thing to do is to add data to your app. Proceed with the following steps to start adding the data:
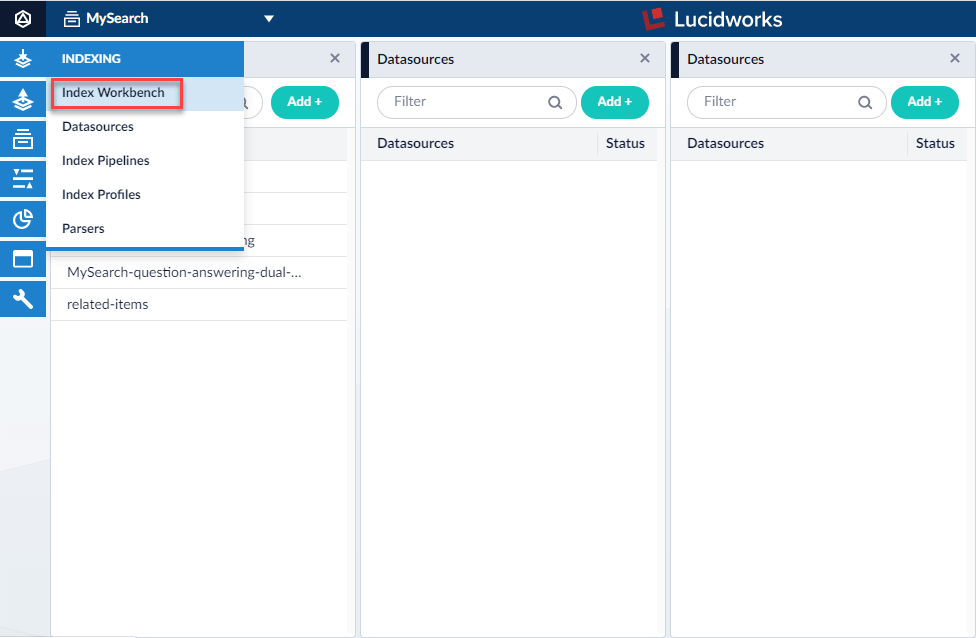
- Click on the first icon on the left side panel and select Index Workbench to load the data:
- On the next page, click on the New button on the top right corner.
- On the Add A New Datasource page, you have three options to choose form. In our case, we’ll be using a URL or web-based data source. Select the first option Point to a URL and provide the URL of your Contentstack-powered website:
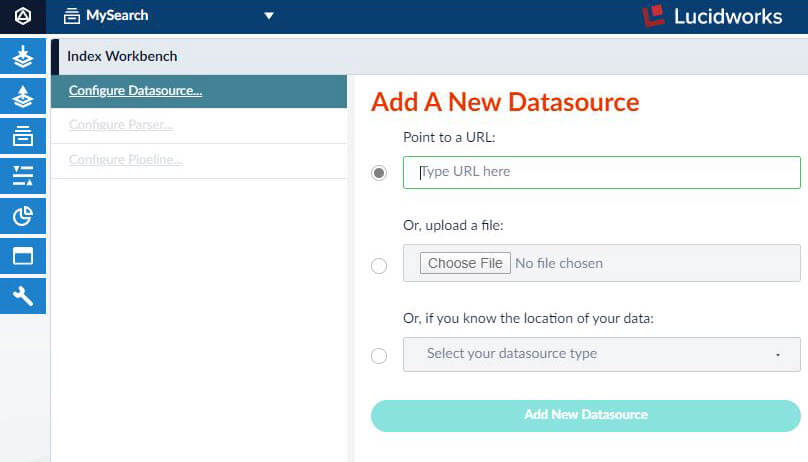
- You can add other levels of details to your data source such as Crawl Authorization, Link Discovery, Limit Documents, Crawl
Performance, and so on depending upon your requirement. - Once you have done all that, click on Apply. You'll get a list of simulated results of the data source that you provided. Click on the Save button.
- Click on the first icon on the left side panel and select Index Workbench to load the data:
Index your Data
The next step is to index your data to put the data into the Lucidworks Fusion platform. Proceed with the following steps:
- Click on Start Job. Now Lucidworks Fusion will start bringing data from the data source.
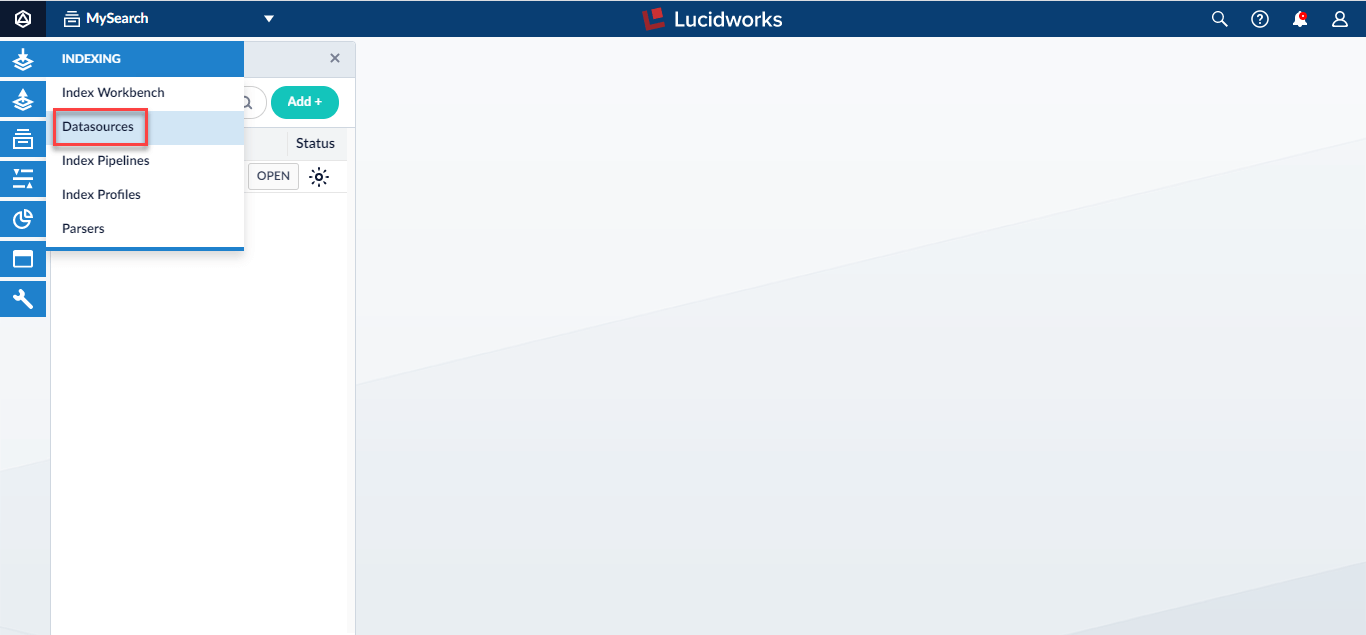
- To check the data has been loaded correctly, click on the first icon and select Datasources as shown below:
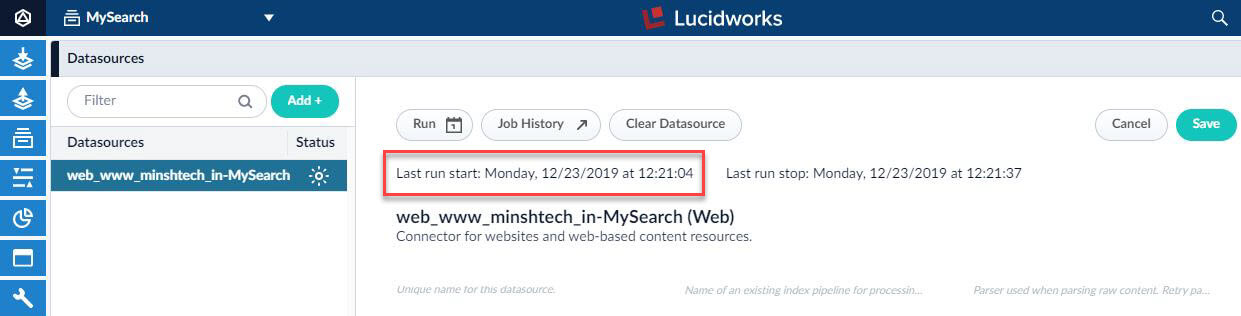
- Click on your data source and confirm if the data source has been loaded successfully.
- To test your basic search, you can navigate to Query Workbench option located on the left side panel of the page, and test your search query there with the output shown on the right-hand side where you can select the fields you want to display.
Build the Frontend UI
Now that our backend is ready, let's move on and create a frontend for our search app. Proceed with the following steps to get this done:
- From the Fusion UI, select the Build new UI button.
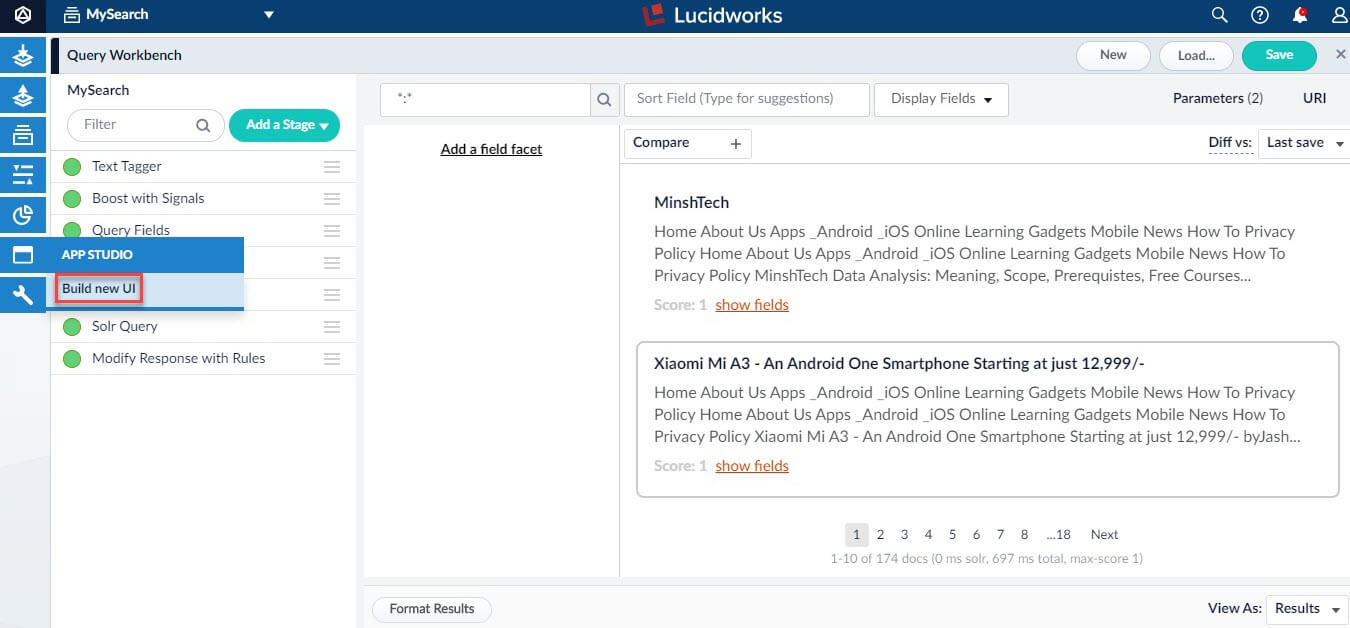
- Clicking on the Build new UI buttons takes you to the App Studio Wizard. Here, you need to set the Query Source so that App Studio could suggest fields and facets. Select the Query Profiles. In our case, it is MySearch.
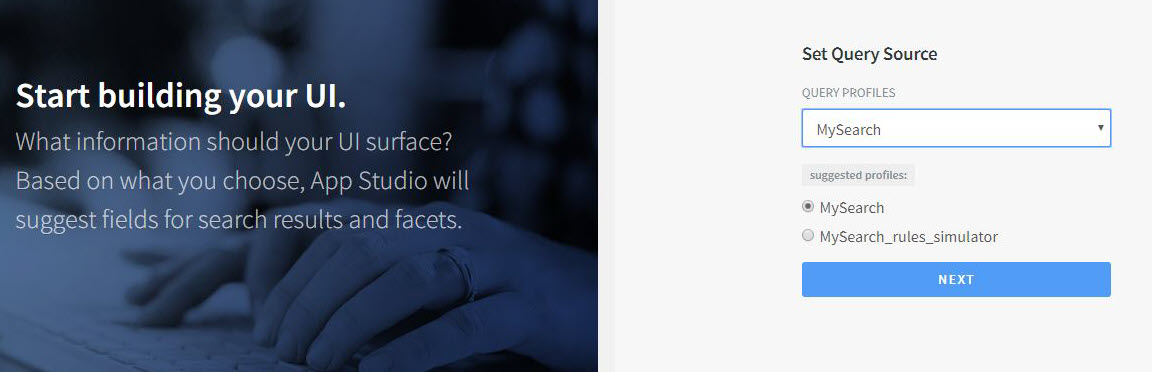
- The App Studio will now analyze the data from the Fusion backend. Once it is complete, click on Next.
- On the Set Result Title page, select a title. For our example, select body_t from the dropdown.
- In the TARGET URL field, select your desired URL. For now, let's keep the default value. Click on Next.
- Then, on the Set Result Description page, provide the description that will appear below the title with a short summary. Click on Next.
- On the Set Facets and Additional Fields page, you can set the filters accordingly and click on Next.
- In the final step, you need to provide a suitable name to your UI and choose a color. Once you do that, click on the SAVE AND LAUNCH UI button. The app gets rendered and a preview is displayed as shown below:
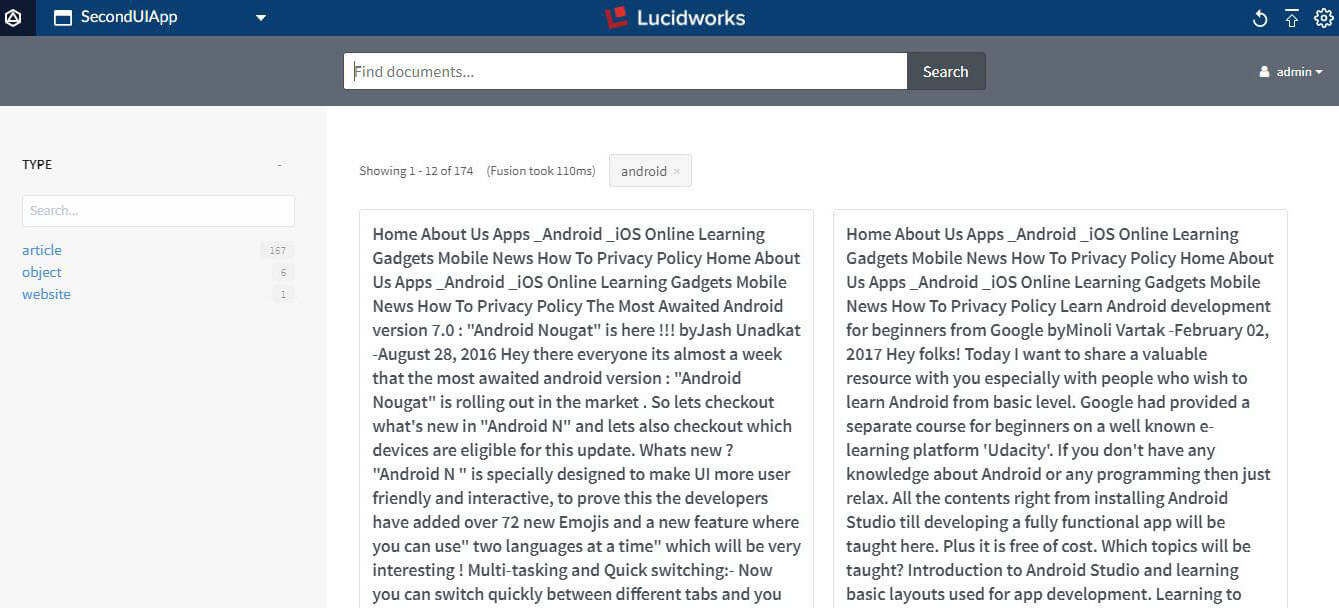
Type in your search keyword and the app will display the results.
- From the Fusion UI, select the Build new UI button.
More articles
