.svg?format=pjpg&auto=webp)
.svg?format=pjpg&auto=webp)
.png?format=pjpg&auto=webp)


.png?format=pjpg&auto=webp)
Salesforce Commerce Cloud
Note: This documentation uses the legacy approach with extensions. We have launched Salesforce Commerce as a Marketplace App. For more information on Salesforce Commerce, please refer to the Salesforce Commerce App Installation Guide.
The Salesforce Commerce Cloud extension lets you search and fetch the products of your Salesforce Commerce Cloud store and display them in your entry page via a custom field.
Thus, while creating entries for this content type, you can select the products of your store as the input value for that field.
Prerequisites
- Salesforce Commerce Cloud account
- Contentstack account
- Access to AWS environment
- Working knowledge of AWS lambda and AWS API Gateways
This step-by-step guide explains how to create a Salesforce Commerce Cloud custom field extension for your content types in Contentstack.
Note: For the Salesforce Commerce Cloud extension to work, you need to have a configured Salesforce Commerce Cloud Account.
Steps for Execution
- Retrieve your API Client Credentials from Salesforce Commerce Cloud
- Set up a Lambda Function and an API Gateway Trigger
- Add the “Salesforce Cloud Commerce” Custom Field Extension
- Use the Custom Field
-
Retrieve your API Client Credentials from Salesforce Commerce Cloud
Get in touch with the Salesforce support team to get a Salesforce Commerce Cloud Sandbox account.
In order to set up this extension, we need Commerce Cloud's Shopper APIs. To do this, you have to set up your Shopper Login and API Access Service (SLAS) API.Note: To learn in detail how to retrieve the below mentioned API configuration values, follow the Commerce Cloud guide.
Here’s a list of credentials that you need to set up the Salesforce Commerce Cloud extension in Contentstack.
- Client Id and Client Secret: The client Id is an UID format value created in the Account Manager of the Salesforce Commerce Cloud sandbox account. The password of this UID is your client secret value.
- Short Code: The short code is an eight-character unique value assigned for routing purposes that applies to the entire realm environment for all the instances.
- Organization Id: It is based on the realm and instance which the user wants to use inside the Salesforce Commerce Cloud. Notably, this value is different for each instance.
- Site Id: This is the name of the site of which you want to access data.
Please note these values as we will be using them in the next steps.
Once you get the required credentials using the Commerce Cloud guide, proceed to set up a lambda function and gateway trigger in AWS.
- Client Id and Client Secret: The client Id is an UID format value created in the Account Manager of the Salesforce Commerce Cloud sandbox account. The password of this UID is your client secret value.
-
Set up a Lambda Function and an API Gateway Trigger
In this guide, we will use AWS Lambda Function and API Gateway to trigger the Salesforce Cloud Commerce extension that we create in our content type.
To do this, perform the following steps:- Log in to your AWS Management Console, select Lambda from the Services list.
- Click on the Create function button, and then the Author from Scratch option.
- Provide a name to your lambda function inside the Function name field, select Node.js 14.x or a latest available version of Node as your Runtime language, and click on the Create function button.
- For this exercise, we have created a sample code that will help you set up the system. If Extensions are part of your plan, contact our Support team to get the code for the extension. Once you get the code, download and unzip it in your system.
- Now, open your command prompt and point to the project root directory that you just downloaded.
- Install the npm modules by using the following command:
npm install
- Now, run the following command to create a zip file:
npm run build
- After running the above command, you'll get the index.zip folder. This is the zipped file that we will use in our lambda function.
- Now go back to the AWS console and in the Code source section, click on the Upload from dropdown and select the .zip file option.
- In the Upload a .zip file modal, click on the Upload button, move to the folder where you have saved the compressed file, and select it. Then, click on Save.
- In the Runtime settings option, keep Handler as index.handler and click on Save.
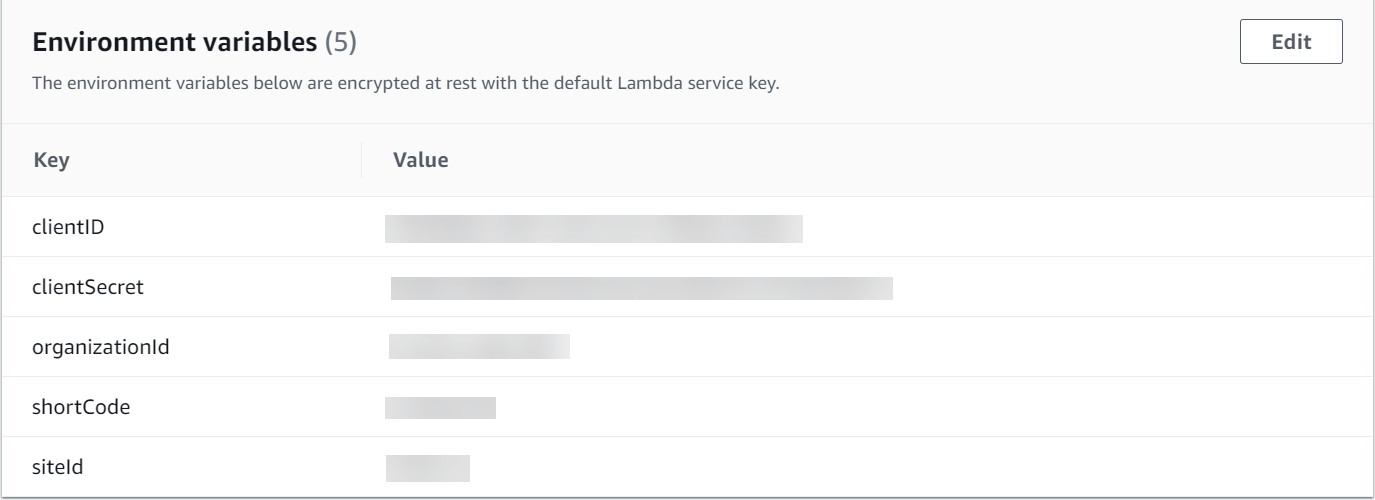
- Now scroll up and click on Configurations, go to the Environment variables section and add the following variables to it by clicking on Edit and then Add environment variable.
- Next, set Environment variables for your lambda function.
Enter the Commerce Cloud's Shopper APIs that we retrieved in step 1. - Once you have added these environment variables, click on Save.
- Your lambda function is now ready. Scroll up to the Function overview section and click on + Add trigger.
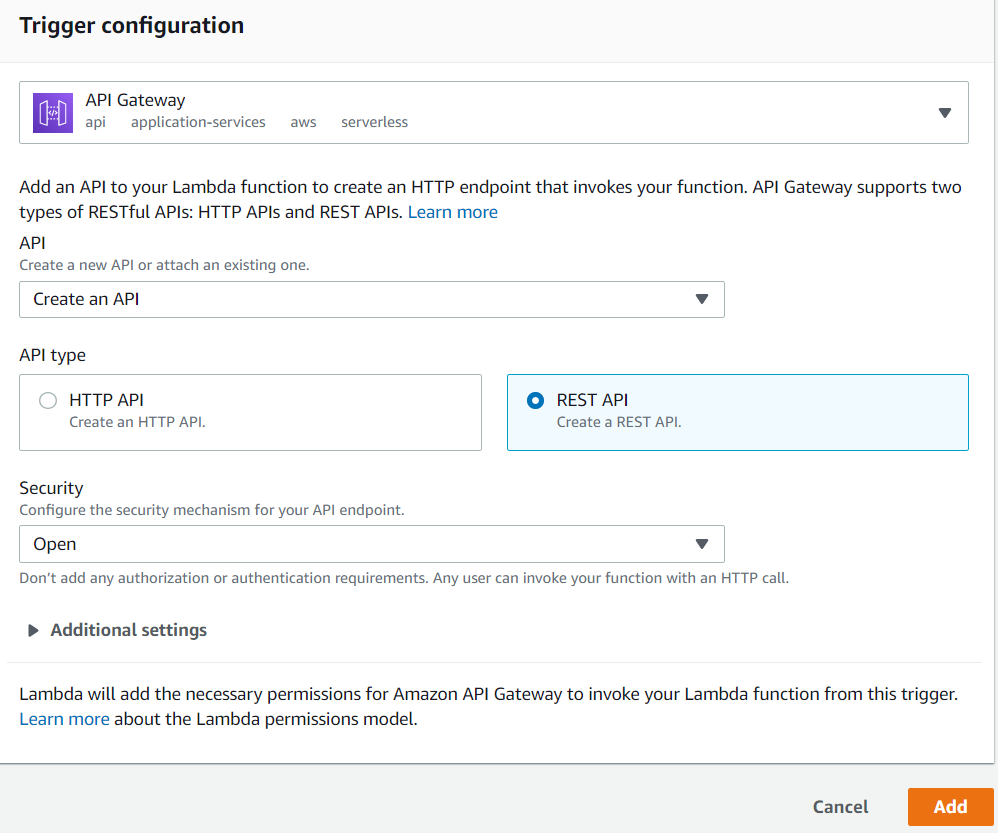
- On the Add trigger screen, select API Gateway from the Select a trigger dropdown..
- Select Create an API from the API dropdown. Then, select REST API inside the API type block, select Open from the Security dropdown, and click on Add.
- An API endpoint gets created for your lambda function. Under the Configuration tab, click on Triggers. You will see API Gateway.
Click on the Details link, you will find your API endpoint. Make a note of it as we will need it while setting up the Salesforce extension in Contentstack.
Note: The npm build command we discussed above will work for Mac and Linux systems. If you are using Windows, the npm build command may not work. In that case, after installing the node modules, you will have to manually zip the code files and name it index.zip as shown in the following gif:
- Log in to your AWS Management Console, select Lambda from the Services list.
-
Add the “Salesforce Commerce Cloud” Custom Field Extension
To add this extension to your stack, log in to your contentstack account, go to your stack and perform the following steps:
- Along with the lambda code, our Support team will provide you with the source code that contains the following files that will help you set up the extension in Contenstack:
- salesforce: Navigate to salesforce/build/index.html file. We will upload the code in this file in the extension source code field of our extension in the next step.
- salesforce-popup: Navigate to salesforce-popup/build/index.html, upload this file as an asset in your stack by referring to the Create/Upload Assets guide. After uploading this file, to view the asset URL, open the asset and copy the File URL.
Make a note of the asset URL, we will be using it as a redirectURL in the config parameter while setting up the extension.
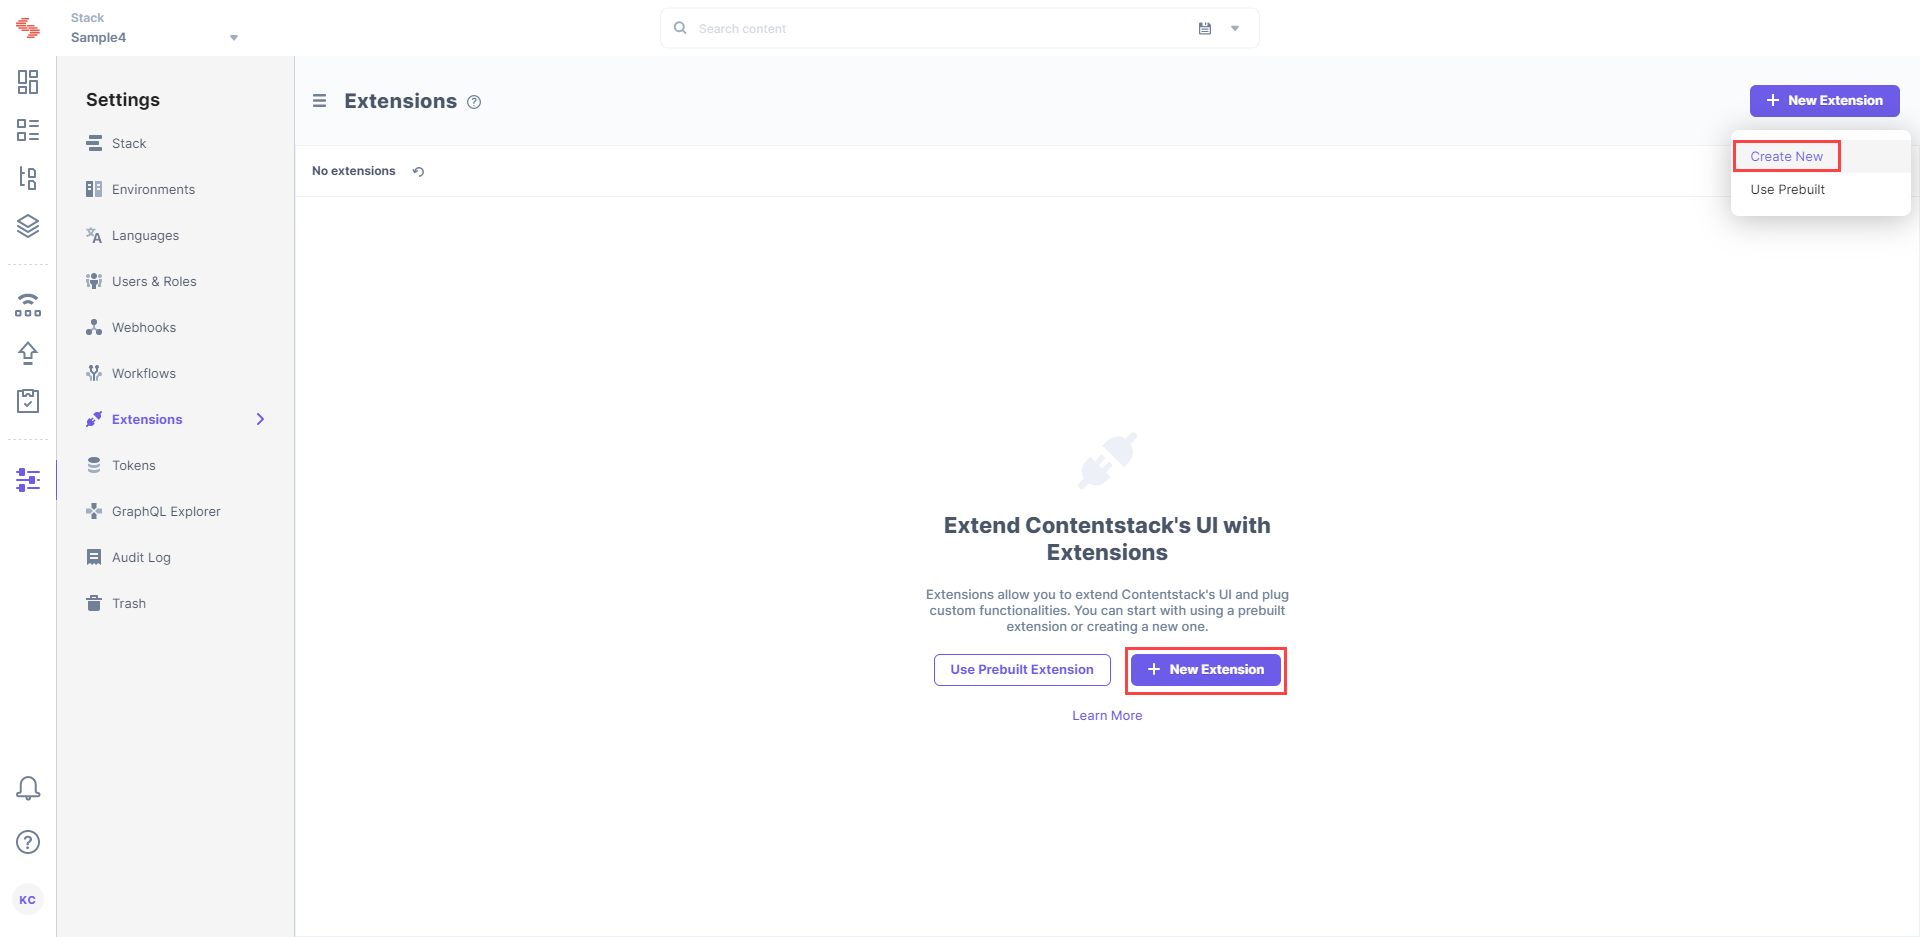
- Click the “Settings” icon on the left navigation panel.
- Select Extensions.
- Now, click on the + New Extension button, and select Create new.
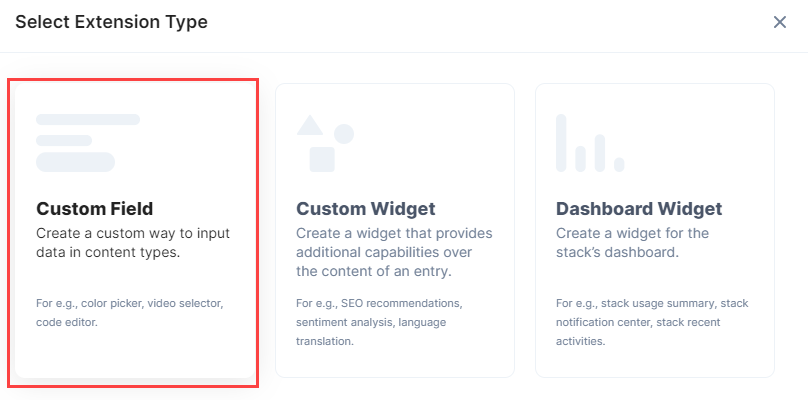
- In the Select Extension Type window, select Custom Field.
- On the Create New Extension page, enter values in the fields as given below:
- Title (required): Provide a suitable title, for example, “Salesforce Commerce Cloud” for your custom field. This title will be visible when you select the extension in the Custom field in your content type.
- Field Data Type (required): Select the data type in which the input data of the field should be saved in Contentstack. In this case, select JSON.
- Multiple (optional): Leave this field unchecked.
- Hosting Method (required): Select Hosted by Contentstack as the hosting method for this content type.
- Extension Source Code: Enter the downloaded extension source code here. Navigate to salesforce/build/ path from the downloaded folder, copy and add the code of the index.html file here.
- Config Parameter: Provide values for the config parameters.Enter the configuration details in your extension settings as follows:
{ "url": " ", "categories": [ " ", " ", " " ], "saveFullResponse " ", "redirectUrl": " " }- "url": Enter the lambda API endpoint URL that we got in step 2.
- "categories": Add the Salesforce category ids in an array format.
For example:
"categories": [ "mens", "mens-accessories", "mens-accessories-gloves"] - “saveFullResponse”: If we keep the value of this parameter to "true" then the entire product JSON response will be saved in the entry. If we keep it false then only product IDs will be saved in the entry response. So you can set this parameter as per your requirement.
- "redirectUrl": The value for redirectUrl is the URL of the redirect HTML file which you uploaded as an asset in the stack.
- Save the custom field.
Now, let’s understand how you can start using this custom field in your content type.
- Along with the lambda code, our Support team will provide you with the source code that contains the following files that will help you set up the extension in Contenstack:
-
Use the Custom Field
Once you have added a custom field, you can use it in your content type. To add a custom field in your content type, follow the steps below:
- Click on the “Content Models” icon on the left navigation panel.
- Click on the + New Content Type button, enter the required details, and click Proceed.
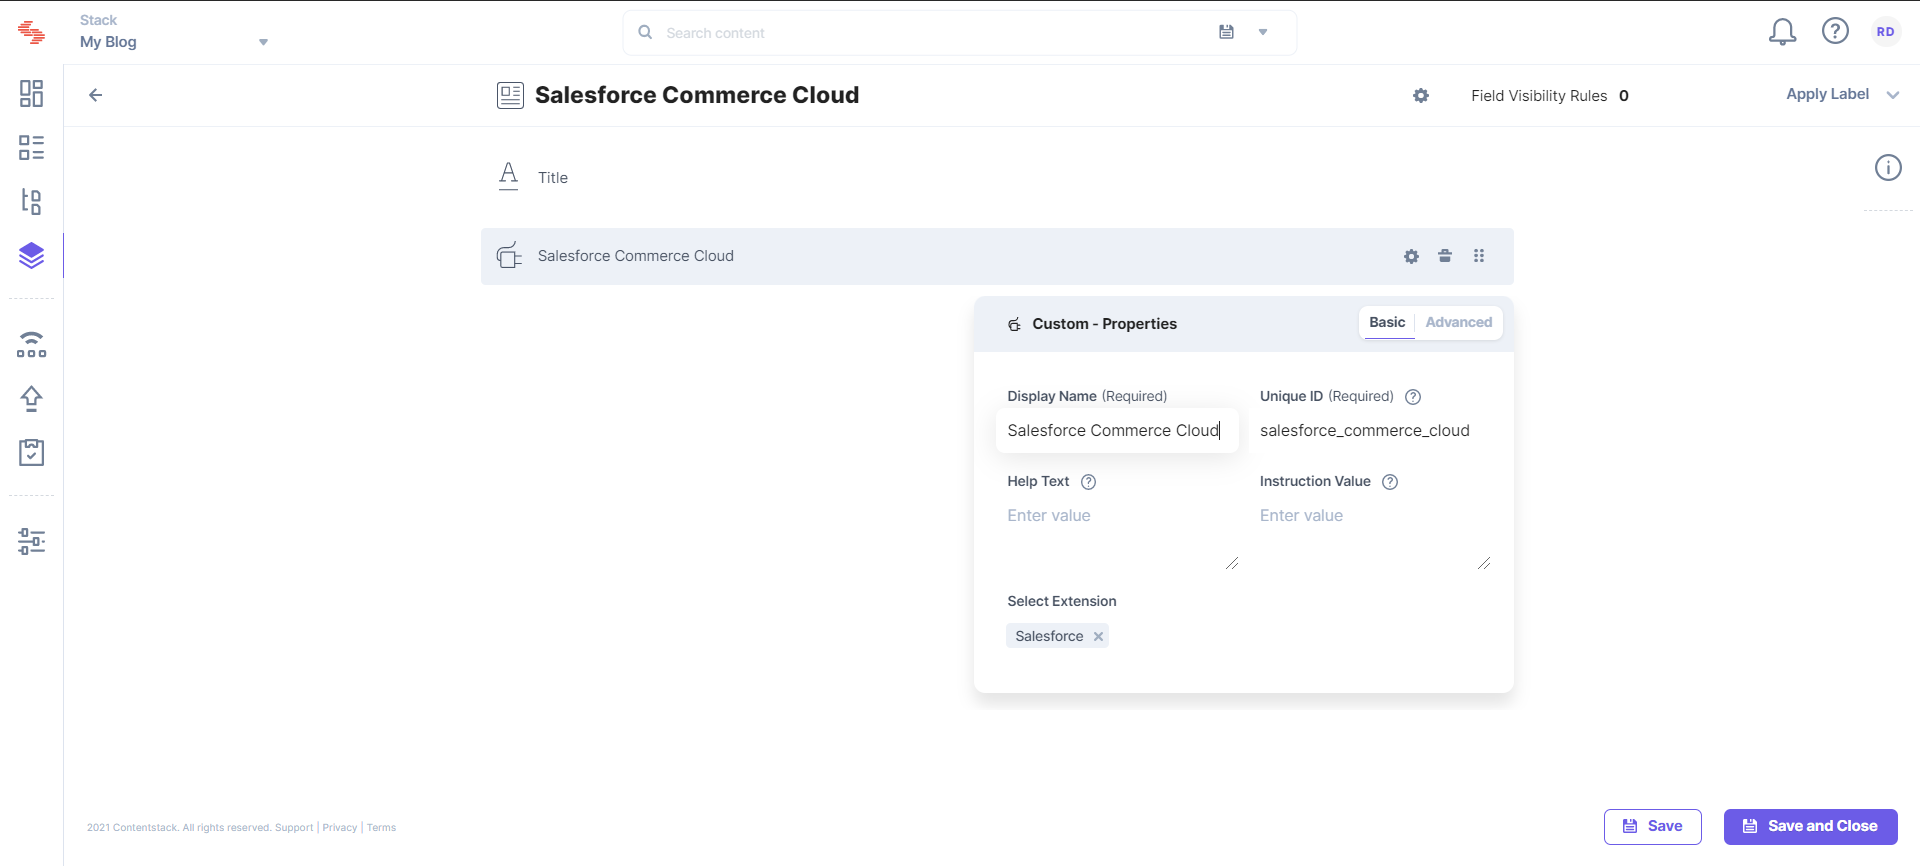
- Click on the “Insert a field” link (+ sign), and add the Custom field to it.
- Under the Select Extension drop-down menu in Basic properties, select the “Salesforce Commerce Cloud” extension field that you created.
- Click on Save and Close.
- Now, create an entry for this content type, and you will see the Salesforce Commerce Cloud custom field in action.
- Click on the Choose Products button to add products of your choice to the custom field.
- Select the products of your choice and click on the Add Selected Products button.
- Finally, click on the Save button to save your entry.