

.svg?format=pjpg&auto=webp)
.svg?format=pjpg&auto=webp)
.png?format=pjpg&auto=webp)


.png?format=pjpg&auto=webp)
AWS SQS
AWS Simple Queue Service (AWS SQS) connector is a message queuing system that enables two-way communication between different distributed app components. It follows a polling mechanism where one component (publisher) pushes messages to the queue, and the consumer (processor) explicitly pulls out those messages from the queue to check them.
Set Up AWS SQS
Perform the following steps to set up the AWS SQS action connector:
- Click Configure Action Step from the left navigation panel.
- Click Action Step to configure third-party services.
- Within the Configure Action Step, click the AWS SQS connector.
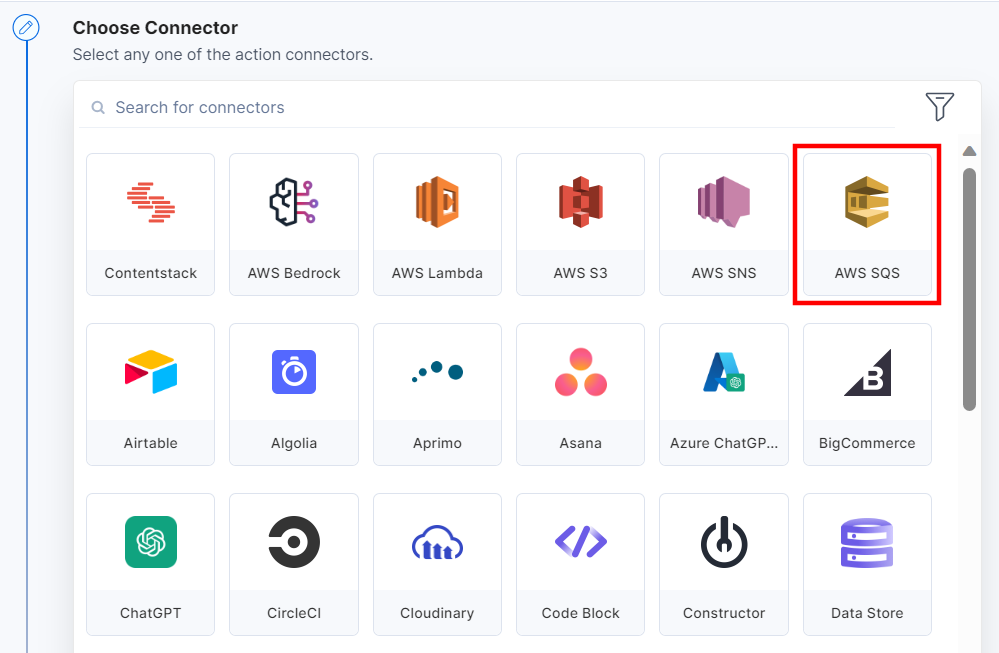
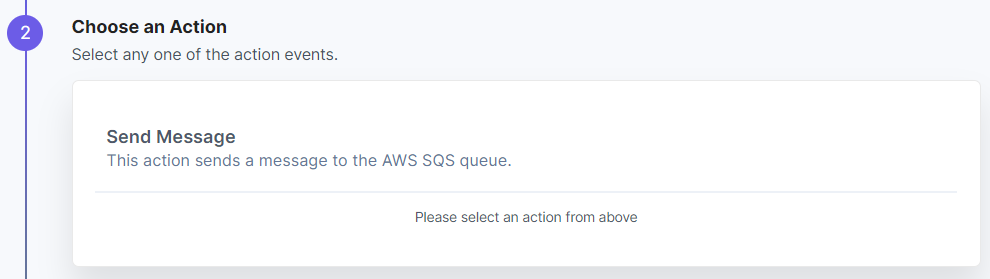
- Under Choose an Action tab, select the Send Message action.
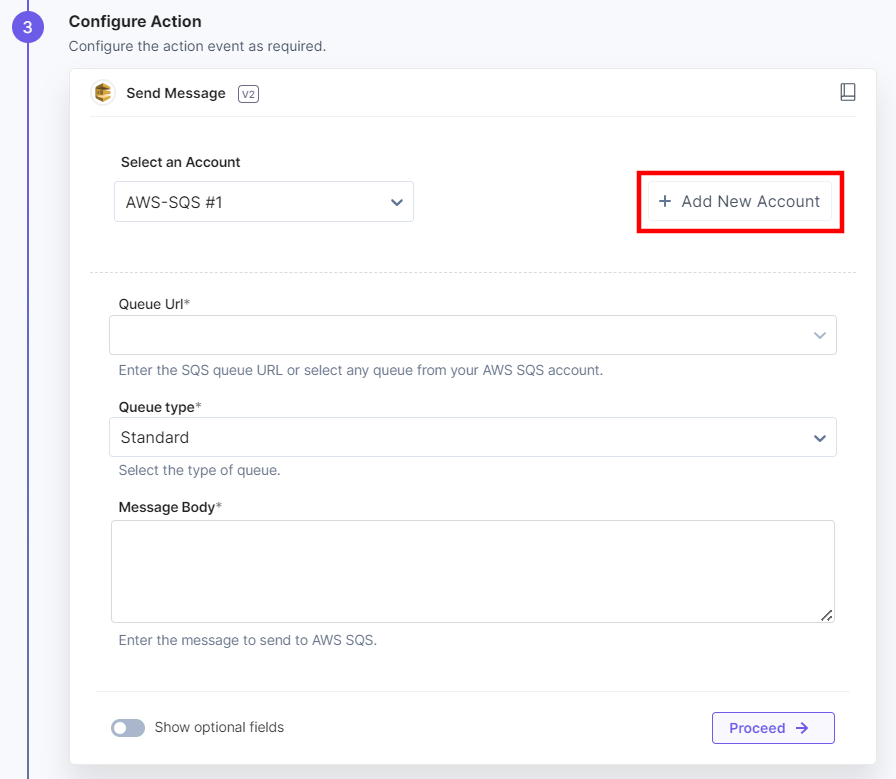
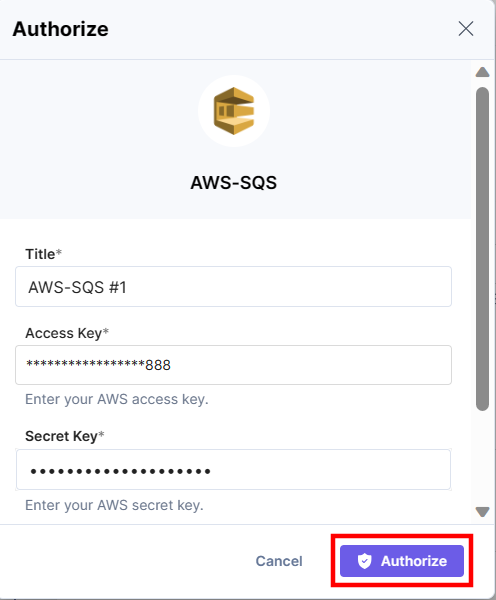
- Click the + Add New Account button to add your AWS account (see screenshot in next step).
- In the Authorize modal, provide details such as Title, Access Key, Secret Key and Region.
You can generate the Access and Secret Key by navigating through Security credentials > Access Keys > Create New Access Key in your AWS account.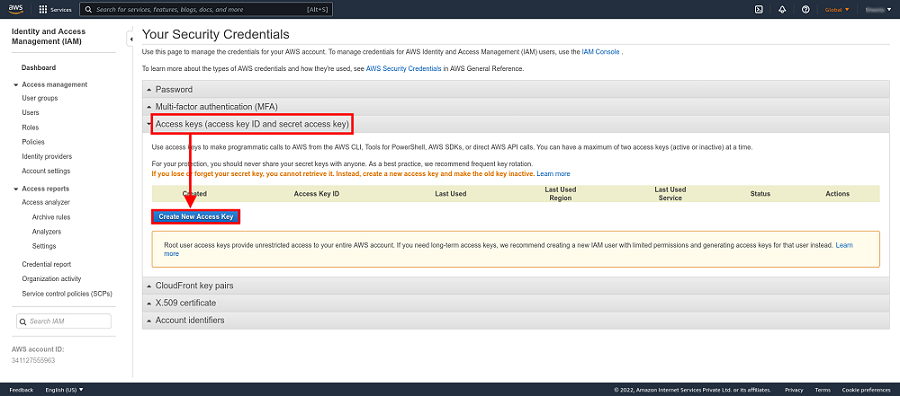
Additional Resource: For more information, refer to the Managing access keys for IAM users document.
Then click Authorize.
- You can select the Queue URL from the Lookup list that appears when you click the textbox. The Queue URL needs to be present and defined in your AWS account.
Select the Queue Type from a list of populated suggestions. There are two types of queues, i.e., Standard and FIFO. Choose as per your requirement. For this example, we have chosen the Standard Queue Type.
The Message Body should contain the message you want to see in the SQS dashboard.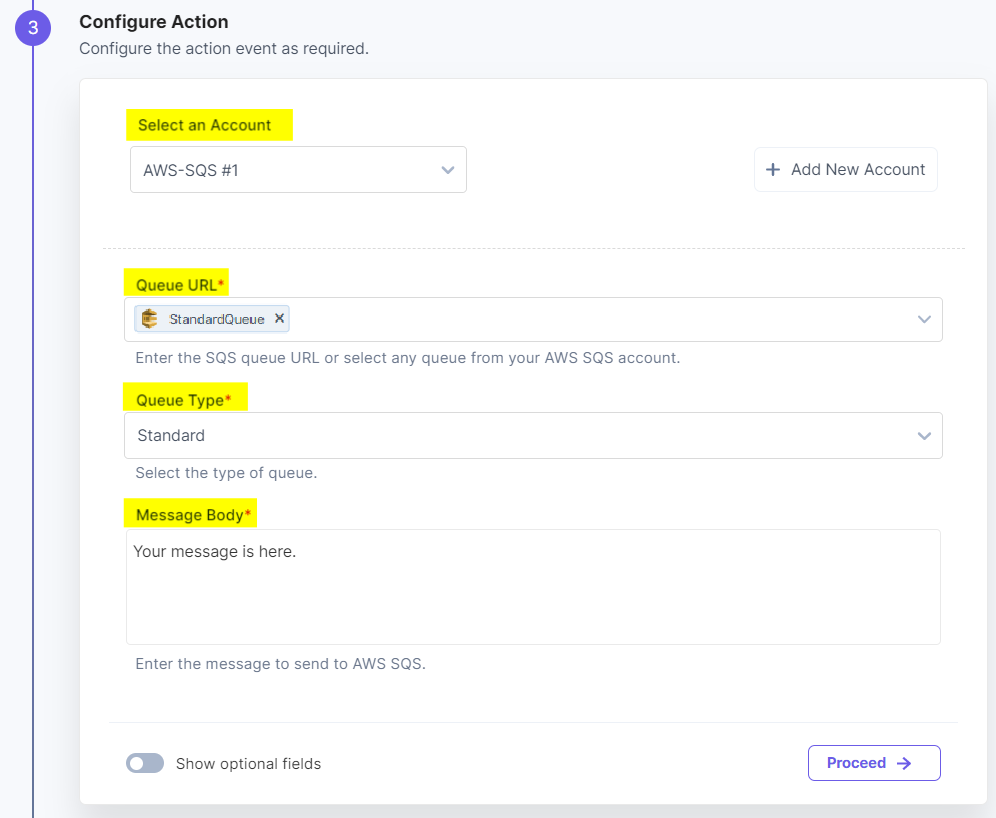
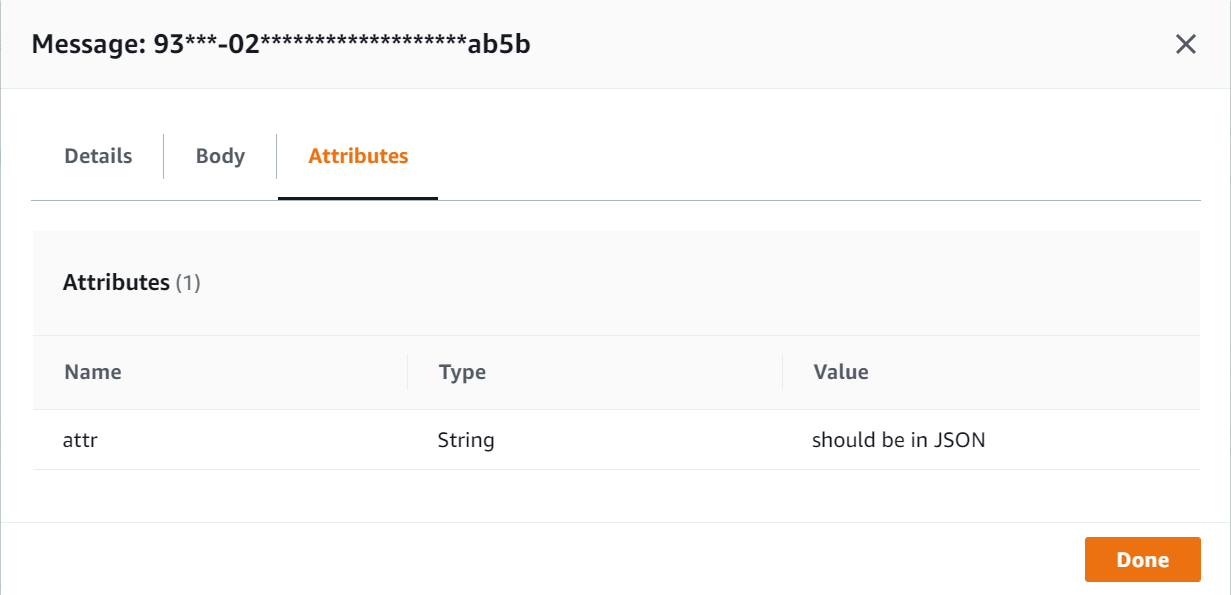
- Click the Show optional fields toggle button to add Message Attributes in the JSON format. For Standard Queue Type, you need to enter the number of seconds for delaying any specific message in the Delay Seconds textbox. For FIFO Queue Type, you need to enter the Message Group Id and Message Deduplication Id in the respective textboxes.

- Click Proceed.
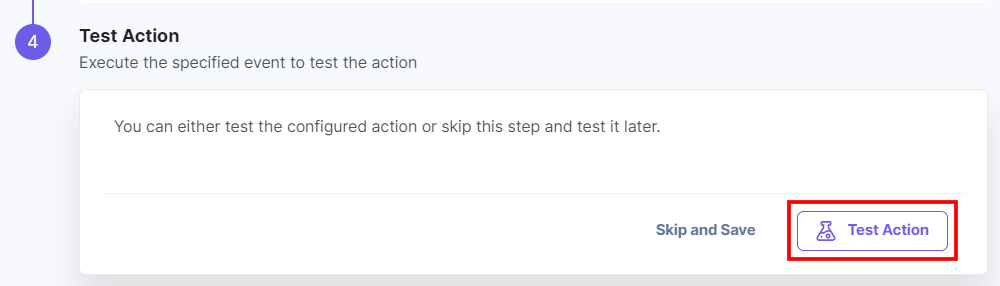
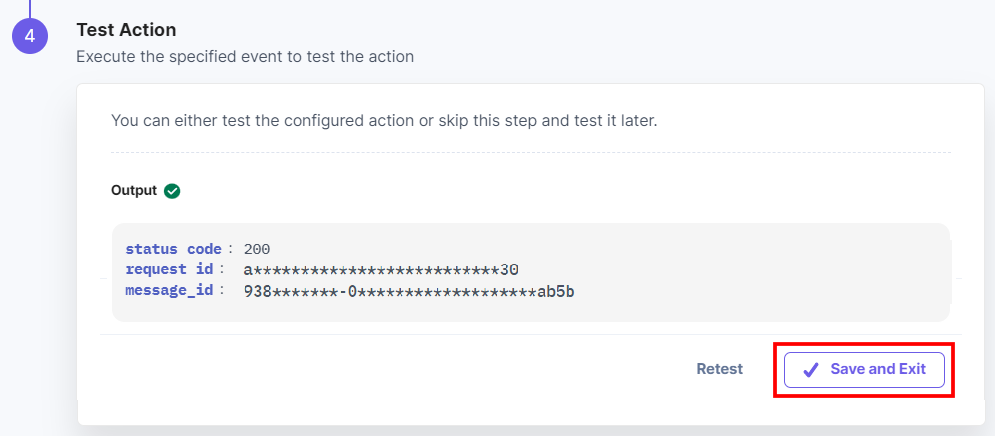
- Check if the details are correct. If yes, click Test Action.
- Once set, click Save and Exit.
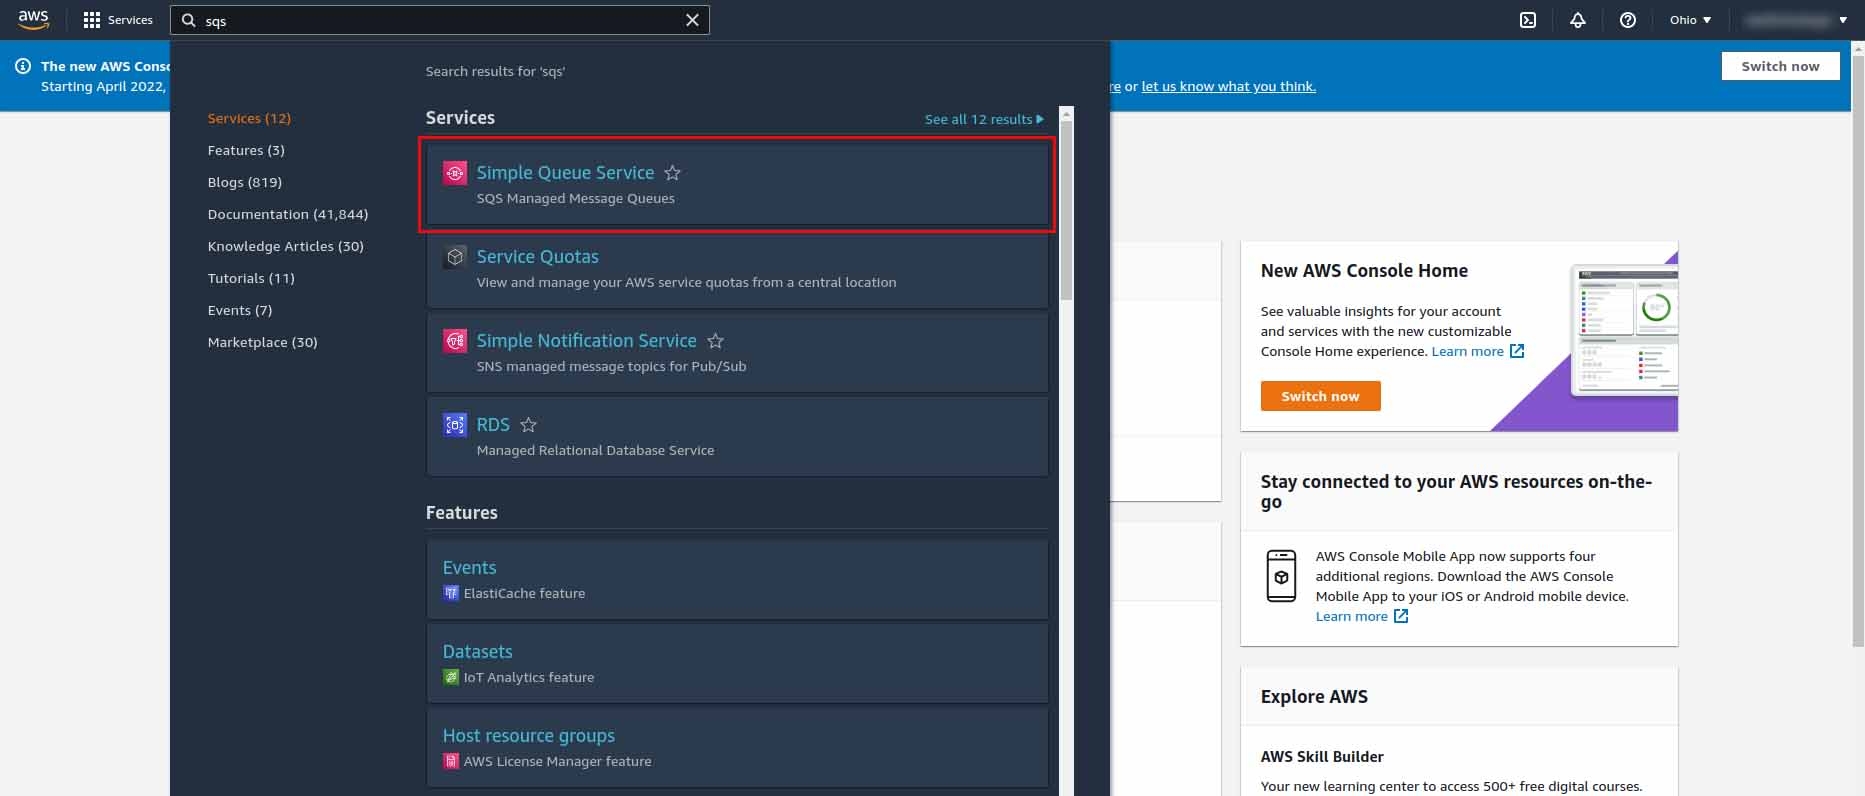
- To see the SQS message, login to your AWS account. Type SQS in the search bar, and click on Sample Queue Service to navigate to the SQS dashboard.
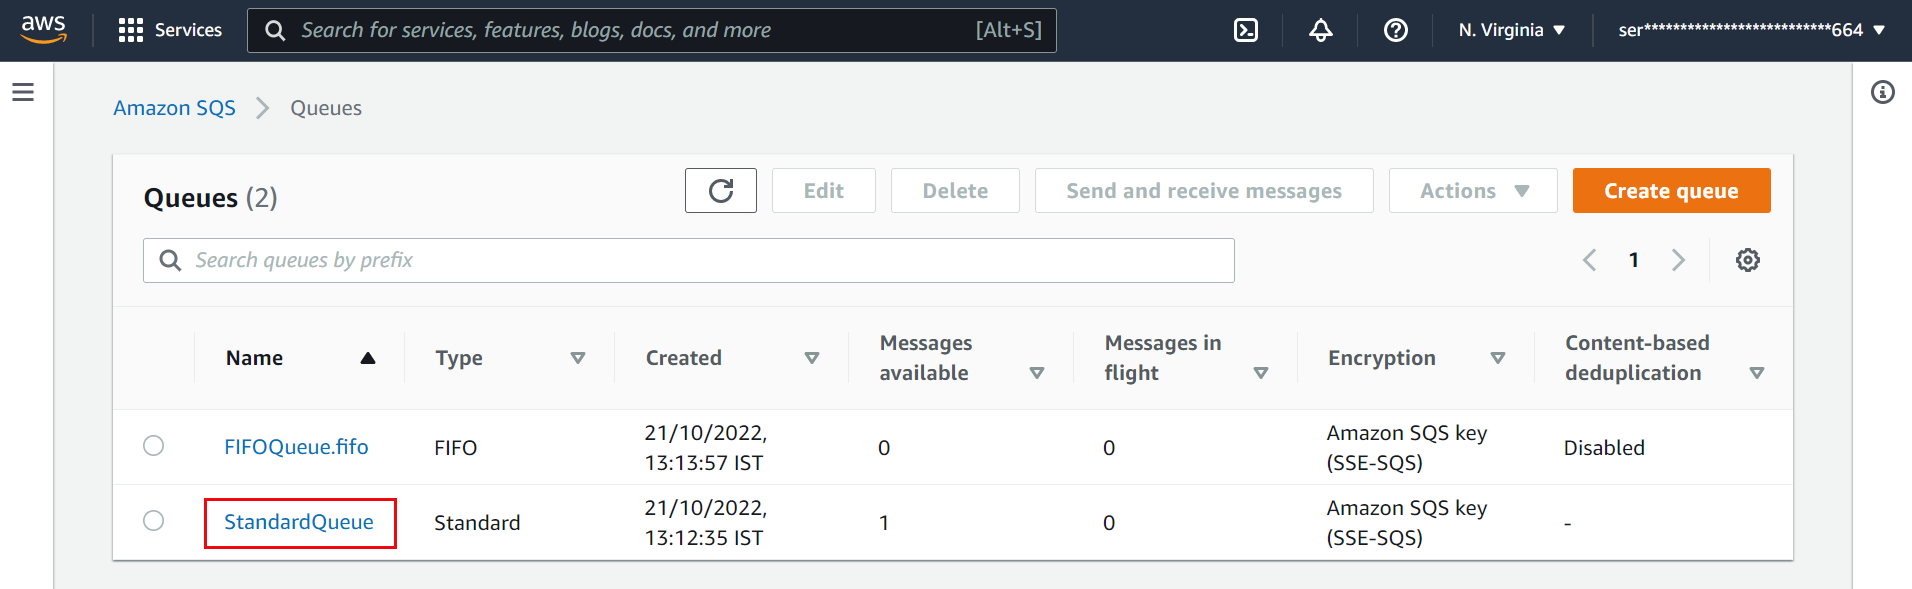
- Click the queue name or URL from the populated list.
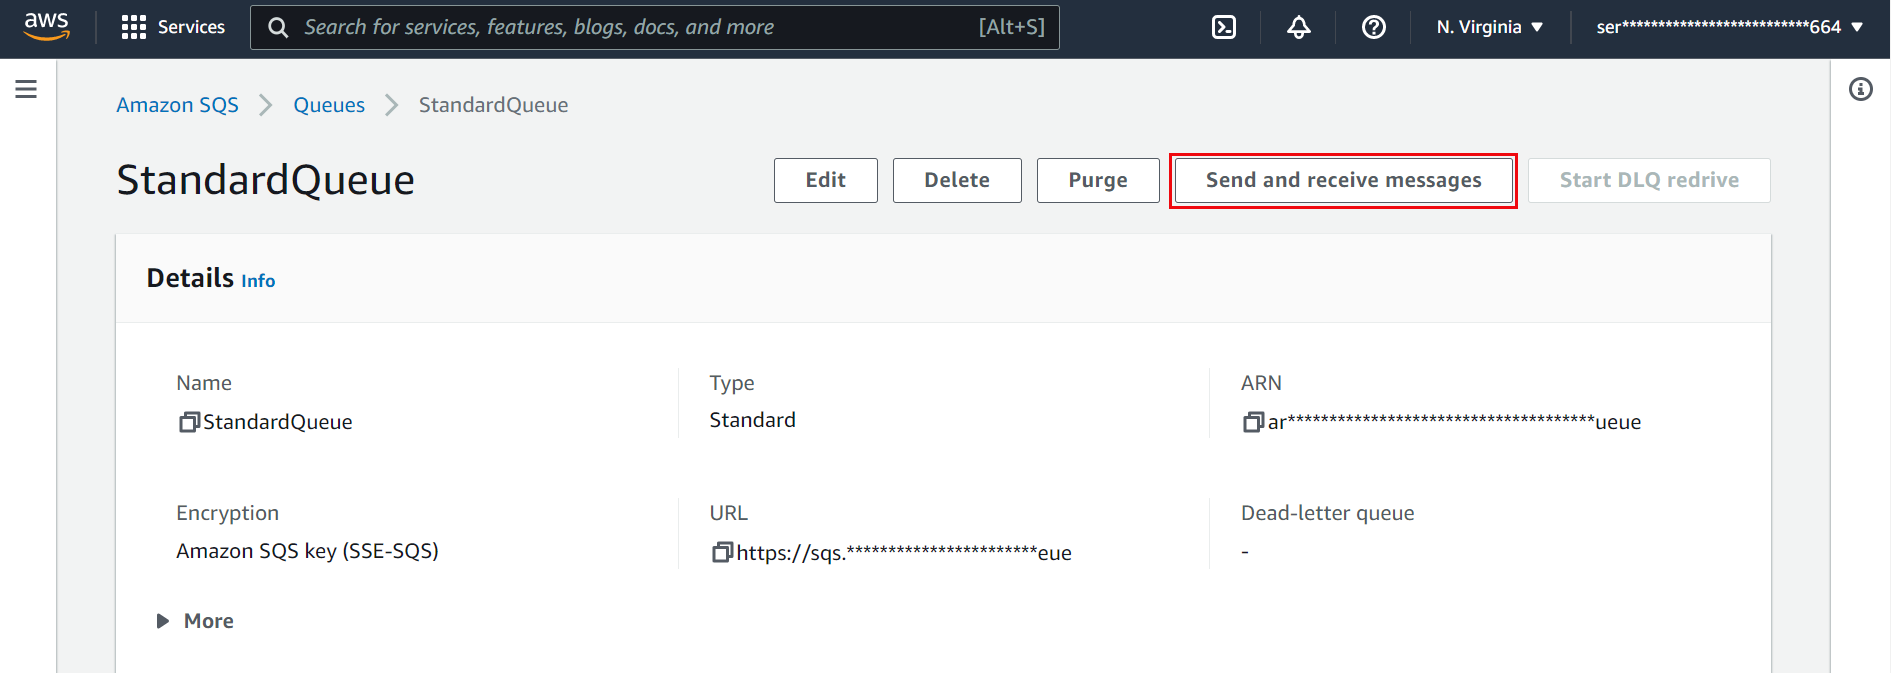
- Click Send and receive messages to fetch messages from SQS. A list of messages appears below the table.
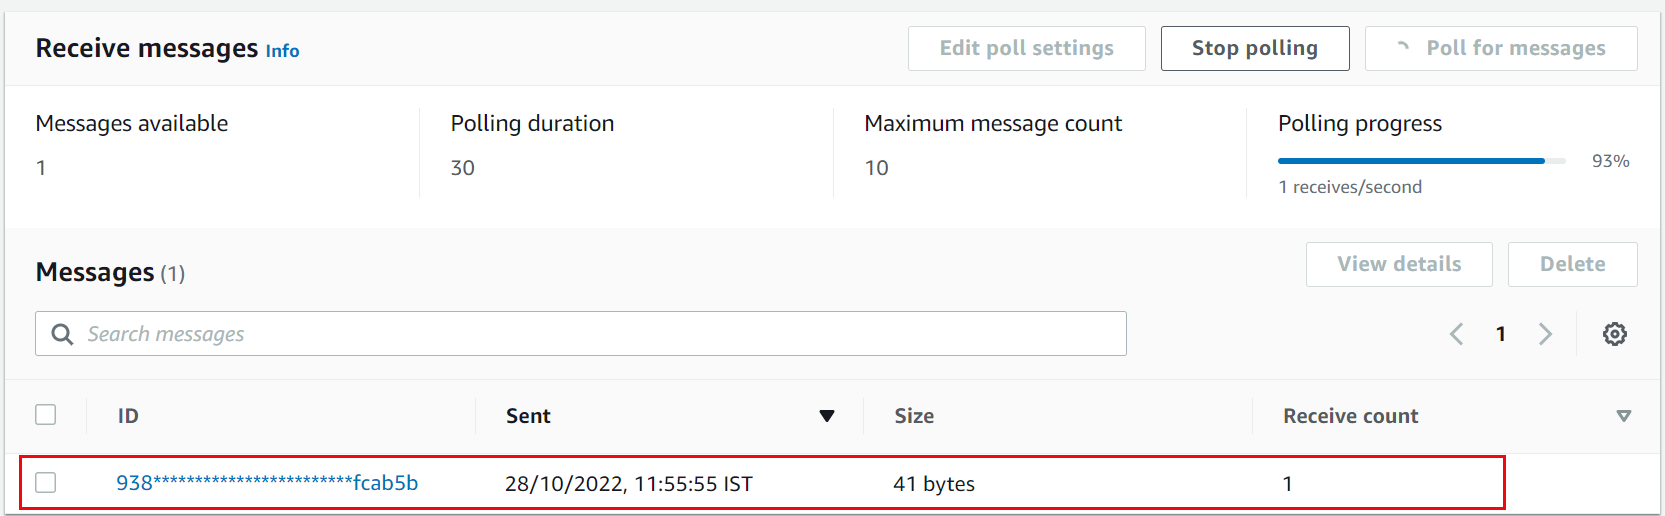
- In AWS SQS, you need to pull the messages from the server. Click on Poll for messages to fetch the list of messages.
-
Click the message ID to view your message.
- Your final output will appear as follows.
This sets the AWS SQS action connector.
Was this article helpful?
More articles in "Messaging Queue"
