

.svg?format=pjpg&auto=webp)
.svg?format=pjpg&auto=webp)
.png?format=pjpg&auto=webp)


.png?format=pjpg&auto=webp)
Create Data Activation Layer (DAL)
The DAL acts as the central hub linking Contentstack (CMS), Lytics (behavior tracking), Personalize (delivery), and it authorizes data flow across platforms. Without this authorization, Lytics cannot collect events, and Personalize cannot receive audience data. Personalize relies on this data to segment audiences and deliver relevant and impactful tailored experiences.
This guide provides step-by-step instructions on creating the Data & Insights Data Activation Layer (DAL).
Prerequisites
- Contentstack account with DAL (Data Activation Layer) enabled
- Your self-hosted site deployed
- Stack connected to the deployed site
- Personalize project created
Create a New Data Activation Layer (DAL)
Once DAL is enabled for your organization, create a new DAL configuration as follows:
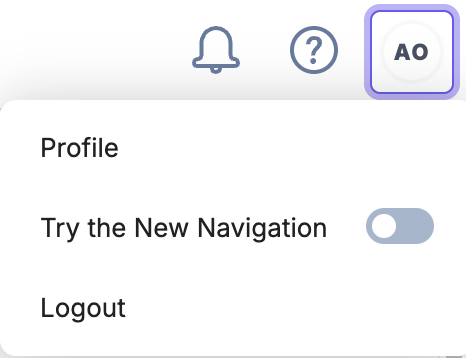
- To access the new home screen and top navigation, enable the Try the New Navigation toggle located within the profile dropdown.
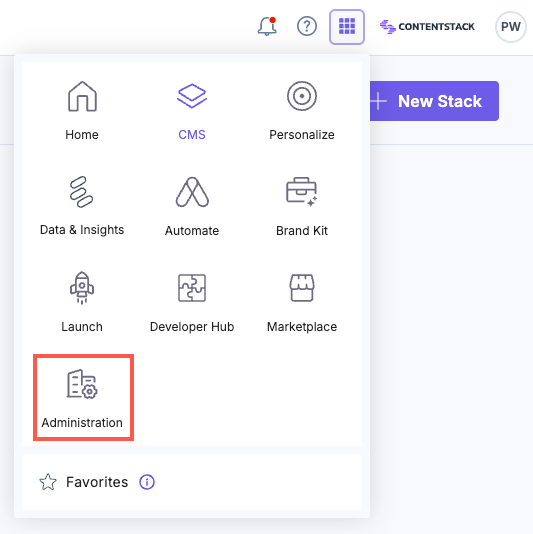
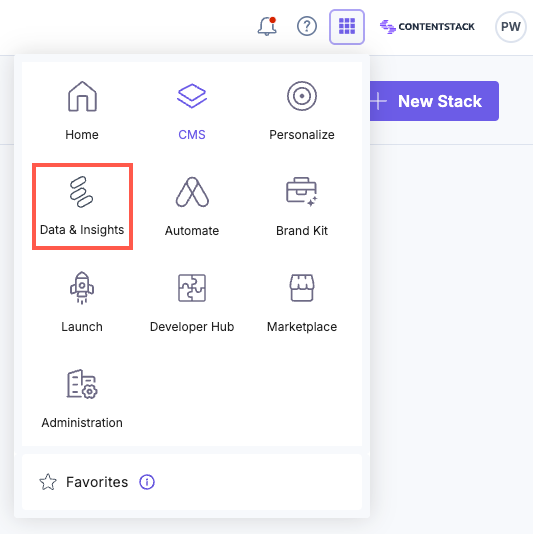
- From the App Switcher, click the Administration icon.
- Click Data Activation Layer.

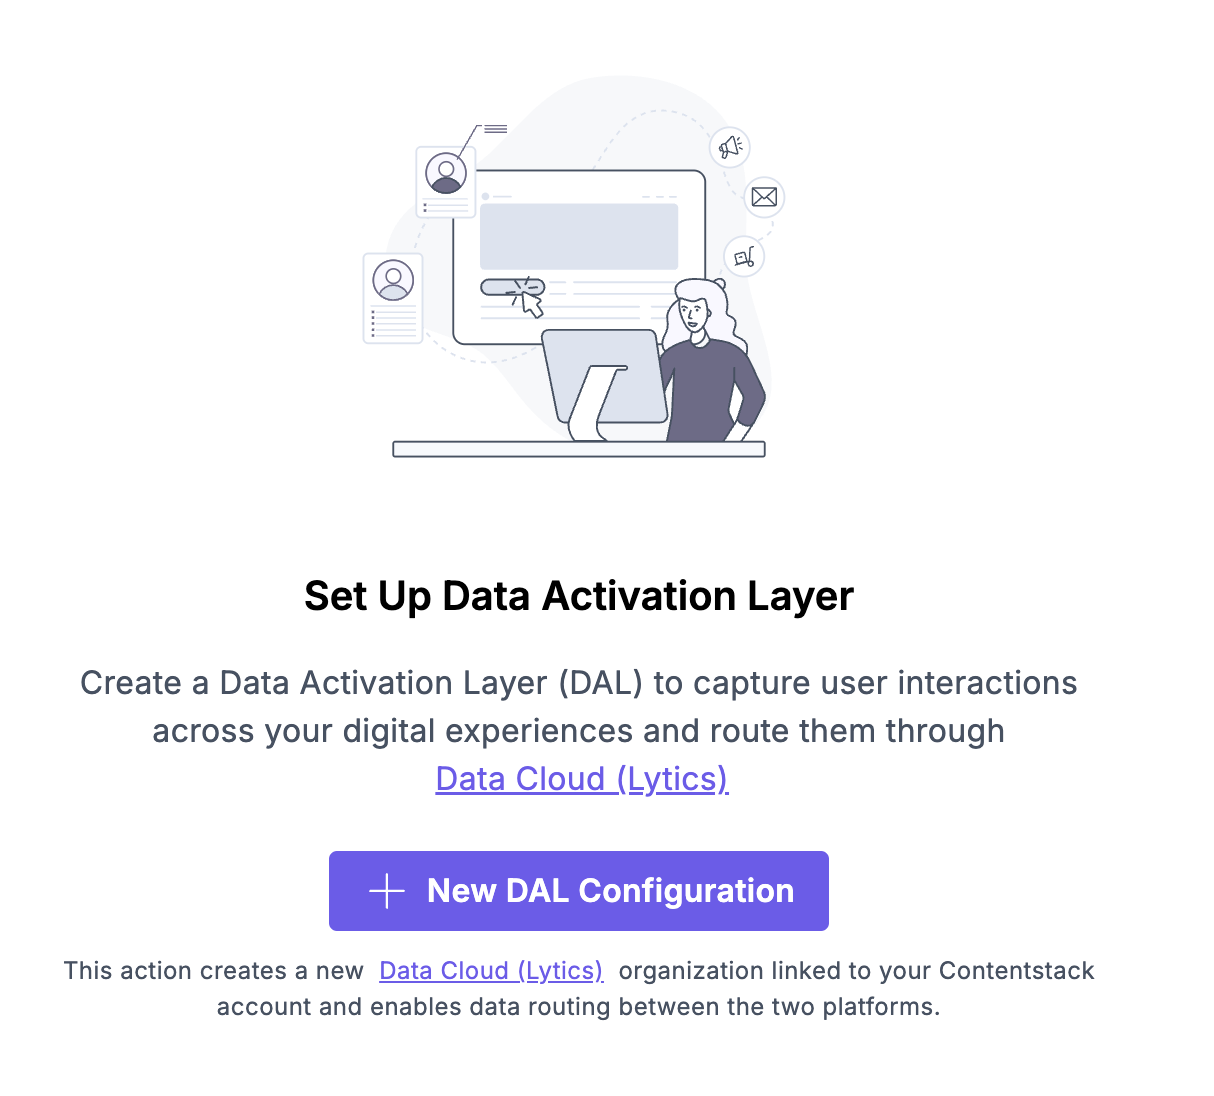
- If this is your first time, you will be presented with the Set Up Data Activation Layer page, click the + New DAL Configuration button to connect your Contentstack organization to Lytics.
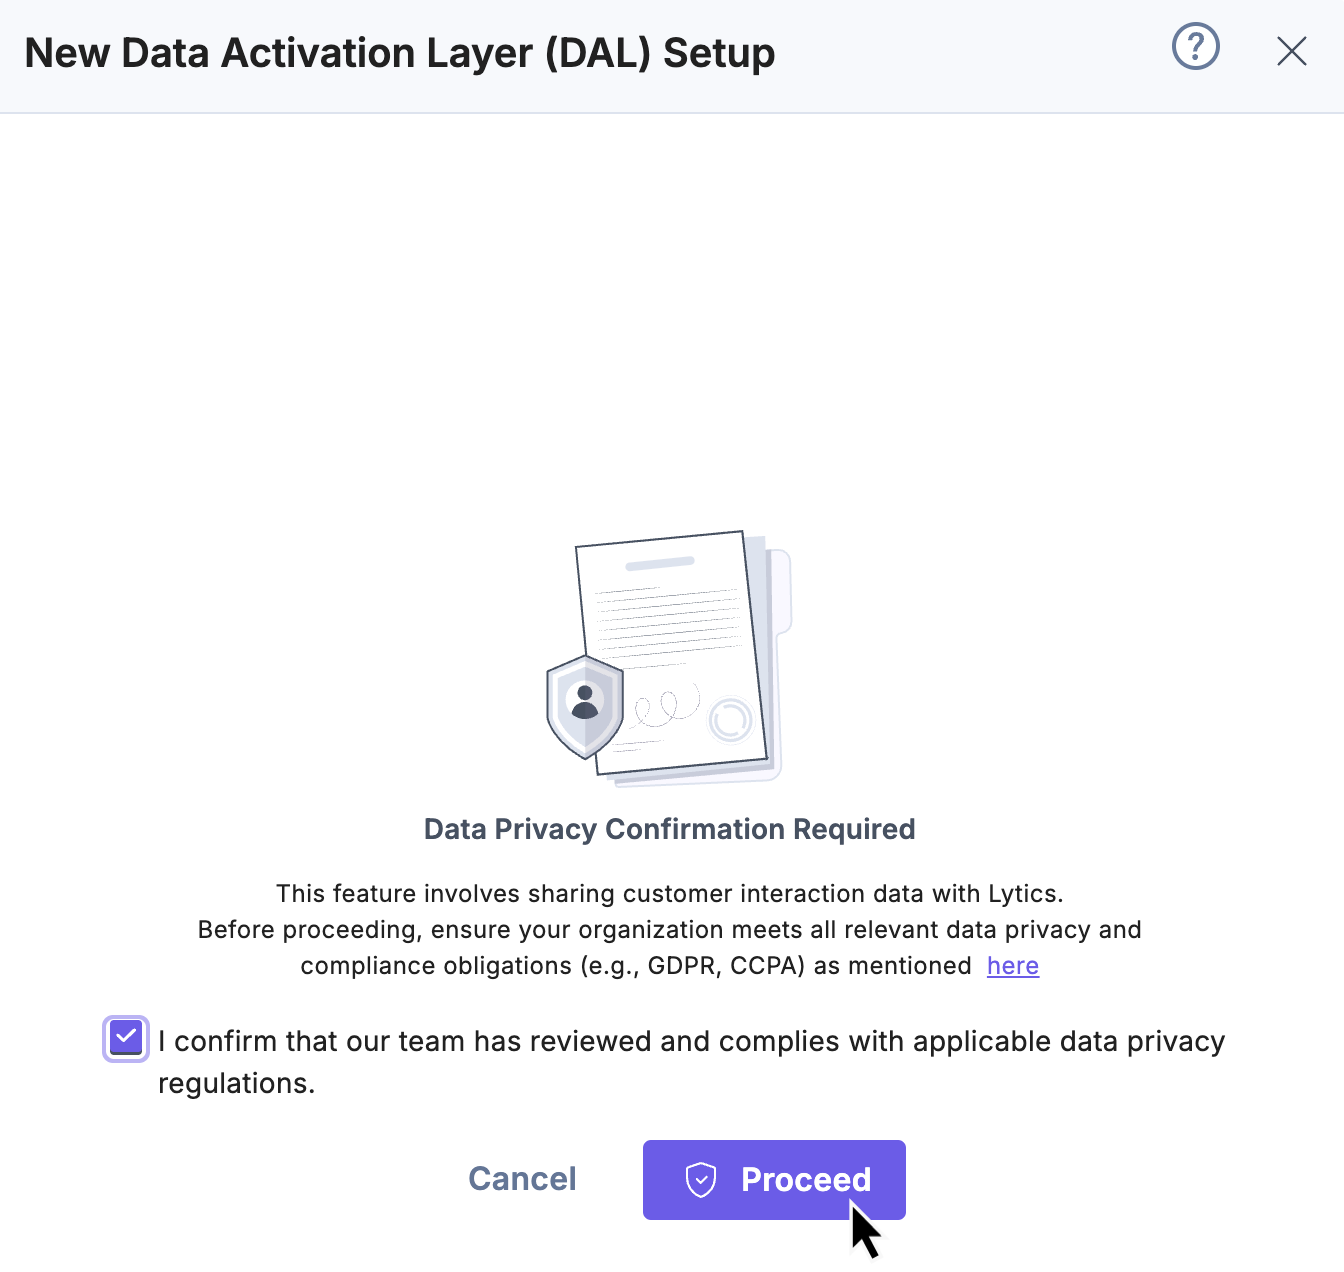
- Mark the checkbox to accept the Data Privacy terms and conditions as shown below and then click the Proceed button.
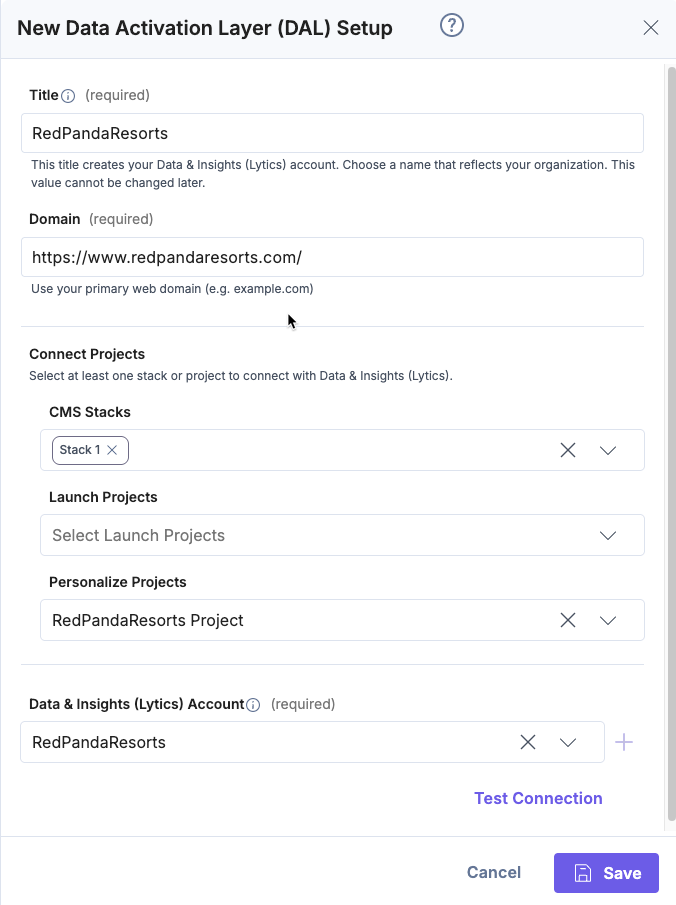
- In the modal that appears, enter the following details:
- Title: Enter a suitable name for your DAL. Spaces in the title are allowed.
- Domain: Enter the domain name of your website. Ensure that you enter the production URL where your content resides. For example, https://www.redpandaresorts.com/
- CMS Stacks: Add your CMS stack if you’ve set it up for this specific Launch project or website.
- Launch Projects: (Optional) Select the Launch project where you want to integrate Event Tracking (Lytics).
- Personalize Projects: Add your Personalize project if you’ve set it up for this specific Launch project or website. You can leverage Personalize to deliver tailored experiences using Entry Variants, to optimize engagement and conversions.
- Data & Insights (Lytics) Account: Create a new Lytics account by clicking the + New Lytics Account button, OR select an existing Lytics account from the drop-down list to connect the appropriate Lytics account to your DAL.
Note: To connect your pre-existing Data & Insights (Lytics) account, please contact the support team.
Note: Ideally, each DAL should be connected to a single website for optimal tracking and data consistency.
- Click the Test Connection button to ensure the setup was successful.
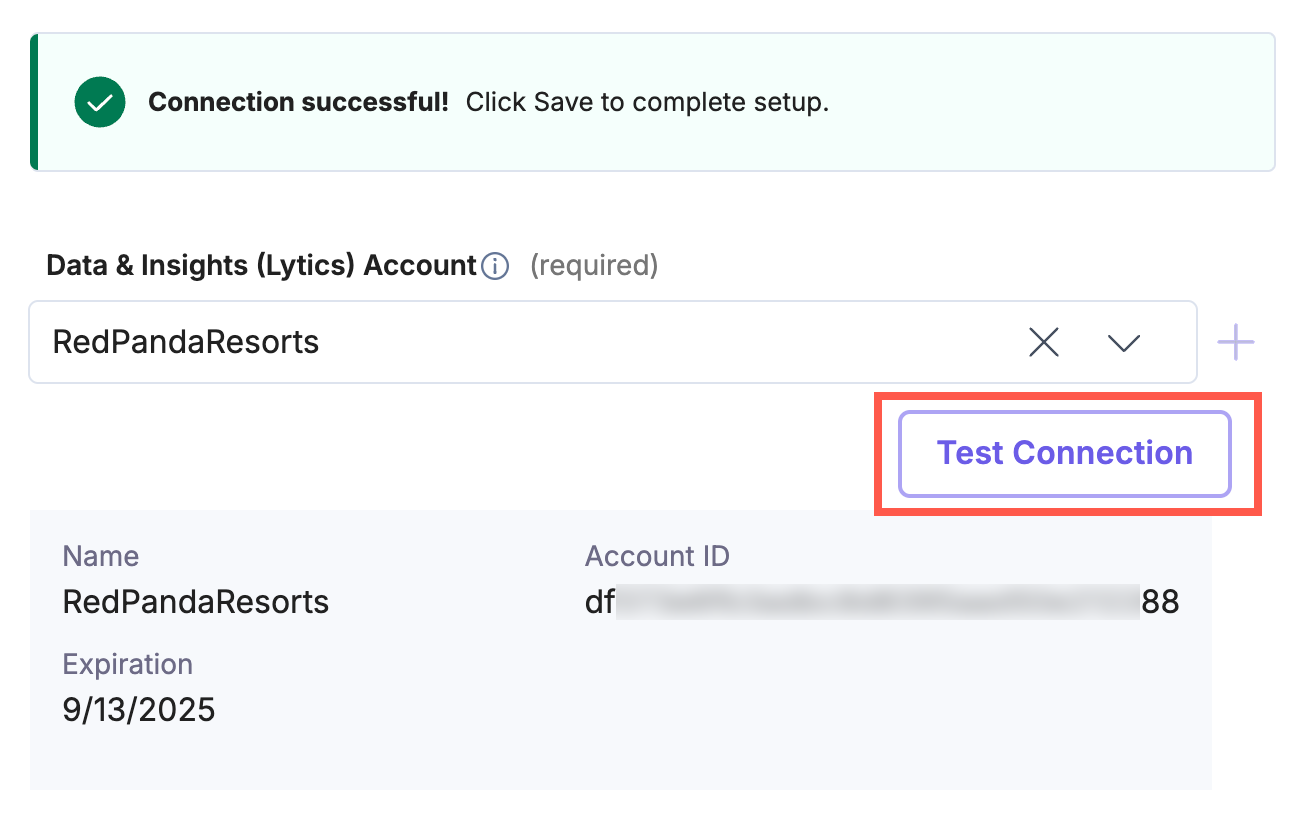
- Click Save to finalize your DAL configuration.
The DAL has been created successfully.
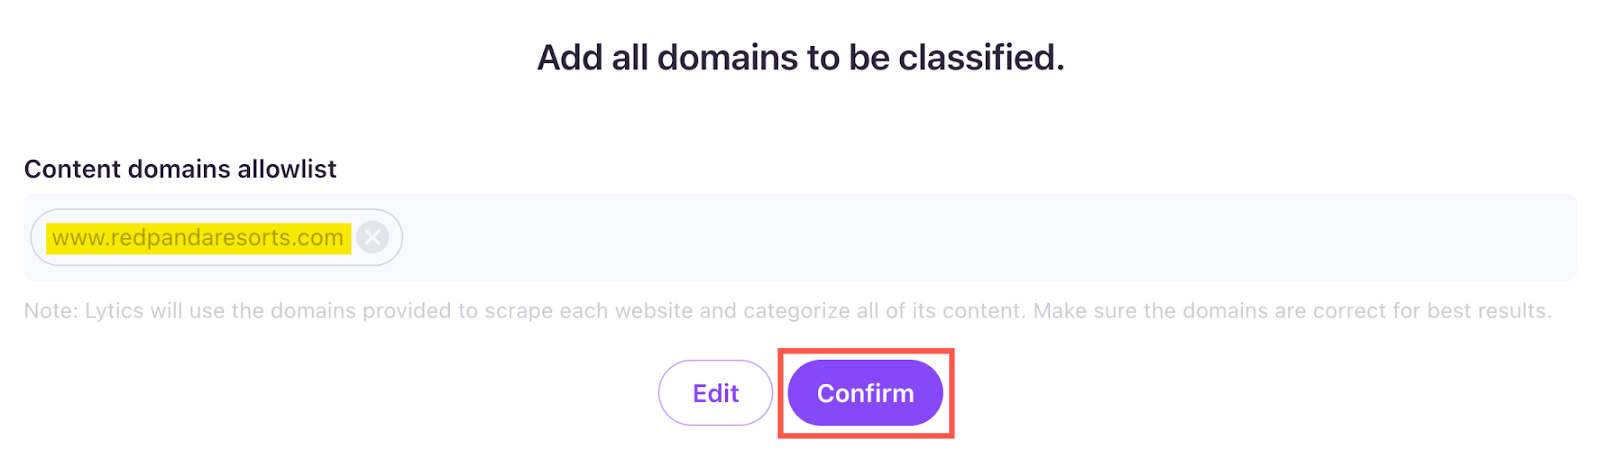
Authorize and Configure Content Classification for your DAL Connection
The first time you access Data & Insights after setting up the DAL configuration, you will need to configure shared authorization. To do this, follow these steps:
- From the App Switcher, click the Data & Insights icon.
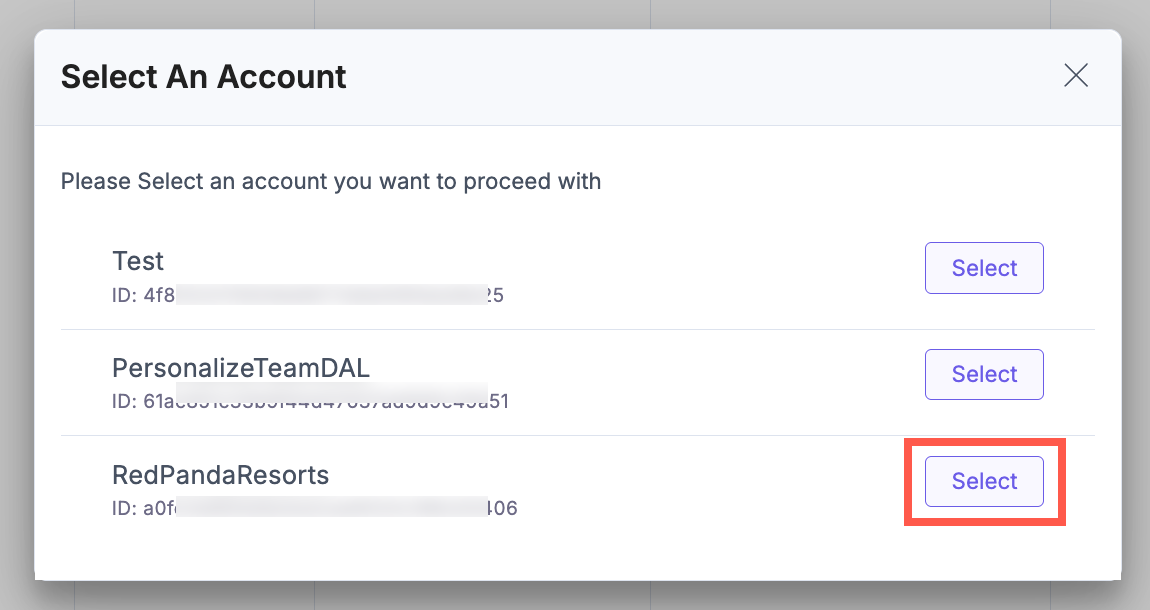
- Click the Select button for the Data & Insights account you want to access.
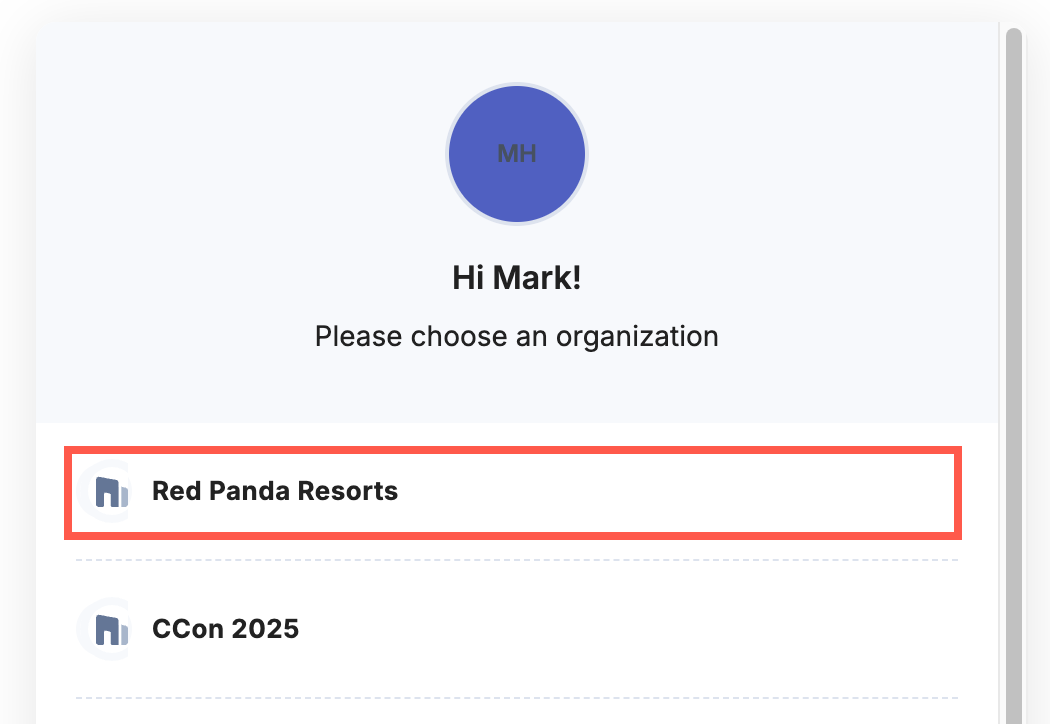
- Click the preferred Contentstack organization in the OAuth modal.
- Click the Authorize button to complete the setup.
After successful authorization, you will be redirected to your Data & Insights dashboard. The first time you access it, you will be guided through the initial setup to ensure a personalized and efficient experience.
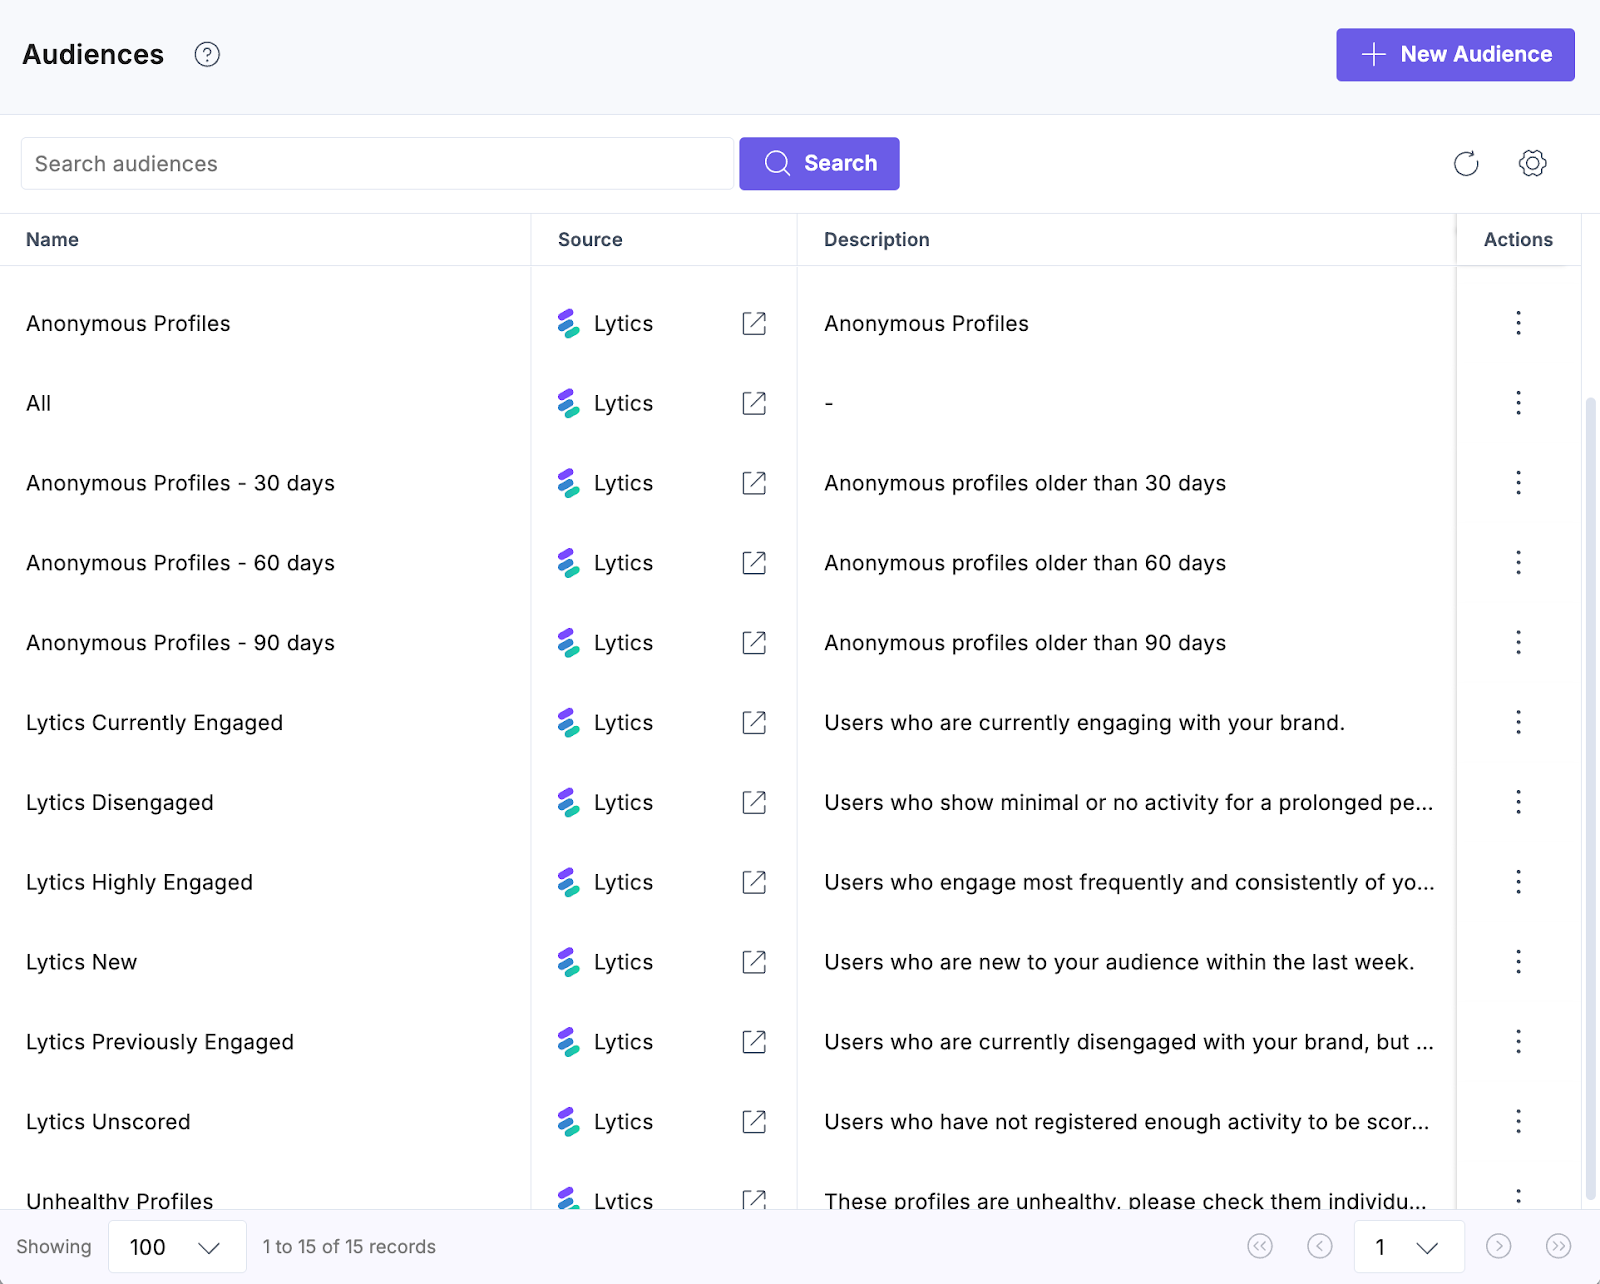
Once you have enabled and configured DAL, your first DAL has been created. All existing audiences from your Data & Insights (Lytics) account are automatically synced and displayed within the Personalize Audience module.
Note: After authorization, enable the JavaScript Tag plugin for Contentstack.
More articles in "Using Data Activation Layer"
