Boolean
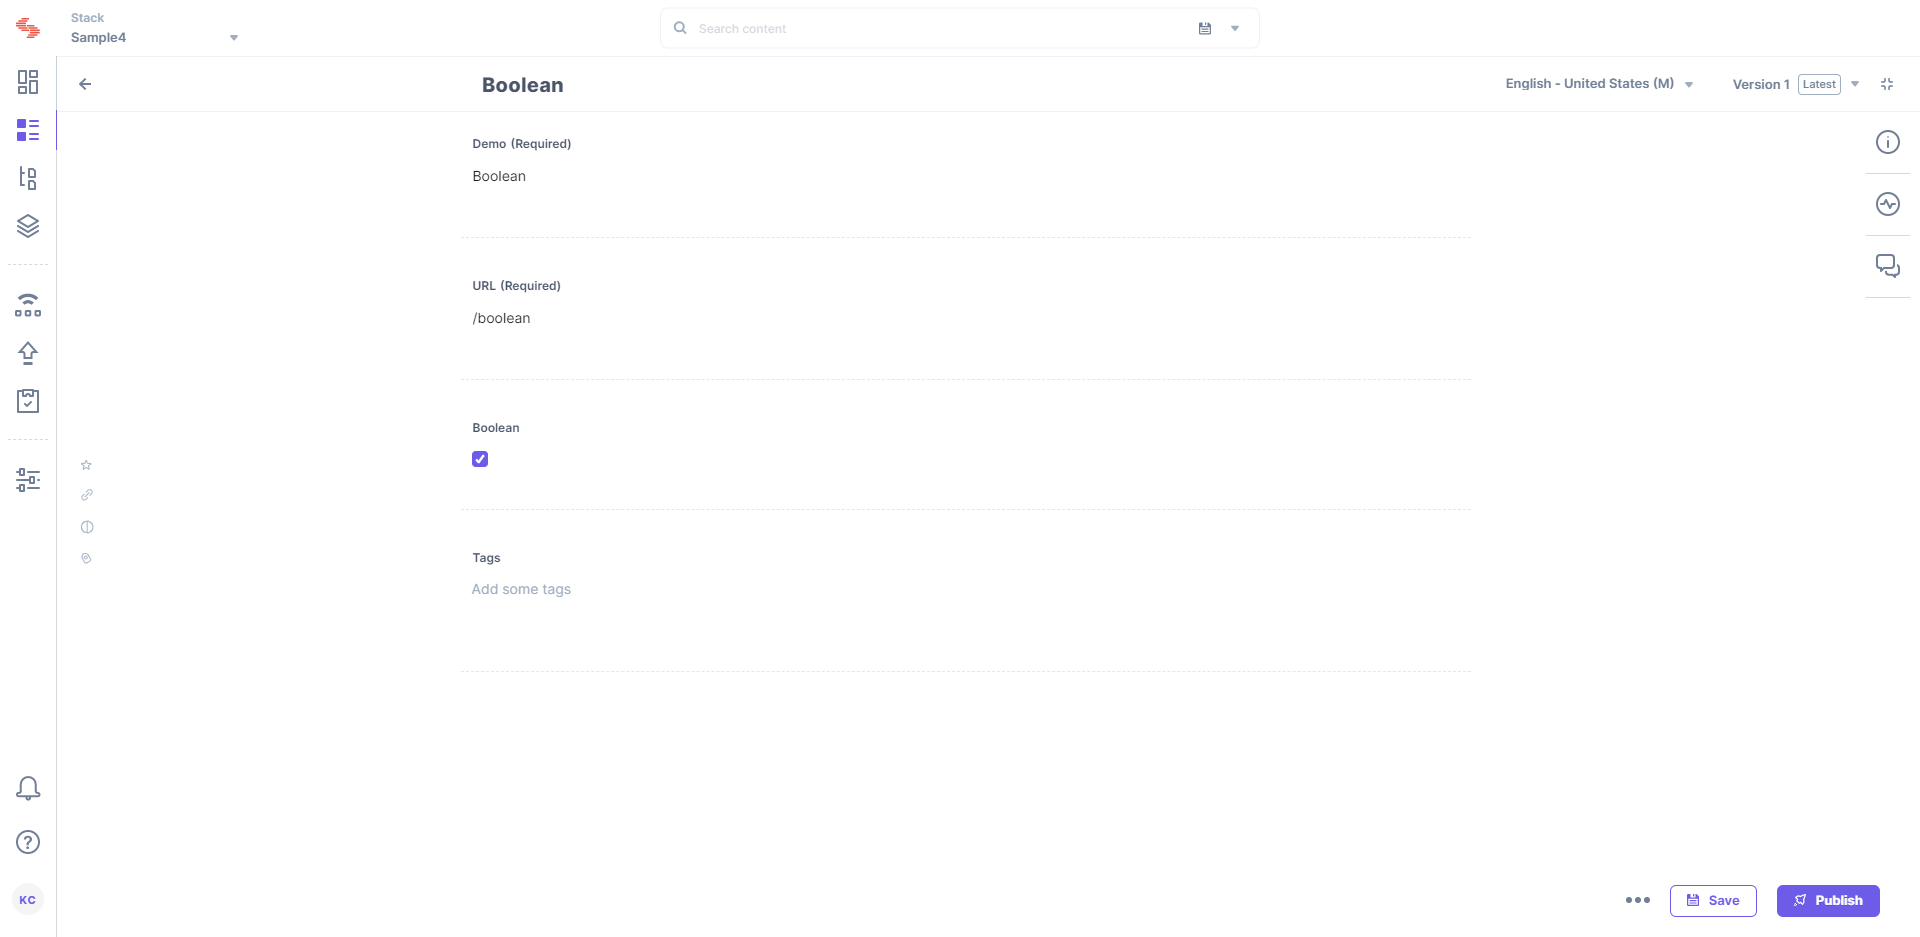
The Boolean input field enables users to input a “true” or “false” value in an entry. When you add this field in content type, it reflects as a toggle switch on the entry page.
This field possesses certain properties that you can change at any time as per your needs. The properties that can be modified are “Display Name,” “Unique ID,” “Instruction Value,” “Help Text,” “Default Value,” and “Non-localizable.”
After adding this field in content type, you will see it on your entry page as shown below:

Boolean Field - Real World Scenarios
Let's understand how we can use the boolean field in the content type with a couple of use cases.
- Clickwrap Boolean Field
- Default Boolean Value
Example 1 - Clickwrap Boolean Field
Using the Boolean field let's create a clickwrap field to obtain consent from users over the terms and conditions or privacy policies of your company’s legal agreement.
In this example, the users will have the liberty to choose to agree or disagree with the policies of your company.
Follow the steps to create a clickwrap boolean field:
- Log in to your Contentstack account, create a stack and add a new content type to it.
- Click on the "+" symbol (Insert a field) and add the Boolean field along with other required fields.
- When adding the boolean field, under the Boolean - Properties section add the following details:
- Display Name : Add a display name (For example, “I agree”)
- Unique ID : default value
- Help Text : You can provide additional information about the field. (For example, "Visit our website to learn more about our privacy policies")
- Instruction Value: It helps you add instructions to this field (For example, “Confirm by checking if you have read and agreed to our Terms and Conditions”)
- Click on the Save and Close button.
Finally, create an entry to see the boolean field in action, as shown below.

Example 2 - Default Boolean Value
Contentstack allows you to have a Default Value of the radio button or boolean field. This default button helps users to pre-define the value of the boolean field. The value entered here will appear by default while creating an entry for this content type.
Follow the steps to create a default boolean field:
- Go to the stack and create a content type similar to the previous example.
- Now, insert the fields of your choice and also add the Boolean field.
Go to the Boolean - Properties section of the boolean field and add the following details:
- Display Name: Add a display name (For example, “Terms and Conditions”)
- Unique ID: default value
- You can add Help Text and Instruction Value if required.
- Default Value: Move to Advance section of the Boolean - Properties. Now, click on the True checkbox.
- Keep the Non-Localizable field unchecked.
- Similarly, add another Boolean field with Display Name (For example, “Privacy Policies”) and set Default Value in the Advance section of the Boolean - Properties as True.
- Now, add a new Boolean field with Display Name (For example, “By clicking here you agree to our policies of service”).
- Click on the Save and Close button.
Now, create an entry and you will find the setup working. The default fields are predefined and can be seen as checked, while the undefined field is not checked as shown below.

Additional Resource: Contentstack enables you to hide/show a field when certain conditions are met using Field Visibility Rules.
If you are adding this field to the content type using our CMA request, refer to the JSON payload of the Boolean field.
Editing any current field in existing Content Type might result in data loss. To prevent data loss, make sure to check out our Content Type Change Management guide.


.jpg?format=pjpg&auto=webp)

