Boolean, Date, File, and Number Fields
Empowering Content Management and User Consent with Booleans
A boolean input field, or boolean flag, accepts a true or false value and shows up as a toggle switch on your entry page. Depending on your use case, The Default Boolean Value can be set to true or false in the advanced properties section.
Using the Boolean flag in Contentstack offers several advantages and use cases, including:
-
Control Display: Boolean flags enable content managers to control the visibility or display of specific content elements on the frontend. For example, you can use a Boolean flag to toggle the visibility of a promotional banner, alert messages, or featured content.
-
Conditional Content: Boolean flags allow you to create conditional logic in your content. By using Boolean fields, you can define content that appears only under certain conditions or circumstances, enhancing content personalization and user experiences.
-
Consent Management: Boolean flags are valuable for obtaining user consent, such as accepting terms and conditions, cookie policies, or opting into newsletters. Content managers can use Boolean fields to manage user preferences effectively.
-
Workflow Management: Boolean flags can play a role in workflow management, helping content managers indicate the status of content, such as whether it's approved, pending, or archived.
-
A/B Testing: When conducting A/B testing, Boolean flags facilitate easy switching between different versions of content to measure and compare their performance.
-
Feature Flags: Boolean flags are used as feature flags in software development to control the activation or deactivation of specific features within an application.
-
Highlighting Special Content: Content managers can utilize Boolean flags to highlight or feature specific content items, such as showcasing a "New Arrival" label on products or highlighting breaking news stories.
Overall, the Boolean flag is a versatile tool in Contentstack, enabling content managers to make dynamic decisions regarding content presentation, user interactions, and overall content management.
Date Fields in Contentstack: Effective Time Management & Organization
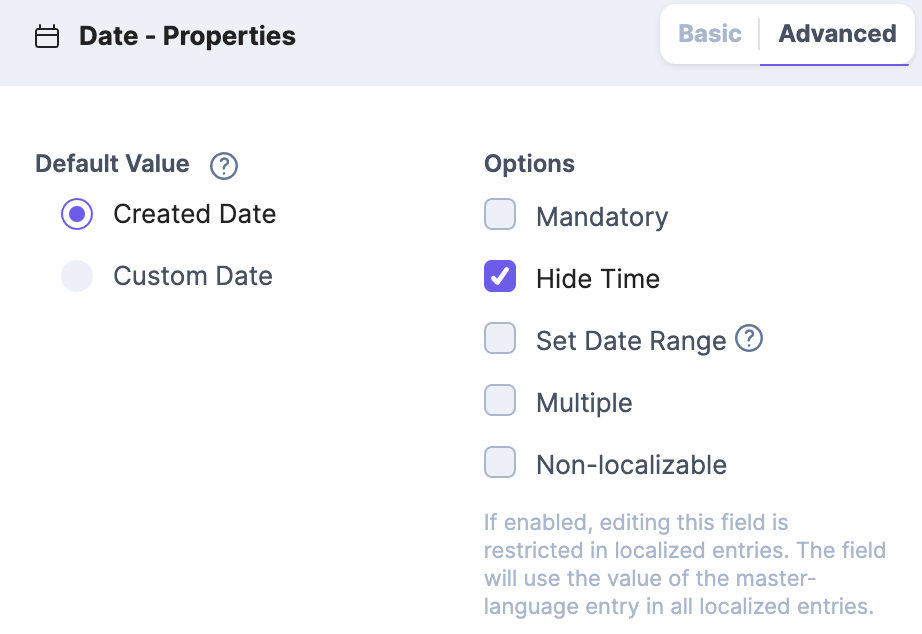
The Date field is ideal for storing and managing date information, such as event dates, publication dates, deadlines, or any other temporal data associated with your content. Dates are accepted in the ISO 8601 format.
The Date field in Contentstack offers several compelling reasons for its usage:
-
Time-sensitive Content: The Date field is perfect for managing time-sensitive content, such as events, news articles, or promotions, allowing you to control the visibility and expiration of content based on specific dates.
-
Scheduled Publishing: Content managers can utilize the Date field to schedule the publishing of content in advance, enabling automatic updates or the release of new content at specific times.
-
Content Archiving: With the Date field, archiving older content becomes more straightforward. Content can be automatically moved to an archive section based on a designated date, keeping the main site fresh and relevant.
-
Sorting and Filtering: The Date field allows content to be sorted and filtered based on date parameters, enabling easy organization and retrieval of content based on when it was published or updated.
-
Event Management: When dealing with events or scheduling-related content, the Date field facilitates efficient organization and presentation, ensuring a seamless user experience.
-
Countdowns and Timers: Content managers can use the Date field to create countdowns or timers for special events or limited-time offers, enhancing user engagement.
-
Timezone Support: The Date field supports different timezones, ensuring that content is displayed accurately across various regions and locations.
Overall, the Date field proves to be a valuable asset for content management, enabling time-sensitive control, advanced scheduling, and effortless organization of date-specific content.
Simplifying Media Management File Fields
File Fields provides a practical solution for managing media files like images, videos, and documents within your content.
Contentstack's File Fields offer several compelling reasons for their usage:
-
Media Management: File Fields enable you to efficiently manage and store media files, including images, videos, documents, and more, directly within Contentstack.
-
Seamless Content Integration: You can easily associate media files with specific content entries using File Fields, ensuring a seamless integration of visuals and multimedia within your content.
-
Flexible File Types: Contentstack supports a wide range of file types, allowing you to upload and handle diverse media formats to enrich your content.
-
Version Control: File Fields support versioning, allowing you to keep track of changes made to media files, ensuring content editors can revert to previous versions if needed.
-
Remote Assets: Contentstack's File Fields can also be used to reference remote assets hosted on external servers, offering flexibility in content delivery and reducing storage needs.
-
Responsive Image Delivery: Contentstack automatically generates and delivers responsive images through File Fields, optimizing media for different devices and screen sizes.
-
CDN Integration: By integrating with Content Delivery Networks (CDNs), File Fields enable efficient and fast content distribution to users across the globe.
-
Asset Transformation: File Fields support dynamic image resizing, cropping, and formatting, allowing you to create and deliver images in various sizes and resolutions as needed.
Overall, Contentstack's File Fields provide a powerful solution for media management, content enrichment, and seamless integration, ensuring a delightful and engaging user experience with your content.
Optimizing Data Management with Number Fields in Contentstack
Using the number field in Contentstack allows you to handle and manage numeric data effectively, providing flexibility, data validation, and compatibility with various operations and integrations.
There are several reasons why you would use the number field in Contentstack:
-
Numeric Data: The number field is ideal for storing and managing numeric data such as quantities, ratings, prices, or any other numerical values associated with your content.
-
Sorting and Filtering: The number field allows you to sort and filter content based on numerical values. This can be useful when organizing and searching for specific content based on numeric criteria.
-
Calculations and Mathematical Operations: If you need to perform calculations or mathematical operations on your content, the number field provides a convenient way to store and manipulate numeric data.
-
Data Validation: The number field allows you to set validation rules to ensure that the entered data meets specific criteria, such as minimum and maximum values.
-
Display Formatting: You can define formatting options in your front-end code for the number field, such as decimal places, currency symbols, or thousand separators, to present numeric data in a desired format.
-
Integration with External Systems: If you are integrating Contentstack with other systems or applications that require numeric data, the number field ensures accurate data exchange and compatibility.
In conclusion, Contentstack's number field provides a powerful solution for managing and manipulating numeric data, offering sorting, filtering, and customizable display formatting. Its seamless integration with external systems ensures accurate data exchange, making it an indispensable tool for efficient content management.
Objective: Set up a 'News Article' content type on Contentstack, integrating specific fields like date, boolean, file, and number, to streamline news article management.
Step 1: Creating the 'News Article' Content Type
-
Scenario: Setting up a new content type for managing news articles.
-
Navigate to your Contentstack dashboard.
-
Click on "Content Models" and then "+ New Content Type".
-
Name it "News Article" and provide a brief description.
-
Select "Multiple" so editors can create multiple entries.
-
Save the content type.
-
Step 2: Date Field Implementation
-
Scenario: Capturing the publication date of each news article.
-
In the "News Article" content type, click on "+ Add Field" and choose the "Date" field.
-
Label it as "Publication Date".
-
In the properties section, set the default date or allow time values if needed.
-
Save the content type.
-
Step 3: Boolean Field Implementation
-
Scenario: Marking certain articles as "Featured".
-
In the "News Article" content type, click on "+ Add Field" and select the "Boolean" field.
-
Label it as "Featured Article".
-
Under properties, set a default value if desired.
-
Save changes to the content type.
-
Step 4: File Field Implementation
-
Scenario: Allowing journalists to upload a main image for the article.
-
In the "News Article" content type, click on "+ Add Field" and choose the "File" field.
-
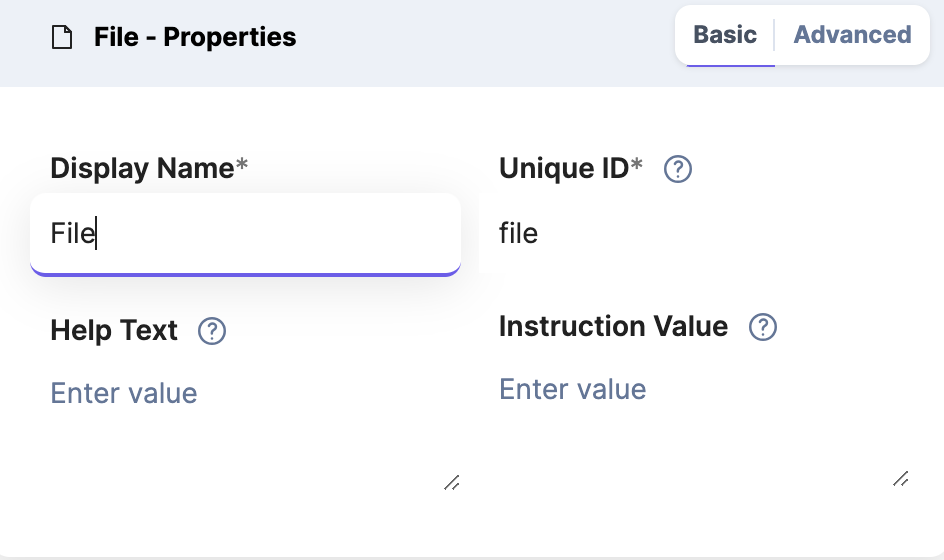
Label it "Main Image".
-
In properties, set allowed file types (e.g., .jpg, .png) to ensure quality uploads.
-
Define any restrictions on file size if necessary.
-
Save the content type.
-
Step 5: Number Field Implementation
-
Scenario: Capturing the word count of each article.
-
In the "News Article" content type, click on "+ Add Field" and select the "Number" field.
-
Label it "Word Count".
-
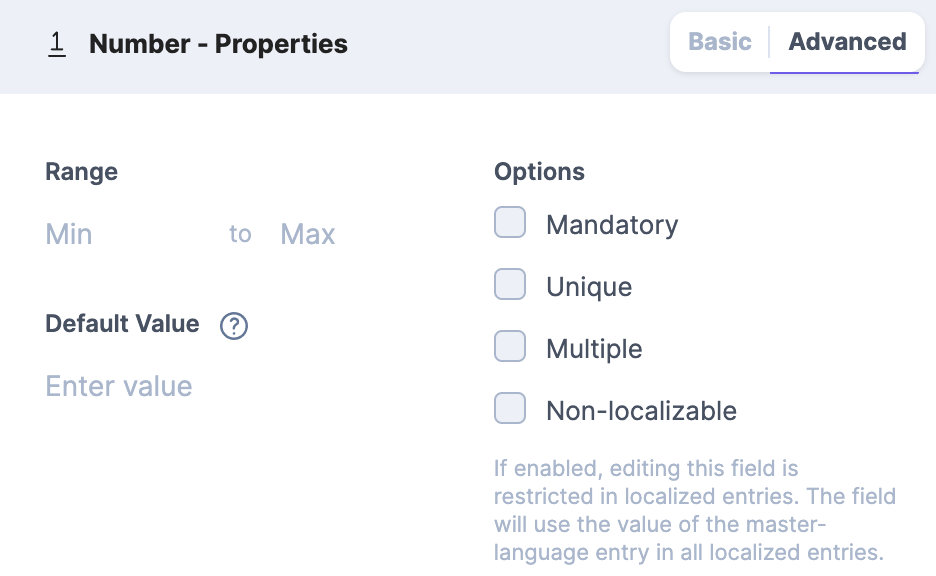
Under properties, set the minimum value (e.g., 0) to ensure no negative counts.
-
Save the content type.
-
Step 6: Creating a New Entry Based on the 'News Article' Content Type
-
Scenario: Adding a new article from a journalist to your news portal.
-
Navigate to your Contentstack dashboard.
-
On the left sidebar, click on "Entries" and then select the "News Article" content type.
-
Click on the "+ New Entry" button.
-
Fill in the details for the article:
-
Publication Date: Choose the date when the article will be published.
-
Featured Article: Toggle this on if the article is of high importance or interest.
-
Main Image: Click on "Choose File" and upload the article's main image.
-
Word Count: Enter the word count of the article.
-
-
Once all details are filled in, click on the "Save" button at the top right.
-
If satisfied, publish the article to make it live on your news portal.
-
Conclusion: You've successfully set up a new "News Article" content type and implemented specific fields, ensuring a structured way to manage news articles on Contentstack.
Practice Activity (Optional):
-
Navigate to Contentstack and create the "News Article" content type.
-
Implement each of the discussed fields, following the steps provided.
-
Reflect on the benefits these fields bring to the article management process for a news portal.
Module Summary: Exploring Key Fields in Contentstack
In summary, we explored four key fields in Contentstack: Boolean, Date, File, and Number. The Boolean field offers control over content visibility, conditional content display, and efficient consent management. The Date field empowers time-sensitive content management, scheduling publishing for events, and archiving older content. With the File field, seamless media integration, remote asset referencing, and CDN integration enhance content delivery and user engagement. Lastly, the Number field enables efficient numeric data management, sorting/filtering content, and performing calculations for dynamic content updates. Each of these fields provides essential features, streamlining content management and enhancing user experiences in diverse ways. In the subsequent modules will look at some more advanced fields.
Learn more:
Optional Exercise: Implementing Specific Fields in a 'Product Listing' Content Type on Contentstack
Objective: Create the 'Product Listing' content type in Contentstack by adding specific fields to capture essential product details for an online store.
1. Date Field Implementation:
-
Scenario: You want to capture the release date of each product.
Steps:
-
Navigate to your Contentstack dashboard.
-
Click on "Create New" and select "Content Type".
-
Name it "Product Listing".
-
Click on "+ Add Field" and choose the "Date" field.
-
Label it as "Release Date".
-
In the properties section, you can set the default date or allow time values if needed.
-
Save the content type.
-
2. Boolean Field Implementation:
-
Scenario: You want to mark certain products as "Bestsellers".
Steps:
-
In the "Product Listing" content type, click on "+ Add Field" and select the "Boolean" field.
-
Label it as "Bestseller".
-
Under properties, you can set a default value if desired.
-
Save changes to the content type.
-
3. File Field Implementation:
-
Scenario: You want to allow product managers to upload a product image.
Steps:
-
In the "Product Listing" content type, click on "+ Add Field" and choose the "File" field.
-
Label it "Product Image".
-
In properties, set allowed file types (e.g., .jpg, .png) to ensure quality uploads.
-
Define any restrictions on file size if necessary.
-
Save the content type.
-
4. Number Field Implementation:
-
Scenario: You want to capture the price of each product.
Steps:
-
In the "Product Listing" content type, click on "+ Add Field" and select the "Number" field.
-
Label it "Price ($)".
-
Under properties, set the minimum value (e.g., 0) to ensure no negative prices.
-
You can also define the number of decimal places allowed.
-
Save the content type.
-
5. Creating a New Entry Based on the 'Product Listing' Content Type:
-
Scenario: You've just received details of a new product that's about to be launched on your online store, and you want to add this product to your website.
Steps:
-
Navigate to your Contentstack dashboard.
-
On the left sidebar, click on "Entries" and then select the "Product Listing" content type.
-
Click on the "+ New Entry" button.
-
Fill in the details for the product:
-
Release Date: Choose the date when the product will be available.
-
Bestseller: Toggle this on if the product is expected to be a bestseller or based on its sales data.
-
Product Image: Click on "Choose File" and upload the product's image.
-
Price ($): Enter the price of the product.
-
-
Once all details are filled in, click on the "Save" button at the top right.
-
To preview how it looks, click on the "Preview" button.
-
If everything looks good, you can then publish the product listing to make it live on your website.
-
Conclusion:
-
Implementing these fields in the "Product Listing" content type provides a structured way to capture essential product details, ensuring customers get comprehensive and accurate information.
Practice Activity (Optional):
-
Navigate to Contentstack and create a new "Product Listing" content type.
-
Implement each of the discussed fields, following the in-depth steps provided.
-
Reflect on how these fields enhance the product management process in an online store.