Implementing App Locations: Entry Sidebar
The Sidebar Location provides the ability to integrate functionalities into your stack to analyze your entry content and recommend ideas.
This Sidebar location allow users to provide additional capabilities over content, thus optimizing the content to suit their requirements. Examples of such sidebar locations are SEO tag recommendations, sentiment analysis, language translation, and so on.
The Sidebar Widget location is located in the sidebar of the entry editorial page. In that location, the app sdk framework exposes the entry data as well as the application configuration data. This data then can be used by the user to, for example, display detailed information about the entry, or any other system you might e integrating with.
Use Case
One of the most common use cases in Contenstack to leverage the entry sidebar location, is typically when you want to integrate with third party translation services. In the entry sidebar you can provide your editor with options to send an entry for translation into any given locale, for example, which will initiate a translation workflow for instance. You an even send the data for automatic and/or machine translation and get the translated entry back, and persist it in your entry, again, in any given locale. This is just an example, but the possibilities here are endless, as you can pretty much build your custom UI in the sidebar for any business requirement you might be needing to fulfill. For example, you can use Sidebar Widget UI location to display the complete details of a product selected from a third party e-commerce platform that has been added using the custom field of an entry (like the one you developed on the previous module).
In order to read the configuration values and the entry data you can use the following code snippet:
import ContentstackAppSdk from "@contentstack/app-sdk";
const [state, setState] = useState<TypeAppSdkConfigState>({
config: {},
entryData: {},
location: {},
appSdkInitialized: false,
});
useEffect(() => {
ContentstackAppSdk.init()
.then(async (appSdk) => {
const config = await appSdk?.getConfig();
const entryData = appSdk.location.SidebarWidget?.entry?.getData();
setEntryData(data);
setState({
config,
entryData,
location: appSdk.location,
appSdkInitialized: true,
});
})
.catch((error) => {
console.error("appSdk initialization error", error);
});
}, []);
Exercise 3
In this exercise you will display certain data from the entry in the sidebar, an input box and a modal. When the exercise is completed, you will be able to click on the button, open the dialog, choose a product id from it (hardcoded in this example, but you could easily implement the logic to retrieve the actual product id from your third party system), and save it as part of the entry data.
Using your code editor, access the file located at: src/containers/SidebarWidget/EntrySidebar.tsx
In that file, locate the renderProduct function.
In that function replace the return statement with the following code snippet
return (
<ol>
{products?.map((item: string, index: number) => (
<li key={index} className="list">{`${index + 1}. ${item}`}</li>
))}
</ol>
);Save your file and make sure that your application is still running with no errors.
Tip: in case you might have experienced any issues or your application is erroring, the final code is provided in the src/containers/SidebarWidget/solution.txt file, which contents you can copy and paste into the src/containers/SidebarWidget/EntrySidebar.tsx file.
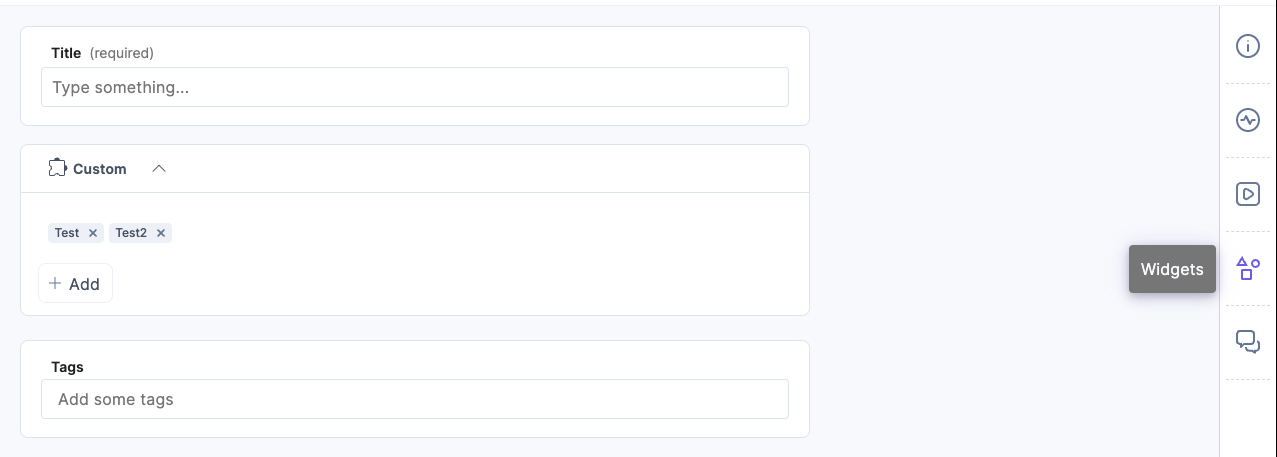
Using the left navigation bar, select the Entries section.
Next, find the entry you saved when you developed the Custom Field Location.
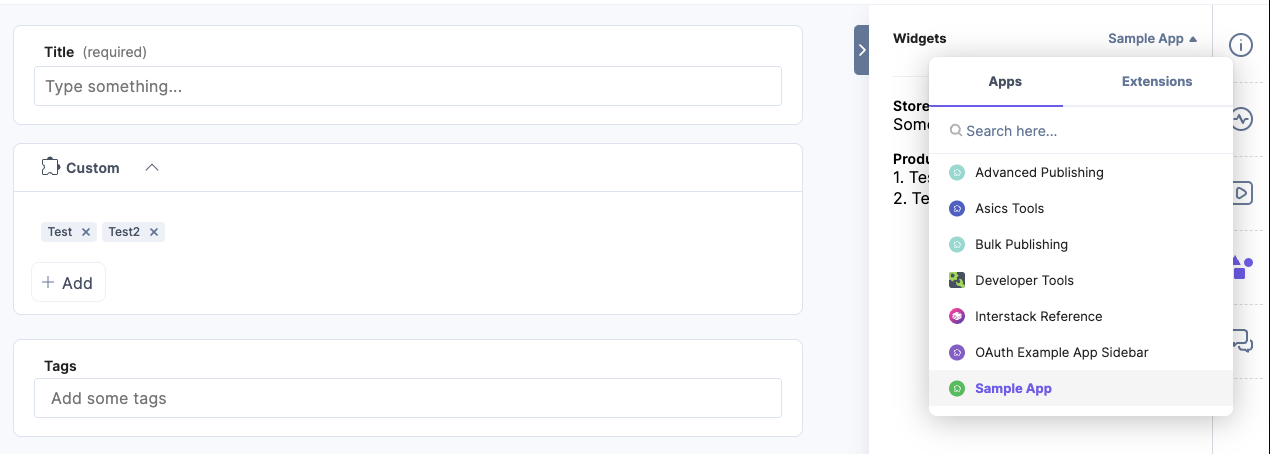
From the editorial form screen, using the right sidebar, open the Widgets section, and select Sample App:
Once opened, you should see something like this:
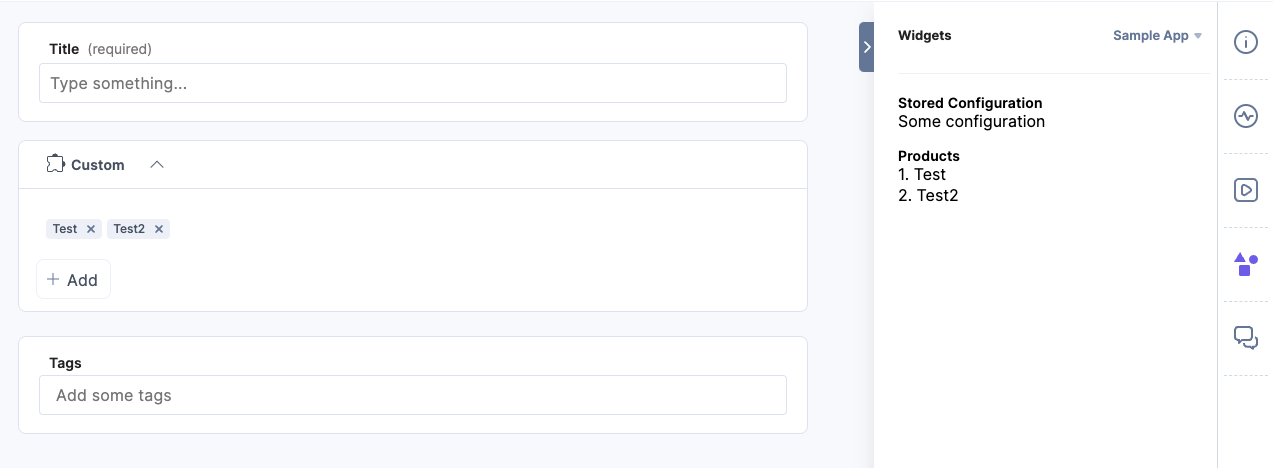
As you can see, the entry sidebar is displaying the products you added using the Custom Field and also the data you stored in your configuration app. This is a basic example but should give you the foundation to create your own sidebar application with a more complex UI as needed and leverage the configuration and the data entry to communicate with other systems and/or the entry itself.
Tip: make sure you go over the entire code in the file to get a better understanding on how the logic access the configuration and the entry data.
If you want to learn more about this location, please visit our documentation: Entry Sidebar Location
Next, you will develop a Dashboard Widget.