Implementing App Locations: App Configuration
The App Config UI Location allows you to manage all the settings for your app centrally. You need to configure it once and all the other locations (where the app is installed) can access these configurations.
The app configuration page is a separate entity that allows you to configure your application. Setting up an app configuration page allows you to store all the config settings for your application and secure their access from a single location.
Use Case
Imagine we are going to build an e-commerce app to integrate an e-commerce platform with Contentstack. Normally, these applications offer different configuration parameters that need to be saved and used to communicate with them.
You can leverage the app configuration UI Location to manage those parameters, such as API Key, Store Id, Channels, Locales...
To save these app configuration values, you have to use the app sdk framework. You can refer to the code below which initializes the app sdk framework and gets the config object from the app sdk and sets it into a state variable.
This state variable can be used in future for displaying in the UI Component of configuration screen. Here you can find an example code snippet:
import ContentstackAppSdk from "@contentstack/app-sdk";
const [state, setState] = useState<TypeAppSdkConfigState>({
installationData: {
configuration: {},
serverConfiguration: {},
},
setInstallationData: (): any => {},
appSdkInitialized: false,
});
useEffect(() => {
ContentstackAppSdk.init()
.then(async (appSdk) => {
const sdkConfigObject = appSdk?.location?.AppConfigWidget?.installation;
if (sdkConfigObject) {
const installationDataFromSDK =
await sdkConfigObject.getInstallationData();
const setInstallationDataOfSDK = sdkConfigObject.setInstallationData;
setState({
...state,
installationData: installationDataFromSDK,
setInstallationData: setInstallationDataOfSDK,
appSdkInitialized: true,
});
}
})
.catch((error) => {
console.error("appSdk initialization error", error);
});
}, []);
The configuration values will be available in the installationData attribute of the object that we get from appSdk object, too.
The installationData is an object which has two keys in it:
configuration - This should have all the insensitive configs of an app as this will be available in all the other UI locations.
serverConfiguration - This should have all the sensitive / critical information= of the configs. This will only be sent through webhooks. Users of the app will never get these values in other UI locations.
Once the configurations are set using the code above, whenever the user (installer) changes any values in the configuration screen, state.installationData() can be called by passing updated configuration and serverConfiguration values as shown below. That way the app sdk saves the updated values for this installation, persisting them for the application to use when loading in the different locations. Here is a code snipped to do so:
state.setInstallationData({
configuration: updatedConfigurationObject,
serverConfiguration: updatedServerConfigurationObject,
});
Exercise 1
In this exercise, you will add a form with an input box to your configuration screen. Then you will capture the text entered in such input field and store it in Contentstack's application configuration. The value will be persisted and will be displayed in the input field every time you access the configuration screen so users can manage it.
Using your code editor, access the file located at: src/containers/ConfigScreen/AppConfiguration.tsx
Import the following react components from the Contenstack venus components library:
import {
Field,
FieldLabel,
Form,
TextInput,
} from "@contentstack/venus-components";
Copy the following JSX snipped and replace the {/* add form code here */}
placeholder with it:
<Form className="config-wrapper">
<Field>
<FieldLabel required htmlFor="title">
{localeTexts.ConfigScreen.page.label}
</FieldLabel>
<TextInput
type="text"
required
value={state?.installationData?.configuration?.title}
placeholder={localeTexts.ConfigScreen.page.placeholder}
name="title"
onChange={updateConfig}
/>
</Field>
</Form>
Add the below function inside the component:
const updateConfig = async (e: any) => {
// eslint-disable-next-line prefer-const
let { name: fieldName, value: fieldValue } = e?.target || {};
if (typeof fieldValue === "string") fieldValue = fieldValue?.trim();
const updatedConfig = state?.installationData?.configuration || {};
updatedConfig[fieldName] = fieldValue;
if (typeof state?.setInstallationData !== "undefined") {
await state?.setInstallationData({
...state.installationData,
configuration: updatedConfig,
});
}
return true;
};Save your file and make sure that your application is still running with no errors.
Tip: in case you might have experienced any issues or your application is erroring, the final code is provided in the src/containers/ConfigScreen/solution.txt file, which contents you can copy and paste into the src/containers/ConfigScreen/AppConfiguration.tsx file.
You should see the following Configuration screen in your browser:
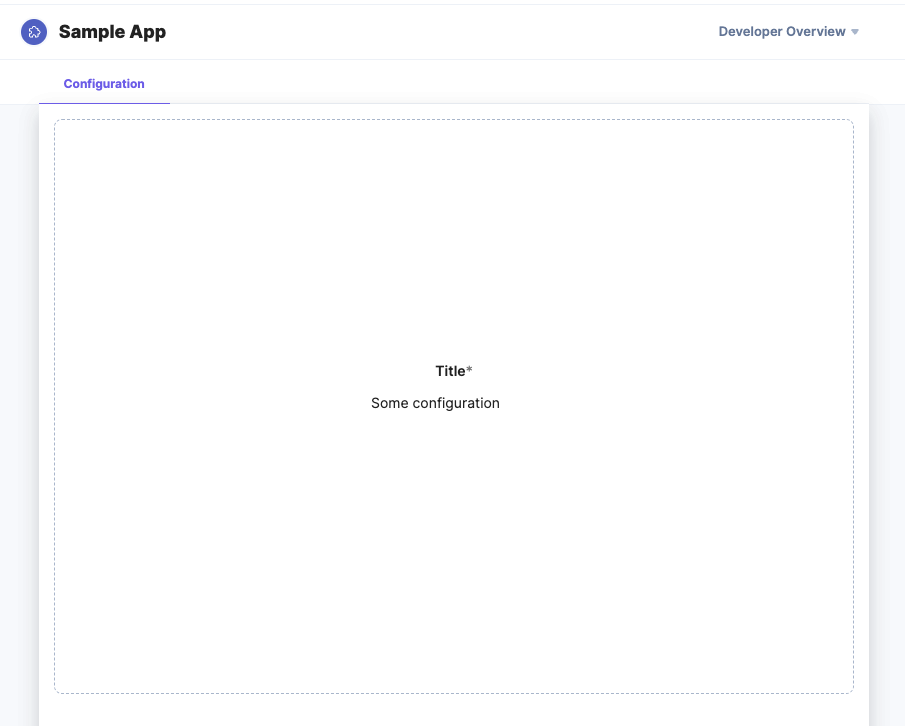
From this moment on, as soon as the value in the input field changes, it gets saved. If you reload the page you will see that the value is persisted.
This exercise just show you how to to save and read configuration from Consesntack for your marketplace applications. As a developer, you can create your own interface with differnt UI elements and as many inputs as needed to store as many configuration parameters as needed, too. These configuration parameters are then available in the rest of the locations, shall you need to use them in other places.
Tip: make sure you go over the entire code in the file to get a better understanding on how the logic access the configuration.
If you want to learn more about this location, please visit our documentation: App Configuration Location
In the next module you will create a Custom Field.