


.jpg?format=pjpg&auto=webp)


Set up Live Preview with REST for Server-side Rendering (SSR)
Server-side rendering (SSR) is the process where an application converts HTML files on a server instead of a browser into a rendered HTML client page. This guide explains in detail how to set up Live Preview for your SSR websites.
Note: This guide is focused on configuring the live preview feature for REST APIs. If you are working with GraphQL APIs, please refer to the Set up Live Preview with GraphQL for SSR document.
Prerequisites
- Contentstack account
- Access to stack settings
- Preview token
- Website that uses Contentstack Delivery SDKs
- IFrame-compatible website to avoid CORS errors
Steps for Execution
Here is an overview of the steps involved in setting up live preview with REST for your Server-side Rendering (SSR) sites:
Set up the Website
You must first set up your website. To do so, follow these steps given below:
- Generate a Preview token for configuration
You can create a Preview token within the Contentstack app by navigating to Settings > Tokens > Delivery Tokens (press “alt + O” for Windows or “option key + O” for Mac). It is recommended to use a Preview token for Live Preview instead of a previously utilized, read-only Management token.
Each Preview token is associated with a Delivery token and shares access to the specific environment. Therefore, if a Delivery token doesn't exist, you must create a new one, where you can enable the Create Preview Token toggle.
For an existing Delivery token, you will find an option to generate a Preview token. Click on the+ Create Preview Token toggle and copy the resulting token number.
Update Contentstack's delivery SDK:
To indicate to Contentstack's delivery SDK that it can fetch draft or preview content, add Live Preview configs to the Contentstack.Stack() method, e.g., here is a sample code for the JavaScript Delivery SDK:
import Contentstack from 'contentstack' const Stack = Contentstack.Stack({ ... // update your configs here live_preview: { preview_token: preview_token, enable: true, host: 'rest-preview.contentstack.com' //optional }, ... })Note: For the North America endpoint, set the host parameter to rest-preview.contentstack.com. If your website is hosted on other data centers, pass the following:- AWS EU: eu-rest-preview.contentstack.com
- Azure NA: azure-na-rest-preview.contentstack.com
- Azure EU: azure-eu-rest-preview.contentstack.com
Migrate to new preview service (optional)
Upgrade the Contentstack SDK to its latest version. Find the Contentstack.Stack() initialization method and replace the management_token parameter with the preview_token as shown below:
Contentstack.Stack({ ..., live_preview: { enable: true, host: "rest-preview.contentstack.com", // optional preview_token: "csxxxxxxxxxxxx" } })Warning: Upgrading to the latest SDK version won't disrupt your existing configuration, but you might notice suboptimal performance in live preview within references and other operations. To enhance efficiency, update the host and replace management_token with preview_token.
Install/Initialize the Live Preview Utils SDK:
The Live Preview Utils SDK listens to content changes and requests Contentstack's delivery SDK to fetch draft or preview content or process real-time content changes. Therefore, this SDK needs to be executed on the client side.
To install it, you can either use npm or import it using the script tag in your HTML page code.
Using script tag: To import the Live Preview Utils SDK using the script tag of the HTML file, add the following code:
<script src="https://unpkg.com/@contentstack/live-preview-utils@1.3.2/dist/index.js"></script>Then, you can initialize the SDK using the init() method
<script>
    ContentstackLivePreview.init();
</script>
Using npm: Alternatively, you can install the Live Preview Utils SDK package via npm using the following command:
npm install @contentstack/live-preview-utils
You can then initialize the SDK using the init() method. This method helps set up event listeners that keep a tab of any changes made to the previewed entry's content.
import ContentstackLivePreview from "@contentstack/live-preview-utils";
ContentstackLivePreview.init();
Note: You need to define your SDK initialization code within a separate JavaScript file to prevent configuration resetting errors in your Live Preview setup caused by rerendering.
Set up a middleware:
Set up a middleware to track all new changes being made to the entry content. This middleware injects the live preview hash and content type UID into the Stack class using the livePreviewQuery() method.
app.use((req, response, next) => { // this will get live_preview hash and ContentType to the request Stack.livePreviewQuery(req.query); next(); });Note: In order to prevent communication errors between Contentstack SDK initialization and live preview SSR, the livePreviewQuery method operates on an instance basis.
With these steps, we have the user website ready. Let's move ahead and host this website.
Host the Website
To host a website, you can simply use ngrok or any other website hosting service.
Note: Make sure your website is HTTPS enabled.
Update Stack Settings
To enable Live Preview through the stack settings in Contentstack, follow the steps given below:
- Go to Settings.
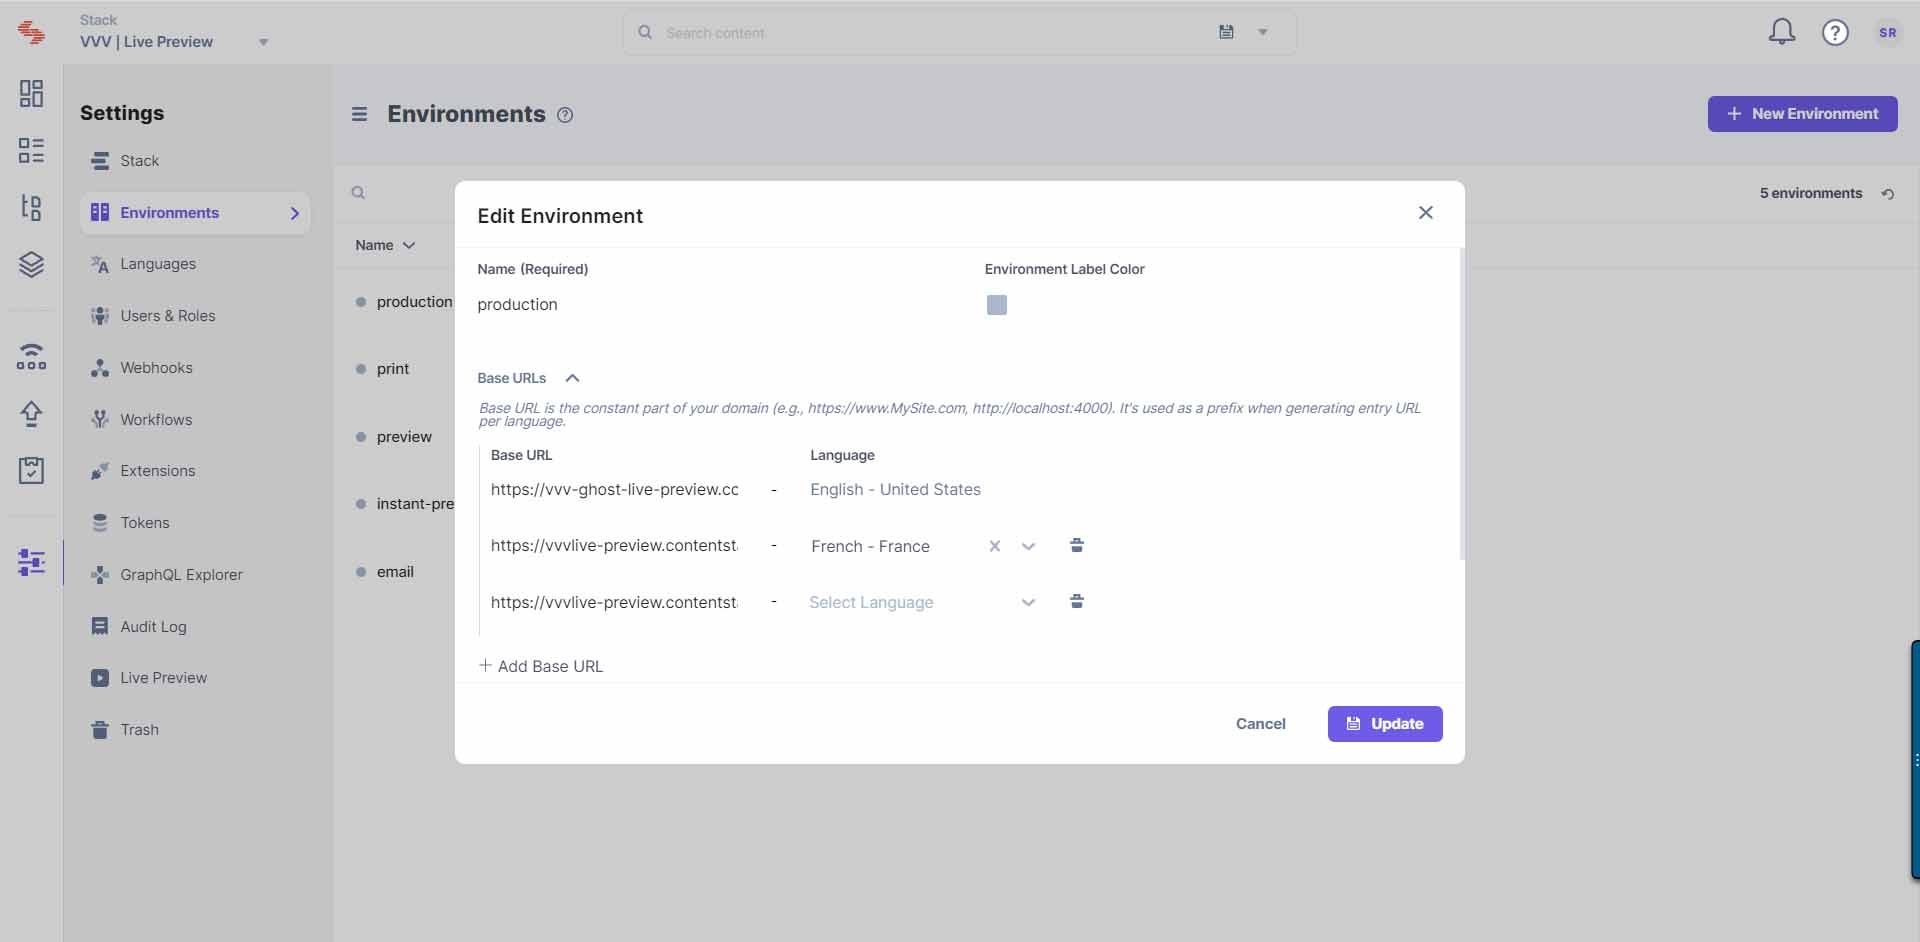
- Create a new environment if there are no existing environments in your stack.
- Add your hosted website URL as the base URL for the environment created.
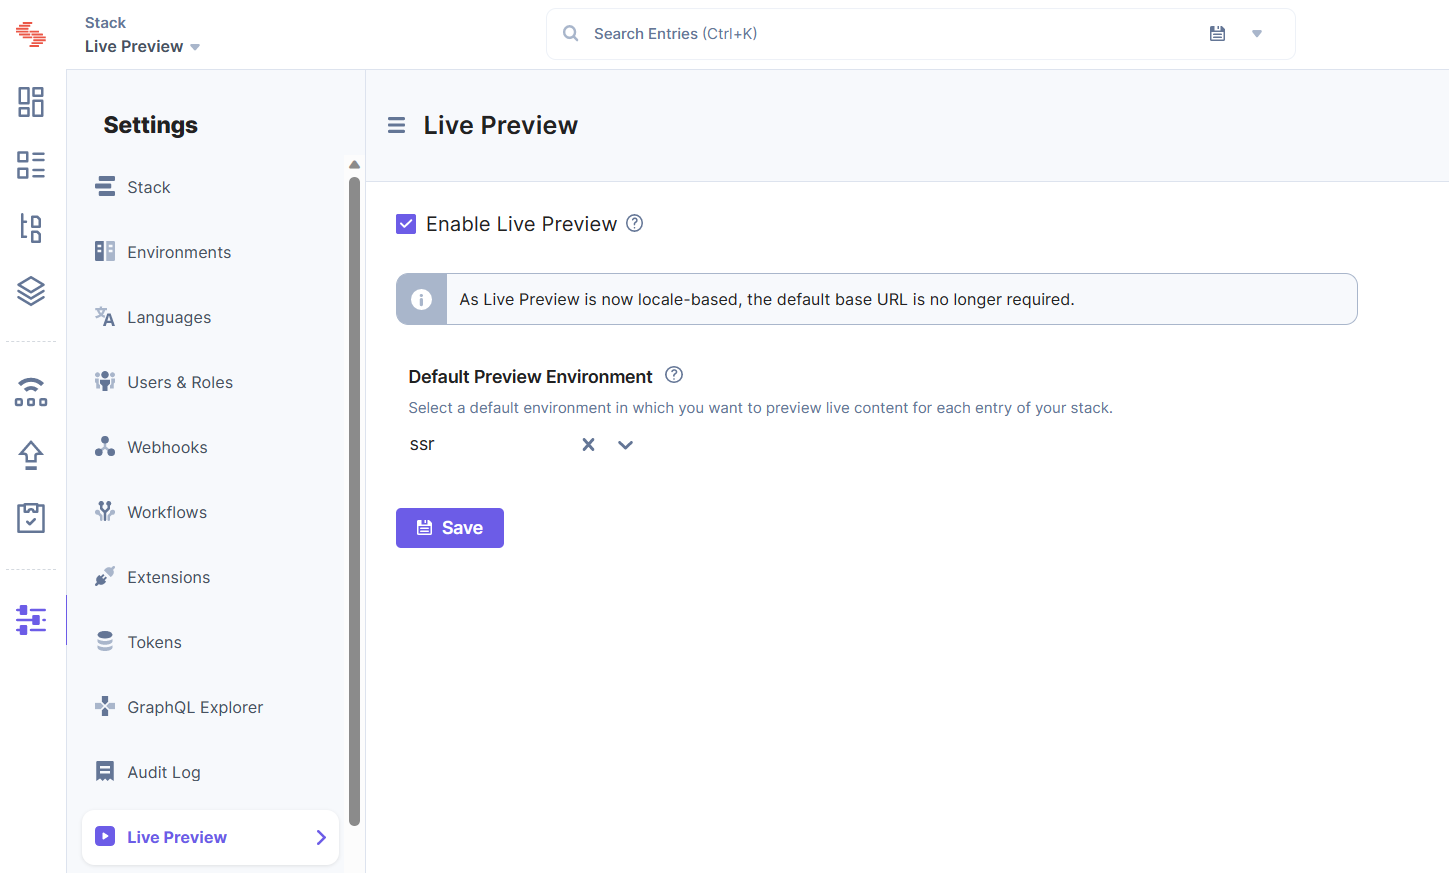
- Navigate to the Live Preview section under stack's "Settings".
- Select the Enable Live Preview checkbox.
- Select the Default Preview Environment from the dropdown. This helps avoid having to add the preview settings manually across multiple entries.
- Save the settings.
You will now be able to see the Live Preview icon within all the entries of your stack and the feature will preview data from the hosted website.
Live Edit Tags for Entries (optional)
Live edit tags provide a seamless way to jump directly to the specific content you want to modify within the live preview. Clicking the "Edit" button next to a content block in the preview pane automatically takes you to the corresponding field in the entry editor. If the field refers to another entry, you'll be directed to that entry's editor page for further editing.
Additional Resource: For detailed information on how to set up Live Edit tags, please refer to our documentation on Set Up Live Edit Tags for Entries with REST
More articles in "Set up Guides"
