


.jpg?format=pjpg&auto=webp)


Other Frameworks on Launch
Contentstack Launch lets you host any SSR framework sites, cloud functions, or static sites using the Other option under the Framework Preset field inside the Build and Output Settings while setting up the project. This is managed through different combinations of values entered in the Build and Output Settings while creating a new project or environment.
-
Hosting a Static Site on Launch
Contentstack Launch allows you to host pre-built static sites on Launch by importing projects from Git repositories or by uploading a zip file.
By using the steps mentioned in this guide, you will be able to host a static site on Launch.
Note: A static site does not require a build step since we're trying to host an already built website and its assets.
Prerequisites
- Contentstack account
- Access to Launch for your organization
Steps to Host a Static Site
Follow the steps given below to host a static site on Launch.
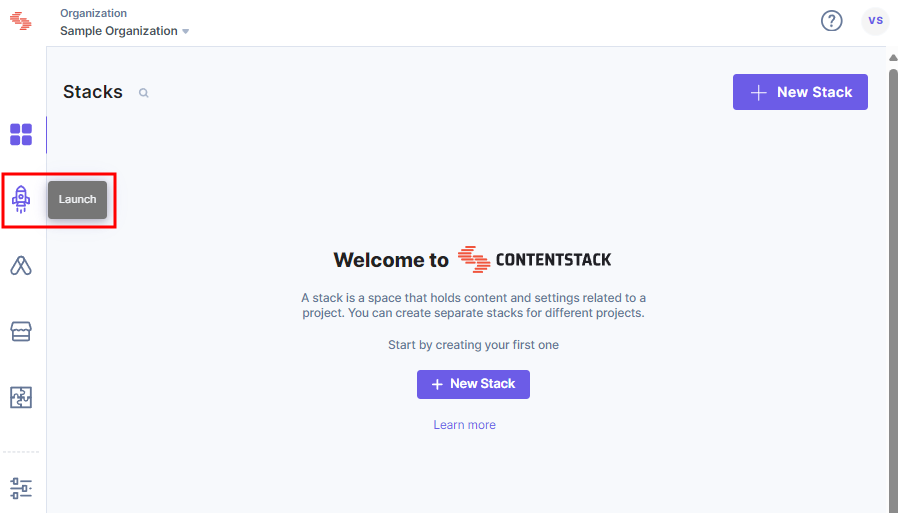
- Log in to your Contentstack account and click Launch from the left navigation panel as shown below.
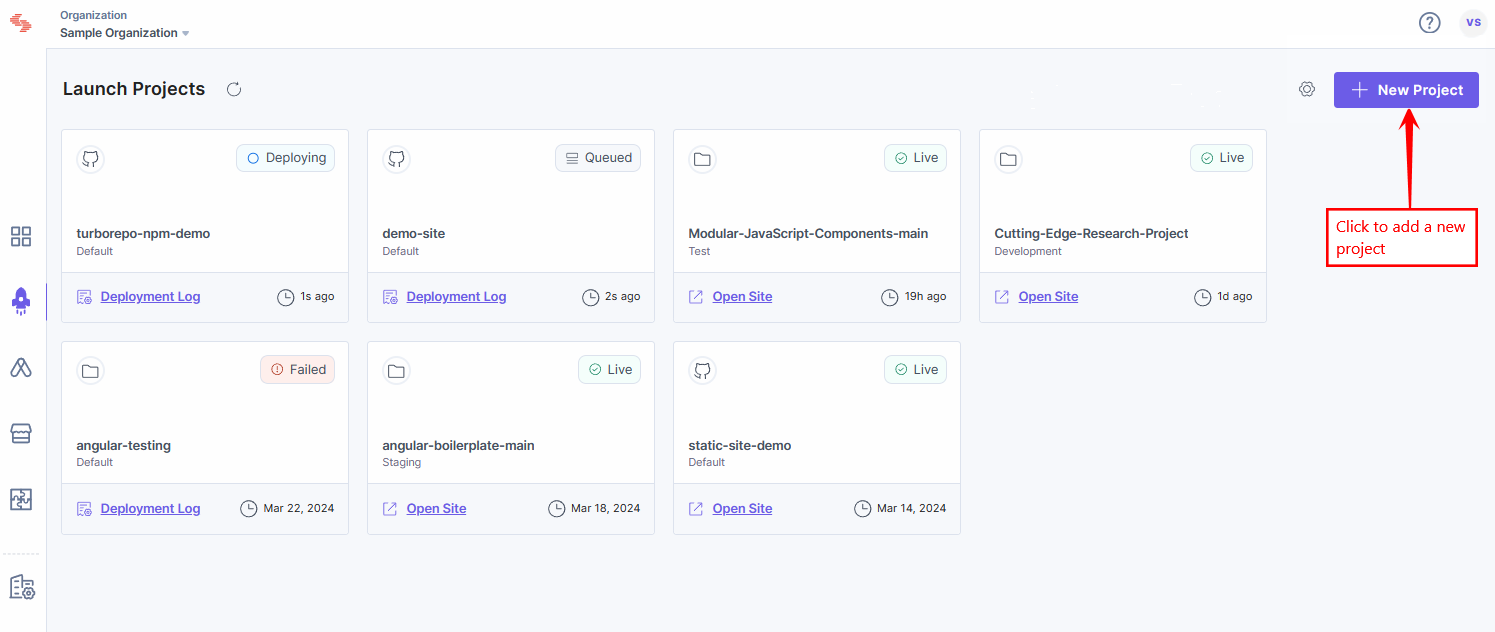
- Click the + New Project button.
- To host a static site project, select Import from a Git Repository or Upload a file as usual from the Create New Project modal.
- In the Build and Output Settings, leave the Build Command field blank.
When a Build Command is not passed while creating a project or an environment, Launch assumes it as a static type and skips the build step.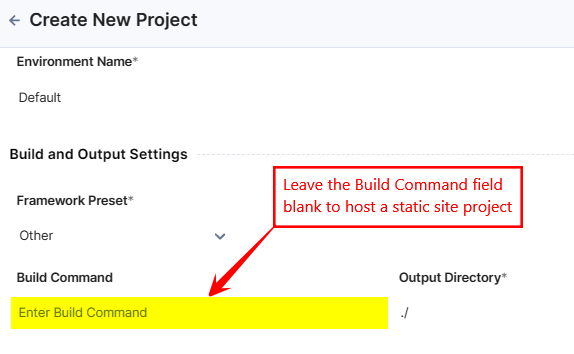
- Click the Deploy button.
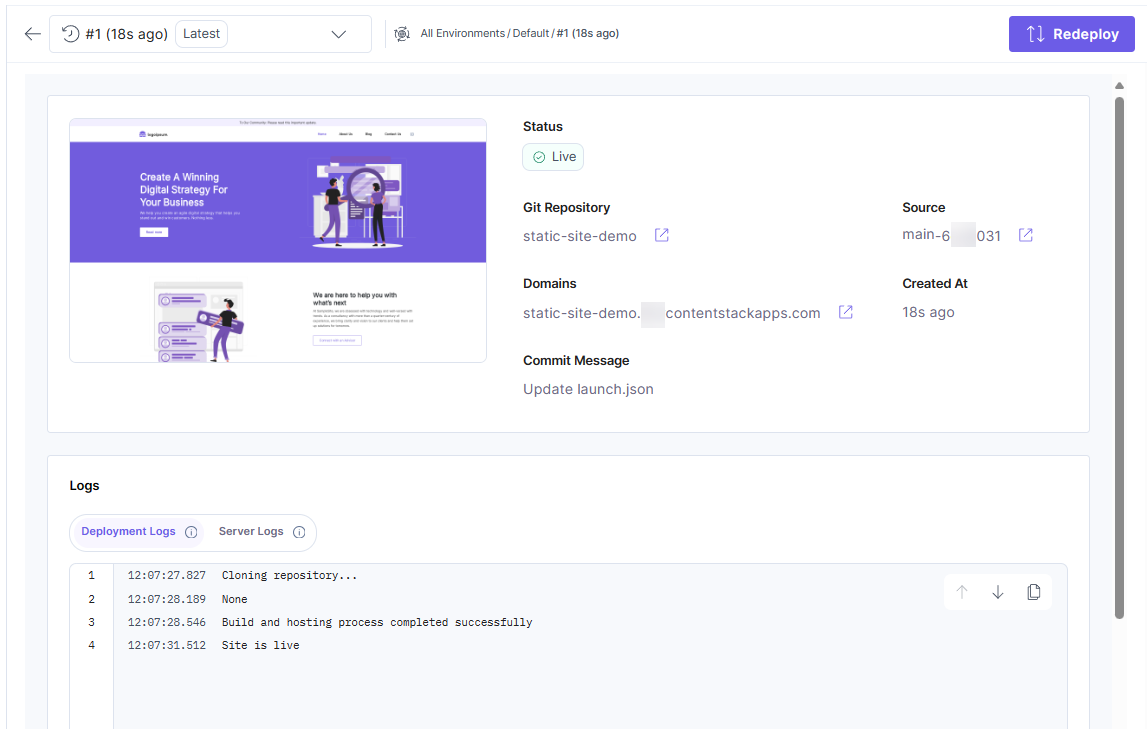
With these steps, you have successfully deployed and hosted a static site on Launch.
-
Hosting a Site Built by a Static Site Generator (SSG)
Contentstack Launch allows you to host sites built using Static Site Generators on Launch by importing projects from Git repositories or by uploading a zip file.
Prerequisites
- Contentstack account
- Access to Launch for your organization
Steps to Host a Site Built by SSG
Follow the steps given below to host an SSG site on Launch.
- Log in to your Contentstack account and click Launch from the left navigation panel as shown below.
- Click the + New Project button.
- To host an SSG site, select Import from a Git Repository or Upload a file from the Create New Project modal as usual.
- In the Build and Output Settings, enter the Build Command field to build your site.
Note: Find the Build Command by going through your relevant framework documentation. Be sure to choose the build command suitable for deploying to production.

- Click the Deploy button.
With these steps, you have successfully deployed and hosted an SSG site on Launch.
-
Hosting Cloud Functions
Contentstack Launch cloud functions are a mechanism for you to provide backend functionality on your sites and enable you to write, deploy, and run server-side code on-demand as API endpoints. Click here to learn more about hosting Cloud Functions.
-
Hosting an SSR Framework Site
In addition to the supported SSR (Server Side Rendered) frameworks, namely NextJS, Gatsby, and Angular-SSR, Contentstack Launch also facilitates the deployment of projects built on frameworks that are not supported by Launch, as long as it runs a Node.js server.
Note: Although Launch is built to support a wide array of Javascript frameworks, Contentstack may be limited to providing troubleshooting guidance for your specific application code. Please review our documentation carefully.
By using the steps mentioned in this guide, you will be able to host any SSR (Server Side Rendered) framework built on NodeJS.
Prerequisites
- Contentstack account
- Access to Launch for your organization
Steps to Host an SSR Framework Site
Follow the steps given below to host an SSR site on Launch:
- Log in to Contentstack and click the Launch icon from the left navigation panel, as shown below:
- On the Launch Projects screen, click the + New Project button to initiate the project creation process.
- Select Import from a Git Repository or Upload a file as usual from the Create New Project modal.
-
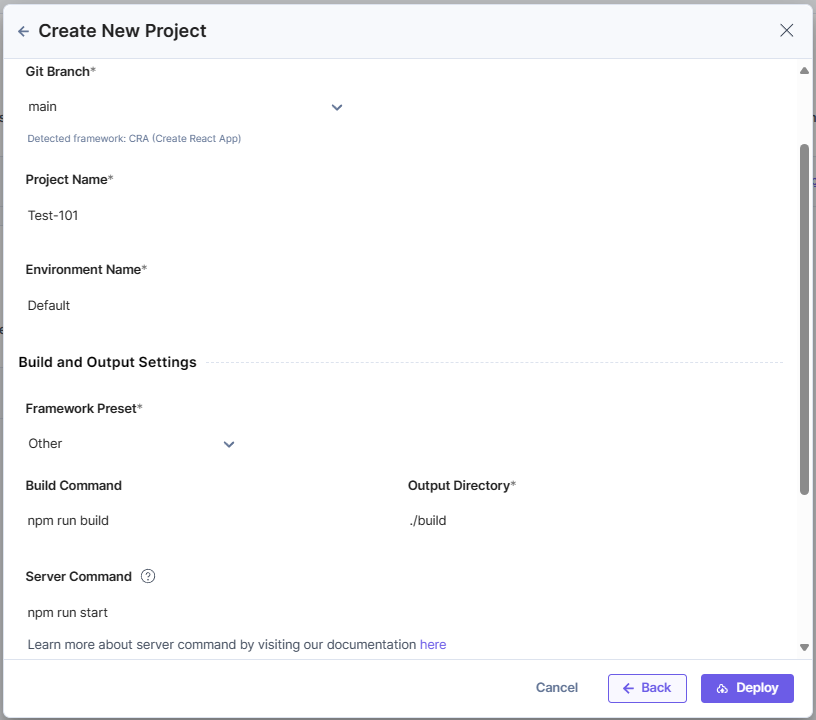
In the Create New Project modal, add the following details:
- Repository (Mandatory): Select the repo that contains the app that you want to deploy.
Note: When you select the repo, the Build and Output Settings section gets auto-populated.
- Git Branch (Mandatory): By default, master or main is selected as the branch. You can choose another branch from the dropdown.
Note: This field will be displayed only if you choose Import from a Git Repository to deploy your project.
- Project Name (Mandatory): Gets auto-populated on selecting the repository. You can edit it as per your requirement.
- Environment Name (Mandatory): Enter the name of the environment.
- Build and Output Settings (Mandatory): The fields in this section get auto-populated based on the selected framework, as discussed above. Update the fields to the following:
- Framework Preset (Mandatory): Select Other as the framework from the dropdown.
- Build Command (Mandatory): Enter a command to build the project.
For example, npm run build. - Output Directory (Mandatory): Enter a directory path to store the project’s build output files. For example, ./build.
- Server Command (Mandatory): A command required to start the SSR server.
For example, npm run start.Note: This is the same command you would use locally to start a production-ready server. Please ensure you do not use a command that starts the framework in developer mode, as this will impact its performance.
Note: Launch expects the framework to use the environment variable PORT for determining the port on which the server should start.
- Environment Variables (Optional):
- Enter the key and value of one or more environment variables.
- You can also add the key-value pairs in bulk in the Bulk Edit section.
Note: Click Back to revert the changes and re-enter details.
- Repository (Mandatory): Select the repo that contains the app that you want to deploy.
- Once ready, click Deploy to save and deploy the project.
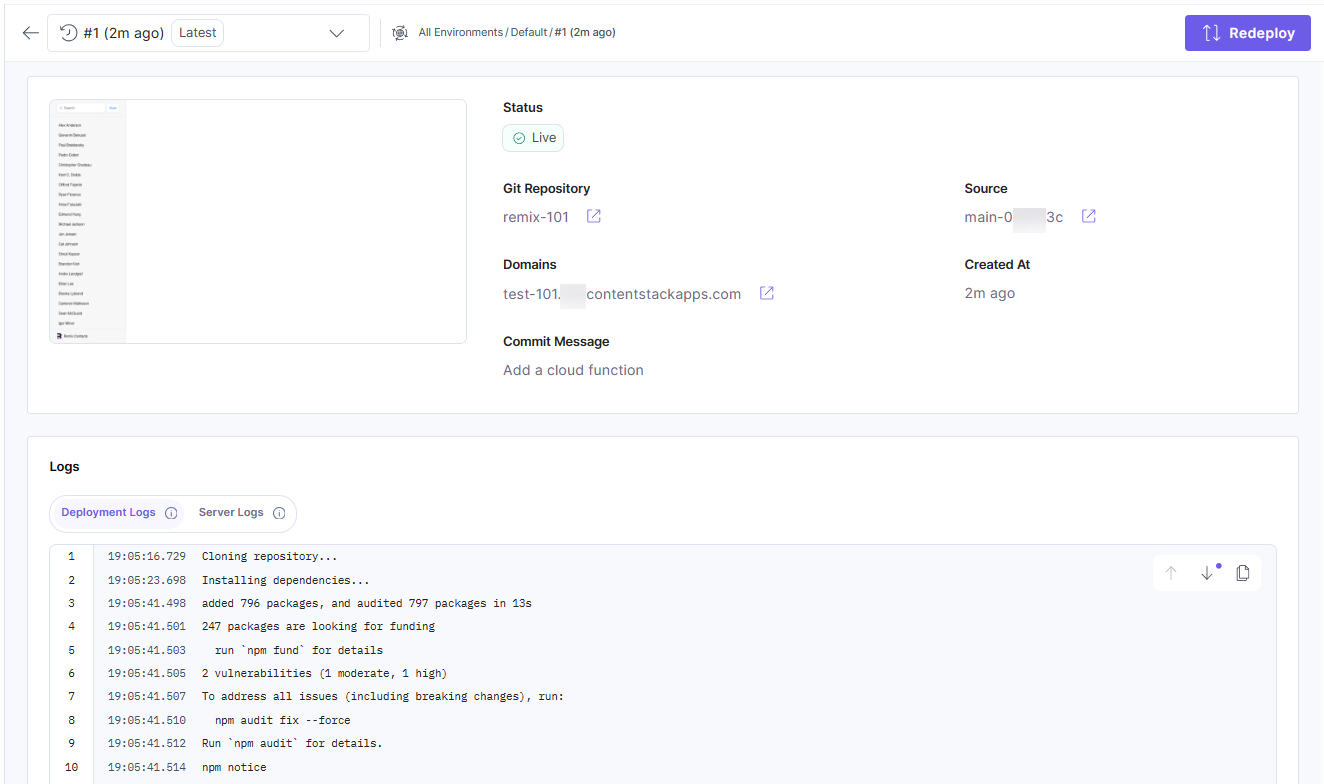
Upon successful deployment, you will see the following screen.
Caching
By default, all the pages are cached on the Launch’s CDN when you deploy an SSR site using the Other framework. This means the subsequent requests to the same page will be cached, and the page will not be regenerated.
You can configure this behavior by returning appropriate cache headers from your server-side response. In the following example, we modify the Express.js server that handles template engine requests in routes.js to regenerate the page every 5 minutes:
router.get('/', function(req, res, next) {
res.header({'cache-control': 'max-age=0, s-maxage=300'});
res.render('index', { title: 'Hello World!' });
});
Cache Revalidation
You can also leverage Launch’s cache revalidation feature to render new content updates on demand.
- You can use Cache Revalidation only for SSR frameworks since static sites do not have the runtime server necessary to generate a new version of the page.
- Please ensure that you also revalidate the cache for the data endpoint, backing the content in addition to the page URL. This is important if you have cached API endpoints delivering data for the page.
More articles in "Launch Framework Guides"
