


.jpg?format=pjpg&auto=webp)


Integrate Contentstack with Other Apps using Zapier
Zapier is a workflow automation tool that allows you to connect Contentstack with over 3000 apps. You can set up workflows, known as Zaps, without writing any code and automate mundane tasks in minutes.
A Zap in Zapier contains a trigger (which could be an event that will occur in app ‘A’) and one or more actions (some actions to be performed in App ‘B’).
So whenever the trigger occurs in app ‘A’, the specified actions get executed automatically in app ‘B’.
You can create custom Zaps by integrating Contentstack with any apps of your choice. Below are some examples of Zaps you can create:
- When a new entry is created in Contentstack (trigger), classify the text using MonkeyLearn (action), and update the category field in the entry in Contentstack (action) accordingly.
- When a new asset is published (trigger), save a copy in Dropbox (action) to create backups of your files.
- When some data is updated in Google Sheets (trigger), update an entry field in Contentstack (action).
Let’s create an example Zap to understand how our Zapier integration helps you connect with thousands of other apps.
Getting Started
In this guide, we will create a Zap that will allow us to receive Slack notifications when a new entry is created in Contentstack.
Prerequisites
Steps for Execution
Create a Zap
Log in to your Zapier account and follow the steps given below:
- Click on the CREATE ZAP button on the left navigation panel. This will redirect you to a page where you can configure and set up your Zap.
- Provide a name to your Zap by clicking on the edit icon on the top left corner.
In the next sections, we will set up a trigger and action for our Zap.
Set up a Trigger
Now, let's set up a trigger for the entry creation event in Contentstack using the following steps:
- Next, select the app that you want to integrate with, for our example, Contentstack BETA.
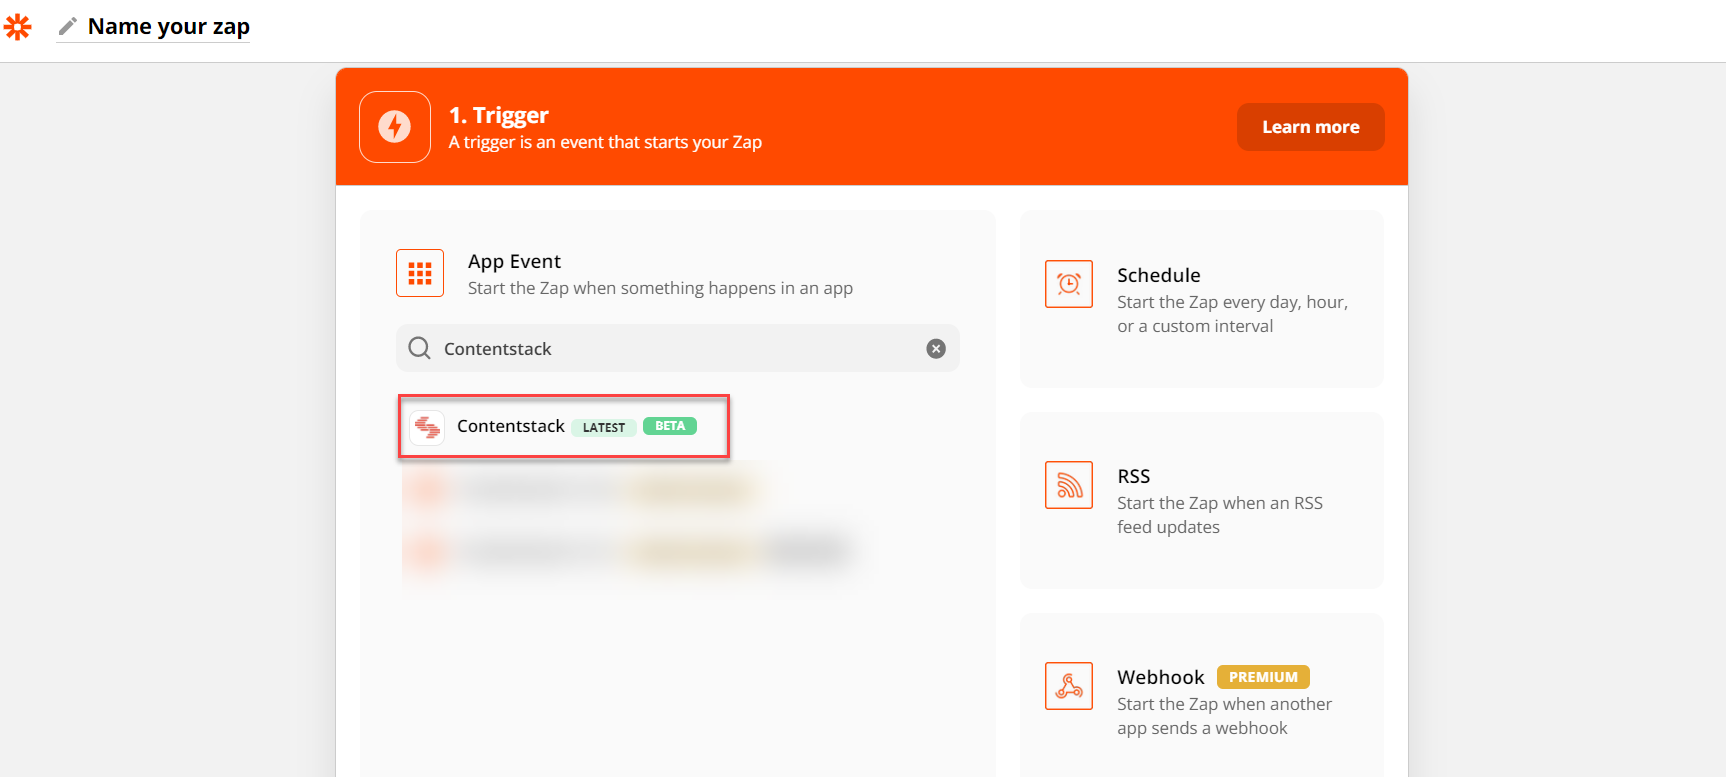
- Select the Trigger Event in Contentstack which will trigger the Zap. For this example, let’s select New Entry. This will trigger the Zap whenever a new entry is created in your Contentstack account.
- After selecting the trigger event, configure your Contentstack account to connect with Zapier. Click on the Sign in to Contentstack button to add a new account to Zapier.
- This will redirect you to a new page where you need to select the Region of your data center as shown below:
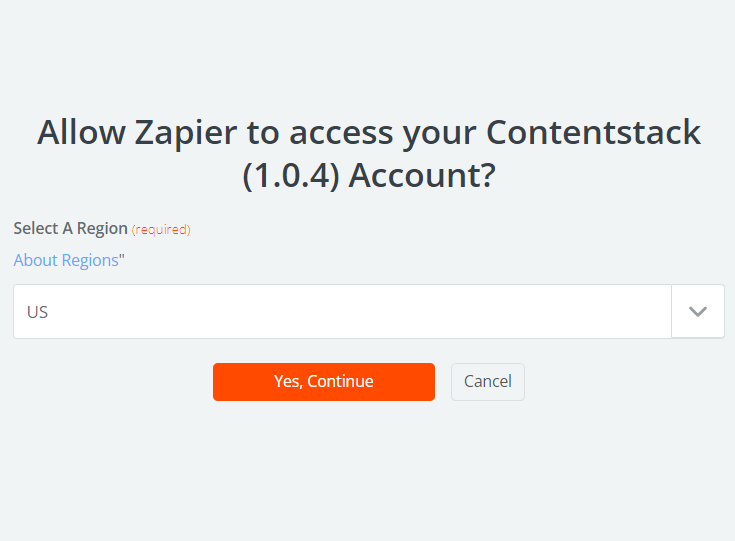
- To complete your account set up, click on the Yes, Continue button.
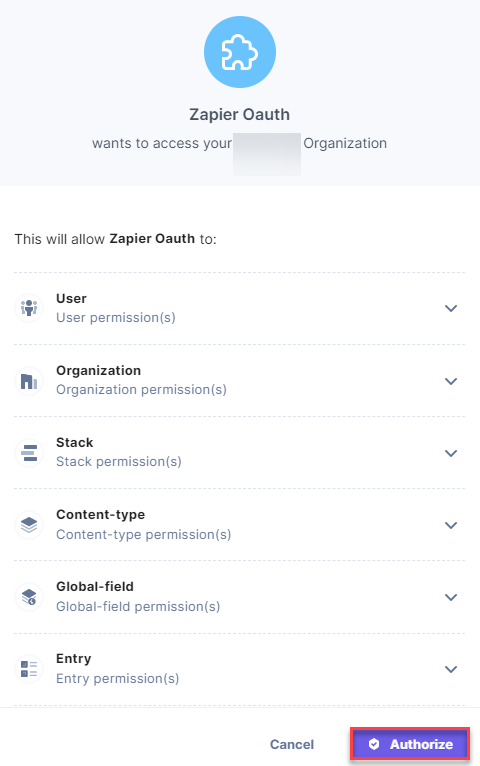
- Select the organization where you want to perform the operation and allow Zapier OAuth to access your Contentstack organization. Review the permissions and click on Read more. Scroll down and click on the Authorize button to grant Zapier OAuth the permissions to access your organization as shown below:
- Now, in your Zapier app, choose the account (if not selected) that you just configured and click on Continue.
- Next, click on Set up a trigger to notify events occurring in your stack.
Select if you want to set up a trigger for all content types of your stack or for a particular content type. For this example, we will select all content types and accordingly set the Use All Content Types? value to True.
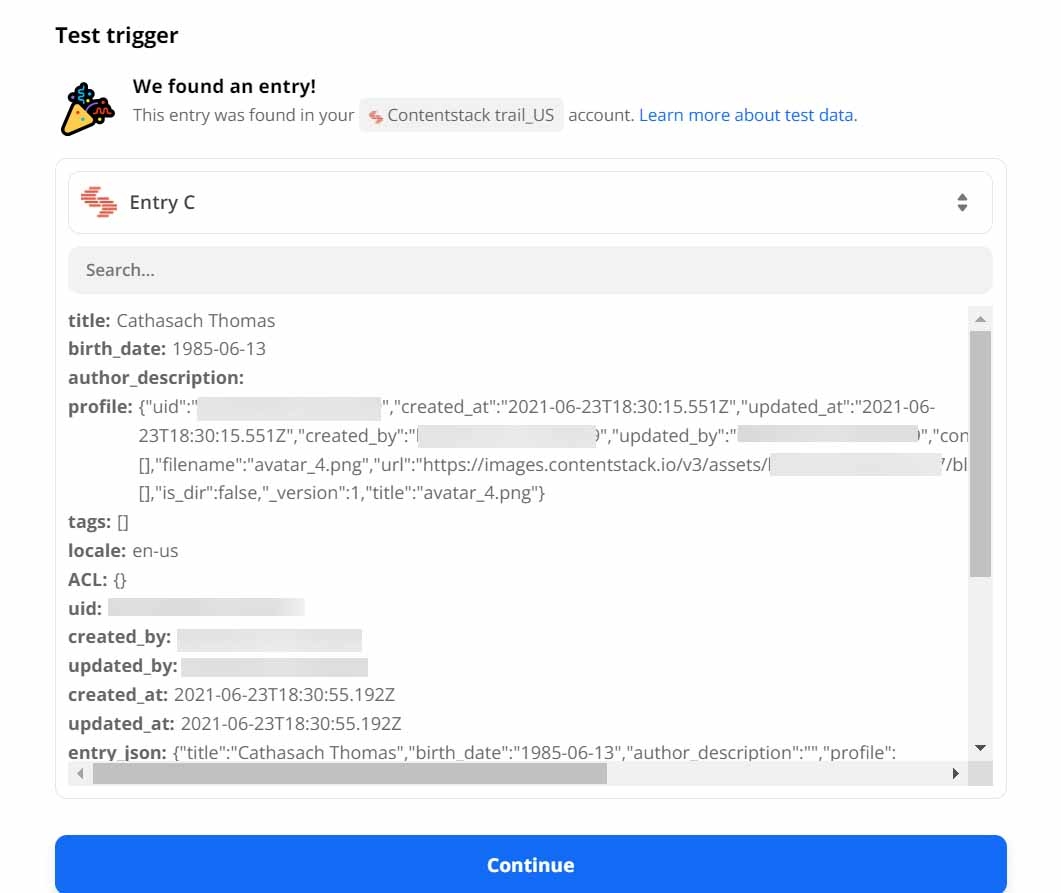
Alternatively, if you want to select specific content types, then select False and select the Content Type or choose from the Custom settings dropdown. - Click on the Test trigger button. This will show the data of an existing entry from your stack. It is a representation of the data that you will get when the actual event will be triggered. You can use this data in the actions that you set up.
With this steps, the trigger setup is complete. Let’s learn how to set an action event for the Zap.
- Next, select the app that you want to integrate with, for our example, Contentstack BETA.
Add an Action Event
Actions in Zapier refer to the actual actions that a Zap performs once the trigger is initiated. Let's follow the steps given below to create an action (Slack notification) for our Zap:
- Under Choose app & event, select an app where you want the action to be performed. In this example we will send a direct message on Slack. Now, select Slack, and then select Send Direct Message as an Action Event. Click on Continue.
- Choose your account to connect to Slack, and click on Continue. Select your Slack Username and add a Message Text along with the entry details you want to be notified with. In your Zap action, you can also use some values that you receive as trigger data.
For example, A new entry <title> with uid <uid> under content type <content_type_uid> has been created.
Now, set a bot in Slack to receive the notifications from Contentstack.
Configure other settings as shown below: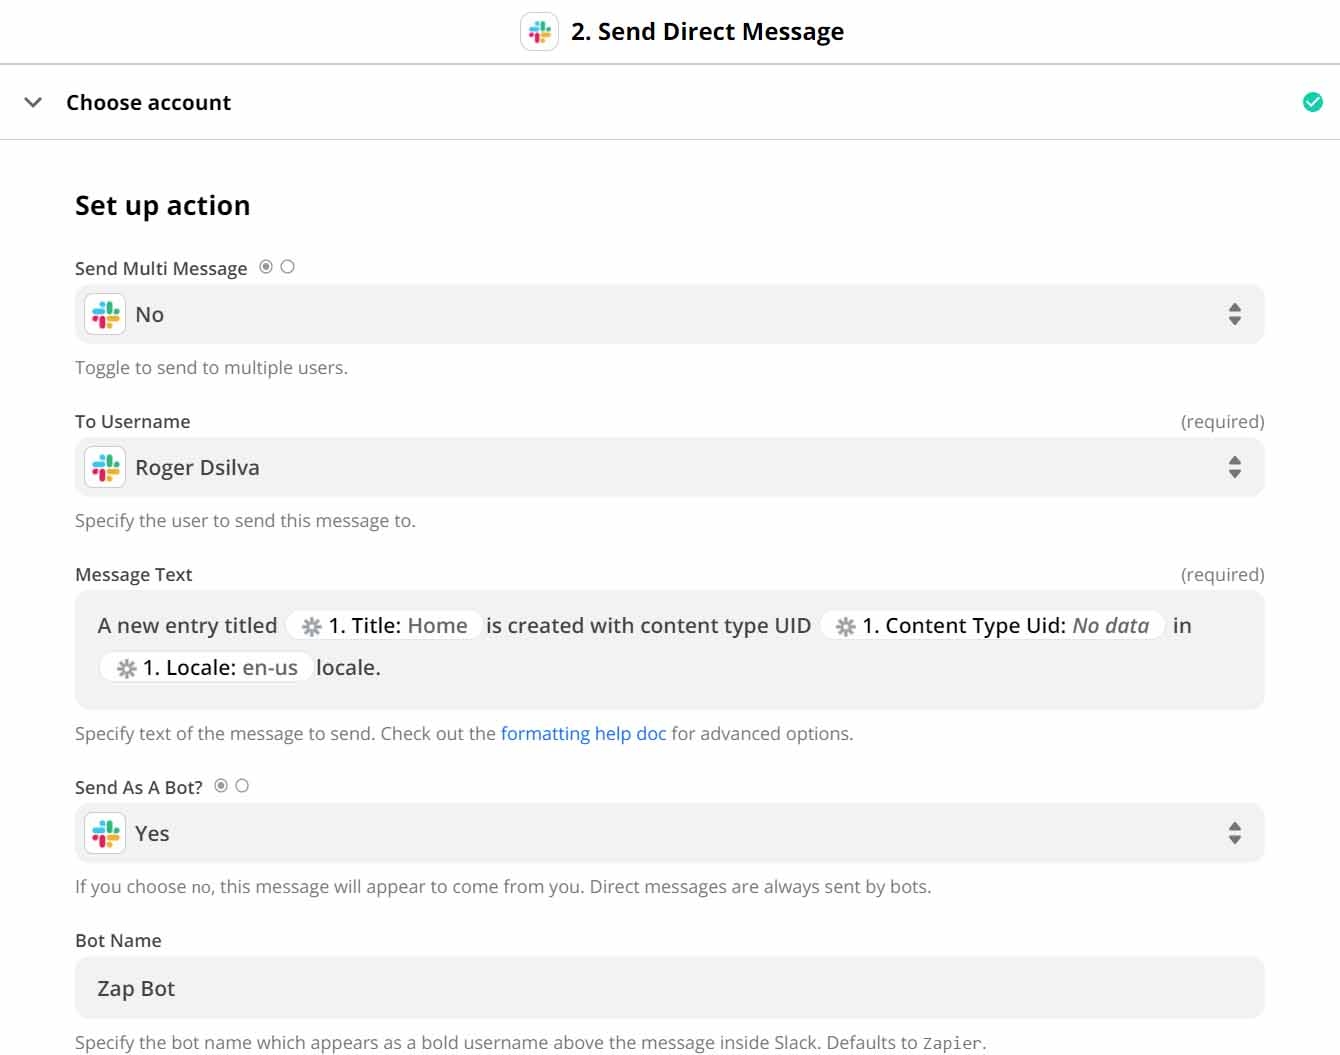
- Once the action is configured, continue to test your action by clicking on Test and Continue.
- A sample test message will be sent on your Slackbot through the bot you configured.
- Finally, click on Turn on Zap to activate your Zap.
With these steps, we have successfully configured the trigger and action for our Zap.
- Under Choose app & event, select an app where you want the action to be performed. In this example we will send a direct message on Slack. Now, select Slack, and then select Send Direct Message as an Action Event. Click on Continue.
Test the Zap
Your Zap is now ready and you can test if it works as expected:
- Create a new entry in any content type of your stack. This entry will instantly trigger the Zap and a message will be sent to you on Slack.
- The notification will be sent through the bot you created. It will contain the details of the new entry along with the input text message.

Note: Non-premium users can create a Zap with only one trigger and one action. And they can have only 5 active Zaps at a time. More Zaps can be saved in the draft state. To learn more check Zapier's plans and pricing page.
Next Steps
More articles
